2023 TOYOTA VENZA HYBRID tire type
[x] Cancel search: tire typePage 9 of 560

9
better understanding of the cir-
cumstances in which crashes
and injuries occur.
NOTE: EDR data are recorded
by your vehicle only if a non-triv-
ial crash situation occurs; no
data are recorded by the EDR
under normal driving conditions
and no personal data (e.g.,
name, gender, age, and crash
location) are recorded. How-
ever, other parties, such as law
enforcement, could combine the
EDR data with the type of per-
sonally identifying data rou-
tinely acquired during a crash
investigation.
To read data recorded by an
EDR, special equipment is
required, and access to the
vehicle or the EDR is needed. In
addition to the vehicle manufac-
turer, other parties, such as law
enforcement, that have the spe-
cial equipment, can read the
information if they have access
to the vehicle or the EDR.
Disclosure of the EDR data
Toyota will not disclose the data
recorded in an EDR to a third party
except when:
• An agreement from the vehicle’s
owner (or the less ee for a leased
vehicle) is obtained
• In response to an official request by the police, a court of law or a
government agency
• For use by Toyota in a lawsuit
However, if necessary, Toyota may:
• Use the data for research on
vehicle safety performance
• Disclose the data to a third party for research pur poses without
disclosing information about the
specific vehicle or vehicle owner
The SRS airbag and seat belt
pretensioner devices in your
Toyota contain ex plosive chemi-
cals. If the vehicle is scrapped
with the airbags and seat belt
pretensioners left as they are,
this may cause an accident such
as fire. Be sure to have the sys-
tems of the SRS airbag and seat
belt pretensioner removed and
disposed of by a qualified ser-
vice shop or by your Toyota
dealer before you scrap your
vehicle.
Special handling may apply,
See www.dtsc.ca.gov/
hazardouswaste/perchlorate.
Your vehicle has components
that may contain perchlorate.
These components may include
the airbags, seat belt preten-
sioners, wireless remote control
batteries, and the batteries in
the tire pressure warning valve
and transmitters.
Scrapping of your Toyota
Perchlorate Material
Page 15 of 560
15Pictorial index
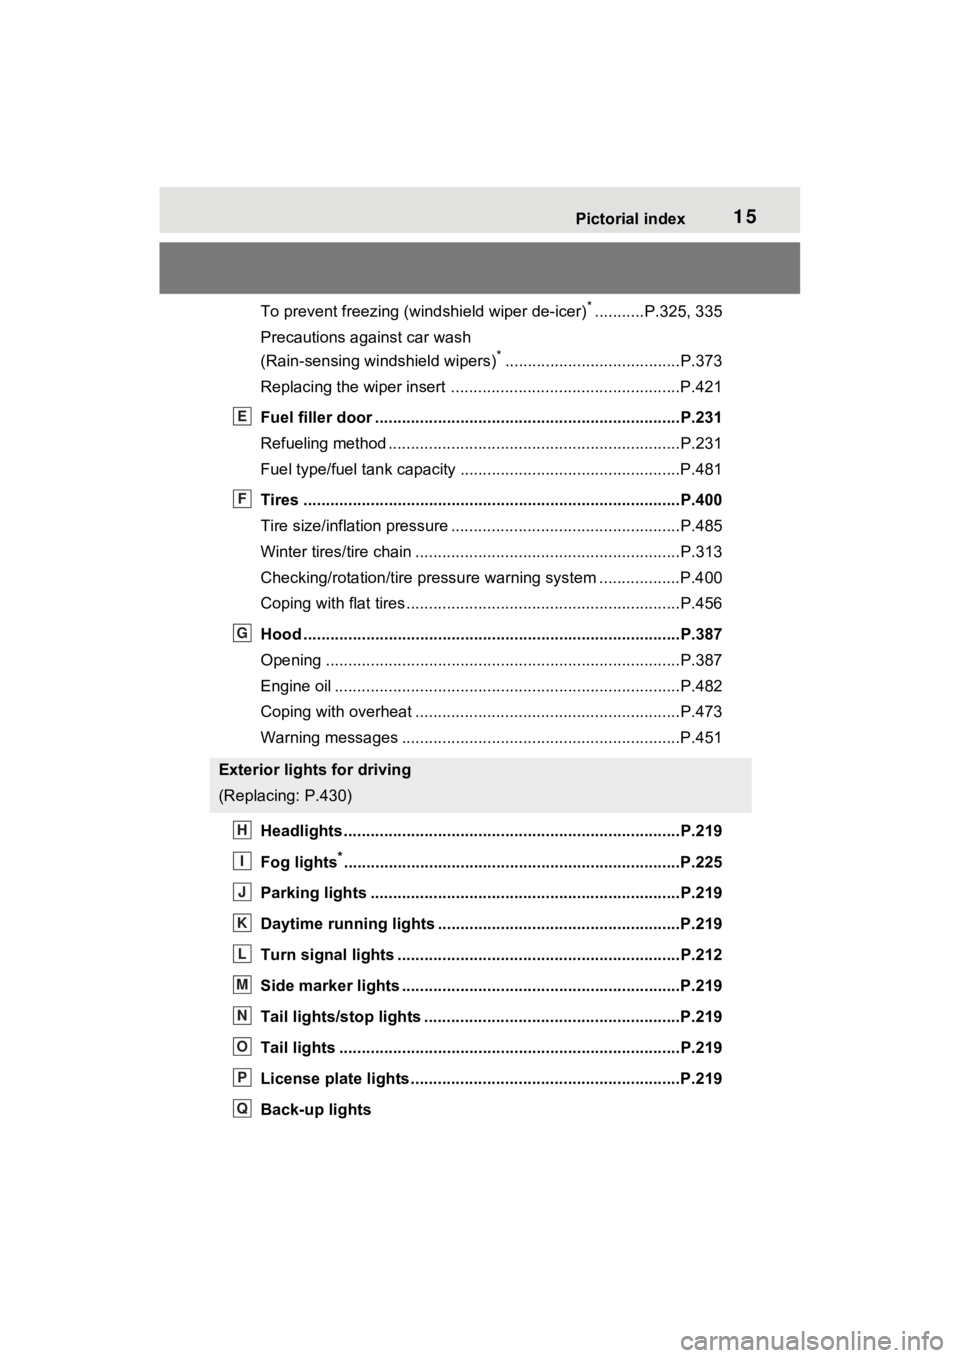
To prevent freezing (windshield wiper de-icer)*...........P.325, 335
Precautions against car wash
(Rain-sensing windshield wipers)
*.......................................P.373
Replacing the wiper insert .................................... ...............P.421
Fuel filler door ............................................... .....................P.231
Refueling method ............................................... ..................P.231
Fuel type/fuel tan k capacity .................................................P.481
Tires ....................................................................................P.400
Tire size/inflation pressure ................................... ................P.485
Winter tires/tire chain ........................................ ...................P.313
Checking/rotation/tire pressur e warning system ..................P.400
Coping with flat tires......................................... ....................P.456
Hood ....................................................................................P.387
Opening ........................................................ .......................P.387
Engine oil ..................................................... ........................P.482
Coping with overheat ........................................... ................P.473
Warning messages ..............................................................P.451
Headlights..................................................... ......................P.219
Fog lights
*............................................................... ............P.225
Parking lights .....................................................................P.219
Daytime running lights .. ....................................................P.219
Turn signal lights ...............................................................P.212
Side marker lights ............................................. .................P.219
Tail lights/stop lights ........................................ .................P.219
Tail lights .................................................... ........................P.219
License plate lights........................................... .................P.219
Back-up lights
Exterior lights for driving
(Replacing: P.430)
E
F
G
H
I
J
K
L
M
N
O
P
Q
Page 106 of 560
1062-1. Instrument cluster
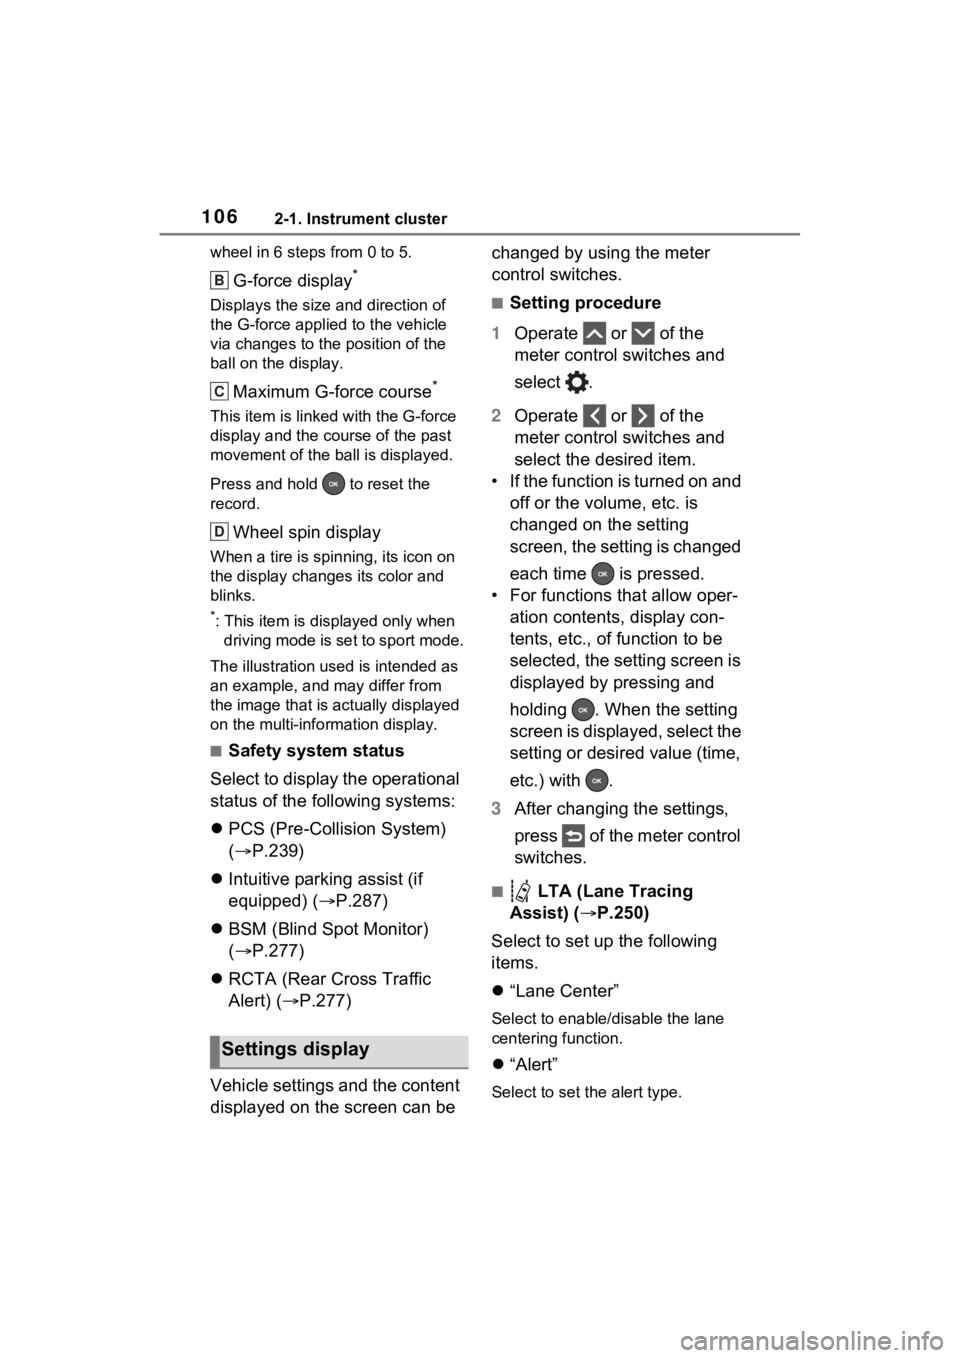
wheel in 6 steps from 0 to 5.
G-force display*
Displays the size and direction of
the G-force applied to the vehicle
via changes to the position of the
ball on the display.
Maximum G-force course*
This item is linke d with the G-force
display and the course of the past
movement of the ball is displayed.
Press and hold to reset the
record.
Wheel spin display
When a tire is spin ning, its icon on
the display change s its color and
blinks.
*: This item is displayed only when driving mode is set to sport mode.
The illustration used is intended as
an example, and may differ from
the image that is actually displayed
on the multi-info rmation display.
■Safety system status
Select to display the operational
status of the following systems:
PCS (Pre-Collision System)
( P.239)
Intuitive parking assist (if
equipped) ( P.287)
BSM (Blind Spot Monitor)
( P.277)
RCTA (Rear Cross Traffic
Alert) ( P.277)
Vehicle settings and the content
displayed on the screen can be changed by using the meter
control switches.
■Setting procedure
1 Operate or of the
meter control switches and
select .
2 Operate or of the
meter control switches and
select the desired item.
• If the function is turned on and off or the volume, etc. is
changed on the setting
screen, the setting is changed
each time is pressed.
• For functions that allow oper- ation contents, display con-
tents, etc., of function to be
selected, the setting screen is
displayed by pressing and
holding . When the setting
screen is displayed, select the
setting or desired value (time,
etc.) with .
3 After changing the settings,
press of the meter control
switches.
■ LTA (Lane Tracing
Assist) ( P.250)
Select to set up the following
items.
“Lane Center”
Select to enable /disable the lane
centering function.
“Alert”
Select to set the alert type.
Settings display
B
C
D
Page 109 of 560

1092-1. Instrument cluster
2
Vehicle status information and indicators
sure displayed.
(EV indicator) ( P.71)
Select to enable/disable the EV
indicator.
Digital Speed ( P.104)
Select to enable/dis able the Digital
Speed.
Gadget Content
Select to change the Gadget set-
ting.
Fuel Economy Type
( P.102)
Select to change the fuel economy
and Gadget type display between
“Trip”, “Total”
*1 and “Tank”*2.
*1: Even if “Trip” is selected, the dis-
play of the average fuel con-
sumption will not change.
*2: If “Tank” is selected, the gadget will be hidden.
“Pop-Up Display”
Select to enable/d isable the follow-
ing pop-up displays, which may
appear in some situations.
• Intersection guidance display of the navigation system-linked sys-
tem (if equipped)
• Incoming call di splay of the
hands-free phone system
• Audio operation
• Volume operation
• Voice control (if equipped)
• Brightness
“MID OFF”
A blank screen is displayed.
“Default Settings”
Select to reset the meter display
settings.
■Tire pressure
• It may take a few minutes to dis-
play the tire inflation pressure
after the power switch is turned to
ON. It may also take a few min-
utes to display the tire inflation
pressure after infl ation pressure
has been adjusted.
• “---” may be displayed if the tire position information cannot be
determined due to unfavorable
radio wave conditions.
• Tire inflation pressure changes with temperature. The displayed
values may also be different from
the values measured using a tire
pressure gauge.
■Suspension of the settings dis-
play
●In the following situations, opera-
tion of the settings display will be
temporarily suspended.
• When a warning message appears on the multi-information
display
• When the vehicle begins to move
●Settings for functions not
equipped to the vehicle are not
displayed.
●When a function is turned off, the
related settings for that function
are not selectable.
Page 120 of 560

1202-1. Instrument cluster
Select to initialize the tire pres-
sure warning system.
• “Identifying Each Wheel & Posi- tion”
Select to change the tire pressure
warning system sensor ID code
set. To enable this function, a
second set of tire pressure warn-
ing system sensor ID codes must
be registered by a Toyota dealer.
For information regarding chang-
ing the registered ID code set,
contact your Toyota dealer.
• “Pressure unit setting” Select to change the units of
measure displayed.
“Scheduled Maintenance”
( P.380)
Select to reset the scheduled
maintenance information
(message indicating mainte-
nance is required and dis-
tance until the next
maintenance) after all mainte-
nance is performed.
Oil Maintenance
Select to reset the Oil mainte-
nance. ( P.392)
Rear Seat Reminder
( P.139)
Select to enable/disable the
rear seat reminder function.
■ Settings
“Language”
Select to change the lan-
guage on the multi-informa-
tion display.
“Units”
Select to change the unit of measure for fuel consump-
tion.
Meter Type
Select to change the meter
type setting.
Meter Style
Select to change the meter
style.
Dial Type
Select to change dial type.
( P.94)
EV indicator
Select to enable/disable the
EV indicator.
Fuel Economy
Select to change the display
on Fuel Economy. ( P.114)
Hybrid System
Select to enable/disable refer-
ence operation range.
Drive Info
Select to change displayed
items on drive information dis-
play. ( P.116)
Pop-Up Display
Select to enable/disable the
pop-up displays, which may
appear in some situations.
Default Settings
Select to reset the meter dis-
play settings.
■Suspension of the settings dis-
play
●Some settings cannot be changed
while driving. When changing set-
tings, park the vehicle in a safe
place.
Page 288 of 560
2884-5. Using the driving support systems
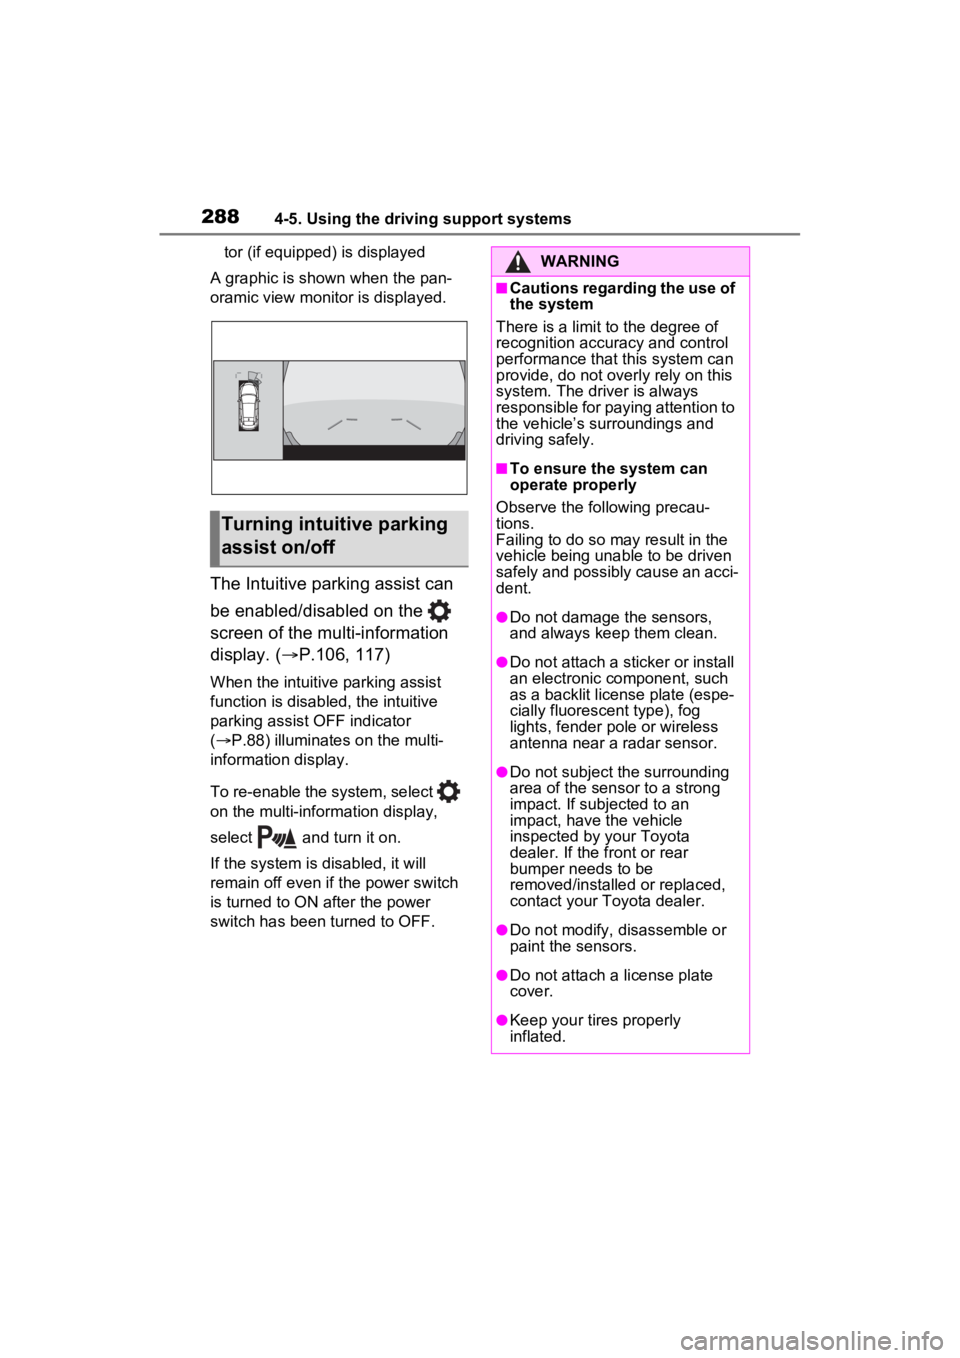
tor (if equipped) is displayed
A graphic is shown when the pan-
oramic view monitor is displayed.
The Intuitive parking assist can
be enabled/disabled on the
screen of the multi-information
display. ( P.106, 117)
When the intuitive parking assist
function is disabled, the intuitive
parking assist OFF indicator
( P.88) illuminates on the multi-
information display.
To re-enable the system, select
on the multi-inform ation display,
select and turn it on.
If the system is disabled, it will
remain off even if the power switch
is turned to ON after the power
switch has been turned to OFF.
Turning intuitive parking
assist on/off
WARNING
■Cautions regarding the use of
the system
There is a limit t o the degree of
recognition accuracy and control
performance that this system can
provide, do not overly rely on this
system. The driver is always
responsible for paying attention to
the vehicle’s su rroundings and
driving safely.
■To ensure the system can
operate properly
Observe the following precau-
tions.
Failing to do so may result in the
vehicle being unable to be driven
safely and possibly cause an acci-
dent.
●Do not damage the sensors,
and always keep them clean.
●Do not attach a sticker or install
an electronic component, such
as a backlit licen se plate (espe-
cially fluorescent type), fog
lights, fender po le or wireless
antenna near a radar sensor.
●Do not subject the surrounding
area of the sensor to a strong
impact. If subjected to an
impact, have the vehicle
inspected by your Toyota
dealer. If the front or rear
bumper needs to be
removed/installed or replaced,
contact your Toyota dealer.
●Do not modify, disassemble or
paint the sensors.
●Do not attach a license plate
cover.
●Keep your tires properly
inflated.
Page 313 of 560
3134-6. Driving tips
4
Driving
Use fluids that are appropriate
to the prevailing outside tem-
peratures.
• Engine oil
• Engine coolant
• Power control unit coolant
• Washer fluid
Have a service technician
inspect the condition of the
12-volt battery.
Have the vehicle fitted with
four snow tires or purchase a
set of tire chains for the front
tires.
Ensure that all tires are the same
size and brand, and that chains
match the size of the tires.
Winter driving tips
Carry out the necessary
preparations and inspec-
tions before driving the
vehicle in winter. Always
drive the vehicle in a man-
ner appropriate to the pre-
vailing weather conditions.
Preparation for winter
WARNING
■Driving with snow tires
Observe the following precautions
to reduce the risk of accidents.
Failure to do so m ay result in a
loss of vehicle control and cause
death or serious injury.
●Use tires of the specified size.
●Maintain the recommended
level of air pressure.
●Do not drive in excess of 75
mph (120 km/h), regardless of
the type of snow tires being
used.
●Use snow tires on all, not just
some wheels.
■Driving with tire chains
Observe the following precautions
to reduce the risk of accidents.
Failure to do so may result in the
vehicle being unable to be driven
safely, and may cause death or
serious injury.
●Do not drive in excess of the
speed limit specifi ed for the tire
chains being used, or 30 mph
(50 km/h), whichever is lower.
●Avoid driving on bumpy road
surfaces or over potholes.
●Avoid sudden acceleration,
abrupt steering, sudden brak-
ing and shifting operations that
cause sudden engine braking.
●Slow down sufficiently before
entering a curve to ensure that
vehicle control is maintained.
●Do not use LTA (Lane Tracing
Assist) system.
NOTICE
■Repairing or replacing snow
tires
Request repairs or replacement of
snow tires from your Toyota
dealer or legitimate tire retailers.
This is because the removal and
attachment of snow tires affects
the operation of the tire pressure
warning valves and transmitters.
Page 315 of 560
3154-6. Driving tips
4
Driving
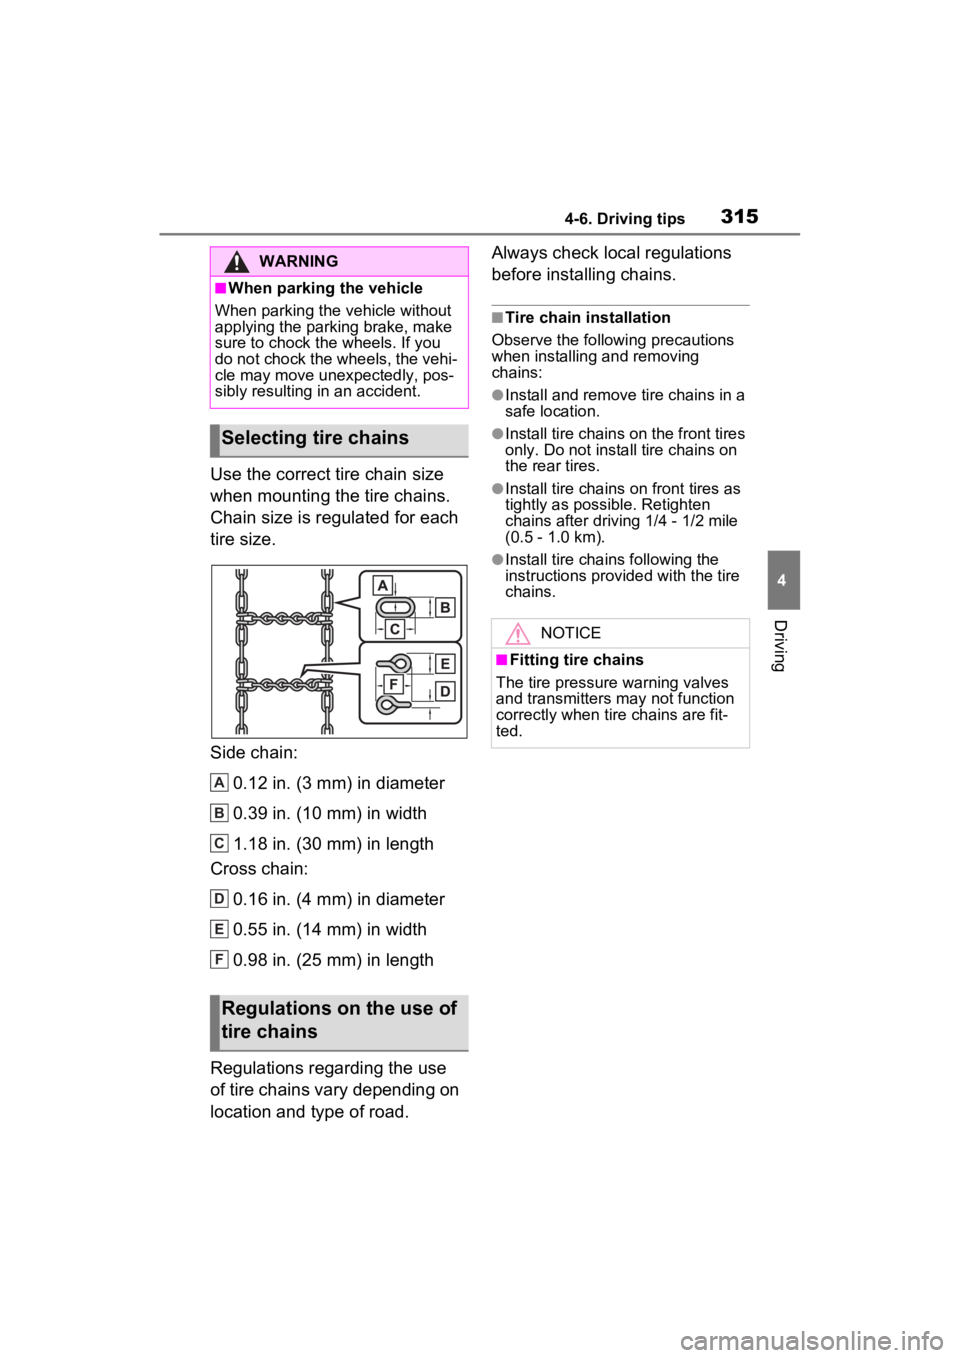
Use the correct tire chain size
when mounting the tire chains.
Chain size is regulated for each
tire size.
Side chain:0.12 in. (3 mm) in diameter
0.39 in. (10 mm) in width
1.18 in. (30 mm) in length
Cross chain:
0.16 in. (4 mm) in diameter
0.55 in. (14 mm) in width
0.98 in. (25 mm) in length
Regulations regarding the use
of tire chains vary depending on
location and type of road. Always check local regulations
before installing chains.
■Tire chain installation
Observe the followi ng precautions
when installing and removing
chains:
●Install and remove tire chains in a
safe location.
●Install tire chains on the front tires
only. Do not install tire chains on
the rear tires.
●Install tire chains on front tires as
tightly as possible. Retighten
chains after drivi ng 1/4 - 1/2 mile
(0.5 - 1.0 km).
●Install tire chains following the
instructions provided with the tire
chains.
WARNING
■When parking the vehicle
When parking the v ehicle without
applying the parking brake, make
sure to chock the wheels. If you
do not chock the wheels, the vehi-
cle may move unexpectedly, pos-
sibly resulting in an accident.
Selecting tire chains
Regulations on the use of
tire chains
A
B
C
D
E
F
NOTICE
■Fitting tire chains
The tire pressure warning valves
and transmitters may not function
correctly when tire chains are fit-
ted.