2023 TOYOTA TUNDRA HYBRID change time
[x] Cancel search: change timePage 406 of 618
4085-1. Using the air conditioning system and defogger
Owners Manual_USA_M0C052_en
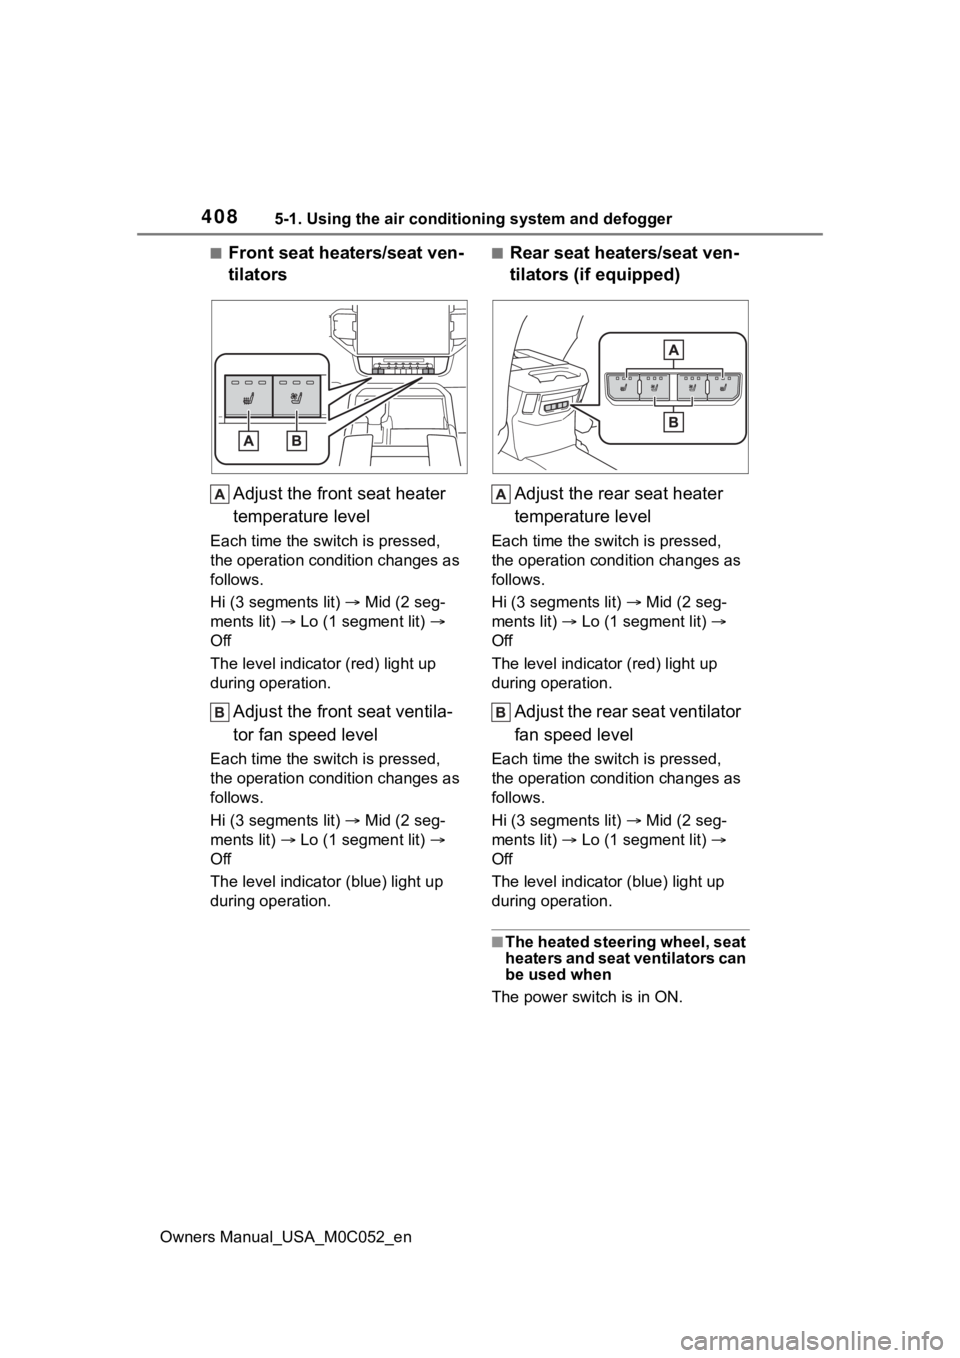
■Front seat heaters/seat ven-
tilatorsAdjust the front seat heater
temperature level
Each time the switch is pressed,
the operation condition changes as
follows.
Hi (3 segments lit) Mid (2 seg-
ments lit) Lo (1 segment lit)
Off
The level indicato r (red) light up
during operation.
Adjust the front seat ventila-
tor fan speed level
Each time the switch is pressed,
the operation condition changes as
follows.
Hi (3 segments lit) Mid (2 seg-
ments lit) Lo (1 segment lit)
Off
The level indicator (blue) light up
during operation.
■Rear seat heaters/seat ven-
tilators (if equipped)
Adjust the rear seat heater
temperature level
Each time the switch is pressed,
the operation condition changes as
follows.
Hi (3 segments lit) Mid (2 seg-
ments lit) Lo (1 segment lit)
Off
The level indicato r (red) light up
during operation.
Adjust the rear seat ventilator
fan speed level
Each time the switch is pressed,
the operation condition changes as
follows.
Hi (3 segments lit) Mid (2 seg-
ments lit) Lo (1 segment lit)
Off
The level indicato r (blue) light up
during operation.
■The heated steering wheel, seat
heaters and seat ventilators can
be used when
The power switch is in ON.
Page 409 of 618
4115-2. Using the interior lights
Owners Manual_USA_M0C052_en
5
Interior features
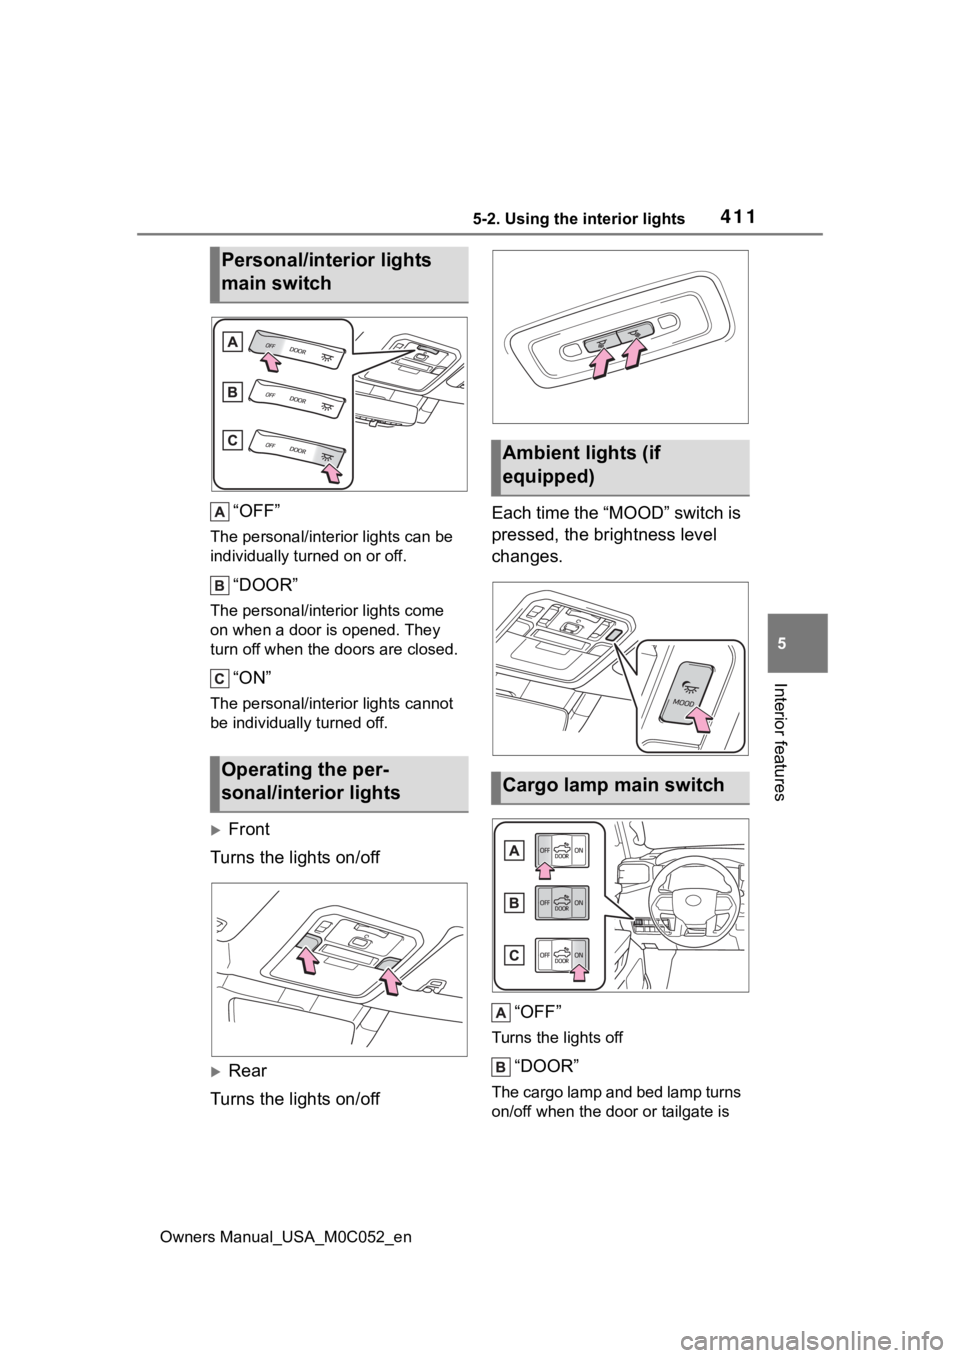
“OFF”
The personal/interior lights can be
individually turned on or off.
“DOOR”
The personal/interior lights come
on when a door is opened. They
turn off when the doors are closed.
“ON”
The personal/interior lights cannot
be individually turned off.
Front
Turns the lights on/off
Rear
Turns the lights on/off Each time the “MOOD” switch is
pressed, the brightness level
changes.
“OFF”
Turns the lights off
“DOOR”
The cargo lamp and bed lamp turns
on/off when the doo r or tailgate is
Personal/interior lights
main switch
Operating the per-
sonal/interior lights
Ambient lights (if
equipped)
Cargo lamp main switch
Page 468 of 618
4706-3. Do-it-yourself maintenance
Owners Manual_USA_M0C052_enchange.
●When the vehicle is parked, the
time taken for the warning to start
or go off could be extended.
●When tire inflation pressure
declines rapidly for example when
a tire has burst, the warning may
not function.
■Warning performance of the tire
pressure warning system
The warning of the tire pressure
warning system will change in
accordance with th e conditions
under which it was initialized. For
this reason, the system may give a
warning even if the tire pressure
does not reach a low enough level,
or if the pressure is higher than the
pressure that was adjusted to when
the system was initialized.
■Certification
P. 6 1 8
When replacing tires or wheels,
tire pressure warning valves and
transmitters must also be
installed.
When new tire pressure warning
valves and transmitters are
installed, new ID codes must be
registered in the tire pressure
warning computer and the tire
pressure warning system must
be initialized. ( P.472)
■When replacing the tires and
wheels
If the ID code of the tire pressure
warning valve and transmitter is not
registered, the tire pressure warning
system will not work properly. After driving for about 20 minutes, the tire
pressure warning light blinks for 1
minute and stays on to indicate a
system malfunction.
■The tire pressure warning
system must be initialized
in the following circum-
stances:
When rotating the tires.
When changing the tires.
After registering the ID codes.
( P.472)
When changing between two
registered wheel sets.
When the tire pressure warning
Installing tire pressure
warning valves and trans-
mitters
NOTICE
■Repairing or replacing tires,
wheels, tire pressure warn-
ing valves, transmitters and
tire valve caps
●When removing or fitting the
wheels, tires or the tire pressure
warning valves and transmit-
ters, contact your Toyota dealer
as the tire pressure warning
valves and transmitters may be
damaged if not handled cor-
rectly.
●Make sure to install the tire
valve caps. If the tire valve caps
are not installed, water could
enter the tire pressure warning
valves, corrode the valves and
the tire pressure warning valves
could be bound.
●When replacing tire valve caps,
do not use tire valve caps other
than those specified. The cap
may become stuck.
Initializing the tire pres-
sure warning system
Page 471 of 618
4736-3. Do-it-yourself maintenance
Owners Manual_USA_M0C052_en
6
Maintenance and care
1 Park the vehicle in a safe
place, wait for approximately
20 minutes, and then start
the hybrid system.
2 Press or of the meter
control switch to select .
3 Press or to select
“Vehicle Settings” and then
press and hold .
4 Press or to select
“TPWS” and then press .
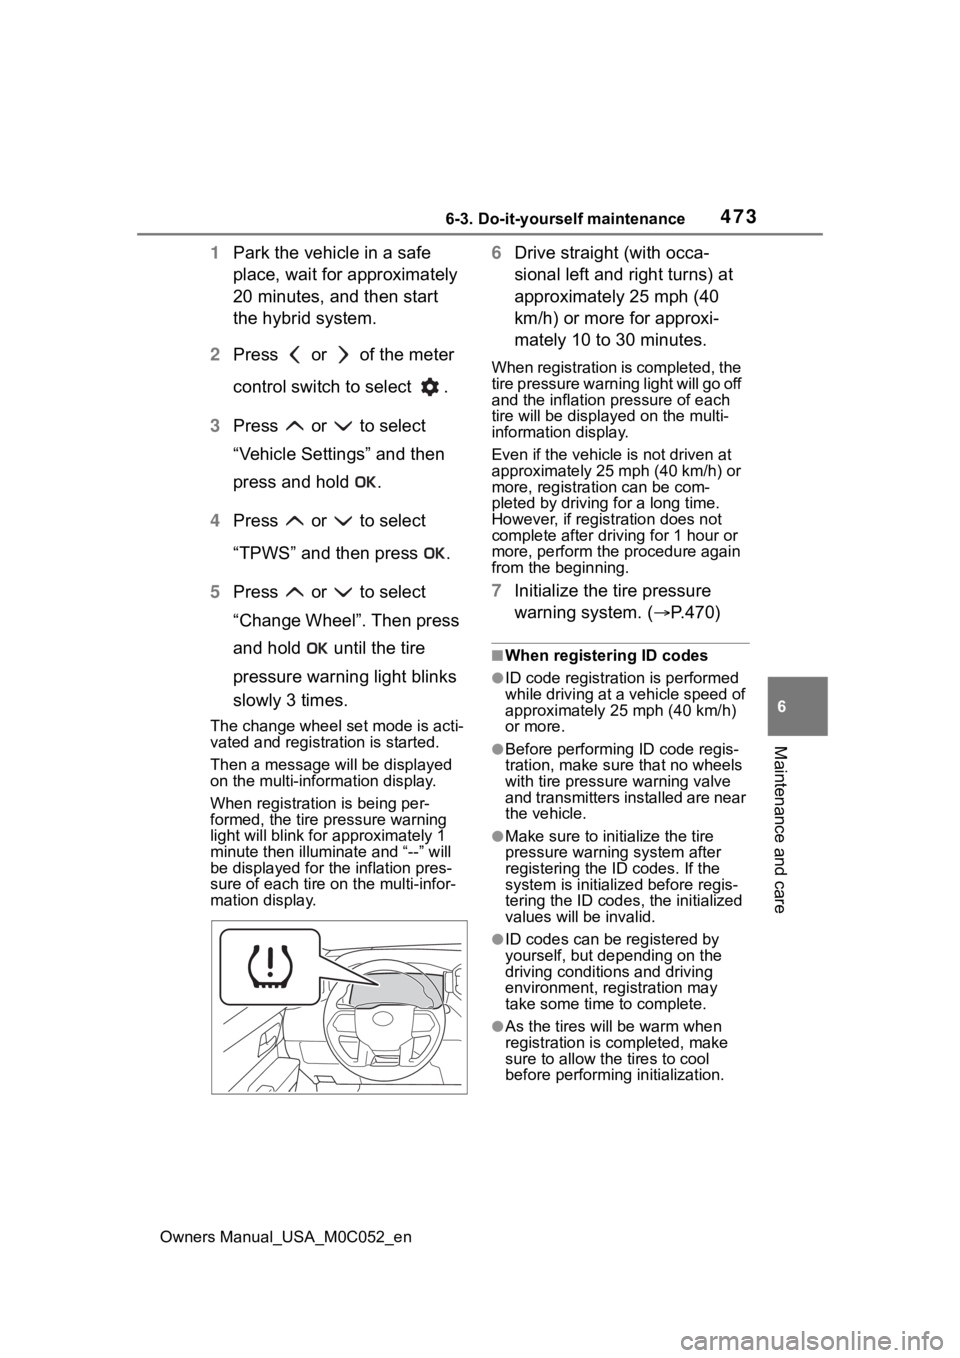
5 Press or to select
“Change Wheel”. Then press
and hold until the tire
pressure warning light blinks
slowly 3 times.
The change wheel set mode is acti-
vated and registration is started.
Then a message w ill be displayed
on the multi-information display.
When registration is being per-
formed, the tire pressure warning
light will blink for approximately 1
minute then illumi nate and “--” will
be displayed for the inflation pres-
sure of each tire on the multi-infor-
mation display.
6 Drive straight (with occa-
sional left and right turns) at
approximately 25 mph (40
km/h) or more for approxi-
mately 10 to 30 minutes.
When registration is completed, the
tire pressure warni ng light will go off
and the inflation pressure of each
tire will be displaye d on the multi-
information display.
Even if the vehicle is not driven at
approximately 25 mph (40 km/h) or
more, registration can be com-
pleted by driving for a long time.
However, if registration does not
complete after driving for 1 hour or
more, perform the p rocedure again
from the beginning.
7 Initialize the tire pressure
warning system. ( P.470)
■When registering ID codes
●ID code registrati on is performed
while driving at a vehicle speed of
approximately 25 mph (40 km/h)
or more.
●Before performing ID code regis-
tration, make sure that no wheels
with tire pressure warning valve
and transmitters installed are near
the vehicle.
●Make sure to initi alize the tire
pressure warning system after
registering the ID codes. If the
system is initialized before regis-
tering the ID codes , the initialized
values will be invalid.
●ID codes can be registered by
yourself, but depending on the
driving conditions and driving
environment, registration may
take some time to complete.
●As the tires will be warm when
registration is completed, make
sure to allow the tires to cool
before performin g initialization.
Page 472 of 618

4746-3. Do-it-yourself maintenance
Owners Manual_USA_M0C052_en
■Canceling ID code registration
●To cancel ID code registration
after it has been started, select
“Change Wheel” on the multi-
information display and press and
hold again.
●If ID code registration has been
canceled, the tire pressure warn-
ing light will blink for approxi-
mately 1 minute when the power
switch is turned to ON and then
illuminate. The tire pressure warn-
ing system will be operational
when the tire pressure warning
light turns off.
●If the warning light does not turn
off even after several minutes
have elapsed, ID code registration
may not have bee n canceled cor-
rectly. To cancel registration, per-
form the ID code registration start
procedure again and then turn the
power switch off before driving.
■If ID codes are not registered
properly
●In the following situations, ID code
registration may take longer than
usual to be completed or may not
be possible. Normally, registration
completes within approximately
30 minutes.
If ID code registration is not com-
plete after driving for approxi-
mately 30 minutes, continue
driving for a while.
• Vehicle is not pa rked for approxi-
mately 20 minutes or more before
driving
• Vehicle is not driven at approxi-
mately 25 mph ( 40 km/h) or more
• Vehicle is driven on unpaved roads
• Vehicle is driven near other vehi- cles and system cannot recog-
nize tire pressure warning valve
and transmitters of your vehicle
over those of other vehicles
• Wheel with tire p ressure warning
valve and transmitter installed is
inside or near the vehicle
If registration does not complete after driving for 1 hour or more, per-
form the ID code registration proce-
dure again from the beginning.
●If the vehicle is reversed during
registration, the data up to that
point is reset, so p
erform the reg-
istration procedure again from the
beginning.
●In the following situations, ID code
registration will not be started or
was not completed properly and
the system will not operate prop-
erly. Perform the ID code registra-
tion procedure again.
• If, when attempt ing to start ID
code registration, the tire pressure
warning light does not blink slowly
3 times.
• If, when the veh icle has been
driven for about 20 minutes after
performing ID code registration,
the tire pressure warning light
blinks for approximately 1 minute
and then illuminates.
●If ID code registration cannot be
completed after performing the
above procedure, contact your
Toyota dealer.
Your vehicle is equipped with
tire pressure warning system
with the function to have ID
codes registered for a second
wheel set, for example a winter
set. You can register a second
wheel set by yourself or your
Toyota dealer.
After registration of a second
wheel set, either of these two
wheel sets can be selected for
usage with the tire pressure
warning system.
Selecting wheel set
Page 473 of 618
4756-3. Do-it-yourself maintenance
Owners Manual_USA_M0C052_en
6
Maintenance and care
■Operating conditions for
the function
This function will perform the
change of wheel set only if a
second wheel set has been
registered. If no second wheel
set has been registered, no
change will be made when
selecting this function in the
menu.
Only a change between both
registered wheel set is possi-
ble, mixing between these
wheel sets is not supported.
■How to change between
wheel sets
1 Have the vehicle fitted with
the preferred wheel set.
2 Press or of the meter
control switches on the steer-
ing wheel and select .
3 Press or of the meter
control switches and select
“Vehicle Settings”, and then
press and hold .
4 Press or of the meter
control switches and select
“TPWS”, and then press .
5 Press or of the meter
control switches and select
“Change Wheel”. Then press
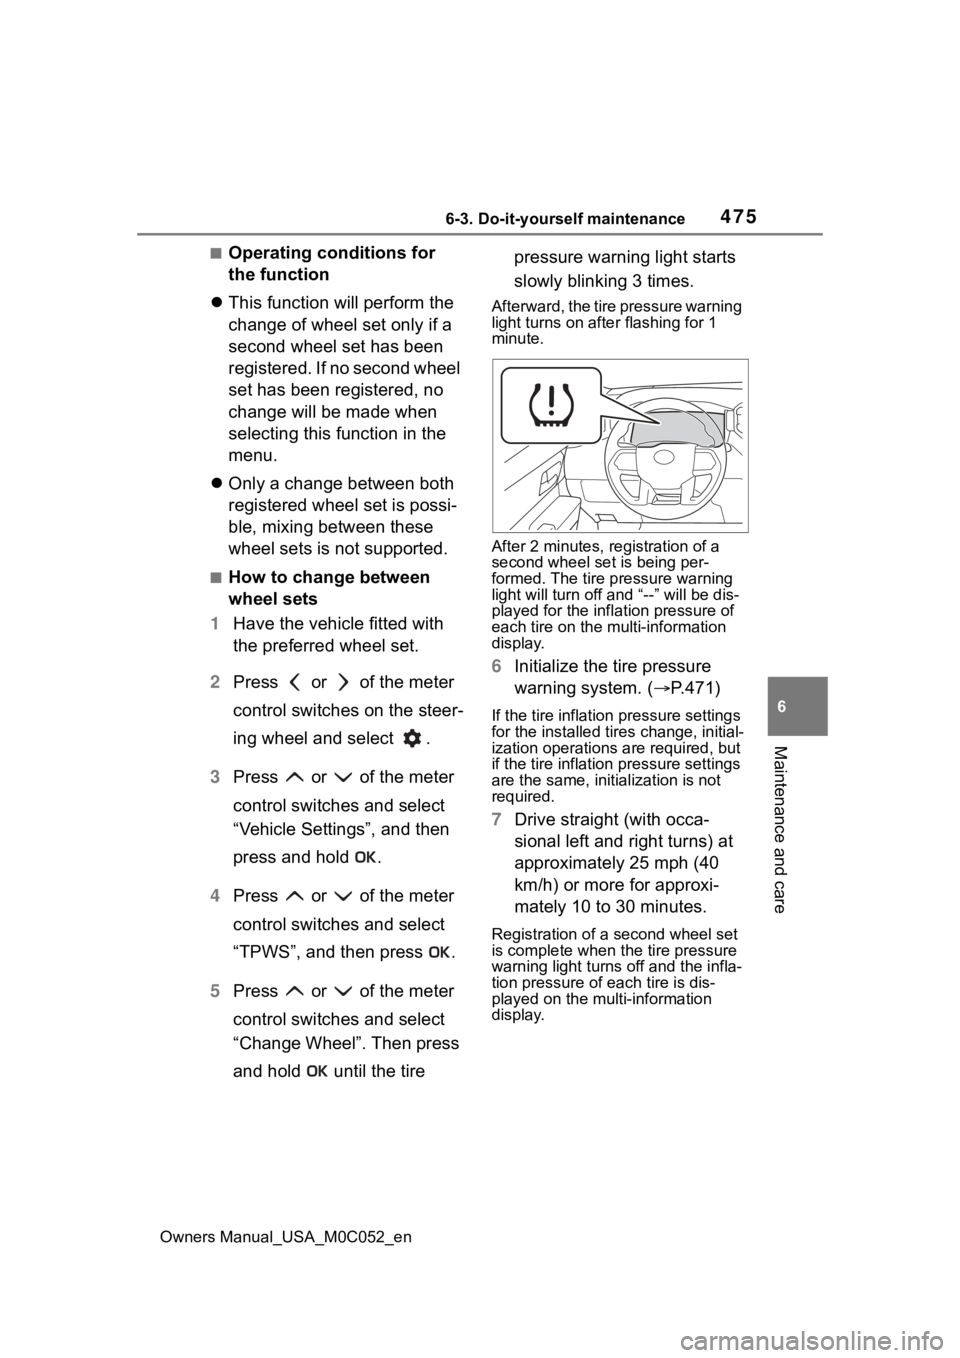
and hold until the tire pressure warning light starts
slowly blinking 3 times.
Afterward, the tire pressure warning
light turns on afte
r flashing for 1
minute.
After 2 minutes, registration of a
second wheel set is being per-
formed. The tire pressure warning
light will turn off and “--” will be dis-
played for the infl ation pressure of
each tire on the m ulti-information
display.
6 Initialize the tire pressure
warning system. ( P.471)
If the tire inflation pressure settings
for the installed ti res change, initial-
ization operations are required, but
if the tire inflation pressure settings
are the same, init ialization is not
required.
7 Drive straight (with occa-
sional left and right turns) at
approximately 25 mph (40
km/h) or more for approxi-
mately 10 to 30 minutes.
Registration of a second wheel set
is complete when the tire pressure
warning light t urns off and the infla-
tion pressure of each tire is dis-
played on the multi-information
display.
Page 527 of 618
5297-2. Steps to take in an emergency
Owners Manual_USA_M0C052_en
7
When trouble arises
3 Firmly depress the brake
pedal and check that is
shown on the multi-informa-
tion display.
4 Press the power switch
shortly and firmly.
In the event that the hybrid sys-
tem still cannot be started, con-
tact your Toyota dealer.
■Stopping the hybrid system
Shift the shift lever to P, set the park-
ing brake, shift the shift lever to P
and press the power switch as you
normally do when stopping the
hybrid system.
■Electronic key battery
As the above proc edure is a tempo-
rary measure, it is recommended
that the electronic key battery be
replaced immediate ly when the bat-
tery is depleted. ( P.484)
■Alarm
Using the mechanical key to lock
the doors will not set the alarm sys-
tem. If a door is unlocked using the
mechanical key when the alarm sys-
tem is set, the alarm may be trig-
gered. ( P. 8 2 )
■Changing power switch modes
Release the brake pedal and press
the power switch in step 3 above.
The hybrid system does not start
and modes will be changed each
time the switch is pressed. ( P.198)
If you have a set of jumper (or
booster) cables and a second
vehicle with a 12-volt battery,
you can jump start your vehicle
by following the steps below.
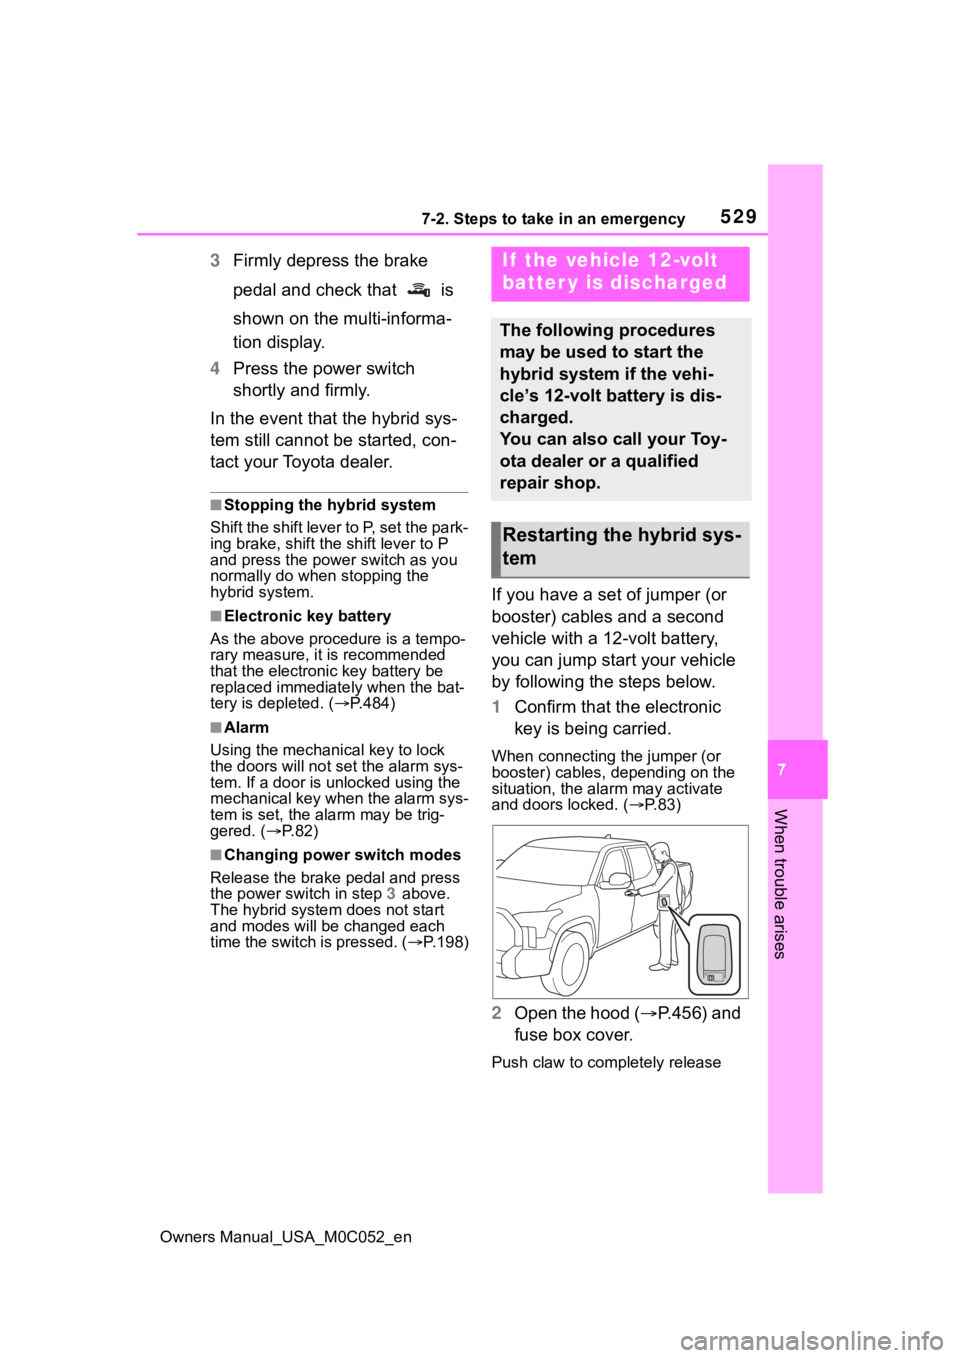
1 Confirm that the electronic
key is being carried.
When connecting the jumper (or
booster) cables, depending on the
situation, the alarm may activate
and doors locked. ( P. 8 3 )
2 Open the hood ( P.456) and
fuse box cover.
Push claw to completely release
If the vehicle 12-volt
batter y is discharged
The following procedures
may be used to start the
hybrid system if the vehi-
cle’s 12-volt battery is dis-
charged.
You can also call your Toy-
ota dealer or a qualified
repair shop.
Restarting the hybrid sys-
tem
Page 559 of 618
5618-2. Customization
Owners Manual_USA_M0C052_en
8
Vehicle specifications
8-2.Customization
■Changing by using the
meter control switches
1 Press or to select .
2 Operate the meter control
switches to select the desired
item to be customized.
3 According to the display,
select the desired setting and
then press .
To go back to the previous screen
or exit the customize mode, press .
■Changing by using the mul-
timedia system
1 Select on the main menu
2 Select “Vehicle customize”.
3 According to the display,
select the desired setting.
Various setting can be changed.
Refer to the list of settings that can
be changed for details.
Some function settings are changed simultaneously with other fu nc-
tions being customized. Contact y our Toyota dealer for further
details.
Settings that can be changed using the multimedia system
Settings that can be changed using the multi-information display
Settings that can be changed by your Toyota dealer
Customizable features
Your vehicle includes a vari-
ety of electronic features
that can be personalized to
your preferences. The set-
tings of these features can
be changed by using the
multi-information display,
the multimedia system or at
your Toyota dealer.
Customizing vehicle fea-
tures
WARNING
■During customization
As the hybrid system needs to be
operating during customization,
ensure that the vehicle is parked
in a place with adequate ventila-
tion. In a closed area such as a
garage, exhaust gases including
harmful carbon monoxide (CO)
may collect and enter the vehicle.
This may lead to death or a seri-
ous health hazard.
NOTICE
■During customization
To prevent 12-volt battery dis-
charge, ensure that the hybrid
system is operating while custom-
izing features.
Customizable features