Page 109 of 372

1093-1. CONTROLS
3
CONTROLS
1Adjusting
2 Selecting a mirror, Automatic
Curb Monitor
3 Folding in and out
Press the button.
The selected mirror moves
along with the button move-
ment.
To change over to the
other mirror: Slide the switch.
In case of an electrical malfunc-
tion, adjust the mirror by press-
ing the edges of the mirror
glass. Press the button.
Folding is only possible up to a
speed of approx. 15 mph/20
km/h.
Folding the mirrors in and out is
helpful in the following situa-
tions:
• In vehicle washes.
• On narrow roads.
Mirrors that were folded in are
folded out automatically at a
speed of approx. 25 mph/40
km/h.
Both exterior mirrors are auto-
matically heated as needed and
when the drive-ready state is
switched on.
The exterior mirror on the
driver's side is automatically
dimmed. Photocells in the car's
interior mirror, refer to page 110,
are used to control this.
Overview
Adjusting the exterior mir-
rors
Selecting a mirror
Malfunction
Folding in and out
NOTICE
Depending on the vehicle width,
the vehicle can be damaged in
vehicle washes. There is a risk of
damage to property. Before wash-
ing, fold in the mirrors by hand or
with the button.
Automatic heating
Automatic dimming fea-
ture
Page 110 of 372

1103-1. CONTROLS
If reverse gear is engaged, the
mirror glass on the front passen-
ger side is tilted downward. This
improves your view of the curb
and other low-lying obstacles
when parking, for instance.
1 Slide the switch to the
driver's side mirror position.
2 Engage selector lever posi-
tion R.
Slide the switch to the passen-
ger's side mirror position.
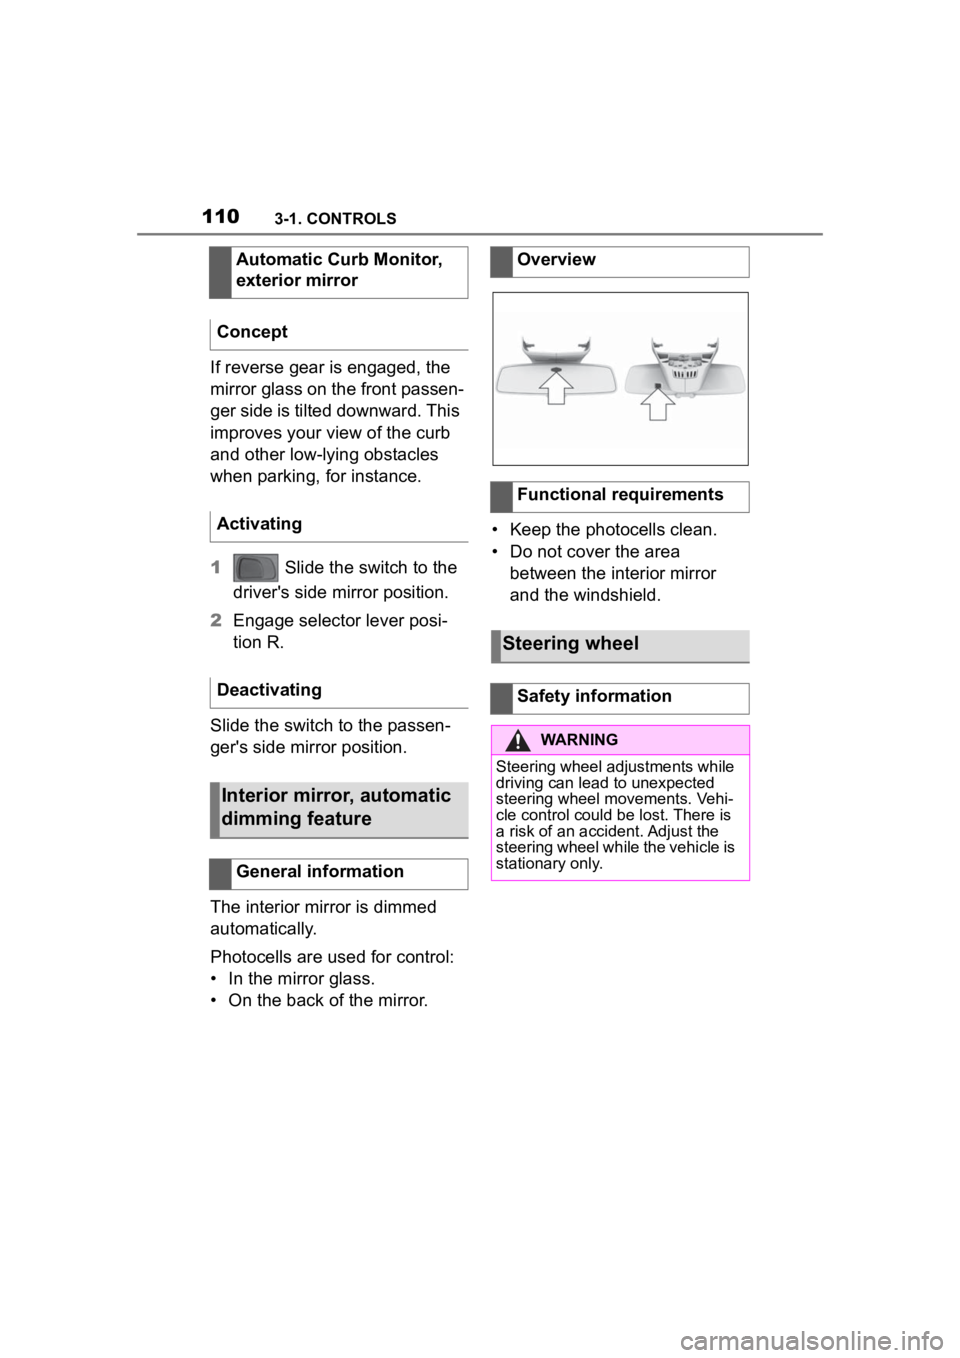
The interior mirror is dimmed
automatically.
Photocells are used for control:
• In the mirror glass.
• On the back of the mirror. • Keep the photocells clean.
• Do not cover the area
between the interior mirror
and the windshield.
Automatic Curb Monitor,
exterior mirror
Concept
Activating
Deactivating
Interior mirror, automatic
dimming feature
General information
Overview
Functional requirements
Steering wheel
Safety information
WARNING
Steering wheel adjustments while
driving can lead to unexpected
steering wheel movements. Vehi-
cle control could be lost. There is
a risk of an accident. Adjust the
steering wheel while the vehicle is
stationary only.
Page 111 of 372

1113-1. CONTROLS
3
CONTROLS
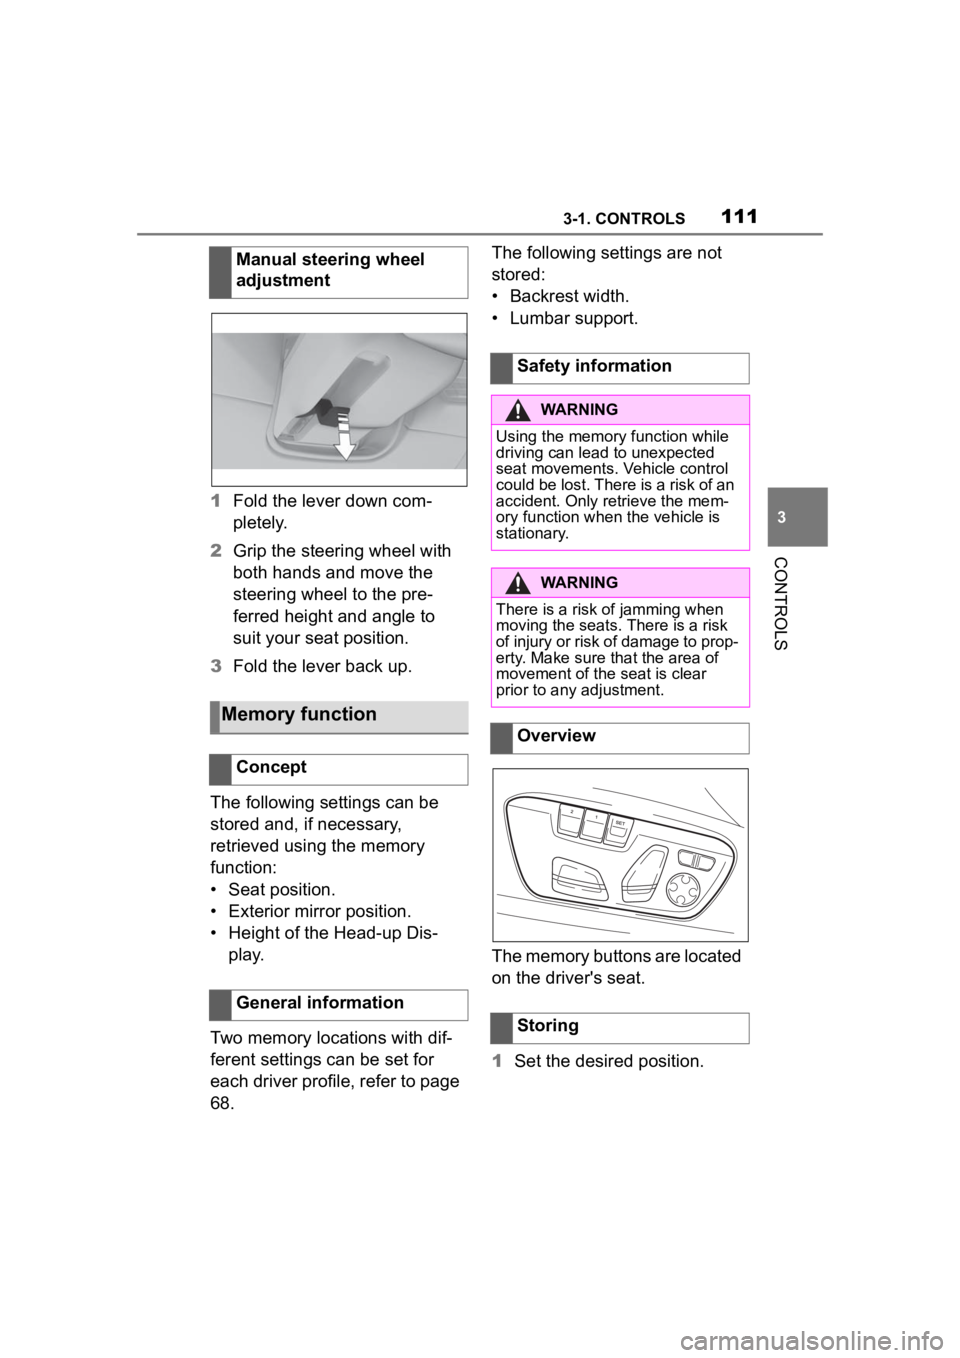
1Fold the lever down com-
pletely.
2 Grip the steering wheel with
both hands and move the
steering wheel to the pre-
ferred height and angle to
suit your seat position.
3 Fold the lever back up.
The following settings can be
stored and, if necessary,
retrieved using the memory
function:
• Seat position.
• Exterior mirror position.
• Height of the Head-up Dis- play.
Two memory locations with dif-
ferent settings can be set for
each driver profile, refer to page
68. The following settings are not
stored:
• Backrest width.
• Lumbar support.
The memory buttons are located
on the driver's seat.
1
Set the desired position.
Manual steering wheel
adjustment
Memory function
Concept
General information
Safety information
WARNING
Using the memory function while
driving can lead to unexpected
seat movements. Vehicle control
could be lost. There is a risk of an
accident. Only retrieve the mem-
ory function when
the vehicle is
stationary.
WARNING
There is a risk of jamming when
moving the seats. There is a risk
of injury or risk of damage to prop-
erty. Make sure that the area of
movement of the seat is clear
prior to any adjustment.
Overview
Storing
Page 125 of 372

1253-1. CONTROLS
3
CONTROLS
press the switch while the
brake is pressed or selector
lever position P is set.
The LED and indicator light go out.
The parking brake is released.
The parking brake is released
automatically when you drive
away.
The LED and indicator light go
out.
In the event of a failure or mal-
function of the parking brake:
Secure the vehicle against roll-
ing away, for instance with a
wheel chock, after existing the
vehicle.
To reestablish parking brake
functionality after a power fail-
ure:
1Switch on standby state.
2 Pull the switch while
stepping on the brake pedal
or selector lever position P is
set and then push.
This process may take a few
seconds. Any sounds associ-
ated with this are normal. When driving and during opera-
tion of the turn signals or hazard
warning system, do not fold in
the exterior mirrors, so that the
signal lights on the exterior mir-
ror are easy to see.
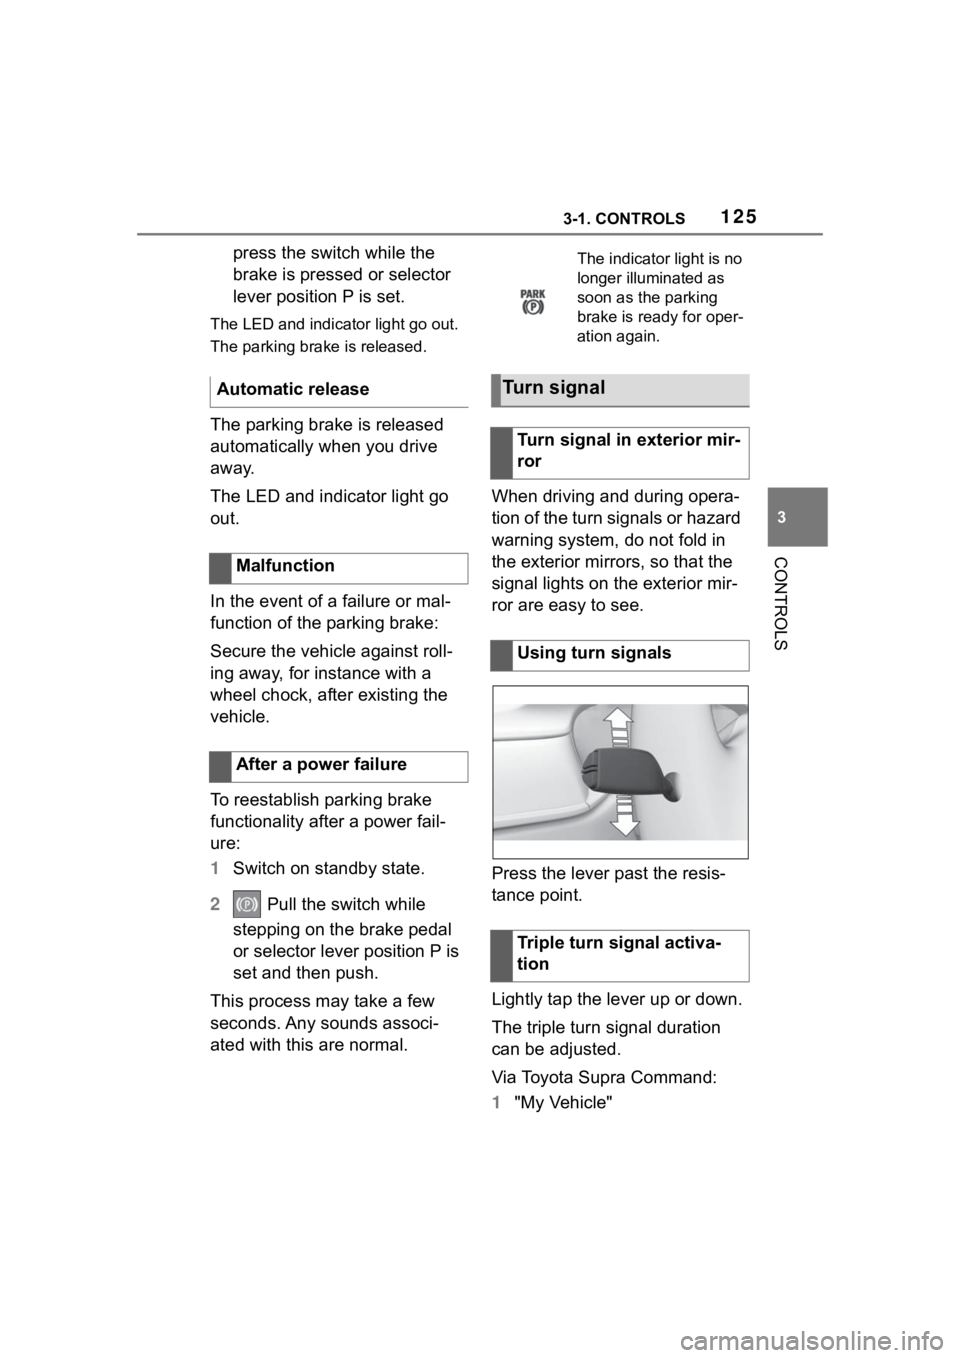
Press the lever past the resis-
tance point.
Lightly tap the lever up or down.
The triple turn signal duration
can be adjusted.
Via Toyota Supra Command:
1
"My Vehicle"
Automatic release
Malfunction
After a power failure
The indicator light is no
longer illuminated as
soon as the parking
brake is ready for oper-
ation again.
Turn signal
Turn signal in exterior mir-
ror
Using turn signals
Triple turn signal activa-
tion
Page 127 of 372

1273-1. CONTROLS
3
CONTROLS
Press the lever up until the
desired position is reached.
Resting position of the wipers,
position 0 .
Rain sensor, position 1.
Normal wiper speed, position
2.
Fast wiper speed, position 3.
When travel is interrupted with
the wiper system switched on:
when travel continues, the wip-
ers resume at their previous
speed.
Press the lever down.
Turn off: press the lever down until it reaches the 0 position.
Flick wipe: press the lever
down from the 0 position.
The lever automatically returns to
its 0 position when released.
The rain sensor automatically
controls the time between wipes
depending on the intensity of the
rainfall.
The sensor is located on the
windshield, directly in front of
the interior mirror.
Turn on window wiper sys-
tem
Turn off the window wiper
system and flick wipe
Rain sensor
Concept
General information
Safety information
NOTICE
If the rain sensor is activated, the
wipers can accidentally start mov-
ing in vehicle washes. There is a
risk of damage to property. Deac-
tivate the rain sensor in vehicle
washes.
Page 162 of 372
1623-1. CONTROLS
mal crossings.
In tight curves, on hilltops or
in depressions, in crossing
traffic or half-obscured
oncoming traffic on highways.
In poorly-lit towns and cities
or in the presence of highly
reflective signs.
When the windshield in front
of the interior mirror is fogged
over, dirty or covered with
stickers, etc.
The parking lights or low beams
must be switched on to adjust
the brightness.
Depending on the equipment
version, interior lights, footwell
lights and door entry lighting are
automatically controlled. To switch off permanently: press
the button and hold for approx. 3
seconds.
Instrument lighting
Functional requirement
Settings
Adjust the brightness
with the thumbwheel.
Interior lights
General information
Overview
Buttons in the vehicle
Interior lights
Reading lights
Switching the interior
lights on/off
Press the button.
Switching the reading
lights on/off
Press the button.
Page 178 of 372

1783-1. CONTROLS
"ALL ON": all Toyota Supra
Safety systems are switched on.
Basic settings are activated for
the sub-functions, for instance
setting for warning time.
"Customized": the Toyota Supra
Safety systems are switched on
according to the individual set-
tings.
Some Toyota Supra Safety sys-
tems cannot be individually
switched off.
All Toyota Supra Safety systems
are switched off.
The system may prevent some
accidents. In the event of an
accident, the system may
reduce impact speed.
The system sounds a warning
before an imminentcollision and
activates brakes inde-
pendently,if needed.
Depending on the equipment
version, the system is controlled by the following sensors:
Camera in the area of the
interior mirror.
Radar sensor in the front
bumper.
The approach control warning is
available even if cruise control
has been deactivated.
With the vehicle approaching
another vehicle intentionally, the
approach control warning and
braking are delayed in order to
avoid false system reactions.
The system issues a two-phase
warning of a possible risk of col-
lision with vehicles at speeds
above approx. 3 mph/5 km/h.
The timing of warnings may vary
with the current driving situation.
Press the button repeat-
edly. The following set-
tings are switched
between:
Press and hold this button:
Front collision mitigation
Concept
General information
Safety information
WARNING
The system cannot serve as a
substitute for the driver's personal
judgment in assessing the traffic
situation. Based on the limits of
the system, it cannot inde-
pendently react to all traffic situa-
tions. There is a risk of accident.
Adjust driving style to traffic condi-
tions. Watch the surrounding traf-
fic situation closely, be ready to
take over steering and braking at
any time, and actively intervene
where appropriate.
Page 183 of 372

1833-1. CONTROLS
3
CONTROLS
settings are, for example the
warning time, the more warn-
ings are displayed. Therefore,
there may also be an excess of
premature or unjustified warn-
ings and reactions.
The system can help prevent
accidents involving pedestrians
and cyclists. In the event of an
accident, the system may
reduce impact speed. The sys-
tem sounds a warning in the city
speed range before an imminent
collision and activates brakes
independently, if needed.
The system issues a warning of
a possible risk of collision with
pedestrians and cyclists at
speeds above approx. 3 mph/5
km/h.
The system reacts to pedestri-
ans and cyclists who are within
the detection range of the sys-
tem.
Depending on the equipment
version, the system is controlled
by the following sensors:
Camera in the area of the
interior mirror.
Radar sensor in the front bumper.
The detection area in front of the
vehicle is divided into two areas:
Central area, arrow 1, directly
in front of the vehicle.
Expanded area, arrows 2, to
the right and left of the central
area.
A collision is imminent if pedes-
trians are located within the cen-
tral area. A warning is issued
about pedestrians who are
located within the extended area
only if they are moving in the
direction of the central area.
Pre-Collision System (for
pedestrians and bicycles)
Concept
General information
Detection range