2023 TOYOTA COROLLA display
[x] Cancel search: displayPage 323 of 468
3236-3. Do-it-yourself maintenance
6
Maintenance and care
5Press or to select
“Tire Set Switching” and then
press .
6 Press or to select
“Register New Valve / ID” and
then press .
7 Press or to select
“Tire Set 1” or “Tire Set 2”.
Then press .
ID codes will be reg istered to the
displayed wheel set.
If ID codes have already been reg-
istered for that wheel set, the tire
pressure warning light will slowly
blink 3 times, and a message indi-
cating that change is occurring will
be displayed on the multi-informa-
tion display.
8 Select “OK” and then press
.
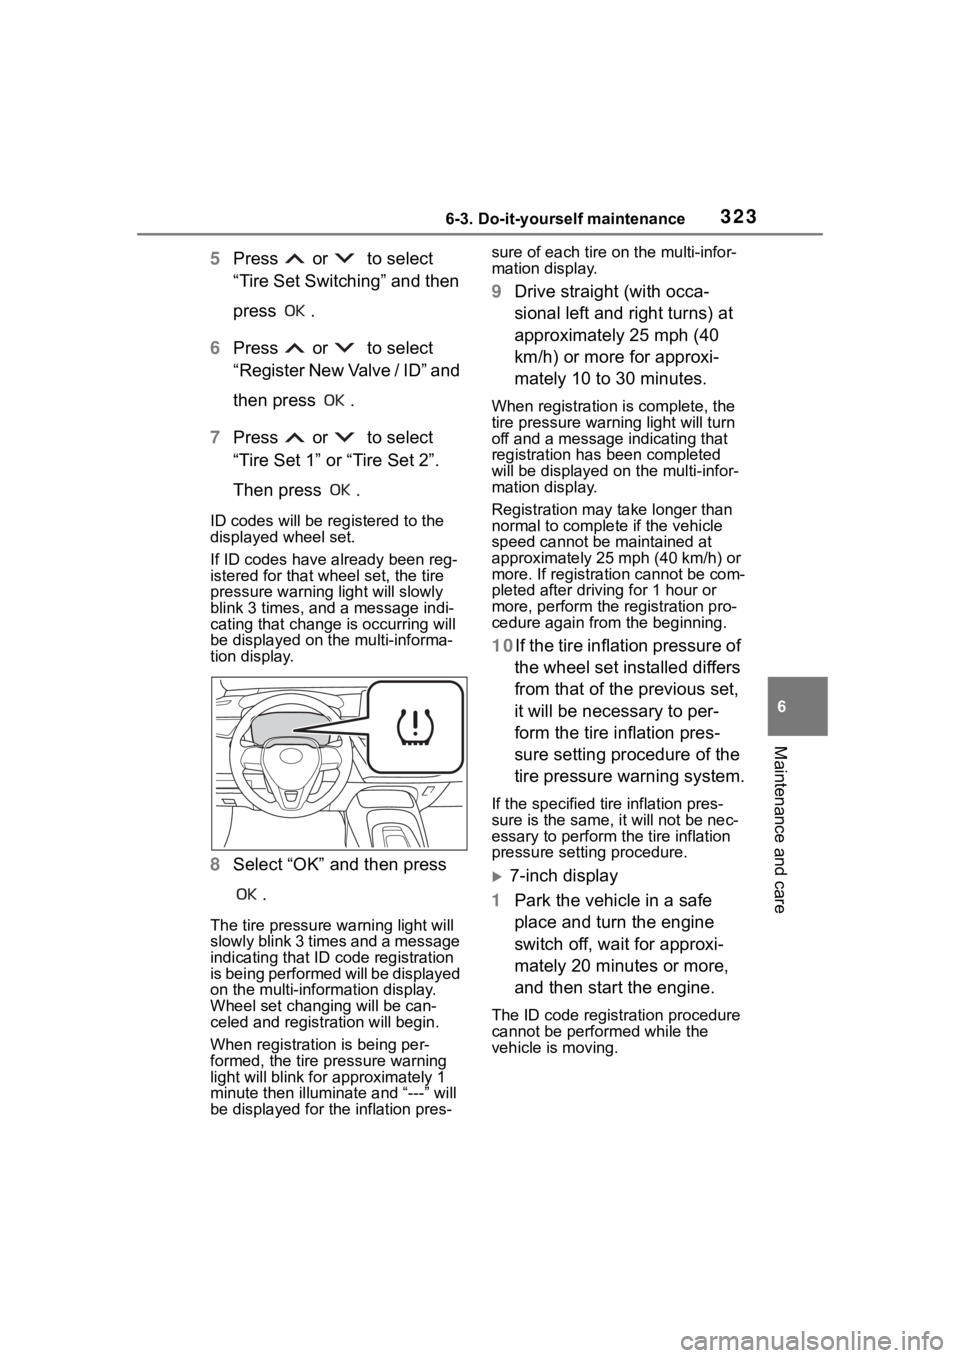
The tire pressure warning light will
slowly blink 3 times and a message
indicating that ID code registration
is being performed will be displayed
on the multi-inform ation display.
Wheel set changing will be can-
celed and registration will begin.
When registration is being per-
formed, the tire pressure warning
light will blink for approximately 1
minute then illuminate and “---” will
be displayed for the inflation pres- sure of each tire o
n the multi-infor-
mation display.
9 Drive straight (with occa-
sional left and right turns) at
approximately 25 mph (40
km/h) or more for approxi-
mately 10 to 30 minutes.
When registration is complete, the
tire pressure warn ing light will turn
off and a message indicating that
registration has been completed
will be displayed on the multi-infor-
mation display.
Registration may take longer than
normal to complete if the vehicle
speed cannot be maintained at
approximately 25 mph (40 km/h) or
more. If registration cannot be com-
pleted after driving for 1 hour or
more, perform the registration pro-
cedure again from the beginning.
10If the tire inflation pressure of
the wheel set installed differs
from that of the previous set,
it will be necessary to per-
form the tire inflation pres-
sure setting procedure of the
tire pressure warning system.
If the specified tire inflation pres-
sure is the same, it will not be nec-
essary to per form the tire inflation
pressure setting procedure.
7-inch display
1 Park the vehicle in a safe
place and turn the engine
switch off, wait for approxi-
mately 20 minutes or more,
and then start the engine.
The ID code registration procedure
cannot be performed while the
vehicle is moving.
Page 324 of 468

3246-3. Do-it-yourself maintenance
2Select of the multi-infor-
mation display and then
press .
3 Press or to select
“Vehicle Settings” and then
press and hold .
4 Press or to select
“TPWS setting” and then
press .
5 Press or to select
“Tire Set Switching” and then
press .
6 Press or to select
“Register New Valve / ID” and
then press .
7 Press or to select
“Tire Set 1” or “Tire Set 2”.
Then press .
ID codes will be reg istered to the
displayed wheel set.
If ID codes have already been reg-
istered for that wheel set, the tire
pressure warning light will slowly
blink 3 times, and a message indi-
cating that change is occurring will
be displayed on the multi-informa-
tion display.
8 Select “OK” and then press
.
The tire pressure warning light will
slowly blink 3 times and a message
indicating that ID code registration
is being performed will be displayed
on the multi-information display.
Wheel set changing will be can-
celed and registration will begin.
When registration is being per-
formed, the tire pressure warning
light will blink for approximately 1
minute then illumina te and “---” will
be displayed for the inflation pres-
sure of each tire o n the multi-infor-
mation display.
9 Drive straight (with occa-
sional left and right turns) at
approximately 25 mph (40
km/h) or more for approxi-
mately 10 to 30 minutes.
When registration is complete, the
tire pressure warn ing light will turn
off and a message indicating that
registration has been completed
will be displayed on the multi-infor-
mation display.
Registration may take longer than
normal to complete if the vehicle
speed cannot be maintained at
approximately 25 mph (40 km/h) or
more. If registration cannot be com-
pleted after driving for 1 hour or
more, perform the registration pro-
cedure again from the beginning.
10If the tire inflation pressure of
the wheel set installed differs
from that of the previous set,
it will be necessary to per-
form the tire inflation pres-
sure setting procedure of the
tire pressure warning system.
If the specified tire inflation pres-
sure is the same, it will not be nec-
essary to per form the tire inflation
pressure setting procedure.
Page 325 of 468

3256-3. Do-it-yourself maintenance
6
Maintenance and care
■When registering ID codes
●Normally, ID codes registration
can be completed within approxi-
mately 30 minutes.
●ID code registration is performed
while driving at a vehicle speed of
approximately 25 mph (40 km/h)
or more.
■If ID codes are not registered
easily
●In the following situations, ID code
registration may take longer than
usual to be completed or may not
be possible.
• When the vehicle has not been
parked for appro ximately 20 min-
utes or more bef ore being driven
• Vehicle is not driven at approxi-
mately 25 mph ( 40 km/h) or more
• Vehicle is driven on unpaved roads
• Vehicle is driven near other vehi- cles and system cannot recog-
nize tire pressure warning valve
and transmitters of your vehicle
over those of other vehicles
• Wheel with tire p ressure warning
valve and transmitter installed is
inside or near the vehicle
●If the vehicle is reversed during
registration, all da ta collected until
then will be cleared. Perform driv-
ing again.
●If the tire pressure warning light
does not blink 3 times when start-
ing ID code registration proce-
dure to step 8, the procedure may
not have started. Perform the pro-
cedure again from the beginning.
●If registration doe s not complete
after driving for 1 hour or more,
perform the ID c ode registration
procedure again from the begin-
ning.
●If the ID codes cannot be regis-
tered even when performing the
above procedure, contact your
Toyota dealer.
■Canceling ID code registration
To cancel ID code registration after
it has been started , select “Register
Valve / ID” again on the multi-infor-
mation display.
If ID code registration has been can-
celed, the tire pressure warning light
will turn off.
If the warning light does not turn off,
ID code registration may not have
been cancelled correctly. To cancel
registration, select “Register Valve /
ID” on the multi-in formation display.
Your vehicle is equipped with a
tire pressure warning system
with a function to register two
sets of ID codes. This allows for
registration of a second wheel
set, for example a winter set.
The wheel set can be changed
only if a second wheel set has
been registered to the system. If
a second wheel set has not
been registered, it will not be
possible to change to the
selected wheel set.
ID codes can be registered by
yourself.
Only a change between both
registered wheel set is possi-
ble, mixing between these
wheel sets is not supported.
While registering ID codes, it
may not be possible to
change between wheel sets
normally. Cancel registration
Selecting wheel set (vehi-
cles with a tire pressure
warning system)
Page 326 of 468
3266-3. Do-it-yourself maintenance
before changing between
wheel sets.
4.2-inch display
1 Install the desired wheel set.
2 Select of the multi-infor-
mation display and then
press .
3 Press or to select
“Vehicle Settings” and then
press .
4 Press or to select
“TPWS setting” and then
press .
5 Press or to select
“Tire Set Switching” and then
press .
6 Press or to select
“Register Valve / ID” and then
press .
7 Press or to select
“Tire Set 1” or “Tire Set 2”.
Then press .
8 Select “OK” and then press
.
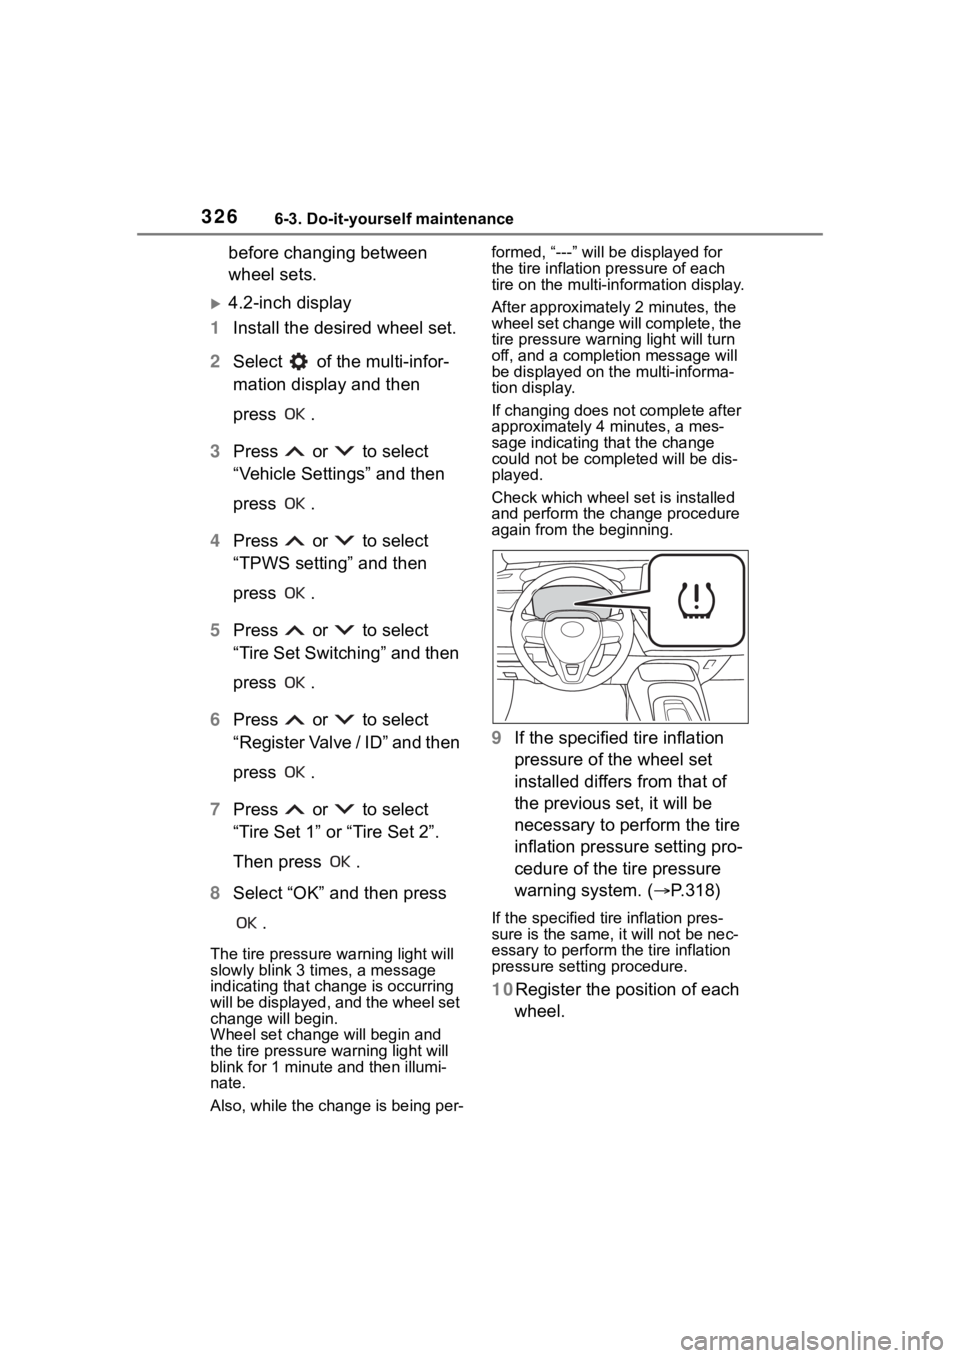
The tire pressure warning light will
slowly blink 3 times, a message
indicating that change is occurring
will be displayed, and the wheel set
change will begin.
Wheel set change will begin and
the tire pressure warning light will
blink for 1 minute and then illumi-
nate.
Also, while the change is being per- formed, “---” will be displayed for
the tire inflation
pressure of each
tire on the multi-in formation display.
After approximatel y 2 minutes, the
wheel set change will complete, the
tire pressure warn ing light will turn
off, and a completion message will
be displayed on the multi-informa-
tion display.
If changing does not complete after
approximately 4 minutes, a mes-
sage indicating that the change
could not be completed will be dis-
played.
Check which wheel set is installed
and perform the change procedure
again from the beginning.
9 If the specified tire inflation
pressure of the wheel set
installed differs from that of
the previous set, it will be
necessary to perform the tire
inflation pressure setting pro-
cedure of the tire pressure
warning system. ( P.318)
If the specified tire inflation pres-
sure is the same, it will not be nec-
essary to per form the tire inflation
pressure setting procedure.
10Register the position of each
wheel.
Page 327 of 468
3276-3. Do-it-yourself maintenance
6
Maintenance and care
7-inch display
1 Install the desired wheel set.
2 Select of the multi-infor-
mation display and then
press .
3 Press or to select
“Vehicle Settings” and then
press .
4 Press or to select
“TPWS setting” and then
press .
5 Press or to select
“Tire Set Switching” and then
press .
6 Press or to select
“Register Valve / ID” and then
press .
7 Press or to select
“Tire Set 1” or “Tire Set 2”.
Then press .
8 Select “OK” and then press
.
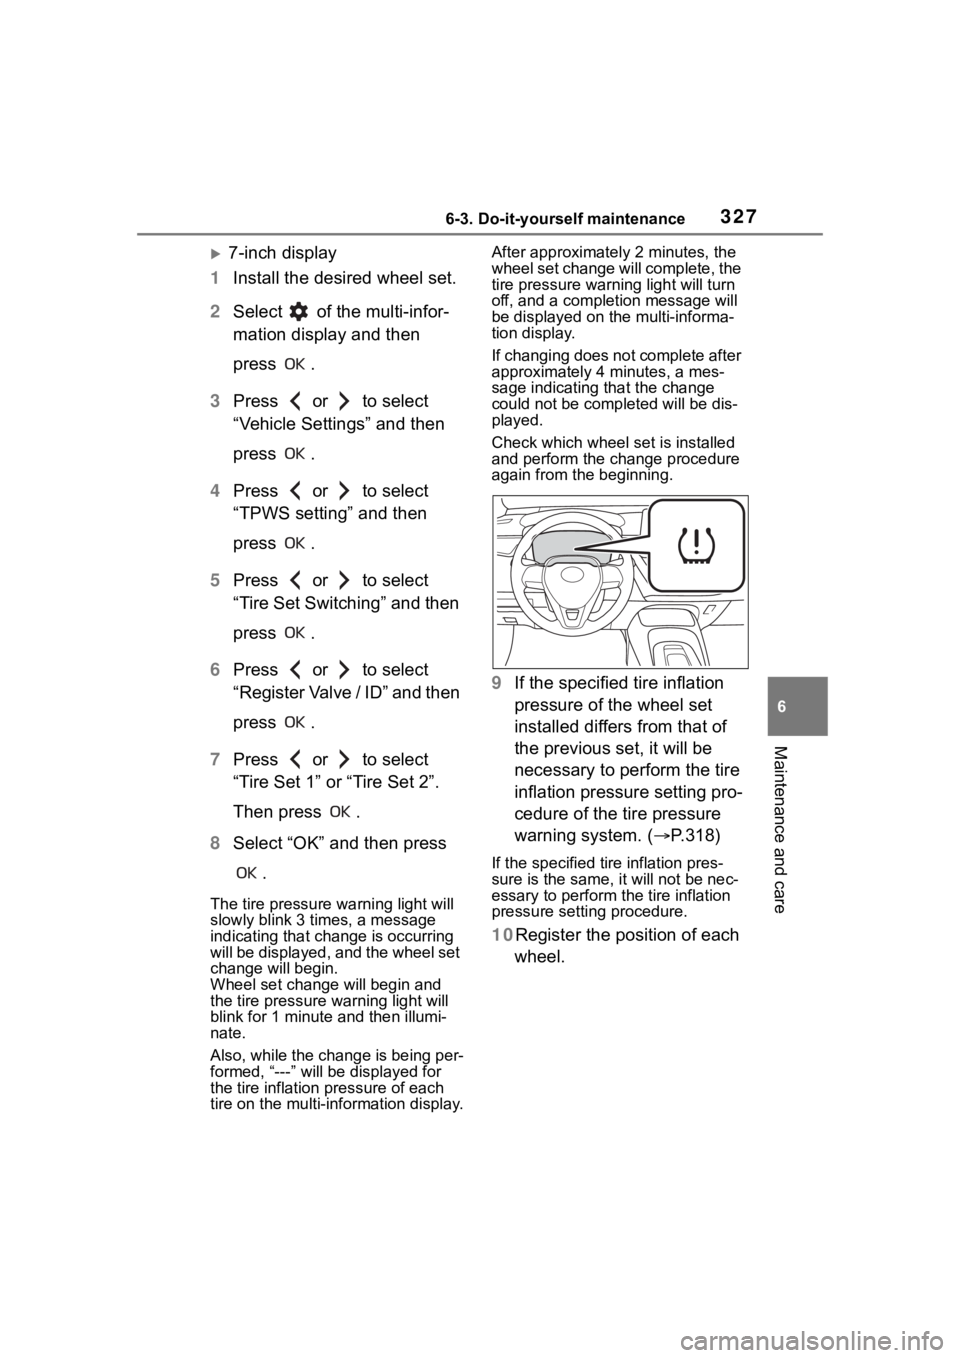
The tire pressure warning light will
slowly blink 3 times, a message
indicating that change is occurring
will be displayed, and the wheel set
change will begin.
Wheel set change will begin and
the tire pressure warning light will
blink for 1 minute and then illumi-
nate.
Also, while the change is being per-
formed, “---” will be displayed for
the tire inflation pressure of each
tire on the mu lti-information display. After approximatel
y 2 minutes, the
wheel set change will complete, the
tire pressure warn ing light will turn
off, and a completion message will
be displayed on the multi-informa-
tion display.
If changing does not complete after
approximately 4 minutes, a mes-
sage indicating that the change
could not be completed will be dis-
played.
Check which wheel set is installed
and perform the change procedure
again from the beginning.
9 If the specified tire inflation
pressure of the wheel set
installed differs from that of
the previous set, it will be
necessary to perform the tire
inflation pressure setting pro-
cedure of the tire pressure
warning system. ( P.318)
If the specified tire inflation pres-
sure is the same, it will not be nec-
essary to per form the tire inflation
pressure setting procedure.
10Register the position of each
wheel.
Page 328 of 468
3286-3. Do-it-yourself maintenance
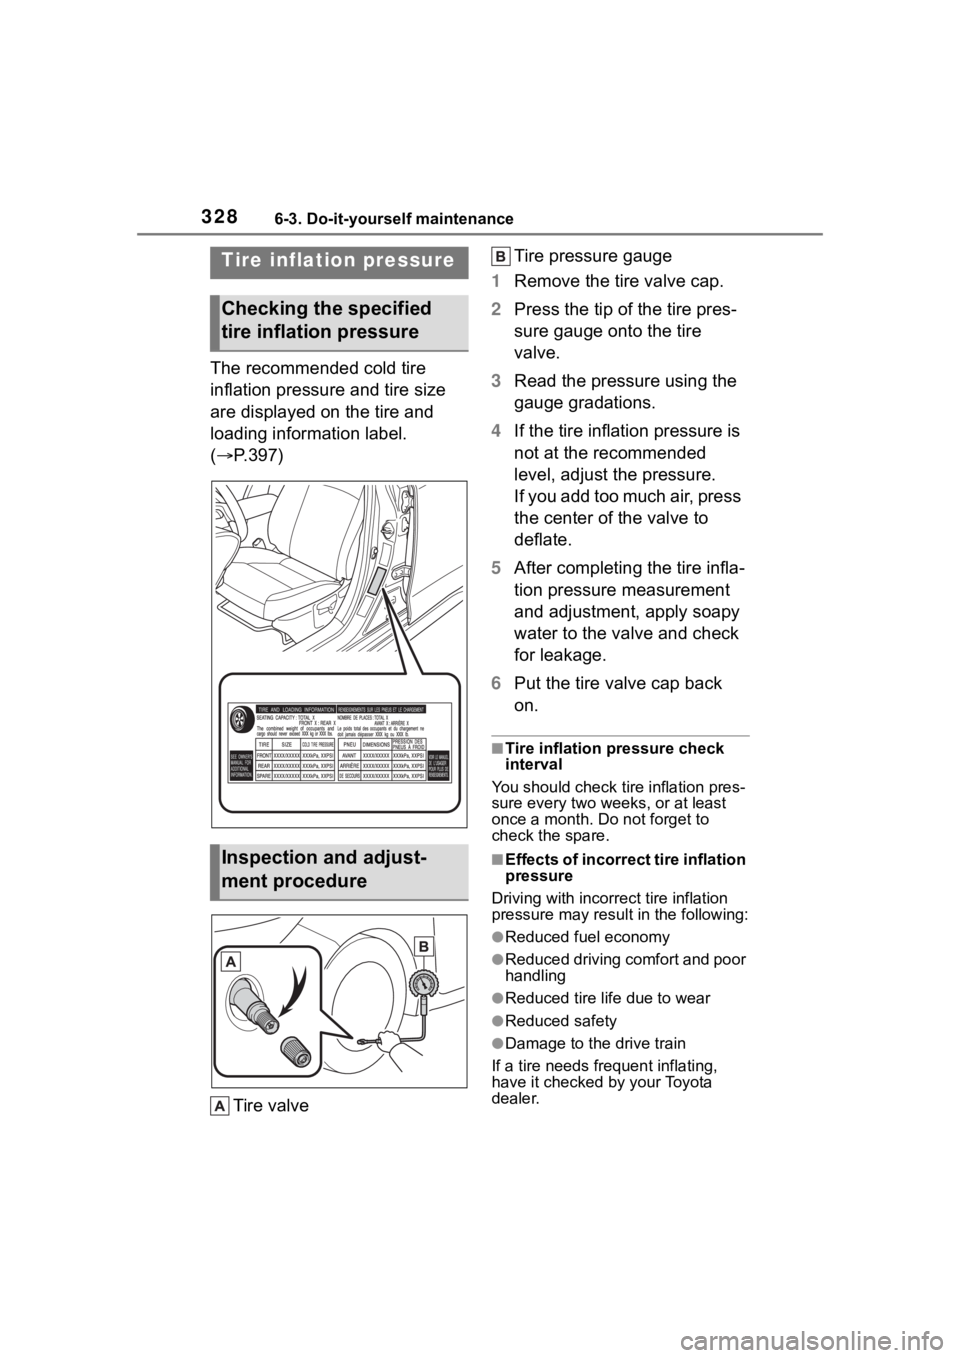
The recommended cold tire
inflation pressure and tire size
are displayed on the tire and
loading information label.
(P.397)
Tire valve Tire pressure gauge
1 Remove the tire valve cap.
2 Press the tip of the tire pres-
sure gauge onto the tire
valve.
3 Read the pressure using the
gauge gradations.
4 If the tire inflation pressure is
not at the recommended
level, adjust the pressure.
If you add too much air, press
the center of the valve to
deflate.
5 After completing the tire infla-
tion pressure measurement
and adjustment, apply soapy
water to the valve and check
for leakage.
6 Put the tire valve cap back
on.
■Tire inflation pressure check
interval
You should check ti re inflation pres-
sure every two week s, or at least
once a month. Do not forget to
check the spare.
■Effects of incorrect tire inflation
pressure
Driving with incorrec t tire inflation
pressure may resul t in the following:
●Reduced fuel economy
●Reduced driving comfort and poor
handling
●Reduced tire life due to wear
●Reduced safety
●Damage to the drive train
If a tire needs frequent inflating,
have it checked by your Toyota
dealer.
Tire inflation pressure
Checking the specified
tire inflation pressure
Inspection and adjust-
ment procedure
Page 356 of 468
3567-2. Steps to take in an emergency
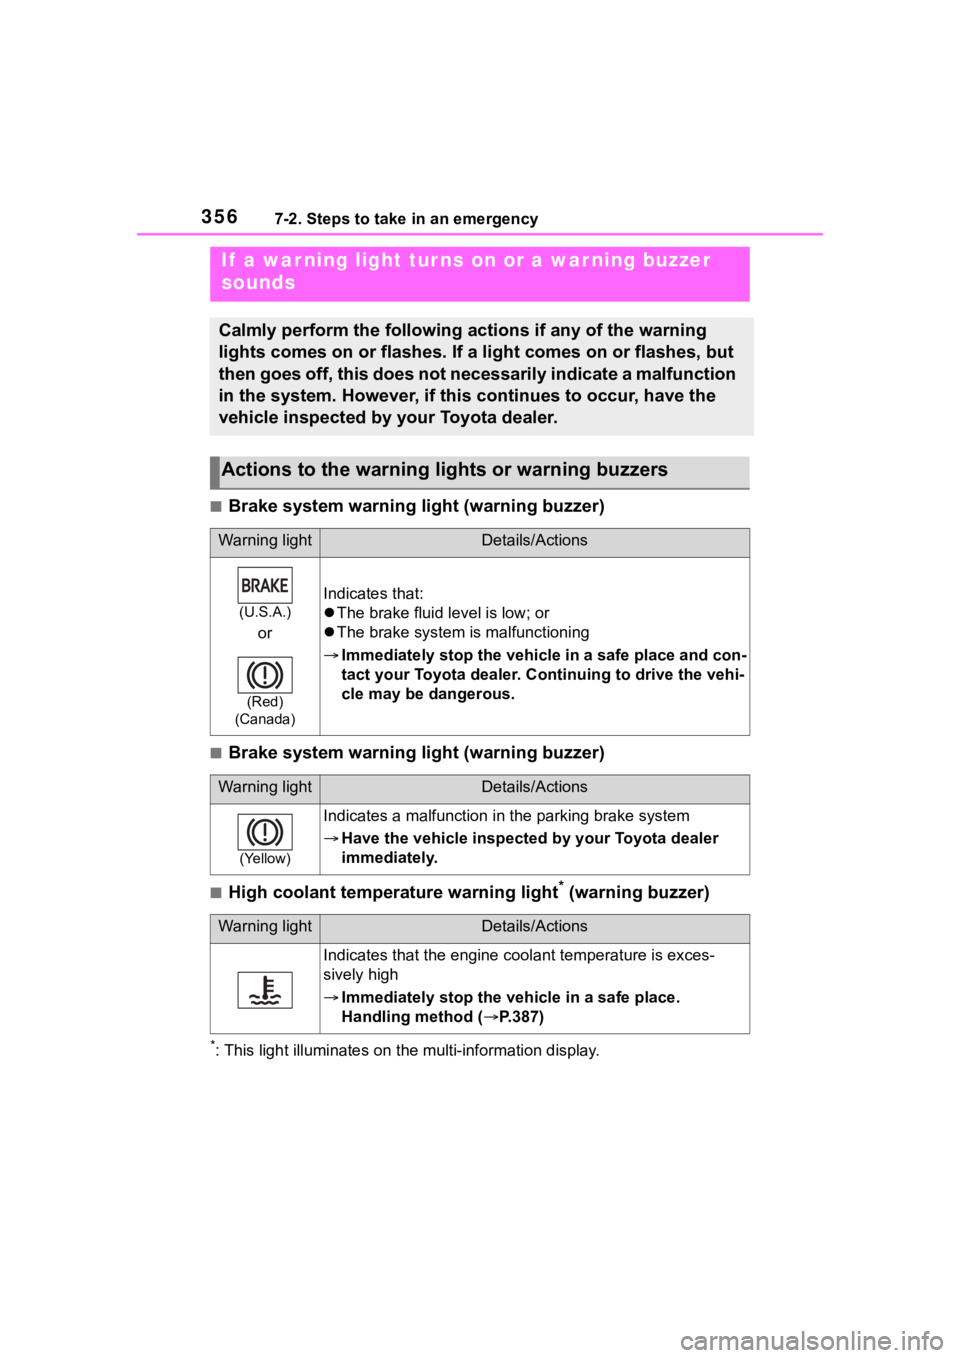
■Brake system warning light (warning buzzer)
■Brake system warning light (warning buzzer)
■High coolant temperature warning light* (warning buzzer)
*: This light illuminat es on the multi-information display.
If a war ning light tur ns on or a war ning buzzer
sounds
Calmly perform the following actions if any of the warning
lights comes on or flashes. If a light comes on or flashes, but
then goes off, this does not necessarily indicate a malfunction
in the system. However, if this continues to occur, have the
vehicle inspected by your Toyota dealer.
Actions to the warning lights or warning buzzers
Warning lightDetails/Actions
(U.S.A.)
or
(Red)
(Canada)
Indicates that:
The brake fluid level is low; or
The brake system is malfunctioning
Immediately stop the vehicle in a safe place and con-
tact your Toyota dealer. Continuing to drive the vehi-
cle may be dangerous.
Warning lightDetails/Actions
(Yellow)
Indicates a malfunction i n the parking brake system
Have the vehicle inspected by your Toyota dealer
immediately.
Warning lightDetails/Actions
Indicates that the engine c oolant temperature is exces-
sively high
Immediately stop the vehicle in a safe place.
Handling method ( P.387)
Page 357 of 468
3577-2. Steps to take in an emergency
7
When trouble arises
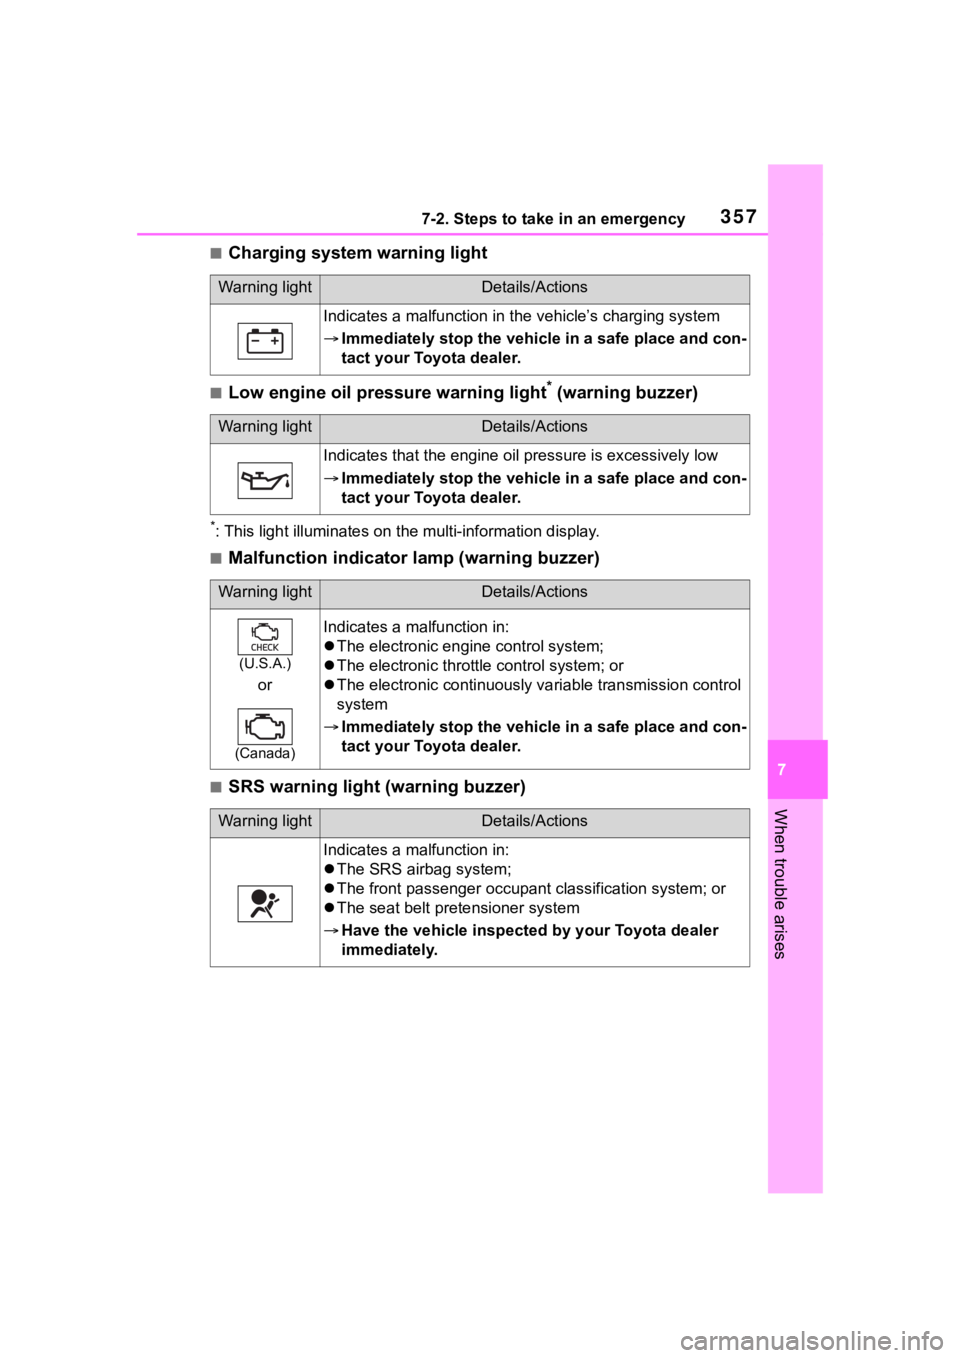
■Charging system warning light
■Low engine oil pressure warning light* (warning buzzer)
*: This light illuminat es on the multi-information display.
■Malfunction indicator lamp (warning buzzer)
■SRS warning light (warning buzzer)
Warning lightDetails/Actions
Indicates a malfunction in the vehicle’s charging system
Immediately stop the vehicle in a safe place and con-
tact your Toyota dealer.
Warning lightDetails/Actions
Indicates that the engine oil pressure is excessively low
Immediately stop the vehicle in a safe place and con-
tact your Toyota dealer.
Warning lightDetails/Actions
(U.S.A.)
or
(Canada)
Indicates a malfunction in:
The electronic engine control system;
The electronic throttle control system; or
The electronic continuously variable transmission control
system
Immediately stop the vehicle in a safe place and con-
tact your Toyota dealer.
Warning lightDetails/Actions
Indicates a malfunction in:
The SRS airb ag system;
The front passenger occupan t classification system; or
The seat belt pretensioner system
Have the vehicle inspected by your Toyota dealer
immediately.