2023 TOYOTA COROLLA CROSS warning light
[x] Cancel search: warning lightPage 355 of 500
3556-3. Do-it-yourself maintenance
6
Maintenance and care
pressure warning system may not
operate properly.
• If non-genuine Toyota wheels are
used.
• A tire has been replaced with a tire that is not an OE (Original
Equipment) tire.
• A tire has been replaced with a tire that is not of the specified size.
• Tire chains, etc. are equipped.
• An auxiliary-supported run-flat tire is equipped.
• If a window tint that affects the radio wave signals is installed.
• If there is a lot of snow or ice on
the vehicle, particularly around the
wheels or wheel housings.
• If the tire inflation pressure is
extremely higher than the speci-
fied level.
• If wheel without tire pressure
warning valves a nd transmitters
are used.
• If the ID code on the tire pressure
warning valves and transmitters is
not registered in the tire pressure
warning computer.
●Performance may be affected in
the following situations.
• Near a TV tower, electric power plant, gas station, radio station,
large display, airpo rt or other facil-
ity that generates strong radio
waves or electrical noise
• When carrying a portable radio,
cellular phone, cordless phone or
other wireless communication
device
●If tire position information is not
correctly displayed due to the
radio wave conditions, the display
may be corrected by driving and
changing the radio wave condi-
tions.
●When the vehicle is parked, the
time taken for the warning to start
or go off could be extended.
●When tire inflation pressure
declines rapidly for example when
a tire has burst, the warning may
not function.
■Warning performance of the tire
pressure warning system
The warning of the tire pressure
warning system w ill change in
accordance with the conditions
under which it was initialized. For
this reason, the system may give a
warning even if th e tire pressure
does not reach a low enough level,
or if the pressure is higher than the
pressure that was adjusted to when
the system was initialized.
When replacing tires or wheels,
tire pressure warning valves and
transmitters must also be
installed.
When new tire pressure warning
valves and transmitters are
installed, new ID codes must be
registered in the tire pressure
warning computer and the tire
pressure warning system must
be initialized. ( P.358)
■When replacing the tires and
wheels
If the ID code of the tire pressure
warning valve and tr ansmitter is not
registered, the tire pressure warning
system will not work properly. After
driving for about 20 minutes, the tire
pressure warning light blinks for 1
minute and stays on to indicate a
system malfunction.
Installing tire pressure
warning valves and trans-
mitters
Page 358 of 500
3586-3. Do-it-yourself maintenance
ization when initialization is not
necessary, adjust the tire inflation
pressure to the specified level
when the tires are cold, and con-
duct initialization again.
●While the position of each tire is
being determined and the inflation
pressures are not being displayed
on the multi-information display, if
the inflation pres sure of a tire
drops, the tire pressure warning
light will come on.
■If the tire pressure warning sys-
tem is not initialized properly
●In the following situations, initial-
ization may take longer than usual
to be completed or may not be
possible. Normally, initialization
completes within approximately
30 minutes.
• Vehicle is not driven at approxi- mately 25 mph ( 40 km/h) or more
• Vehicle is driven on unpaved
roads
• Vehicle is driven near other vehi- cles and system cannot recog-
nize tire pressure warning valve
and transmitters of your vehicle
over those of other vehicles.
• If the vehicle is driven in heavy traffic or another situation where
other vehicles are driven close by,
it may take time for the system to
recognize the tire pressure warn-
ing valve and tran smitters of your
vehicle over those of other vehi-
cles.
●If initialization does not complete
after driving for 1 hour or more,
park the vehicle in a safe place for
approximately 20 minutes and
then drive the vehicle again.
●If the vehicle is reversed during
initialization, the data up to that
point is reset, so perform the ini-
tialization procedure again from
the beginning.
●In the following situations, initial-
ization will not be started or was
not completed properly and the
system will not operate properly. Perform the initialization proce-
dure again.
• If, when attempting to start initial-
ization, the tire pressure warning
light does not blink 3 times.
• If, when the veh icle has been
driven for about 20 minutes after
performing initialization, the tire
pressure warning light blinks for
approximately 1 minute and then
illuminates.
●If the inflation pr essure of each
tire is still not displayed, have the
vehicle inspected by your Toyota
dealer.
Every tire pressure warning
valve and transmitter has a
unique ID code. When replacing
a tire pressure warning valve
and transmitter, it is necessary
to register the ID code.
When registering the ID codes,
perform the following procedure.
1 Park the vehicle in a safe
place, wait for approximately
20 minutes, and then start
the engine.
WARNING
■When initializing the tire pres-
sure warning system
Do not initializing tire inflation
pressure without f irst adjusting
the tire inflation pressure to the
specified level. Otherwise, the tire
pressure warning light may not
come on even if the tire inflation
pressure is low, or it may come on
when the tire inflation pressure is
actually normal.
Registering ID codes
Page 359 of 500
3596-3. Do-it-yourself maintenance
6
Maintenance and care
2Select or of the
multi-information display and
then press .
3 4.2-inch display meter:
Press or to select
“Vehicle Settings” and then
press and hold .
7-inch display meter:
Press or to select “Vehi-
cle Settings” and then press and
hold .
4 4.2-inch display meter:
Press or to select
“TPWS setting” and then
press .
7-inch display meter:
Press or to select
“TPWS setting” and then press .
5 4.2-inch display meter:
Press or to select
“Tyre Set Switching” and then
press .
7-inch display meter:
Press or to select “Tyre
Set Switching” and then press .
6 4.2-inch display meter:
Press or to select
“Register New Valve / ID” and
then press . 7-inch display meter:
Press or to select “Reg-
ister New Valve / ID” and then
press .
7
4.2-inch display meter:
Press or to select
“Tire Set 1” or “Tire Set 2”.
Then press .
7-inch display meter:
Press or to select “Tire
Set 1” or “Tire Set 2”. Then
press .
The change wheel set mode is acti-
vated and registra tion is started.
Then a message will be displayed
on the multi-information display.
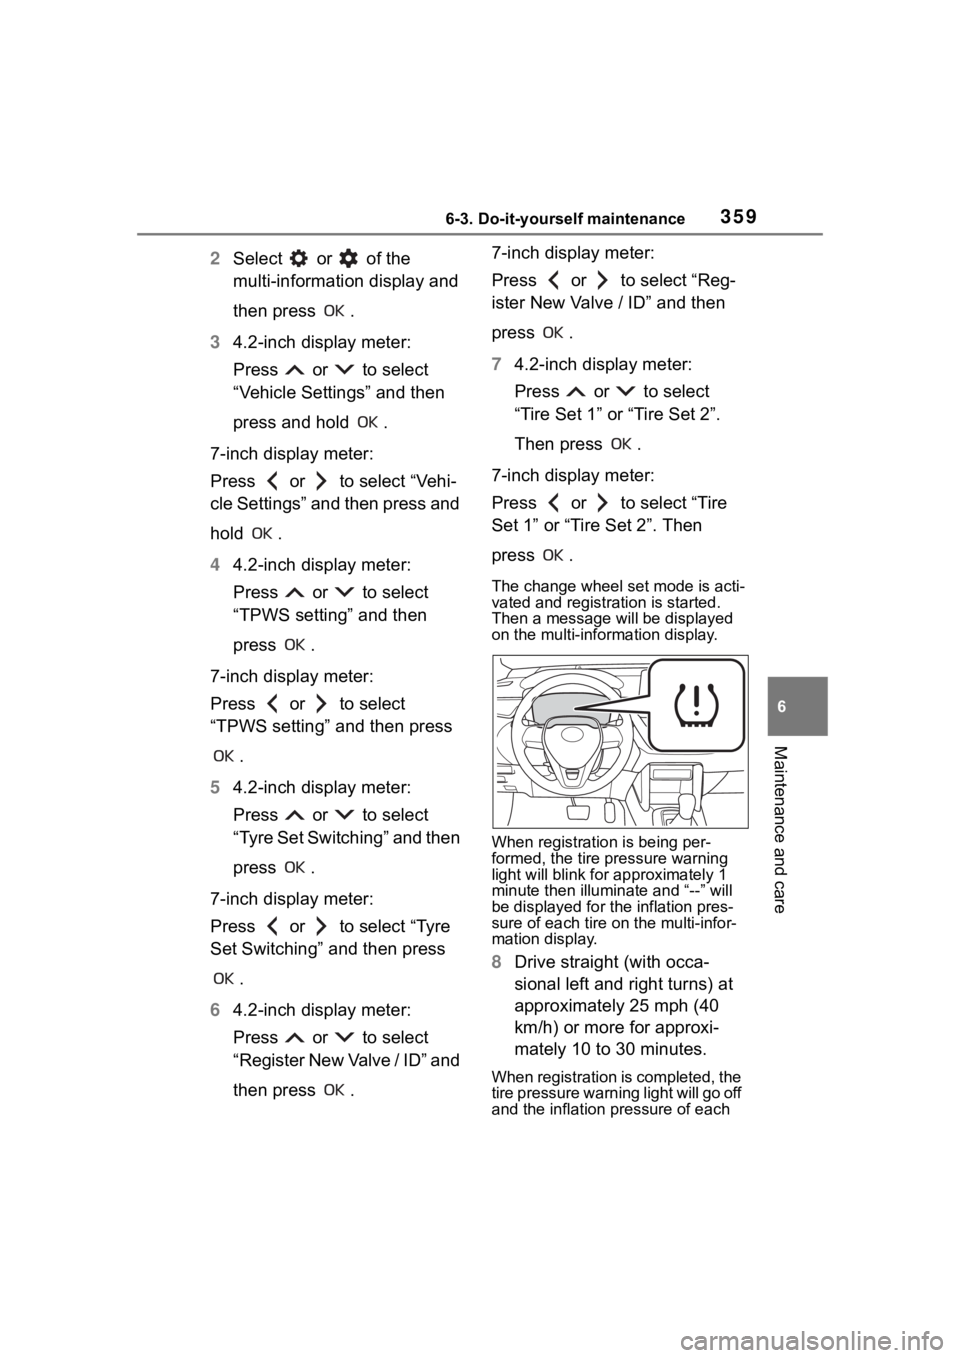
When registration is being per-
formed, the tire pressure warning
light will blink for approximately 1
minute then illumi nate and “--” will
be displayed for the inflation pres-
sure of each tire o n the multi-infor-
mation display.
8 Drive straight (with occa-
sional left and right turns) at
approximately 25 mph (40
km/h) or more for approxi-
mately 10 to 30 minutes.
When registration is completed, the
tire pressure warni ng light will go off
and the inflation pressure of each
Page 360 of 500

3606-3. Do-it-yourself maintenance
tire will be displayed on the
multi-information display.
Even if the vehicle is not driven at
approximately 25 mph (40 km/h) or
more, registration can be com-
pleted by driving for a long time.
However, if regist ration does not
complete after driving for 1 hour or
more, perform the procedure again
from the beginning.
9 Initialize the tire pressure
warning system. ( P.356)
■When registering ID codes
●ID code registration is performed
while driving at a vehicle speed of
approximately 25 mph (40 km/h)
or more.
●Before performin g ID code regis-
tration, make sure that no wheels
with tire pressur e warning valve
and transmitters installed are near
the vehicle.
●Make sure to initialize the tire
pressure warning system after
registering the ID codes. If the
system is initializ ed before regis-
tering the ID codes, the initialized
values will be invalid.
●ID codes can be registered by
yourself, but depending on the
driving conditions and driving
environment, registration may
take some time to complete.
●As the tires will be warm when
registration is completed, make
sure to allow the tires to cool
before performing initialization.
■Canceling ID code registration
●To cancel ID code registration
after it has been started, select
“Identify Wheel” o n the multi-infor-
mation display and press and hold
again.
●If ID code registration has been
canceled, the tire pressure warn-
ing light will blink for approxi-
mately 1 minute when the engine switch is turned to ON and then
illuminate. The tire pressure warn-
ing system will be operational
when the tire pressure warning
light turns off.
●If the warning lig
ht does not turn
off even after several minutes
have elapsed, ID code registration
may not have been canceled cor-
rectly. To cancel registration, per-
form the ID code registration start
procedure again and then turn the
engine switch off before driving.
■If ID codes are not registered
properly
In the following situations, ID code
registration may take longer than
usual to be completed or may not be
possible. Normally, registration com-
pletes within appr oximately 30 min-
utes.
●Vehicle is not parked for approxi-
mately 20 minutes or more before
driving
●Vehicle is not driven at approxi-
mately 25 mph (40 km/h) or more
●Vehicle is driven on unpaved
roads
●Vehicle is driven near other vehi-
cles and system cannot recog-
nize tire pressure warning valve
and transmitters o f your vehicle
over those of other vehicles
●Wheel with tire p ressure warning
valve and transmitter installed is
inside or near the vehicle
If registration does not complete
after driving for 1 hour or more, per-
form the ID code registration proce-
dure again from the beginning.
●If the vehicle is reversed during
registration, the data up to that
point is reset, so p erform the reg-
istration procedure again from the
beginning.
●In the following situations, ID code
registration will not be started or
was not completed properly and
the system will not operate prop-
Page 361 of 500

3616-3. Do-it-yourself maintenance
6
Maintenance and care
erly. Perform the ID code registra-
tion procedure again.
• If, when attempting to start ID
code registration, the tire pressure
warning light does not blink slowly
3 times.
• If, when the vehicle has been driven for about 20 minutes after
performing ID co de registration,
the tire pressur e warning light
blinks for approxi mately 1 minute
and then illu minates.
If the ID codes cannot be registered
even when performing the above
procedure, contact your Toyota
dealer.
Your vehicle is equipped with
tire pressure warning system
with the function to have ID
codes registered for a second
wheel set, for example a winter
set. You can register a second
wheel set by yourself or your
Toyota dealer.
After registration of a second
wheel set, either of these two
wheel sets can be selected for
usage with the tire pressure
warning system.
■Operating conditions for
the function
This function will perform the
change of wheel set only if a
second wheel set has been
registered. If no second wheel
set has been registered, no
change will be made when
selecting this function in the
menu.
Only a change between both registered wheel set is possi-
ble, mixing between these
wheel sets is not supported.
■How to change between
wheel sets
1 Have the vehicle fitted with
the preferred wheel set.
2 4.2-inch display meter:
Press or of the meter
control switch to select .
7-inch display meter:
Press or of the meter
control switch to select .
3 4.2-inch display meter:
Press or to select
“Vehicle Settings” and then
press and hold .
7-inch display meter:
Press or to select “Vehi-
cle Settings” and then press and
hold .
4 4.2-inch display meter:
Press or to select
“TPWS setting” and then
press .
7-inch display meter:
Press or to select
“TPWS setting” and then press .
5 4.2-inch display meter:
Press or to select
Selecting wheel set
Page 362 of 500
3626-3. Do-it-yourself maintenance
“Tyre Set Switching” and then
press .
7-inch display meter:
Press or to select “Tyre
Set Switching” and then press .
6 4.2-inch display meter:
Press or to select
“Register New Valve / ID” and
then press .
7-inch display meter:
Press or to select “Reg-
ister New Valve / ID” and then
press .
7 4.2-inch display meter:
Press or to select
“Tire Set 1” or “Tire Set 2”.
Then press .
7-inch display meter:
Press or to select “Tire
Set 1” or “Tire Set 2”. Then
press .
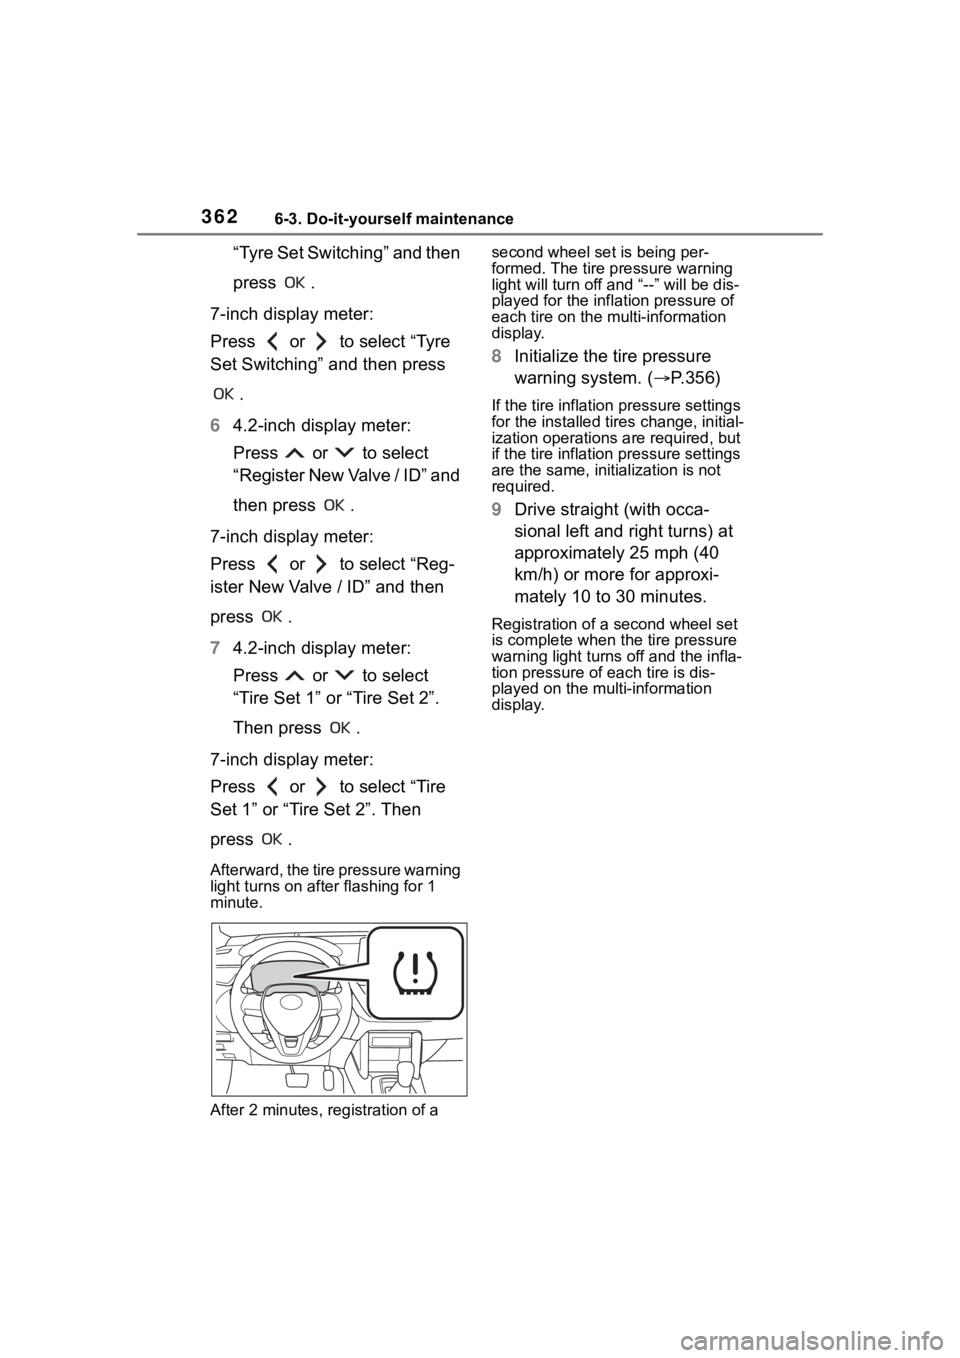
Afterward, the tire pressure warning
light turns on after flashing for 1
minute.
After 2 minutes, registration of a second wheel set is being per-
formed. The tire pressure warning
light will turn off and “--” will be dis-
played for the infl
ation pressure of
each tire on the m ulti-information
display.
8 Initialize the tire pressure
warning system. ( P.356)
If the tire inflation pressure settings
for the installed ti res change, initial-
ization operations are required, but
if the tire inflation pressure settings
are the same, init ialization is not
required.
9 Drive straight (with occa-
sional left and right turns) at
approximately 25 mph (40
km/h) or more for approxi-
mately 10 to 30 minutes.
Registration of a second wheel set
is complete when the tire pressure
warning light t urns off and the infla-
tion pressure of each tire is dis-
played on the multi-information
display.
Page 372 of 500

3726-3. Do-it-yourself maintenance
Normal fuse
Blown fuse
Type C
Normal fuse
Blown fuse
Type DNormal fuse
Blown fuse
■After a fuse is replaced
●When installing the lid, make sure
that the tab is installed securely.
●If the lights do n ot turn on even
after the fuse has been replaced,
a bulb may need replacement.
( P.374)
●If the replaced fuse blows again,
have the vehicle inspected by
your Toyota dealer.
■If there is an overload in a cir-
cuit
The fuses are designed to blow, pro- tecting the wiring harness from
damage.
WARNING
■To prevent system break-
downs and vehicle fire
Observe the following precau-
tions.
Failure to do so may cause dam-
age to the vehicle, and possibly a
fire or injury.
●Never use a fuse of a higher
amperage rating than that indi-
cated, or use any other object in
place of a fuse.
●Always use a genuine Toyota
fuse or equivalent.
Never replace a fuse with a
wire, even as a temporary fix.
●Do not modify the fuses or fuse
boxes.
NOTICE
■Before replacing fuses
Have the cause of electrical over-
load determined and repaired by
your Toyota dealer as soon as
possible.
Page 379 of 500
3796-3. Do-it-yourself maintenance
6
Maintenance and care
right or left hooks.
2 Push the lens into place.
After installation, confirm that the
lens is properly installed by gently
pulling it.
WARNING
■To prevent injury
Before performing any light bulb
replacement procedure, be sure
to turn the e ngine switch off. Fail-
ure to do so may result in burns
from hot compone nts or a part of
your body may get caught on an
operating component, possibly
causing serious injury.
■Replacing light bulbs
●Turn off the lights. Do not
attempt to replace the bulb
immediately after turning off the
lights. The bulbs become very
hot and may cause burns.
●Do not touch the glass portion
of the light bulb with bare
hands. When it is unavoidable
to hold the glass portion, use
and hold with a clean dry cloth
to avoid getting moisture and
oils on the bulb. Also, if the bulb
is scratched or dropped, it may
blow out or crack.
●Fully install light bulbs and any
parts used to secure them. Fail-
ure to do so may result in heat
damage, fire, or water entering
the light unit. This may damage
the lights or cause condensa-
tion to build up on the lens.
■To prevent damage or fire
●Make sure bulbs are fully
seated and locked.
●Check the wattage of the bulb
before installing to prevent heat
damage.