Page 551 of 814
5495-1. Using the air conditioning system and defogger
C-HR_HEV_OM_Europe_OM10764E
5
Interior features
■Switching between outside air and recirculated air modes
Press .
The mode switches between outside air mode (indicator off) and recir-
culated air mode (indicator on) each time is pressed.
■Blower customization
Fan speed settings can be changed.
Press .
Press .
Each time is pressed, the fan speed changes as follows.
“NORMAL” “ECO”“FAST”
■Defogging the windshield
Defoggers are used to defog the windshield and front side win-
dows.
Press .
The dehumidification function operates and fan speed increases.
Set the outside/recirculated air mode button to the outside air mode if
the recirculated air mode is used. (It may switch automatically .)
To defog the windshield and the front side windows early, turn the air
flow and temperature up.
To return to the previous mode, press again when the windshiel d
is defogged.
Other functions
1
2
3
Page 552 of 814
5505-1. Using the air conditioning system and defogger
C-HR_HEV_OM_Europe_OM10764E
■Defogging the rear window and outside rear view mirrors
Defoggers are used to defog the rear window and to remove rain-
drops, dew and frost from the outside rear view mirrors.
Press .
The defoggers will automatically turn off after a period of tim e.
■Windshield wiper de-icer (if equipped)
This feature is used to prevent ice from building up on the win d-
shield and wiper blades.
Press .
The windshield wiper de-icer will automatically turn off after a period of
time.
■Location of air outlets
The air outlets and air volume
changes according to the
selected airflow mode.
: Some models
■Adjusting the position of the air outlets
Direct air flow to the left or right,
up or down.
Turn the knob up to open or
close the vent.
Air outlets
Page 558 of 814
5565-1. Using the air conditioning system and defogger
C-HR_HEV_OM_Europe_OM10764E
Turns the heated steering wheel on/off
The indicator light comes on when the heated steering wheel is operating.
■Operating condition
The heated steering wheel can be used when the power switch is in ON
mode.
Each time the switch is pressed,
the operation condition changes
as follows.
Hi (3 segments lit) Mid (2 seg-
ments lit) Lo (1 segment lit)
Off
The level indicator (amber) lights
up during operation.
■ Operating condition
The seat heaters can be used when the power switch is in ON mod e.
Heated steering wheel
Left-hand drive vehiclesRight-hand drive vehicles
Seat heaters
Page 561 of 814
5595-2. Using the interior lights
C-HR_HEV_OM_Europe_OM10764E
5
Interior features
■Illuminated entry system
When the interior light switch is in the door position, the int erior lights and
power switch light automatically turn on/off according to power switch mode,
the presence of the electronic key, whether the doors are locke d/unlocked
and whether the doors are open/closed.
■ Outer mirror illumination (if equipped)
The illumination automatically turns on according to the presen ce of the elec-
tronic key (vehicles with a smart entry & start system), or the doors are
unlocked.
■ To prevent 12-volt battery discharge
The following lights will turn off automatically after 20 minut es:
● Interior light/front personal lights
● Rear interior light
● Luggage compartment light
● Vanity lights
■ Customization
Settings (e.g. the time elapsed before lights turn off) can be changed. (Cus-
tomizable features: P. 779)
Page 622 of 814

6206-3. Do-it-yourself maintenance
C-HR_HEV_OM_Europe_OM10764E
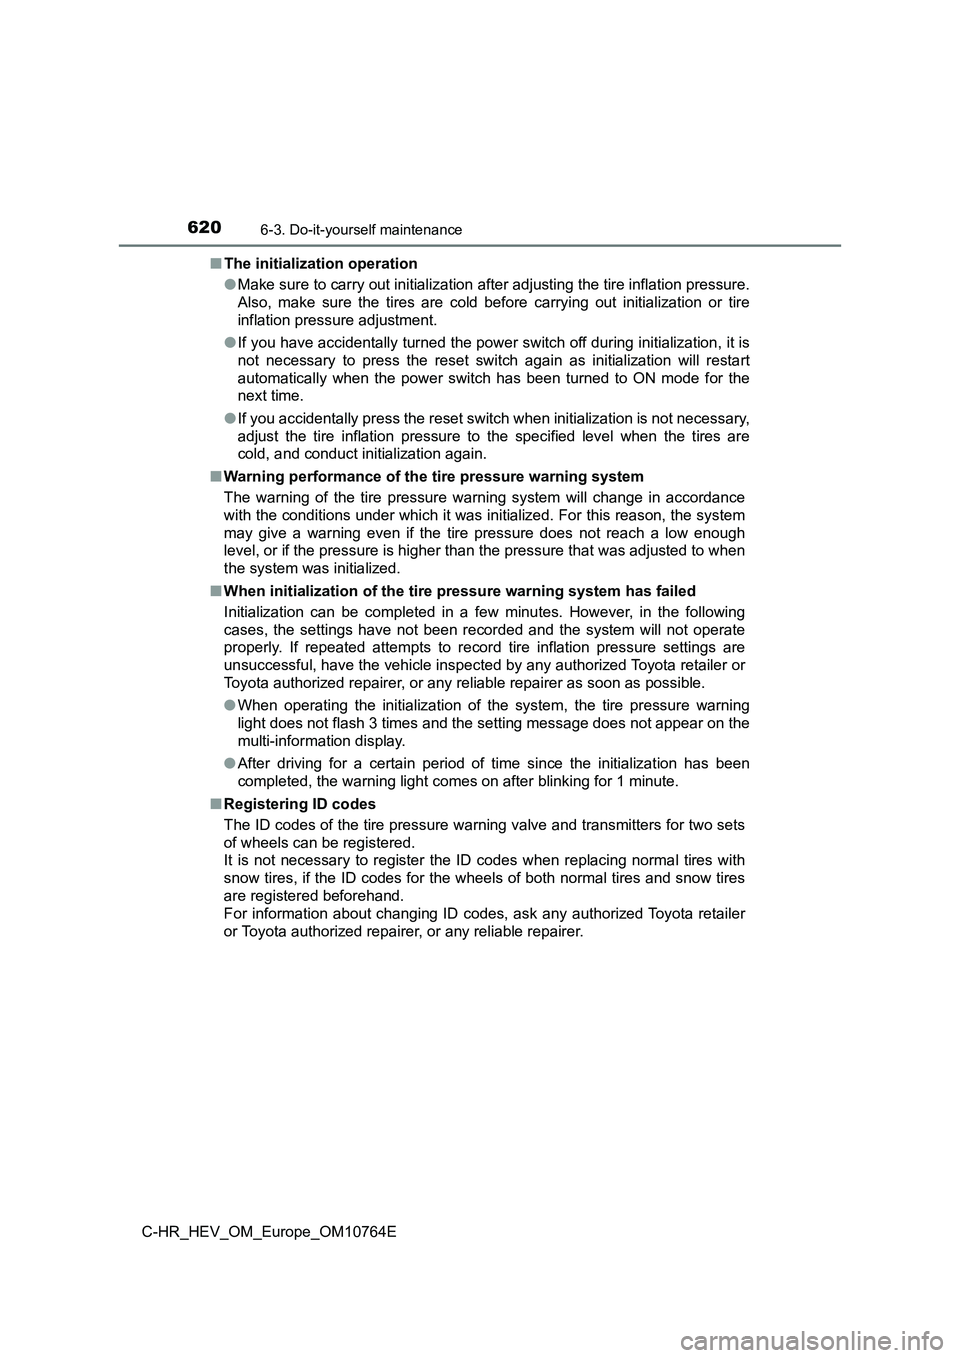
■ The initialization operation
● Make sure to carry out initialization after adjusting the tire inflation pressure.
Also, make sure the tires are cold before carrying out initiali zation or tire
inflation pressure adjustment.
● If you have accidentally turned the power switch off during initialization, it is
not necessary to press the reset switch again as initialization will restart
automatically when the power switch has been turned to ON mode for the
next time.
● If you accidentally press the reset switch when initialization is not necessary,
adjust the tire inflation pressure to the specified level when the tires are
cold, and conduct initialization again.
■ Warning performance of the tire pressure warning system
The warning of the tire pressure warning system will change in accordance
with the conditions under which it was initialized. For this re ason, the system
may give a warning even if the tire pressure does not reach a l ow enough
level, or if the pressure is higher than the pressure that was adjusted to when
the system was initialized.
■ When initialization of the tire pressure warning system has failed
Initialization can be completed in a few minutes. However, in t he following
cases, the settings have not been recorded and the system will not operate
properly. If repeated attempts to record tire inflation pressur e settings are
unsuccessful, have the vehicle inspected by any authorized Toyo ta retailer or
Toyota authorized repairer, or any reliable repairer as soon as possible.
● When operating the initialization of the system, the tire pressure warning
light does not flash 3 times and the setting message does not a ppear on the
multi-information display.
● After driving for a certain period of time since the initialization has been
completed, the warning light comes on after blinking for 1 minu te.
■ Registering ID codes
The ID codes of the tire pressure warning valve and transmitter s for two sets
of wheels can be registered.
It is not necessary to register the ID codes when replacing nor mal tires with
snow tires, if the ID codes for the wheels of both normal tires and snow tires
are registered beforehand.
For information about changing ID codes, ask any authorized Toy ota retailer
or Toyota authorized repairer, or any reliable repairer.
Page 687 of 814

6857-2. Steps to take in an emergency
C-HR_HEV_OM_Europe_OM10764E
7
When trouble arises
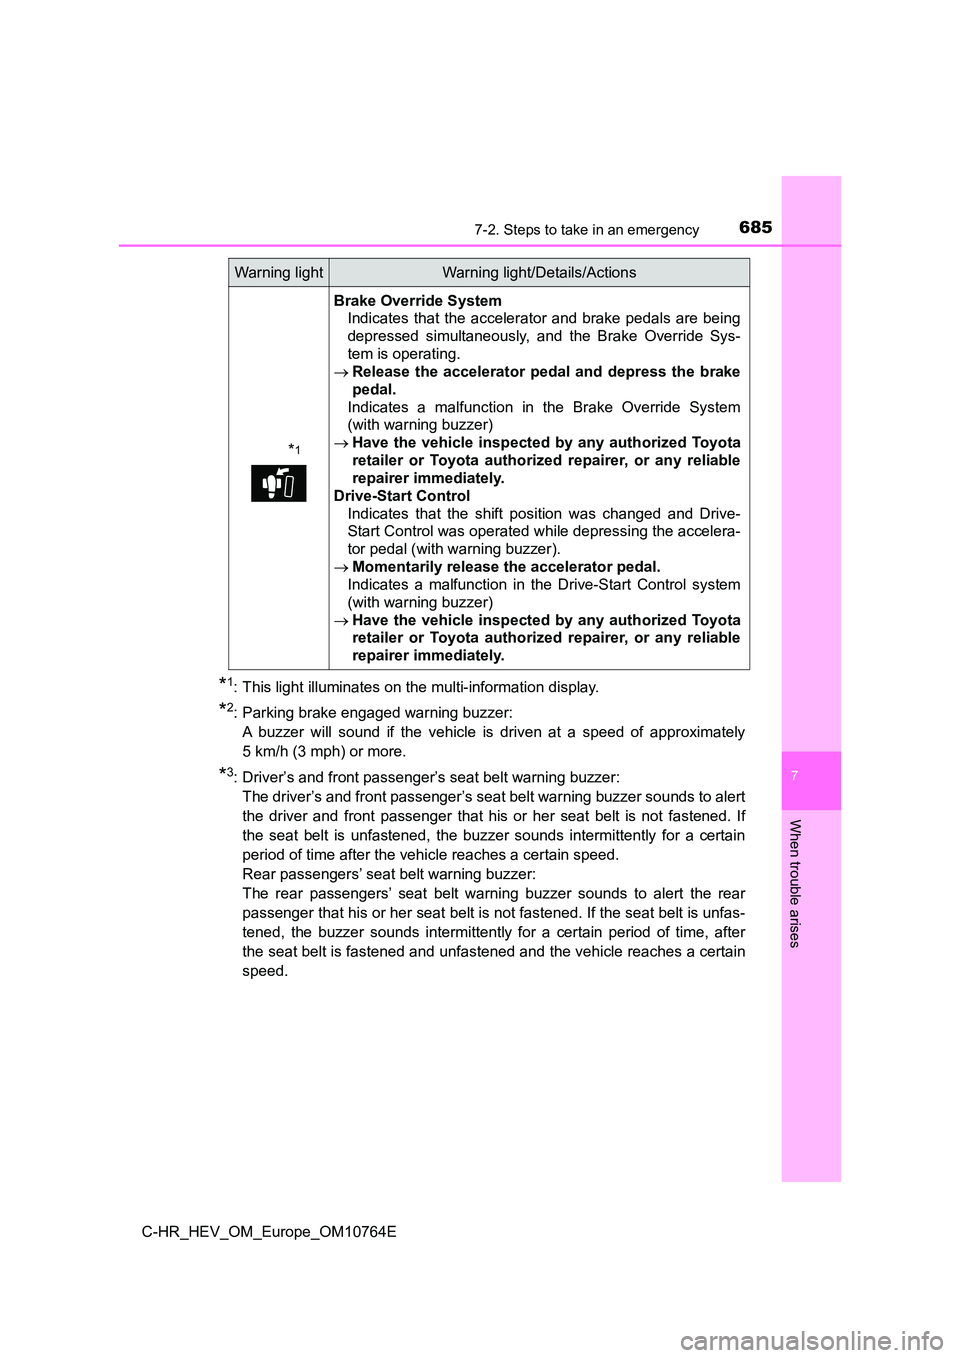
*1: This light illuminates on the multi-information display.
*2: Parking brake engaged warning buzzer:
A buzzer will sound if the vehicle is driven at a speed of appr oximately
5 km/h (3 mph) or more.
*3: Driver’s and front passenger’s seat belt warning buzzer:
The driver’s and front passenger’s seat belt warning buzzer sou nds to alert
the driver and front passenger that his or her seat belt is not fastened. If
the seat belt is unfastened, the buzzer sounds intermittently f or a certain
period of time after the vehicle reaches a certain speed.
Rear passengers’ seat belt warning buzzer:
The rear passengers’ seat belt warning buzzer sounds to alert t he rear
passenger that his or her seat belt is not fastened. If the sea t belt is unfas-
tened, the buzzer sounds intermittently for a certain period of time, after
the seat belt is fastened and unfastened and the vehicle reache s a certain
speed.
*1
Brake Override System
Indicates that the accelerator and brake pedals are being
depressed simultaneously, and the Brake Override Sys-
tem is operating.
Release the accelerator pedal and depress the brake
pedal.
Indicates a malfunction in the Brake Override System
(with warning buzzer)
Have the vehicle inspected by any authorized Toyota
retailer or Toyota authorized repairer, or any reliable
repairer immediately.
Drive-Start Control
Indicates that the shift position was changed and Drive-
Start Control was operated while depressing the accelera-
tor pedal (with warning buzzer).
Momentarily release the accelerator pedal.
Indicates a malfunction in the Drive-Start Control system
(with warning buzzer)
Have the vehicle inspected by any authorized Toyota
retailer or Toyota authorized repairer, or any reliable
repairer immediately.
Warning lightWarning light/Details/Actions
Page 781 of 814
7798-2. Customization
C-HR_HEV_OM_Europe_OM10764E
8
Vehicle specifications
Customizable features
■Changing using the multi-information display
Press “ ” or “” of the meter control switches, select .
Press “ ” or “” of the meter control switches, select “Meter
Settings”, and then press .
Press “ ” or “” of the meter control switches, select the item,
and then press .
Press “ ” or “” of the meter control switches, select the desired
setting, and then press .
To go back to the previous screen or exit the customize mode,
press .
Your vehicle includes a variety of electronic features that can be
personalized to suit your preferences. The settings of these fe a-
tures can be changed using the multi-information display, on th e
navigation/multimedia system, or at any authorized Toyota
retailer or Toyota authorized repairer, or any reliable repaire r.
Customizing vehicle features
1
2
3
4
Page 782 of 814

7808-2. Customization
C-HR_HEV_OM_Europe_OM10764E
■Changing on the navigation/multimedia system screen (if
equipped)
Ty pe A
Press the “MENU” button.
Select “Setup” on the menu screen and select “Vehicle”.
Select “Vehicle customisation”.
Various settings can be changed. Refer to the list of settings that
can be changed for details.
Ty pe B
Select on the main menu.
Select “Vehicle customize”.
Various settings can be changed. Refer to the list of settings that
can be changed for details.
Some function settings are changed simultaneously with other fu nc-
tions when customized. Contact any authorized Toyota retailer o r
Toyota authorized repairer, or any reliable repairer for furthe r details.
Settings that can be changed using the multi-information displa y
Settings that can be changed using the navigation/multimedia sy s-
tem screen (if equipped)
Settings that can be changed by any authorized Toyota retailer or
Toyota authorized repairer, or any reliable repairer
Definition of symbols: O = Available, — = Not available
Customizable features
1
2
3
1
2