2023 PEUGEOT EXPERT child lock
[x] Cancel search: child lockPage 3 of 348

Welcome
Thank you for choosing a Peugeot Expert/e-Expert or a Peugeot
Traveller/e-Traveller.
This document contains the key information and recommendations you
will need to be able to explore your vehicle in complete safety. We strongly
recommend familiarising yourself with it, as well as the Maintenance and
Warranty Guide.
003C
00470052004600580050004800510057
country in which it was sold.
The descriptions and illustrations are for guidance only.
0024005800570052005000520045004C004F004800560003
004800540058004C00530050004800510057
If ownership of your vehicle is transferred, please ensure this Han is
passed on to the new owner.
Key
Safety warning
Additional information
Environmental protection feature
Left-hand drive vehicle
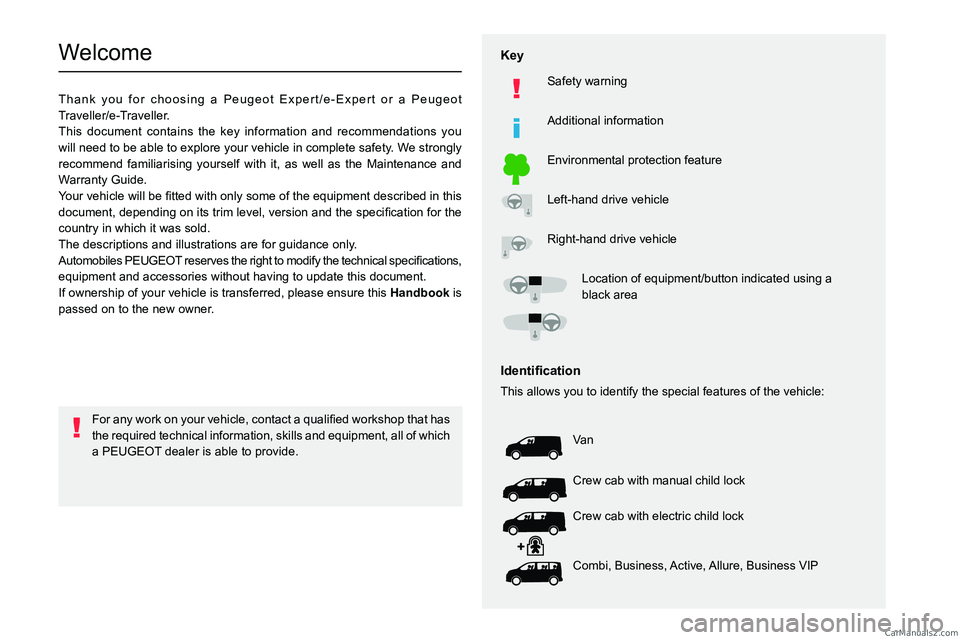
Right-hand drive vehicle002F0052004600440057004C005200510003005200490003004800540058004C0053005000480051005700120045005800570057005200510003004C00510047004C00460044005700480047000300580056004C0051004A000300440003
black area
002C0047004800510057004C00BF004600440057004C00520051
This allows you to identify the special features of the vehicle:
Va n
Crew cab with manual child lock
Crew cab with electric child lock
Combi, Business, Active, Allure, Business VIP
0029
0057004B00480003
a PEUGEOT dealer is able to provide. CarM an uals 2 .c o m
Page 4 of 348

2
Contents
■
OverviewOverview 4
■
Eco-driving
1Dashboard instrumentsInstrument Panel 9
Head-up display 10
Warning and indicator lamps 12
Indicators 18
Distance recorders 23
Lighting dimmer 24
Trip computer 24
Touch screen 26
Remotely operable additional functions (Electric) 27
Setting the date and time 28
2AccessElectronic key with remote control function and
built-in key 29
Unlocking/Complete or selective unlocking 31
Back-up procedures 34
Central locking 37
Electric sliding side door(s) 38
General recommendations for
the sliding side doors
39
Hands-free sliding side door(s) 42
Side-hinged rear doors 43
Tailgate 44
Tailgate rear screen 44
Alarm 45
Electric windows 47
3Ease of use and comfortCorrect driving position 48
Front seats 48
2-seat front bench seat 50
Steering wheel adjustment 51
Mirrors 52
Moduwork 53
Precautions for the seats and bench seats 56
Fixed one-piece bench seat 57
Fixed rear seat and bench seat 59
Rear seat and bench seat on rails 61
Individual rear seat(s) on rails 63
Crew cab, fixed 65
Crew cab, folding 66
Interior fittings 67
Loading area fittings 71
Seating area fittings 72
Panoramic sunroof 74
Retractable sliding table 74
Heating and Ventilation 77
Heating 78
Manual air conditioning 78
Dual-zone automatic air conditioning 79
Front demisting - defrosting 81
Demisting/de-icing the rear screen
and/or the door mirrors
82
Rear heating - air conditioning 82
Additional heating/ventilation system 83
Temperature pre-conditioning (Electric) 85
Courtesy lamp(s) 86
4Lighting and visibilityLighting control stalk 88
Direction indicators 89
Daytime running lamps/Sidelamps 89
Automatic illumination of headlamps 89
Guide-me-home and welcome lighting 90
Automatic lighting systems - General
recommendations
91
Automatic headlamp dipping 91
Headlamp beam height adjustment 92
Interior ambient lighting 93
Wiper control stalk 93
Automatic wipers 94
Changing a wiper blade 95
5SafetyGeneral safety recommendations 97
Hazard warning lamps 97
Emergency or assistance 98
Horn 100
Pedestrian horn (Electric) 100
Electronic stability control (ESC) 100
Advanced Grip Control 102
Seat belts 103
Airbags 107
Child seats 109
Deactivating the front passenger airbag 111
ISOFIX and i-Size child seats 11 7
i-Size child seats 128
Manual child lock 131
Electric child lock 131
Child lock on rear windows 131
6DrivingDriving recommendations 132
Starting/switching off the engine 134
Manual parking brake 138
Electric parking brake 138
Hill start assist 141 CarM an uals 2 .c o m
Page 7 of 348

5
Overview
1.Locking/unlocking from the inside
2. Left-hand electric sliding side door
3. Electric child lock
4. Right-hand electric sliding side door
5. Hazard warning lamps
6. DSC/ASR system
7. Tyre under-inflation detection
8. Stop & Start (Diesel)
Side control bar
1. Advanced Grip Control
2. Head-up display
3. Parking sensors
4. Additional heating/ventilation system (Diesel)
5. Alarm (Diesel or Electric)
6. Headlamp beam height adjustment
7. Lane departure warning system
8. Blind spot monitoring system
9. Automatic headlamp dipping
Electric motor
1.Charging connectors
2. Traction battery
3. 12
V accessory battery
4. On-board charger
5. Electric motor
6. Charging cable
The charging connectors
1
allow 3 types of
charging:
–
Domestic chargin
g in mode 2 using a domestic
socket and associated charging cable
6
.
–
Accelerated charging in mode
3 using an
accelerated charging unit (Wallbox).
–
Superfast charging in mode
4 using a fast
public charger.
The 400
V traction battery 2 uses Lithium-Ion
technology. It stores and supplies the energy
required for the operation of the electric motor,
air conditioning and heating. Its charge level is represented by an indicator and a reserve power
warning lamp on the instrument panel.
The 12
V accessory battery 3 powers the
vehicle’s conventional electrical system. It is
recharged automatically by the traction battery
via the on-board charger.
The on-board charger
4
provides domestic
charging (mode 2) and accelerated charging
(mode 3) of the traction battery as well as
recharging of the 12 V accessory battery.
The electric motor 5 provides propulsion in
accordance with the selected driving mode and
driving conditions. It recovers energy during
vehicle braking and deceleration phases.
Labels
"Access - Side-hinged rear doors" section:
"Ease of use and comfort - Moduwork"
section:
CarM an uals 2 .c o m
Page 8 of 348

6
Overview
"Ease of use and comfort - Precautions for
seats and bench seats" section:
"Ease of use and comfort - Retractable
sliding table" section:
"Ease of use and comfort - Additional
heating/ventilation" section:
"Safety - Child seats - Deactivating the front
passenger airbag" section:
"Safety - ISOFIX child seats" section:
"Safety - Manual child lock" section:
"Driving - Electric parking brake" section:
"Practical information - Compatibility of
fuels" section:
"Practical information - Charging system
(Electric)" section:
"Practical information - Charging the traction
battery (Electric)" section:
"Practical information - Bonnet" section:
"Practical information - Checking levels -
Engine coolant" section:
"In the event of a breakdown - Temporary
puncture repair kit" section:
"In the event of a breakdown - Spare wheel"
section:
"In the event of a breakdown - 12 V battery/
Accessory battery" section:
24V12V CarM an uals 2 .c o m
Page 35 of 348

33
Access
2Depending on the version, the door
mirrors unfold only when the cabin is
unlocked, the alarm is deactivated.
With electric sliding side door(s)
► With the Keyless Entry and Start on your
person, pass your hand behind the left-hand or
right-hand door handle to unlock the loading
area , then pull and release the handle.
This
action also causes the corresponding door to
open.
With tailgate
► With the Keyless Entry and Start on your
person, to unlock the loading area, pull the
tailgate handle and then lift it up.
Unlocking is signalled by rapid flashing of
the direction indicators for a few
seconds.
Locking
With the key
► To lock the vehicle fully, turn the key in the
front left-hand door lock towards the rear of the
vehicle.
If your vehicle has an alarm, it will not be
activated.
With the remote control
► To lock the vehicle completely, press
this button.
With Keyless Entry and
Start on your person
To lock the vehicle, the remote control must be in
recognition zone A.
► To lock the vehicle, press the markings on
one of the door handles (front door(s), manual
sliding side door(s) or left-hand side-hinged
door).
With electric sliding side door(s)
► With the Keyless Entry and Start on your
person, to lock the vehicle fully , press the
markings on one of the front
door handles.
With tailgate
► With the Keyless Entry and Start on your
person, press the tailgate locking control to lock
the vehicle.
Depending on version, keeping
the locking controls depressed
closes the windows. If the control is released,
the window stops in its current position.
Ensure that no person or object might
prevent the windows from closing
properly.
Pay particular attention to children when
operating windows. CarM an uals 2 .c o m
Page 37 of 348

35
Access
2identification documents and if possible, the label
bearing the key code.
The PEUGEOT dealer will be able to retrieve the
key code and the transponder code, enabling a
new key to be ordered.
Complete unlocking/locking
of the vehicle with the key
Use this procedure in the following situations:
– Remote control battery discharged.
–
Remote control malfunction.
–
V
ehicle battery discharged.
–
V
ehicle in an area subject to strong
electromagnetic interference.
In the first case, change the remote control
battery.
In the second case, reinitialise
the remote
control.
Refer to the corresponding sections.
►
Insert the key into the door lock.
►
T
urn the key towards the front/rear to unlock/
lock the vehicle.
►
T
urn the key towards the rear again within
5
seconds to deadlock the vehicle.
If the vehicle is fitted with an alarm, it will
not be activated when locking with the
key.
If the alarm is activated, the siren sounds
when the door is opened; switch on the
ignition to stop it.
If the vehicle is unlocked with the key in
the lock after locking it with the remote
control or the Keyless Entry and Start
system , all doors and the boot are
unlocked.
If the vehicle is unlocked with the key in the
lock after locking it with the key , only the
doors (front door and sliding side door(s)) are
unlocked. The side-hinged doors and tailgate
are not unlocked. Switching on the ignition
unlocks them.
Central locking not
functioning
Use these procedures in the following cases:
– Central locking malfunction.
–
Battery disconnected or discharged.
In the event of a malfunction of the
central locking system, the battery must
be disconnected to ensure that the vehicle is
locked fully.
Front left-hand door
► Insert the key into the door lock.
► T urn the key towards the rear of the vehicle
to lock it, or towards the front to unlock it.
Front passenger door and sliding
side door
Unlocking ►
Pull the interior door opening handle.
Locking
►
Open the door
.
►
For the side door
, check that the child lock is
not on. Refer to the corresponding section.
Front passenger door
Sliding side door
► Remove the black cap on the edge of the
door
, using the key.
►
Insert the key in the aperture without
forcing it, then without turning it, move the latch
sideways towards the inside of the door
.
►
Remove the key and refit the black cap.
►
Close the doors and check from the outside
that the vehicle is locked.
Side-hinged doors
Unlocking
► Use the interior opening handle.
Locking
►
If fitted to your vehicle, check that the electric
child lock is not on. CarM an uals 2 .c o m
Page 40 of 348

38
Access
When transporting an oversized load
(tailgate or side-hinged doors open),
press the button to lock only the front and rear
doors (sliding side door).
When locking from inside, the door
mirrors do not fold.
Central locking from the inside does not
operate if one of the doors is open (indicated
by a mechanical noise coming from the
locks).
When the tailgate or side-hinged doors are
open, only the other doors are locked (the
button does not light up).
Automatic (anti-intrusion security)
The doors and the tailgate or the side-hinged
doors can lock automatically while driving (speed
above 6 mph (10
km/h)).
To deactivate/reactivate this function (activated
by default):
►
Press the button until an audible signal is
heard and/or a message appears on the screen.
Electric sliding side
door(s)
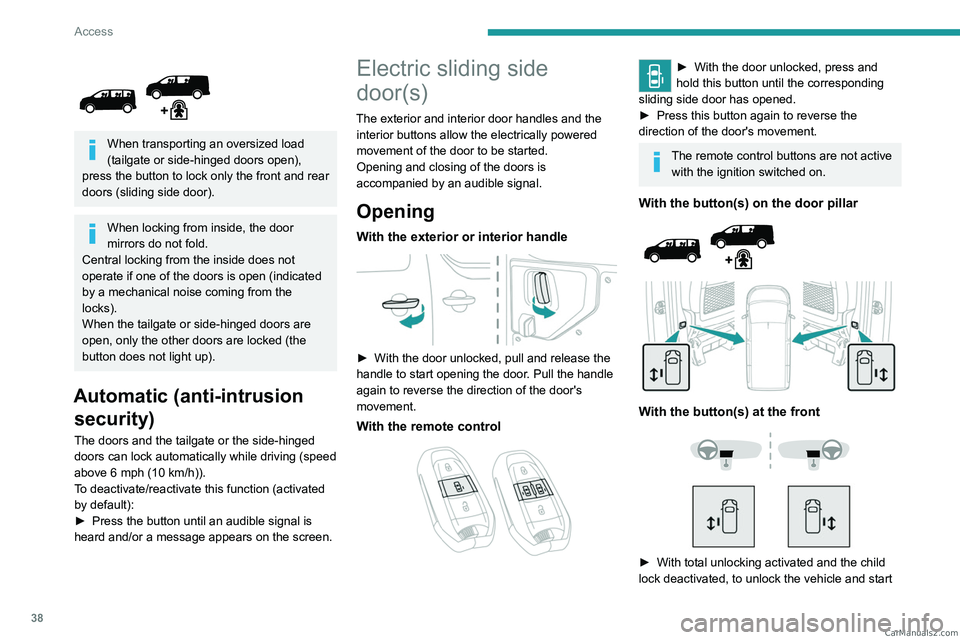
The exterior and interior door handles and the interior buttons allow the electrically powered
movement of the door to be started.
Opening and closing of the doors is
accompanied by an audible signal.
Opening
With the exterior or interior handle
► With the door unlocked, pull and release the
handle to start opening the door . Pull the handle
again to reverse the direction of the door's
movement.
With the remote control
► With the door un locked, press and
hold this button until the corresponding
sliding side door has opened.
►
Press this button again to reverse the
direction of the door's movement.
The remote control buttons are not active with the ignition switched on.
With the button(s) on the door pillar
With the button(s) at the front
► With total unlocking activated and the child
lock deactivated, to unlock the vehicle and start CarM an uals 2 .c o m
Page 41 of 348

39
Access
2opening a door, press the button corresponding
to the door you wish to open.
►
With selective unlocking activated, to unlock
only the
loading area and start opening a door,
press the button corresponding to the door you
wish to open.
►
In both cases, pressing the button again
reverses the direction of the door's movement.
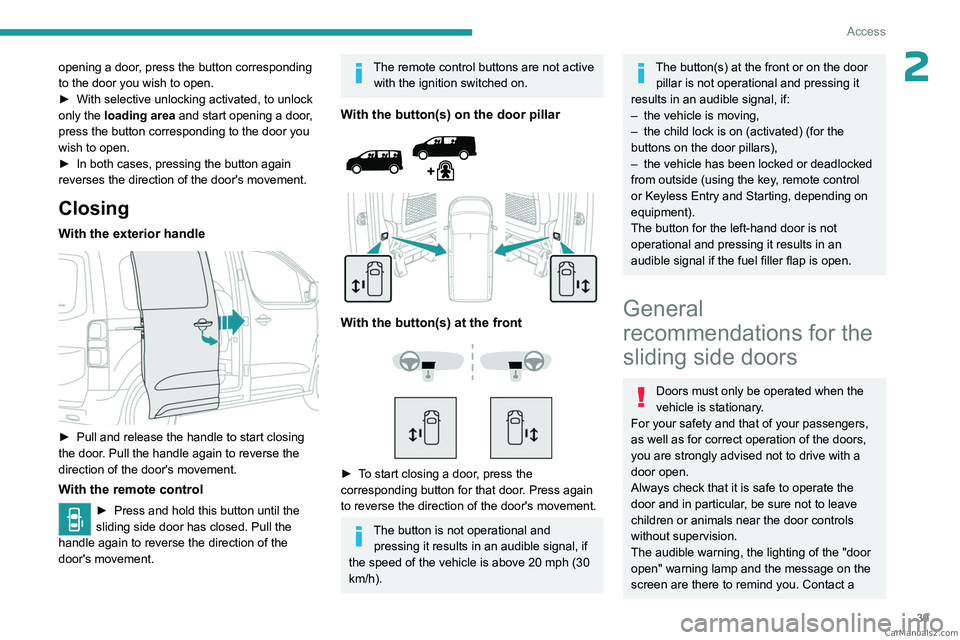
Closing
With the exterior handle
► Pull and release the handle to start closing
the door . Pull the handle again to reverse the
direction of the door's movement.
With the remote control
► Press and hold this button until the
sliding side door has closed. Pull the
handle again to reverse the direction of the
door's movement.
The remote control buttons are not active with the ignition switched on.
With the button(s) on the door pillar
With the button(s) at the front
► To start closing a door, press the
corresponding button for that door. Press again
to reverse the direction of the door's movement.
The button is not operational and pressing it results in an audible signal, if
the speed of the vehicle is above 20 mph (30
km/h).
The button(s) at the front or on the door pillar is not operational and pressing it
results in an audible signal, if:
–
the vehicle is moving,
–
the child lock is on (activated) (for the
buttons on the door pillars),
–
the vehicle has been locked or deadlocked
from outside (using the key
, remote control
or Keyless Entry and Starting, depending on
equipment).
The button for the left-hand door is not
operational and pressing it results in an
audible signal if the fuel filler flap is open.
General
recommendations for the
sliding side doors
Doors must only be operated when the
vehicle is stationary.
For your safety and that of your passengers,
as well as for correct operation of the doors,
you are strongly advised not to drive with a
door open.
Always check that it is safe to operate the
door and in particular, be sure not to leave
children or animals near the door controls
without supervision.
The audible warning, the lighting of the "door
open" warning lamp and the message on the
screen are there to remind you. Contact a CarM an uals 2 .c o m