2023 HYUNDAI IONIQ 5 charger door
[x] Cancel search: charger doorPage 32 of 680

01
1-27
SCHeduled CHarging
Scheduled Charging (if equipped)
• You can set-up a charging
schedule for your vehicle using the
Infotainment system or Blue Link
application.
Refer to the Multimedia manual or
the Blue Link manual for detailed
information about setting scheduled
charging.
• Scheduled charging can only be
done when using a AC charger or
the portable charger (ICCB: In-Cable
Control Box).
ONE1Q011039
• When scheduled charging is set
and the AC charger or the portable
charger (ICCB: In-Cable Control
Box) is connected for charging, the
indicator lamp blinks from the first
level to the last for about 3 minutes
to indicate that scheduled charging
is set. •
When scheduled charging is set,
charging is not initiated immediately
when the AC charger or portable
charger (ICCB: In-Cable Control
Box) is connected. When immediate
charging is required, press the
charging door open button in the
smart key for 2 seconds or deactivate
the scheduled charge setting with
the infotainment system or Blue Link
application.
Refer to “AC Charge (Station) or Trickle
Charge” for details about connecting
the AC charger and the portable charger
(ICCB: In-Cable Control Box).
Page 35 of 680

Foreword / Electric Vehicle System Overview
1-30
WARNING
• Immediately stop charging when
you find abnormal symptoms (odor,
smoke).
• Replace the charging cable if the
cable coating is damaged to prevent electrical shock.
• When connecting or removing the
charging cable, make sure to hold
the charging connector handle and
charging plug.
If you pull the cable itself (without
using the handle), the internal wires
may disconnect or get damaged. This
may lead to electric shock or fire.
CAUTION
• Always keep the charging connector
and charging plug in clean and
dry condition. Be sure to keep the
charging cable in a condition where
there is no water or moisture.
• Be sure to use only certified electric
vehicle charger. Using uncertified
charger may cause the damage to
the vehicle.
• Before charging the battery, turn the
vehicle OFF.
• When the vehicle is switched OFF
while charging, the cooling fan
inside the motor compartment may
automatically operate. Do not touch
the cooling fan while charging.
• Be careful not to drop the charging
connector. The charging connector can be damaged.
Unlock Charging Door in
Emergency
ONE1Q011045
If the charging door does not open due
to battery discharge and failure of the
electric wires, open the liftgate and
slightly pull the emergency cable as
shown above. The charging door will then open.
AC Charge
„„AC Charger
OLFP0Q5007K
Actual charger image and charging
method may vary in accordance with the
charger manufacturer.
Page 36 of 680

01
1-31
How to Connect AC Charger
1. Depress the brake pedal and apply the
parking brake.
2. Turn OFF all switches, shift to P (Park), and turn OFF the vehicle.
If charging is initiated without the
gear in P (Park), the charging will start
after the gear is automatically shifted
to P (Park).
ONE1Q011040
3. Open the charging door.
For more details, refer to ‘Electric
charging door’ in this chapter.
Information
If you cannot open the charging door due
to freezing weather, tap lightly or remove
any ice near the charging door. Do not try
to forcibly open the charging door. 4.
Check if there is dust on the charging
connector and charging inlet.
5. Hold the charging connector handle and connect it to the vehicle charging
inlet. Push the connector all the way
in. If the charging connector and
charging terminal are not connected
properly, this may cause a fire.
Information
Locking Charging Cable
Select ‘Settings → ECO Vehicle →
Charging Connector Locking Mode’ in
the infotainment. The charging connector
is locked in the inlet at a different period according to which mode is selected. • Always mode : The connector locks
when the charging connector is plugged into the charging inlet.
• While charging mode : The connector locks when charging starts.
For more details, refer to “Locking
Charging Cable” in this chapter.
Page 37 of 680

Foreword / Electric Vehicle System Overview
1-32
6. Connect the charging plug to the
electric outlet at a AC charging station
to start charging.
ONE1Q011041
7. Check if the charging indicator light (
) of the high voltage battery in
the instrument cluster is turned ON.
Charging is not active when the
charging indicator light (
) is OFF.
When the charging connector and
charging plug are not connected
properly, reconnect the charging
cable to charge.
Information
• Even though charging is possible with
the Start/Stop button in the ON/START
position, for you safety, start charging when the Start/Stop button is in the
OFF position and the vehicle shifted to
P (Park). After charging has started, you can use electrical components such
as the radio by pressing the Start/Stop
button to the ACC or ON position.
• During AC charging, the radio
reception may be bad.
• During charging, the gear cannot be
shifted from P (Park) to any other gear.
ONE1Q011058E
8. After charging has started, the estimated charging time is displayed
on the instrument cluster for about 1
minute.
If you open the driver seat door while
charging, the estimated charging time
is also displayed on the instrument
cluster for about 1 minute. When
scheduled charging or scheduled
air conditioner/heater is set, the
estimated charging time is displayed
as “--” .
Information
Depending on the condition and durability
of the high voltage battery, charger
specifications, and ambient temperature,
the time required for charging the battery
may vary.
Page 38 of 680

01
1-33
Checking Charging Status
When charging the high voltage battery,
the charge level can be checked from
outside the vehicle.
For more details, refer to ‘Charge
Indicator Lamp for Electric Vehicle’ in
this chapter.
How to Disconnect AC Charger
„„AC Charger
OLFP0Q5007K
1. When charging is complete, remove the charging plug from the electrical
outlet of the AC charging station.
ONE1Q011044
2. Hold the charging connector handle and pull it out.
Information
To prevent charging cable theft,
the charging connector cannot be
disconnected from the inlet when the
doors are locked or the charging connector is in the LOCK mode. Unlock all doors to
disconnect the charging connector from the inlet.
However, if the vehicle is in the charging
connector AUTO mode, the charging
connector automatically unlocks from the inlet when charging is completed.
If the charging connector is disconnected
while the release button is not pressed, the
connector and the inlet may be damaged.
For more details, refer to “Charging
Connector AUTO/ LOCK Mode” in this
chapter.
If the release button does not work even
after the all doors are unlocked, pull
the emergency lift cable in the motor
room and press the release button in the
connector to disconnect it from the vehicle.
If the release button still does not work,
consult an authorized HYUNDAI dealer.
3. Make sure to completely close the charging door.
4. Close the protection caps of the
charging connector and the charging
plug to protect them from foreign
substances.
5. If the personal charging connector is used, store the connector in the cable
compartment.
Page 39 of 680

Foreword / Electric Vehicle System Overview
1-34
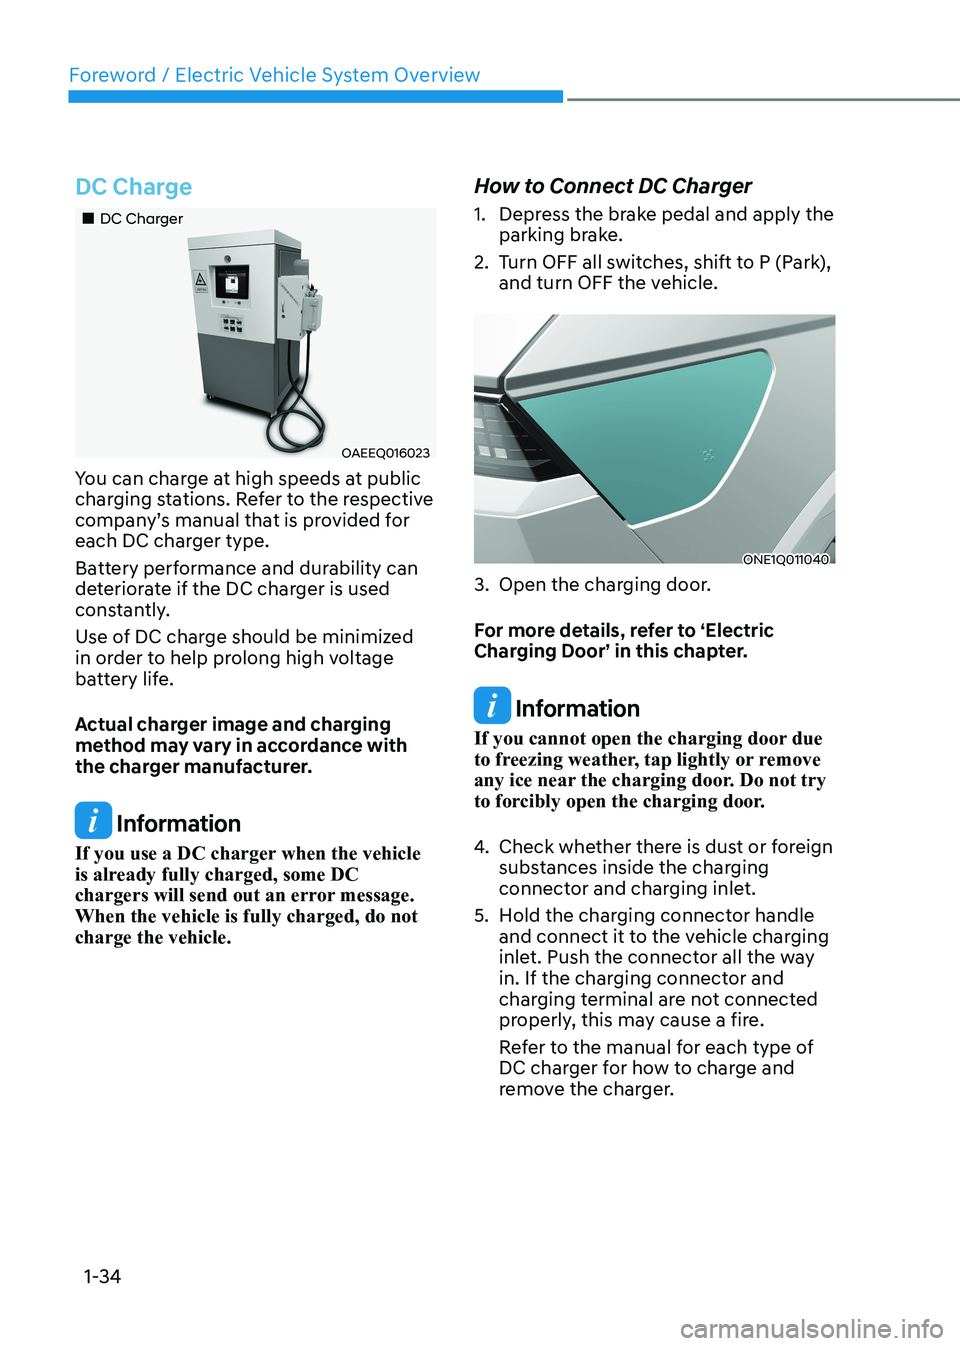
DC Charge
„„DC Charger
OAEEQ016023
You can charge at high speeds at public
charging stations. Refer to the respective
company’s manual that is provided for
each DC charger type.
Battery performance and durability can
deteriorate if the DC charger is used
constantly.
Use of DC charge should be minimized
in order to help prolong high voltage
battery life.
Actual charger image and charging
method may vary in accordance with
the charger manufacturer.
Information
If you use a DC charger when the vehicle
is already fully charged, some DC
chargers will send out an error message. When the vehicle is fully charged, do not charge the vehicle. How to Connect DC Charger
1. Depress the brake pedal and apply the
parking brake.
2. Turn OFF all switches, shift to P (Park), and turn OFF the vehicle.
ONE1Q011040
3. Open the charging door.
For more details, refer to ‘Electric
Charging Door’ in this chapter.
Information
If you cannot open the charging door due
to freezing weather, tap lightly or remove
any ice near the charging door. Do not try
to forcibly open the charging door.
4. Check whether there is dust or foreign
substances inside the charging
connector and charging inlet.
5. Hold the charging connector handle and connect it to the vehicle charging
inlet. Push the connector all the way
in. If the charging connector and
charging terminal are not connected
properly, this may cause a fire.
Refer to the manual for each type of
DC charger for how to charge and
remove the charger.
Page 40 of 680

01
1-35
ONE1Q011041
6. Check if the charging indicator light (
) of the high voltage battery in
the instrument cluster is turned ON.
Charging is not active when the
charging indicator light (
) is OFF.
When the charging connector is not
connected properly, reconnect the
charging cable to charge it again.
During cold weather, DC charging
may not be available to prevent high
voltage battery degradation.
Information
To control the temperature of the high voltage battery while charging, the
air conditioner is used to cool down the battery which may generate noise
from operation of the air conditioner
compressor and cooling fan.
Also, the air conditioner’s performance
may be degraded during summer due to
operation of the cooling system for the
high voltage battery.
Information
Even though charging is possible with
the Start/Stop button in the ON/START
position, for you safety, start charging when the Start/Stop button is in the
OFF position and the vehicle shifted to P
(Park). After charging has started, you can use electrical components such as the
radio by pressing the Start/Stop button to
the ACC or ON position.
During charging, the gear cannot be
shifted from P (Park) to any other gear.
ONE1Q011059E
7. After charging has started, the
estimated charging time is displayed
on the instrument cluster for about 1
minute.
If you open the driver seat door while
charging, the estimated charging time
is also displayed on the instrument
cluster for about 1 minute.
Information
• Depending on the condition and
durability of the high voltage battery,
charger specifications, and ambient
temperature, the time required for
charging the battery may vary.
• In rare cases, you might hear high
frequency noise (very little beep sound)
outside the car when charging with
400V fast charger that is deteriorated
or has long communication delay.
The high frequency noise can be
generated only when the car tries to
reduce its own electromagnetic waves to keep fast charging as possible.
So there is no need to worry about this little noise, because it is the intentional
operation of the car that does not
affect any charging performance or the vehicle itself at all.
Page 41 of 680

Foreword / Electric Vehicle System Overview
1-36
Checking Charging Status
When charging the high voltage battery,
the charge level can be checked from
outside the vehicle.
For more details, refer to ‘Charge
Indicator Lamp for Electric Vehicle’ in
this chapter.
How to Disconnect DC Charger
1. Remove the charging connector
when DC charging is completed, or
after you stop charging using the DC
charger. Refer to each respective DC
charger manual for details about how
to disconnect the charging connector.
2. Make sure to completely close the charging door.
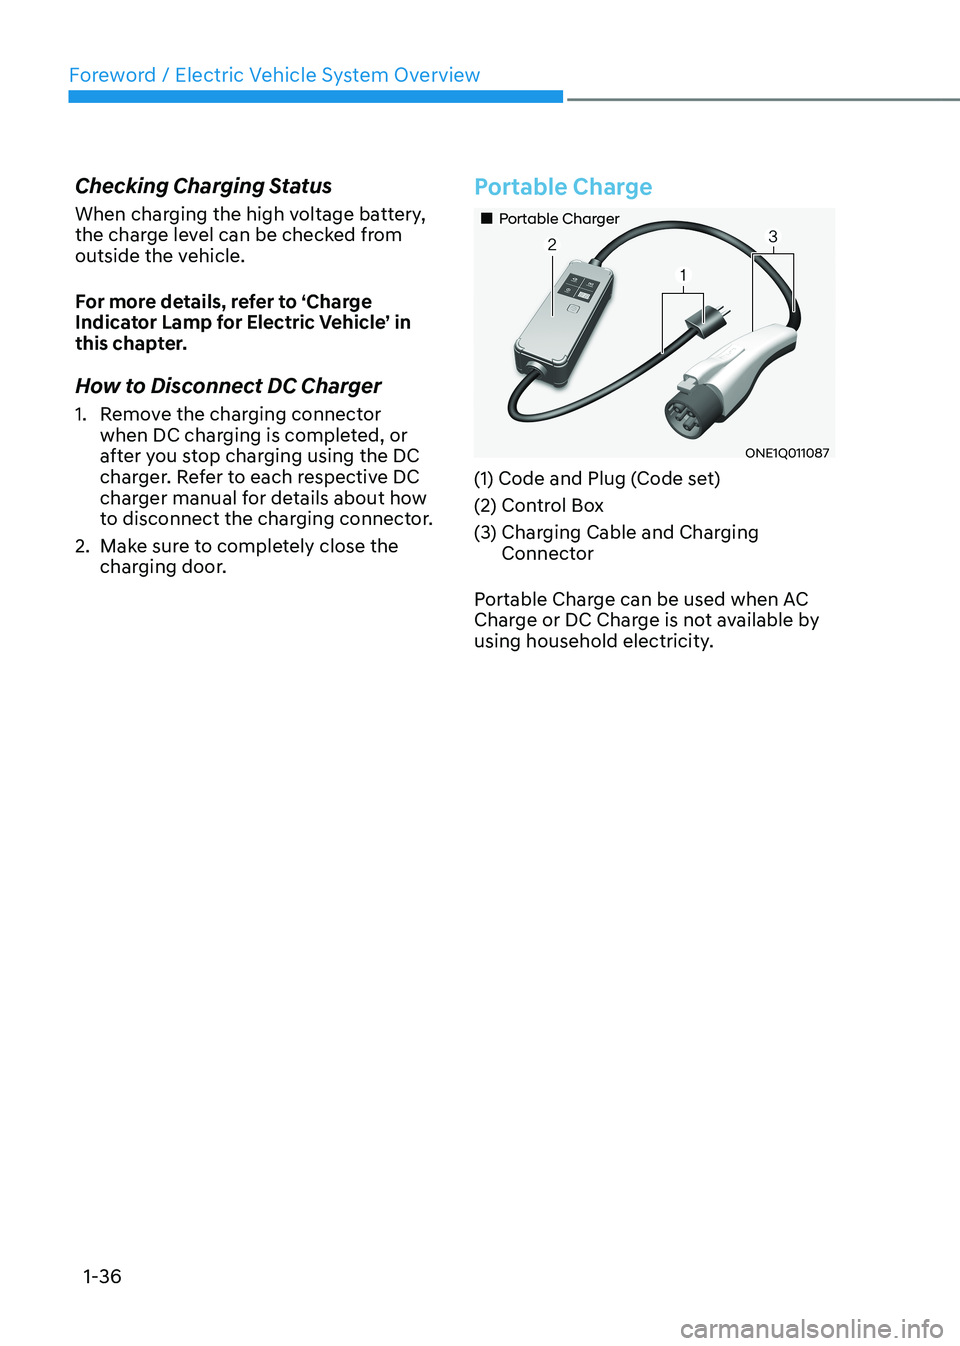
Portable Charge
„„Portable Charger
ONE1Q011087
(1) Code and Plug (Code set)
(2) Control Box
(3) Charging Cable and Charging Connector
Portable Charge can be used when AC
Charge or DC Charge is not available by
using household electricity.