2023 FORD SUPER DUTY reset
[x] Cancel search: resetPage 151 of 738
WHAT IS THE HEAD UP
DISPLAY
The system displays information on adisplay screen in your field of vision,allowing you to keep your eyes on the road.You can select which information thesystem displays.
SWITCHING THE HEAD UP
DISPLAY ON AND OFF
1.Using the instrument cluster displaycontrols on the steering wheel, selectHUD.
2.Switch Head-Up Display (HUD) on oroff.
Note:The system remembers the lastsetting when you start your vehicle.
HEAD UP DISPLAY SETTINGS
1.Using the instrument cluster displaycontrols on the steering wheel, selectHUD.
Note:If HUD On is unchecked, otheroptions of the system are hidden.
You can adjust the following settings in theHUD menu:
•Content.
•Brightness.
•Vertical position.
•Image rotation.
•Drive mode layout.
Note:The head up display menuautomatically closes after a certain periodof inactivity.
Note:The head up display image brightnessautomatically adjusts to the brightness ofthe ambient environment. You have theability to adjust the brightness furtheraccording to your preference.
Note:In some instances, sunlight can causesome reflections in and around the head updisplay image.
Note:When you save a memory presetposition, your current HUD settings are alsosaved to that memory preset position. SeeMemory Function (page 177).
147
2023 Super Duty (TFH) Canada/United States of America, enUSA, Edition date: 202211, DOMHead Up Display (If Equipped)
Page 154 of 738
EXTENDING THE REMOTE
START DURATION
To extend the remote start duration duringremote start, do the following:
Press the button on the remotecontrol.
Within three seconds, press thebutton on the remote control.
Within three seconds, press thebutton again.
If the duration is set to 15 minutes, theduration extends by another 15 minutes.This provides a total of 30 minutes.
Note:Remote start can only be extendedonce.
Note:A maximum of two remote starts, orone remote start with an extension, areallowed. To reset the restart procedureswitch the vehicle to on, then to off.
REMOTE START REMOTE
CONTROL INDICATORS
Remote Control Feedback
An LED on the remote control providesstatus feedback of remote start or stopcommands.
StatusLED
Remote startsuccessful.Solid green.
Remote stopsuccessful.Solid red.
Request failed orstatus not received.Blinking red.
Status incomplete.Blinking green.
REMOTE START SETTINGS
Climate Control Settings
1.Press Settings on the touchscreen.
2.Press Vehicle Settings.
3.Press Remote Start Setup.
4.Press Climate Control.
5.Press Auto or Last settings.
Note:If you switch the auto mode on, thesystem attempts to heat or cool the interiorto 72°F (22°C). When you switch the vehicleon, the climate control system returns tothe last used settings.
Note:If you switch the last settings on, thesystem remembers the last used settings.
Heated Seat Settings (If Equipped)
1.Press Settings on the touchscreen.
2.Press Vehicle Settings.
3.Press Remote Start Setup.
4.Press Seats.
5.Press Auto or Off.
Note:If you switch the heated seat settingson, the heated seats turn on during coldweather.
Note:You cannot adjust the heated seatsettings when you remotely start yourvehicle.
Heated Steering Wheel Settings (If
Equipped)
1.Press Settings on the touchscreen.
2.Press Vehicle Settings.
3.Press Remote Start Setup.
4.Press Seats and Steering Wheel.
5.Press Auto or Off.
Note:If you switch the heated steeringwheel settings on, the heated steering wheelturns on during cold weather.
150
2023 Super Duty (TFH) Canada/United States of America, enUSA, Edition date: 202211, DOMRemote Start (If Equipped)E138623 E138625
Page 162 of 738
Note:Do not clean the mirror housing orglass with harsh abrasives, fuel or otherpetroleum-based cleaning products. Thevehicle warranty may not cover damagecaused to the mirror housing or glass.
Note:The engine must be running or yourvehicle must be ready to drive to switch thesystem on.
SETTING THE TEMPERATURE
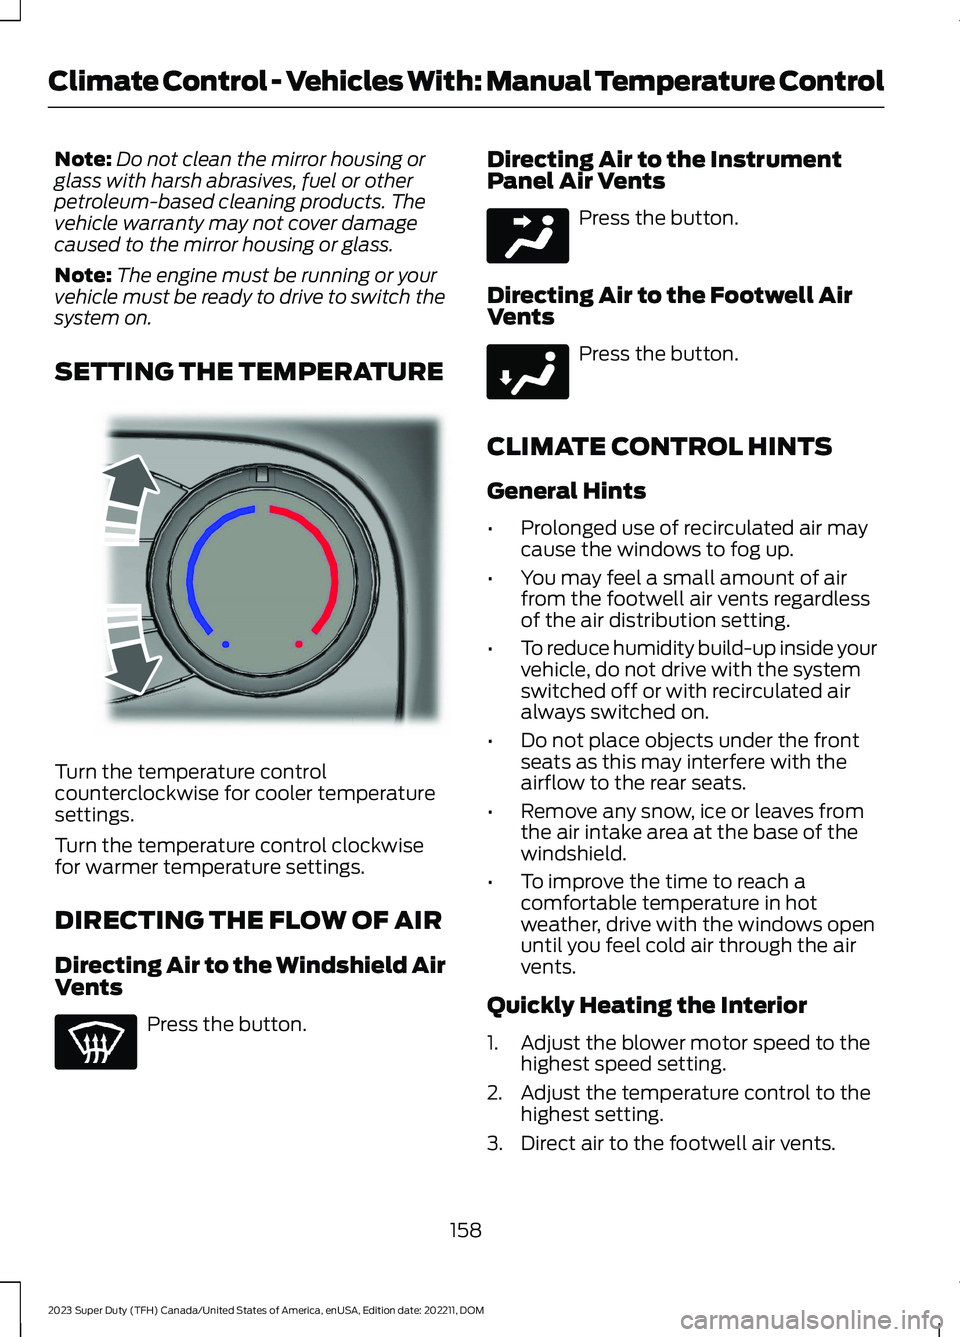
Turn the temperature controlcounterclockwise for cooler temperaturesettings.
Turn the temperature control clockwisefor warmer temperature settings.
DIRECTING THE FLOW OF AIR
Directing Air to the Windshield AirVents
Press the button.
Directing Air to the InstrumentPanel Air Vents
Press the button.
Directing Air to the Footwell AirVents
Press the button.
CLIMATE CONTROL HINTS
General Hints
•Prolonged use of recirculated air maycause the windows to fog up.
•You may feel a small amount of airfrom the footwell air vents regardlessof the air distribution setting.
•To reduce humidity build-up inside yourvehicle, do not drive with the systemswitched off or with recirculated airalways switched on.
•Do not place objects under the frontseats as this may interfere with theairflow to the rear seats.
•Remove any snow, ice or leaves fromthe air intake area at the base of thewindshield.
•To improve the time to reach acomfortable temperature in hotweather, drive with the windows openuntil you feel cold air through the airvents.
Quickly Heating the Interior
1.Adjust the blower motor speed to thehighest speed setting.
2.Adjust the temperature control to thehighest setting.
3.Direct air to the footwell air vents.
158
2023 Super Duty (TFH) Canada/United States of America, enUSA, Edition date: 202211, DOMClimate Control - Vehicles With: Manual Temperature ControlE244106 E244097 E244098
Page 179 of 738
Note:It is possible to receive no alert whenthere is an occupant in the rear seat, if alertconditions are not met. For example, if a rearseat occupant does not enter the vehiclethrough a rear door.
REAR OCCUPANT ALERT
SYSTEM SETTINGS
1.Press Settings on the touchscreen.
2.Press Vehicle.
3.Press Rear Occupant Alert.
4.Select Alert & Horn or Alert Only orOff.
Note:The default setting is Alert Only.
Note:If you choose Alert Only, the horndoes not sound even when the alertconditions are met.
Note:Performing a master reset causes thesystem to switch on again.
Switching Child Seat Installed Onand Off
When the system is switched on, itmonitors the opening and closing of therear doors to indicate the potentialpresence of an occupant in the rear seat.
1.Press Settings on the touchscreen.
2.Press Vehicle.
3.Press Rear Occupant Alert.
4.Switch Child Seat Installed on or off.
Note:The default setting is on.
Switch the system on when the childrestraint is mounted on any of thefollowing:
•Forward facing seat.
•Rear facing seat.
•Toddler in a latch system baby seat.
Switch the system off when the child isusing any of the following:
•Seatbelt.
•Booster seat.
Semiannual Reminder
When you switch the system off, amessage appears every six months as areminder that the system is off. You canswitch the system back on or leave it off.
REAR OCCUPANT ALERT
SYSTEM INDICATORS
Message
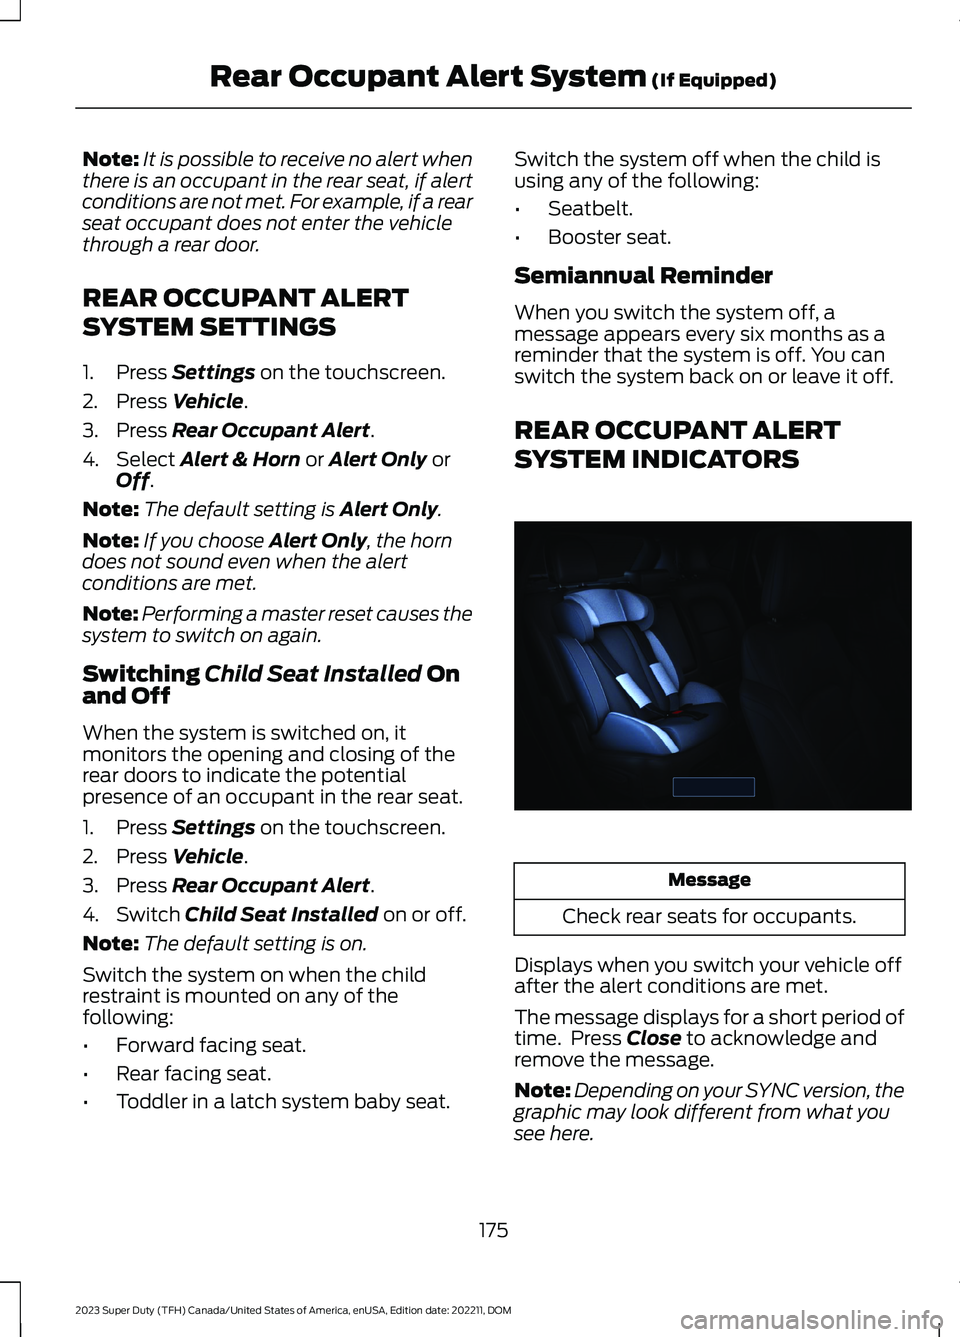
Check rear seats for occupants.
Displays when you switch your vehicle offafter the alert conditions are met.
The message displays for a short period oftime. Press Close to acknowledge andremove the message.
Note:Depending on your SYNC version, thegraphic may look different from what yousee here.
175
2023 Super Duty (TFH) Canada/United States of America, enUSA, Edition date: 202211, DOMRear Occupant Alert System (If Equipped)E350472
Page 181 of 738
WHAT IS THE MEMORY
FUNCTION
The memory function recalls the positionof these features:
•Driver seat.
•Power mirrors.
•Optional power steering column.
•Optional power adjustable pedals.
MEMORY FUNCTION
PRECAUTIONS
WARNING: Before activating thememory seat, make sure that the areaimmediately surrounding the seat is clearof obstructions and that all occupantsare clear of moving parts.
WARNING: Do not use the memoryfunction when your vehicle is moving.
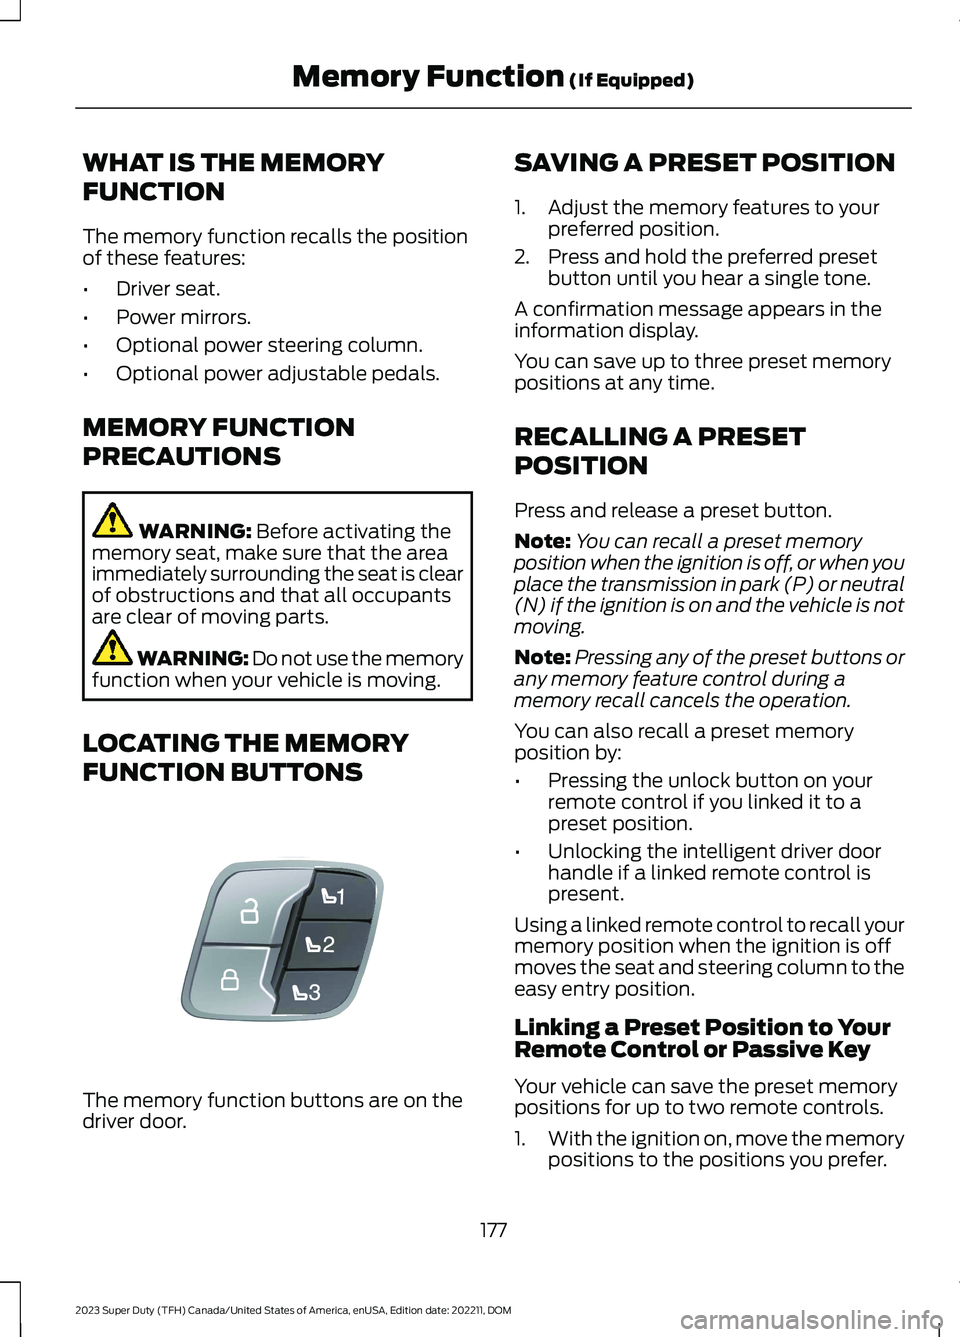
LOCATING THE MEMORY
FUNCTION BUTTONS
The memory function buttons are on thedriver door.
SAVING A PRESET POSITION
1.Adjust the memory features to yourpreferred position.
2.Press and hold the preferred presetbutton until you hear a single tone.
A confirmation message appears in theinformation display.
You can save up to three preset memorypositions at any time.
RECALLING A PRESET
POSITION
Press and release a preset button.
Note:You can recall a preset memoryposition when the ignition is off, or when youplace the transmission in park (P) or neutral(N) if the ignition is on and the vehicle is notmoving.
Note:Pressing any of the preset buttons orany memory feature control during amemory recall cancels the operation.
You can also recall a preset memoryposition by:
•Pressing the unlock button on yourremote control if you linked it to apreset position.
•Unlocking the intelligent driver doorhandle if a linked remote control ispresent.
Using a linked remote control to recall yourmemory position when the ignition is offmoves the seat and steering column to theeasy entry position.
Linking a Preset Position to YourRemote Control or Passive Key
Your vehicle can save the preset memorypositions for up to two remote controls.
1.With the ignition on, move the memorypositions to the positions you prefer.
177
2023 Super Duty (TFH) Canada/United States of America, enUSA, Edition date: 202211, DOMMemory Function (If Equipped)E307868
Page 182 of 738
2.Press and hold the preferred presetbutton for about five seconds. A tonesounds, and the instrument panelprompts you to press the lock buttonon your remote control.
3.Within ten seconds, press the lockbutton on the remote control you arelinking. The instrument panel indicatesa successful link.
To unlink a remote control, follow thesame procedure – except in step 3, pressthe unlock button on the remote control.
Note:If more than one linked remotecontrol is in range, the memory functionmoves to the settings of the first key toinitiate a memory recall.
MEMORY FUNCTION VIDEOS
Memory Seats Video Link
178
2023 Super Duty (TFH) Canada/United States of America, enUSA, Edition date: 202211, DOMMemory Function (If Equipped)
Page 190 of 738
Rear of the Center Console
POWER OUTLET INDICATORS
The power outlet indicator illuminates tolet you know the status of the system.
DescriptionIndicator Status
When the indicatorlight is on, theoutlet is providingpower.
On
When the indicatorlight is off, there isno power to theoutlet.
Off
When the indicatorlight is flashing, theoutlet is in a faultmode.
Flashing
Fault mode
The power outlet temporarily turns offpower if the device exceeds the watt limit.
1.Unplug your device.
2.Switch your vehicle off to let thesystem cool and reset the fault mode.
3.Switch your vehicle back on, but do notplug your device back in.
4.With your vehicle on, make sure theindicator light remains on.
5.Make sure your device does not exceedthe power limits and then plug in yourdevice.
Note:If a fault occurs again, your devicemay exceed the capacity available from thepower outlet.
POWER OUTLET VIDEOS
Powerpoints Video Link
186
2023 Super Duty (TFH) Canada/United States of America, enUSA, Edition date: 202211, DOMPower Outlet (If Equipped)E337926
Page 193 of 738
DescriptionIndicator Status
The power point isworking and thevehicle is on.
On
The power point isoff and the vehicleis off.
Off
The power point isin fault mode.Flashing
Fault Mode
The power outlet temporarily turns offpower if the device exceeds the watt limit.
1.Unplug your device.
2.Switch your vehicle off to let thesystem cool and reset the fault mode.
3.Switch your vehicle back on, but do notplug your device back in.
4.With your vehicle on, make sure theindicator light remains on.
5.Make sure your device does not exceedthe power limits and then plug in yourdevice.
Note:If a fault occurs again, your devicemay exceed the capacity available from thepower outlet.
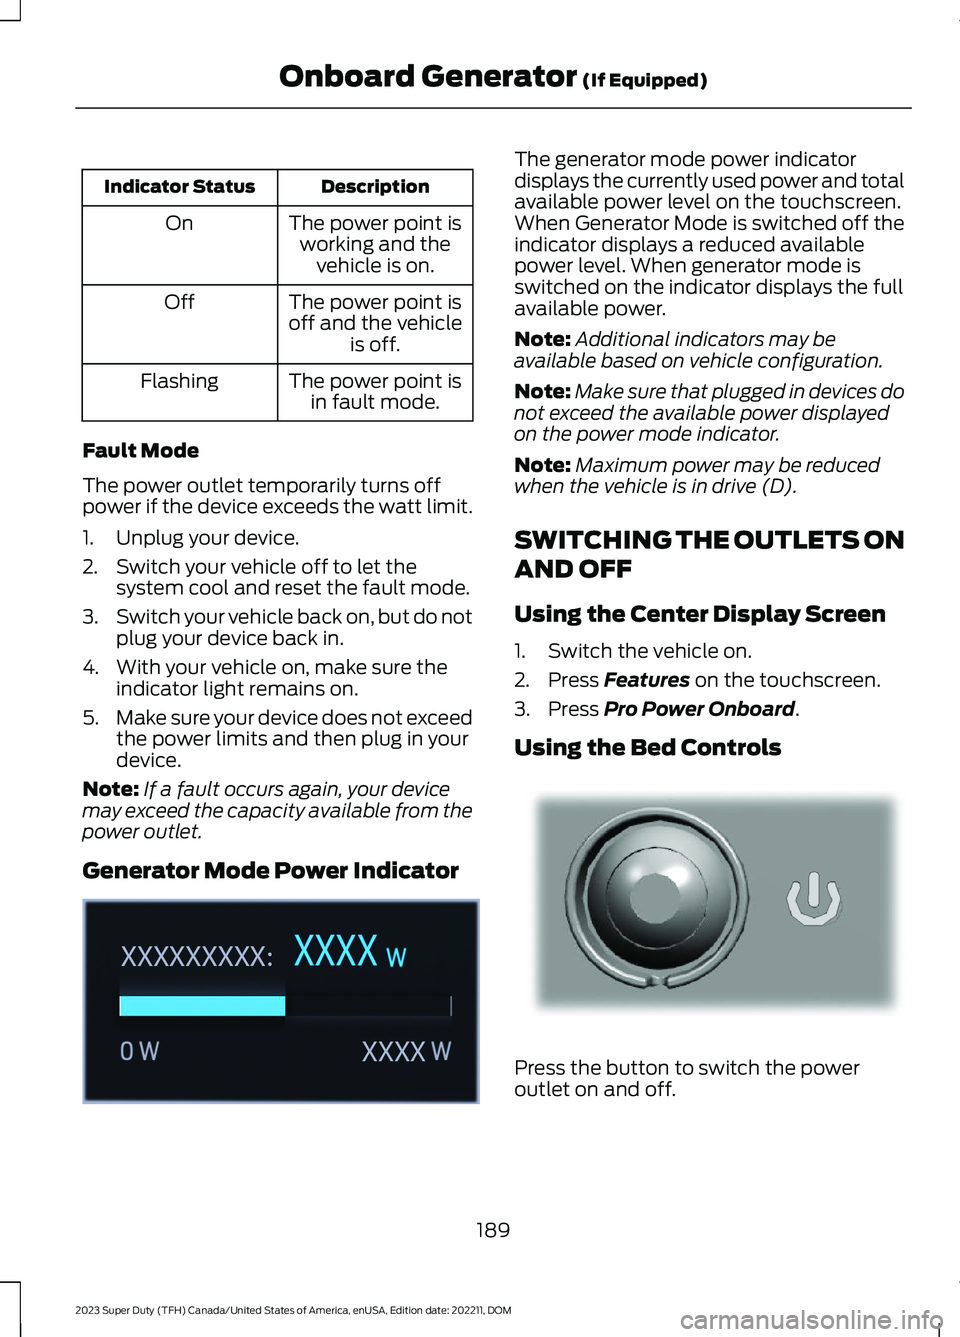
Generator Mode Power Indicator
The generator mode power indicatordisplays the currently used power and totalavailable power level on the touchscreen.When Generator Mode is switched off theindicator displays a reduced availablepower level. When generator mode isswitched on the indicator displays the fullavailable power.
Note:Additional indicators may beavailable based on vehicle configuration.
Note:Make sure that plugged in devices donot exceed the available power displayedon the power mode indicator.
Note:Maximum power may be reducedwhen the vehicle is in drive (D).
SWITCHING THE OUTLETS ON
AND OFF
Using the Center Display Screen
1.Switch the vehicle on.
2.Press Features on the touchscreen.
3.Press Pro Power Onboard.
Using the Bed Controls
Press the button to switch the poweroutlet on and off.
189
2023 Super Duty (TFH) Canada/United States of America, enUSA, Edition date: 202211, DOMOnboard Generator (If Equipped)E362360 E337175