2023 FORD MAVERICK spare tire location
[x] Cancel search: spare tire locationPage 86 of 556
When hauling cargo using the tailgatemiddle position, make sure the load isevenly distributed and supported using thesupport locations in the pickup bed. SeeLocating the Pickup Bed Slots (page264).
Note:Secure all cargo.
Note:The maximum load capacity for themiddle position is 500 lb (226 kg) evenlydistributed to the 2 pickup box wheelhouselocations and the tailgate.
LOCKING AND UNLOCKING
THE TAILGATE
Manual
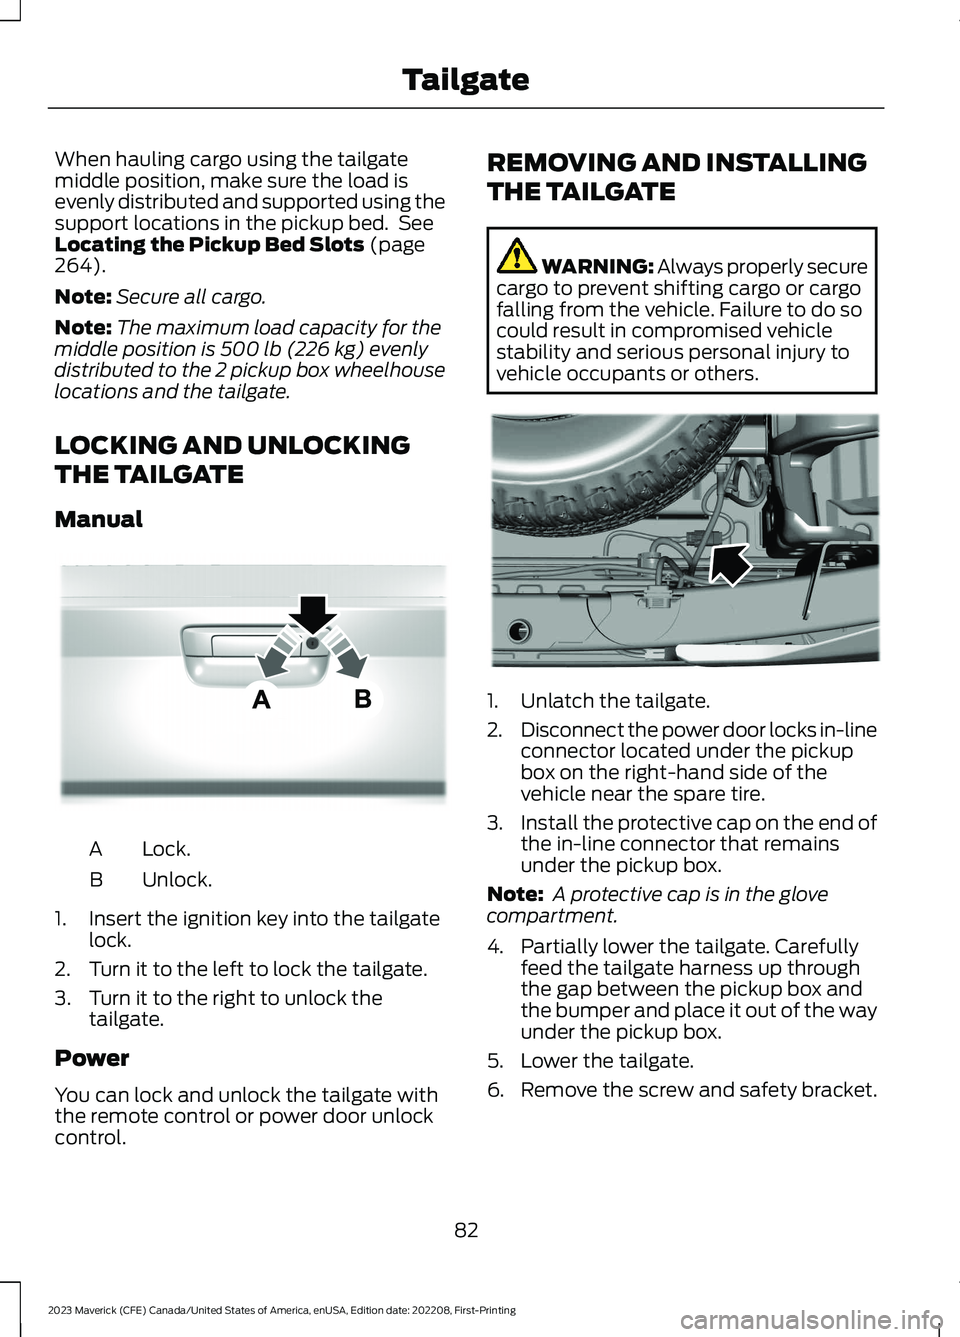
Lock.A
Unlock.B
1.Insert the ignition key into the tailgatelock.
2.Turn it to the left to lock the tailgate.
3.Turn it to the right to unlock thetailgate.
Power
You can lock and unlock the tailgate withthe remote control or power door unlockcontrol.
REMOVING AND INSTALLING
THE TAILGATE
WARNING: Always properly securecargo to prevent shifting cargo or cargofalling from the vehicle. Failure to do socould result in compromised vehiclestability and serious personal injury tovehicle occupants or others.
1.Unlatch the tailgate.
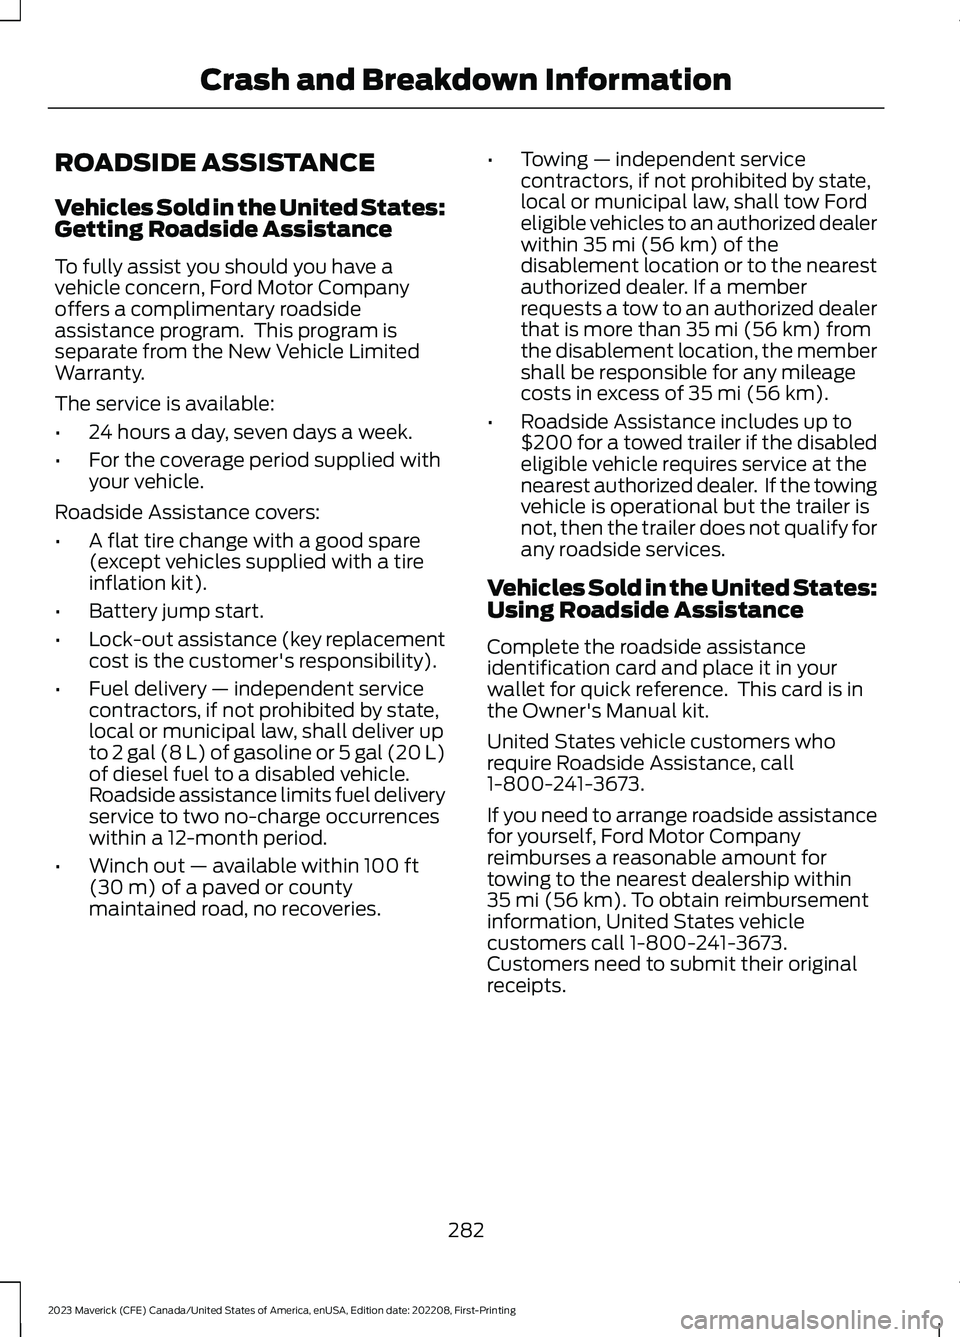
2.Disconnect the power door locks in-lineconnector located under the pickupbox on the right-hand side of thevehicle near the spare tire.
3.Install the protective cap on the end ofthe in-line connector that remainsunder the pickup box.
Note: A protective cap is in the glovecompartment.
4.Partially lower the tailgate. Carefullyfeed the tailgate harness up throughthe gap between the pickup box andthe bumper and place it out of the wayunder the pickup box.
5.Lower the tailgate.
6.Remove the screw and safety bracket.
82
2023 Maverick (CFE) Canada/United States of America, enUSA, Edition date: 202208, First-PrintingTailgateE348035 E189556
Page 286 of 556
ROADSIDE ASSISTANCE
Vehicles Sold in the United States:Getting Roadside Assistance
To fully assist you should you have avehicle concern, Ford Motor Companyoffers a complimentary roadsideassistance program. This program isseparate from the New Vehicle LimitedWarranty.
The service is available:
•24 hours a day, seven days a week.
•For the coverage period supplied withyour vehicle.
Roadside Assistance covers:
•A flat tire change with a good spare(except vehicles supplied with a tireinflation kit).
•Battery jump start.
•Lock-out assistance (key replacementcost is the customer's responsibility).
•Fuel delivery — independent servicecontractors, if not prohibited by state,local or municipal law, shall deliver upto 2 gal (8 L) of gasoline or 5 gal (20 L)of diesel fuel to a disabled vehicle.Roadside assistance limits fuel deliveryservice to two no-charge occurrenceswithin a 12-month period.
•Winch out — available within 100 ft(30 m) of a paved or countymaintained road, no recoveries.
•Towing — independent servicecontractors, if not prohibited by state,local or municipal law, shall tow Fordeligible vehicles to an authorized dealerwithin 35 mi (56 km) of thedisablement location or to the nearestauthorized dealer. If a memberrequests a tow to an authorized dealerthat is more than 35 mi (56 km) fromthe disablement location, the membershall be responsible for any mileagecosts in excess of 35 mi (56 km).
•Roadside Assistance includes up to$200 for a towed trailer if the disabledeligible vehicle requires service at thenearest authorized dealer. If the towingvehicle is operational but the trailer isnot, then the trailer does not qualify forany roadside services.
Vehicles Sold in the United States:Using Roadside Assistance
Complete the roadside assistanceidentification card and place it in yourwallet for quick reference. This card is inthe Owner's Manual kit.
United States vehicle customers whorequire Roadside Assistance, call1-800-241-3673.
If you need to arrange roadside assistancefor yourself, Ford Motor Companyreimburses a reasonable amount fortowing to the nearest dealership within35 mi (56 km). To obtain reimbursementinformation, United States vehiclecustomers call 1-800-241-3673.Customers need to submit their originalreceipts.
282
2023 Maverick (CFE) Canada/United States of America, enUSA, Edition date: 202208, First-PrintingCrash and Breakdown Information
Page 353 of 556
Note:If you have a dissimilar sparewheel and tire assembly, it isintended for temporary use onlyand should not be used in a tirerotation.
Note:After having your tiresrotated, inflation pressure must bechecked and adjusted to thevehicle requirements.
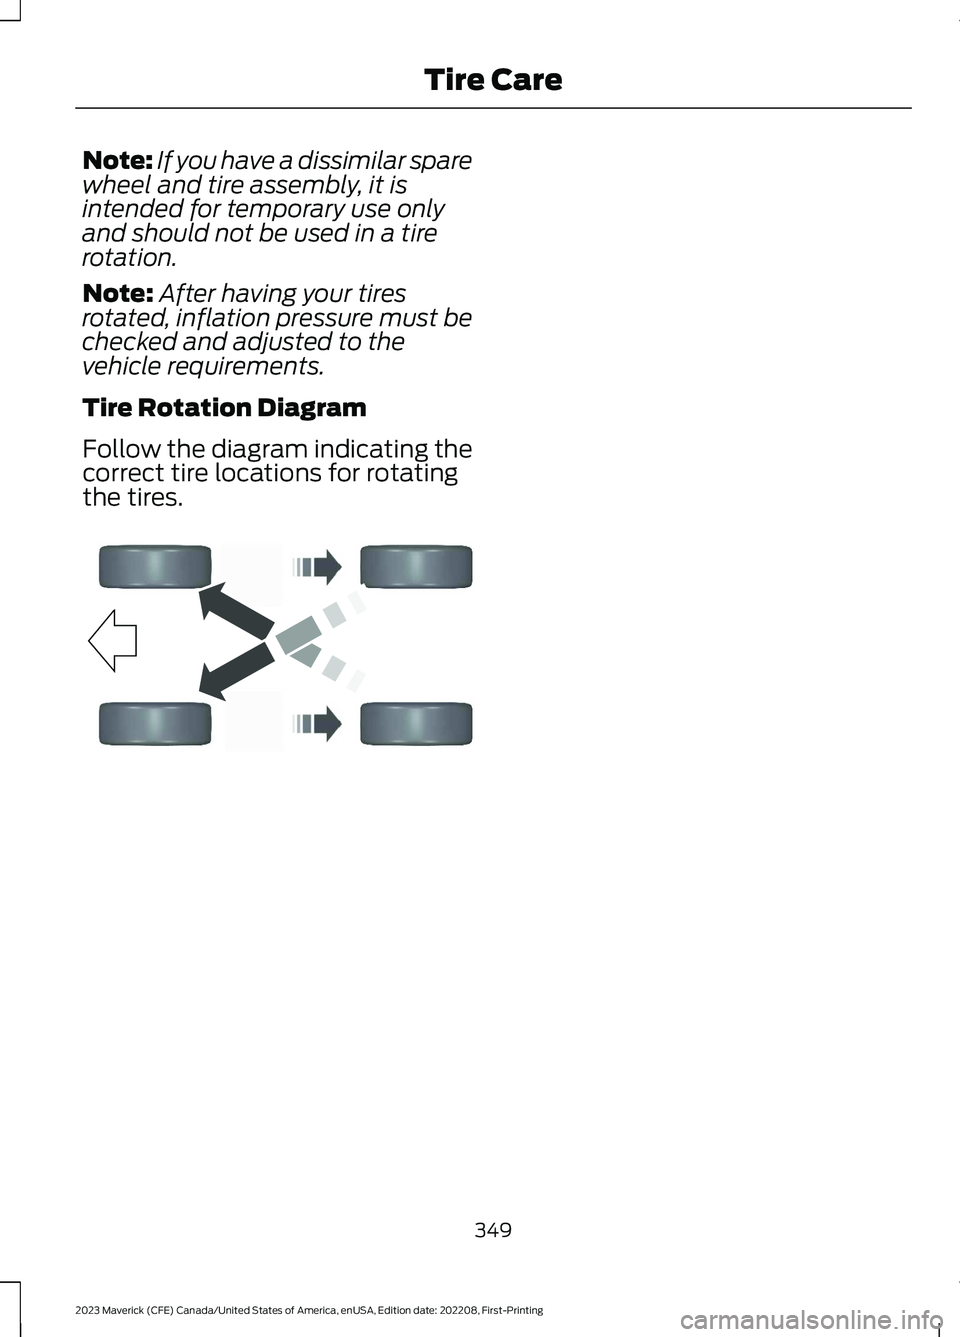
Tire Rotation Diagram
Follow the diagram indicating thecorrect tire locations for rotatingthe tires.
349
2023 Maverick (CFE) Canada/United States of America, enUSA, Edition date: 202208, First-PrintingTire CareE142547
Page 358 of 556

CHANGING A FLAT TIRE
Have a flat serviced by an authorizeddealer to prevent damage to the systemsensors. See Tire Pressure MonitoringSystem Precautions (page 351).Replacethe spare tire with a road tire as soon aspossible. During repairing or replacing theflat tire, have the authorized dealer inspectthe system sensor for damage.
If you get a flat tire when driving, do notapply the brake heavily. Instead, graduallydecrease your speed. Hold the steeringwheel firmly and slowly move to a safeplace on the side of the road.
Note:The use of tire sealant may damageyour tire pressure monitoring system andshould only be used in roadsideemergencies.
Note:The tire pressure monitoring systemindicator light illuminates when the sparetire is in use. To restore the full function ofthe monitoring system, all road wheelsequipped with tire pressure monitoringsensors must be mounted on this vehicle.
WARNING: Never place anythingbetween the vehicle jack and the ground.
WARNING: Never place anythingbetween the vehicle jack and yourvehicle.
WARNING: To help prevent yourvehicle from moving when changing awheel, shift the transmission into park(P), set the parking brake and use anappropriate block or wheel chock tosecure the wheel diagonally opposite tothe wheel being changed. For example,when changing the front left wheel,place an appropriate block or wheelchock on the right rear wheel.
WARNING: It is recommended thatthe wheels of the vehicle be chocked,and that no person should remain in avehicle that is being jacked.
WARNING: Only use the jackprovided as original equipment with yourvehicle.
WARNING: The jack supplied withthis vehicle is only intended for changinga flat tire in an emergency. Do notattempt to do any other work on yourvehicle when it is supported by the jack,as your vehicle could slip off the jack.Failure to follow this instruction couldresult in personal injury or death.
WARNING: The jack should beused on level firm ground whereverpossible.
WARNING: Only use the specifiedjacking points. If you use any otherlocations you could damage vehiclecomponents, such as brake lines.
WARNING: Switch the ignition offand apply the parking brake. If yourvehicle has a manual transmission, shiftinto first or reverse gear. If your vehiclehas an automatic transmission, shift intopark (P).
WARNING: Do not attempt tochange a tire on the side of the vehicleclose to moving traffic. Pull far enoughoff the road to not obstruct the flow oftraffic and avoid the danger of being hitwhen operating the jack or changing thewheel.
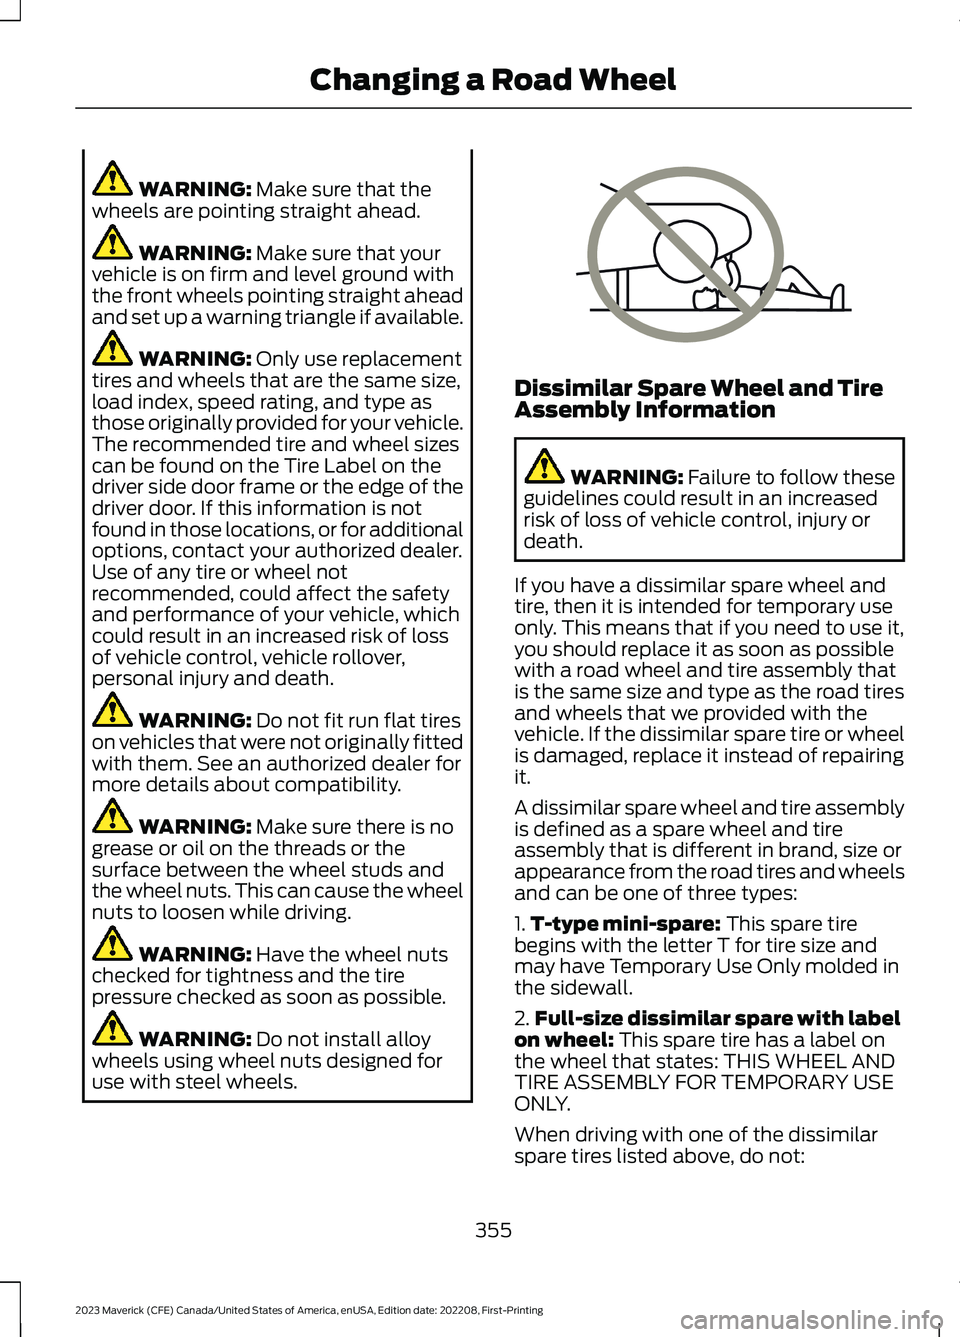
WARNING: No person should placeany portion of their body under a vehiclethat is supported by a jack.
354
2023 Maverick (CFE) Canada/United States of America, enUSA, Edition date: 202208, First-PrintingChanging a Road Wheel
Page 359 of 556
WARNING: Make sure that thewheels are pointing straight ahead.
WARNING: Make sure that yourvehicle is on firm and level ground withthe front wheels pointing straight aheadand set up a warning triangle if available.
WARNING: Only use replacementtires and wheels that are the same size,load index, speed rating, and type asthose originally provided for your vehicle.The recommended tire and wheel sizescan be found on the Tire Label on thedriver side door frame or the edge of thedriver door. If this information is notfound in those locations, or for additionaloptions, contact your authorized dealer.Use of any tire or wheel notrecommended, could affect the safetyand performance of your vehicle, whichcould result in an increased risk of lossof vehicle control, vehicle rollover,personal injury and death.
WARNING: Do not fit run flat tireson vehicles that were not originally fittedwith them. See an authorized dealer formore details about compatibility.
WARNING: Make sure there is nogrease or oil on the threads or thesurface between the wheel studs andthe wheel nuts. This can cause the wheelnuts to loosen while driving.
WARNING: Have the wheel nutschecked for tightness and the tirepressure checked as soon as possible.
WARNING: Do not install alloywheels using wheel nuts designed foruse with steel wheels.
Dissimilar Spare Wheel and TireAssembly Information
WARNING: Failure to follow theseguidelines could result in an increasedrisk of loss of vehicle control, injury ordeath.
If you have a dissimilar spare wheel andtire, then it is intended for temporary useonly. This means that if you need to use it,you should replace it as soon as possiblewith a road wheel and tire assembly thatis the same size and type as the road tiresand wheels that we provided with thevehicle. If the dissimilar spare tire or wheelis damaged, replace it instead of repairingit.
A dissimilar spare wheel and tire assemblyis defined as a spare wheel and tireassembly that is different in brand, size orappearance from the road tires and wheelsand can be one of three types:
1.T-type mini-spare: This spare tirebegins with the letter T for tire size andmay have Temporary Use Only molded inthe sidewall.
2.Full-size dissimilar spare with labelon wheel: This spare tire has a label onthe wheel that states: THIS WHEEL ANDTIRE ASSEMBLY FOR TEMPORARY USEONLY.
When driving with one of the dissimilarspare tires listed above, do not:
355
2023 Maverick (CFE) Canada/United States of America, enUSA, Edition date: 202208, First-PrintingChanging a Road WheelE166722
Page 360 of 556
•Exceed 50 mph (80 km/h).
•Load the vehicle beyond maximumvehicle load rating listed on the SafetyCompliance Label.
•Tow a trailer.
•Use snow chains on the end of thevehicle with the dissimilar spare tire.
•Use more than one dissimilar spare tireat a time.
•Use commercial car washingequipment.
•Try to repair the dissimilar spare tire.
Use of one of the dissimilar spare tireslisted above at any one wheel location canlead to impairment of the following:
•Handling, stability and brakingperformance.
•Comfort and noise.
•Ground clearance and parking at curbs.
•Winter weather driving capability.
•Wet weather driving capability.
•All-wheel driving capability.
3.Full-size dissimilar spare withoutlabel on wheel
When driving with the full-size dissimilarspare wheel and tire assembly, do not:
•Exceed 70 mph (113 km/h).
•Use more than one dissimilar sparewheel and tire assembly at a time.
•Use commercial car washingequipment.
•Use snow chains on the end of thevehicle with the dissimilar spare wheeland tire assembly.
The usage of a full-size dissimilar sparewheel and tire assembly can lead toimpairment of the following:
•Handling, stability and brakingperformance.
•Comfort and noise.
•Ground clearance and parking at curbs.
•Winter weather driving capability.
•Wet weather driving capability.
•All-wheel driving capability
When driving with the full-size dissimilarspare wheel and tire assembly additionalcaution should be given to:
•Towing a trailer.
•Driving vehicles equipped with acamper body.
•Driving vehicles with a load on thecargo rack.
Drive cautiously when using a full-sizedissimilar spare wheel and tire assemblyand seek service as soon as possible.
Removing the Vehicle Jack andTool Bag
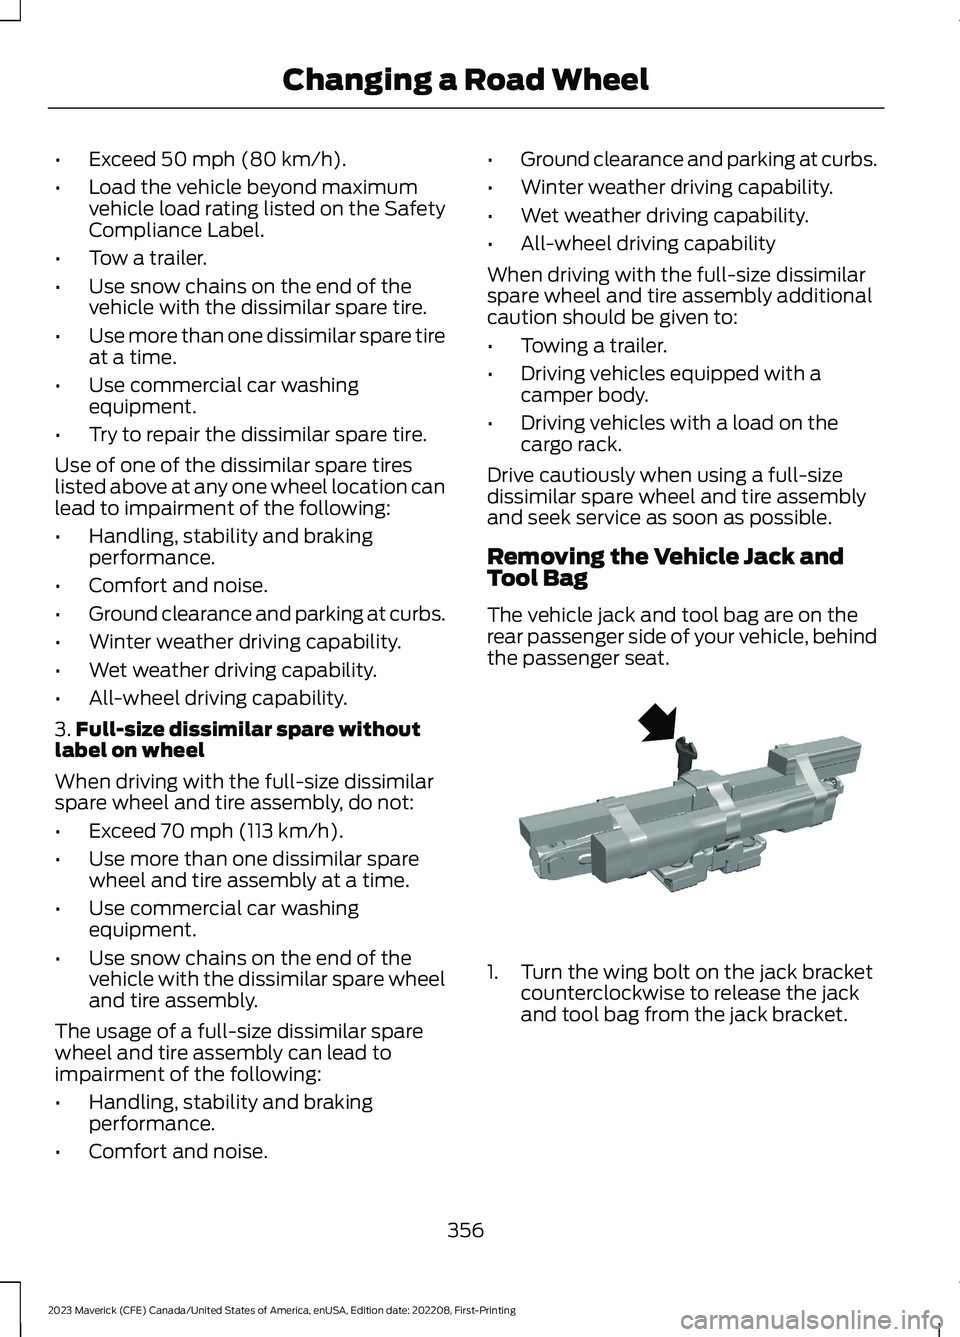
The vehicle jack and tool bag are on therear passenger side of your vehicle, behindthe passenger seat.
1.Turn the wing bolt on the jack bracketcounterclockwise to release the jackand tool bag from the jack bracket.
356
2023 Maverick (CFE) Canada/United States of America, enUSA, Edition date: 202208, First-PrintingChanging a Road WheelE352020
Page 362 of 556
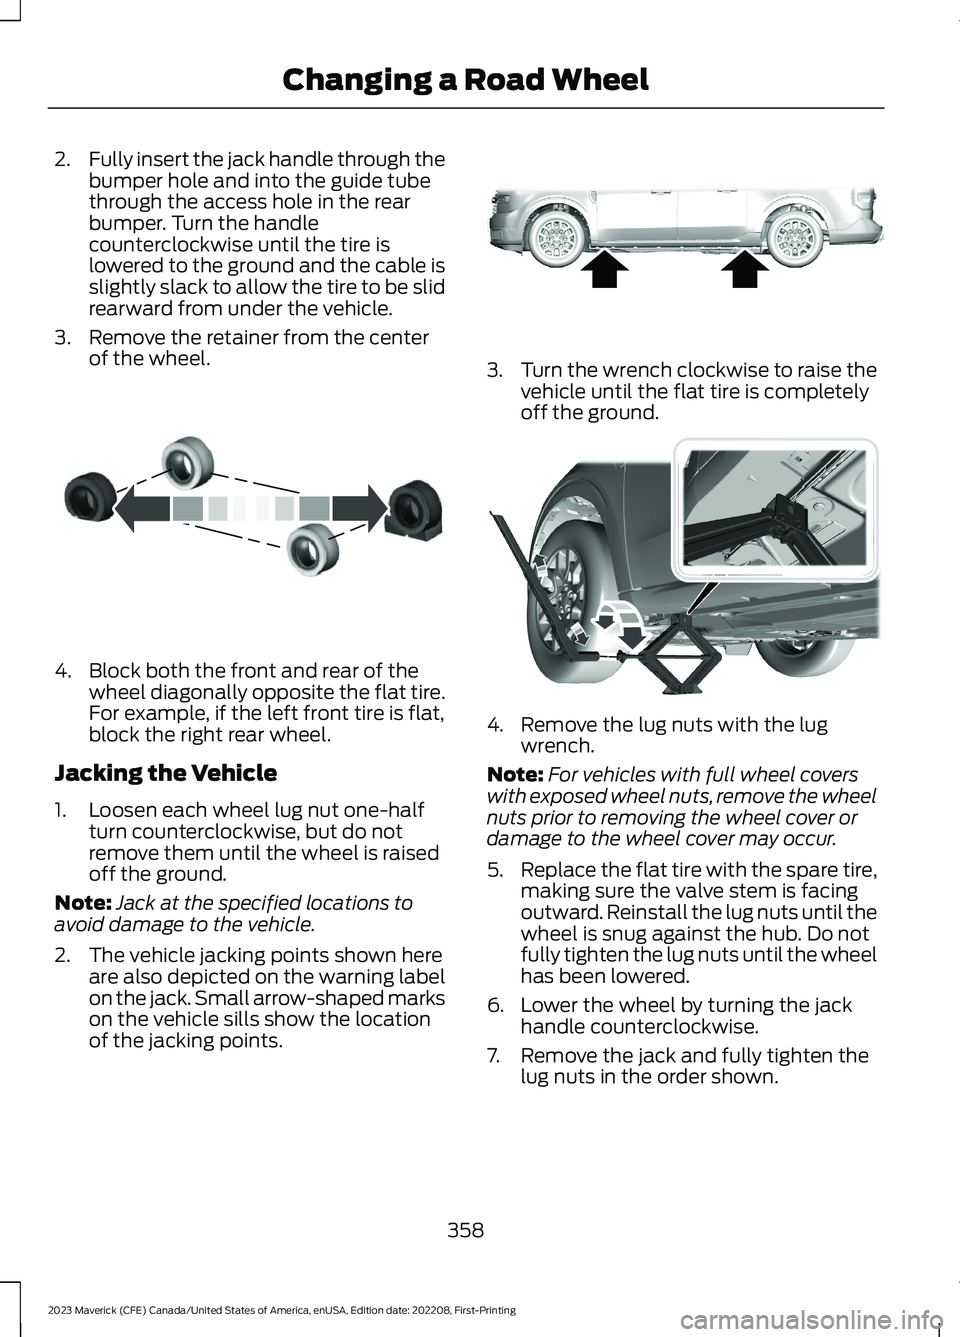
2.Fully insert the jack handle through thebumper hole and into the guide tubethrough the access hole in the rearbumper. Turn the handlecounterclockwise until the tire islowered to the ground and the cable isslightly slack to allow the tire to be slidrearward from under the vehicle.
3.Remove the retainer from the centerof the wheel.
4.Block both the front and rear of thewheel diagonally opposite the flat tire.For example, if the left front tire is flat,block the right rear wheel.
Jacking the Vehicle
1.Loosen each wheel lug nut one-halfturn counterclockwise, but do notremove them until the wheel is raisedoff the ground.
Note:Jack at the specified locations toavoid damage to the vehicle.
2.The vehicle jacking points shown hereare also depicted on the warning labelon the jack. Small arrow-shaped markson the vehicle sills show the locationof the jacking points.
3.Turn the wrench clockwise to raise thevehicle until the flat tire is completelyoff the ground.
4.Remove the lug nuts with the lugwrench.
Note:For vehicles with full wheel coverswith exposed wheel nuts, remove the wheelnuts prior to removing the wheel cover ordamage to the wheel cover may occur.
5.Replace the flat tire with the spare tire,making sure the valve stem is facingoutward. Reinstall the lug nuts until thewheel is snug against the hub. Do notfully tighten the lug nuts until the wheelhas been lowered.
6.Lower the wheel by turning the jackhandle counterclockwise.
7.Remove the jack and fully tighten thelug nuts in the order shown.
358
2023 Maverick (CFE) Canada/United States of America, enUSA, Edition date: 202208, First-PrintingChanging a Road WheelE175447 E352156 E352182