2023 CHEVROLET CORVETTE stop start
[x] Cancel search: stop startPage 248 of 351

Chevrolet Corvette Owner Manual (GMNA-Localizing-U.S./Canada/Mexico-
16287457) - 2023 - CRC - 3/10/22
Vehicle Care 247
1. Engine Oil Drain Plug
2. O-ring Seal
3. Engine Oil Filter
To change the engine oil and filter:1. Run the engine at idle for about 20 seconds to return all of the oil back
into the dry sump oil tank.
2. Turn the engine off prior to draining the oil.
3. Remove the engine oil drain plug from the bottom of the engine oil pan. Drain
plug removal will let the oil drain from
the external oil tank and residual oil
from the crankcase sump. Allow the oil
to drain. 4. Remove the engine oil filter and allow
the oil to drain.
5. Inspect the drain plug O-ring seal and replace if it is damaged. Reinstall the
drain plug into the oil pan and tighten it
to 25 N.m (18 lb ft).
6. Replace the oil filter and tighten it three-quarters to one turn after the
gasket makes contact. See Maintenance
Replacement Parts 0311 for the correct
filter.
7. Remove the oil fill cap from the external engine oil tank.
Add oil to the oil tank through the
opening in the fill tube. See Capacities
and Specifications 0315.
8. Install the oil fill cap and insert the dipstick, if removed.
{Warning
To help avoid personal injury and/or
engine damage, always install the engine
oil dipstick and oil fill cap until fully
seated to a stop. If not fully seated, oil
could escape on to hot exhaust parts and
cause a fire. 9. Start the engine and check the oil level
as described under "Checking the Engine
Oil." previously in this section.
Selecting the Right Engine Oil
Selecting the right engine oil depends on
both the proper oil specification and the
viscosity grade. See Recommended Fluids
and Lubricants 0310.
Specification
Use engine oils that meet the dexosR
specification.
Engine oils that have been approved by GM
as meeting the dexosR specification are
marked with the dexosR approved logo. See
www.gmdexos.com.
GM recommends Mobil 1 engine oils that
show the dexosR approved logo.
Page 256 of 351

Chevrolet Corvette Owner Manual (GMNA-Localizing-U.S./Canada/Mexico-
16287457) - 2023 - CRC - 3/10/22
Vehicle Care 255
If coolant is needed, be sure the cooling
system is cool, then add the proper
DEX-COOL coolant mixture directly to the
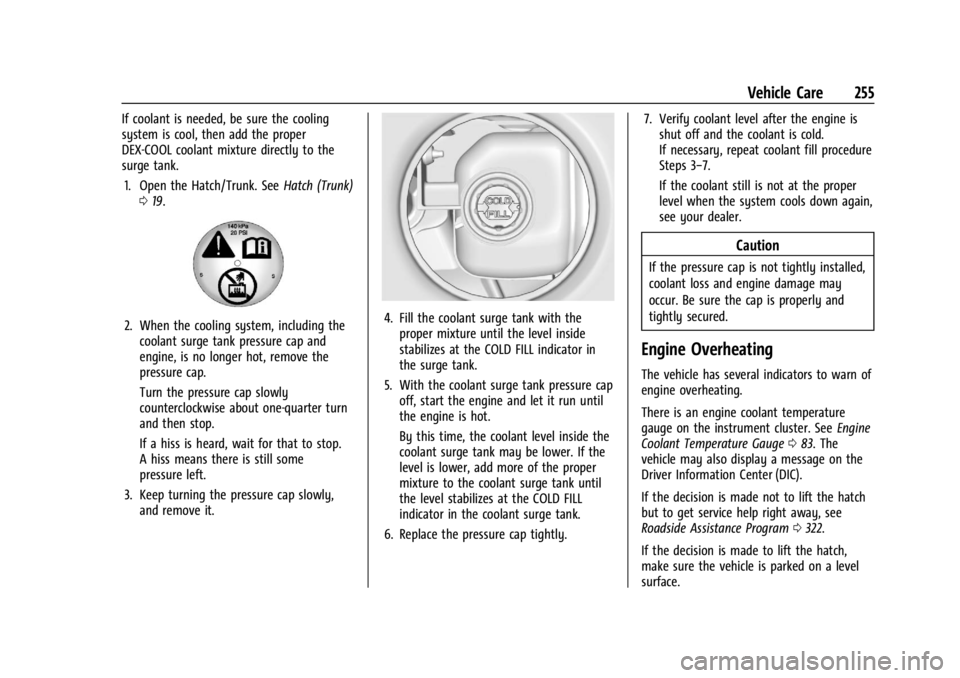
surge tank.1. Open the Hatch/Trunk. See Hatch (Trunk)
0 19.
2. When the cooling system, including the
coolant surge tank pressure cap and
engine, is no longer hot, remove the
pressure cap.
Turn the pressure cap slowly
counterclockwise about one-quarter turn
and then stop.
If a hiss is heard, wait for that to stop.
A hiss means there is still some
pressure left.
3. Keep turning the pressure cap slowly, and remove it.4. Fill the coolant surge tank with theproper mixture until the level inside
stabilizes at the COLD FILL indicator in
the surge tank.
5. With the coolant surge tank pressure cap off, start the engine and let it run until
the engine is hot.
By this time, the coolant level inside the
coolant surge tank may be lower. If the
level is lower, add more of the proper
mixture to the coolant surge tank until
the level stabilizes at the COLD FILL
indicator in the coolant surge tank.
6. Replace the pressure cap tightly. 7. Verify coolant level after the engine is
shut off and the coolant is cold.
If necessary, repeat coolant fill procedure
Steps 3−7.
If the coolant still is not at the proper
level when the system cools down again,
see your dealer.
Caution
If the pressure cap is not tightly installed,
coolant loss and engine damage may
occur. Be sure the cap is properly and
tightly secured.
Engine Overheating
The vehicle has several indicators to warn of
engine overheating.
There is an engine coolant temperature
gauge on the instrument cluster. See Engine
Coolant Temperature Gauge 083. The
vehicle may also display a message on the
Driver Information Center (DIC).
If the decision is made not to lift the hatch
but to get service help right away, see
Roadside Assistance Program 0322.
If the decision is made to lift the hatch,
make sure the vehicle is parked on a level
surface.
Page 260 of 351

Chevrolet Corvette Owner Manual (GMNA-Localizing-U.S./Canada/Mexico-
16287457) - 2023 - CRC - 3/10/22
Vehicle Care 259
Caution
Performing the brake burnish procedure
on a base brake system can result in
brake damage.
Perform this procedure only on dry
pavement, in a safe manner, and in
compliance with all local and state
ordinances/laws regarding motor vehicle
operation.
Caution
The new vehicle break-in period should be
completed before performing the brake
burnishing procedure or damage may
occur to the powertrain/engine. See New
Vehicle Break-In 0189.
Caution
Brake fade can occur during this burnish
procedure and can cause brake pedal
travel and force to increase. This could
extend stopping distance until the brakes
are fully burnished.
Completing the following procedure as
instructed will not damage the brakes. The
brake pads may smoke and produce an odor. The braking force and pedal travel
may increase. After the procedure, the brake
pads may appear white at the rotor contact.
1. Using the Friction Bubble gauge, apply the brakes 10 times starting at 100 km/h
(60 mph) to 50 km/h (30 mph) while
decelerating at 0.4g. This is a medium
brake application. Drive for at lest 0.5 km
(0.3 mi) between applying the brakes.
2. If further cleanup of the brake discs is needed, repeat this procedure with 0.7g
applications.
As with all high performance brake systems,
some amount of brake squeal is normal.
Brake Pad Life System (If
Equipped)
When to Change Brake Pads
If equipped, this system estimates the
remaining life of the front and rear brake
pads. Brake Pad Life is displayed in the
Driver Information Center (DIC), along with
a percentage for each axle. The system must
be reset every time the brake pads are
changed. When the system has determined that the
brake pads need to be replaced, a message
displays, which may include mileage
remaining.
Brake pads should always be replaced as
complete axle sets.
How to Reset the Brake Pad Life System
The system will automatically detect when
significantly worn brake pads are replaced.
When the ignition is turned on after new
pads and wear sensors are installed, a
message will display. Follow the prompts to
reset the system.
The brake pad life system can also be
manually reset:
1. Display Brake Pad Life on the DIC. See Driver Information Center (DIC) 092.
2. Select the Brake Pad Life menu.
3. Select front or rear pads as appropriate.
4. Select YES on the confirmation message. Repeat for the pads on the other axle if
they were also replaced.
Page 262 of 351

Chevrolet Corvette Owner Manual (GMNA-Localizing-U.S./Canada/Mexico-
16287457) - 2023 - CRC - 3/10/22
Vehicle Care 261
Always clean the brake fluid reservoir cap
and the area around the cap before
removing it.
Do not top off the brake fluid. Adding fluid
does not correct a leak. If fluid is added
when the linings are worn, there will be too
much fluid when new brake linings are
installed. Add or remove fluid, as necessary,
only when work is done on the brake
hydraulic system.
Caution
If too much brake fluid is added, the
brake fluid can spill and cause vehicle
damage, including damage to electrical
components and surfaces. Add brake fluid
only when work is done on the brake
hydraulic system.
When the brake fluid falls to a low level,
the brake warning light comes on. See Brake
System Warning Light 087.
Brake fluid absorbs water over time which
degrades the effectiveness of the brake fluid.
Replace brake fluid at the specified intervals
to prevent increased stopping distance. See
Maintenance Schedule 0306. What to Add
Use only GM approved DOT 4 brake fluid
from a clean, sealed container. See
Recommended Fluids and Lubricants
0310.
{Warning
The wrong or contaminated brake fluid
could result in damage to the brake
system. This could result in the loss of
braking leading to a possible injury.
Always use the proper GM approved
brake fluid.
Caution
If brake fluid is spilled on the vehicle's
painted surfaces, the paint finish can be
damaged. Immediately wash off any
painted surface.
Battery - North America
The original equipment battery is
maintenance free. Do not remove the cap
and do not add fluid.
Refer to the replacement number on the
original battery label when a new battery is
needed. For battery replacement, see your
dealer.
{Warning
WARNING: Battery posts, terminals and
related accessories can expose you to
chemicals including lead and lead
compounds, which are known to the
State of California to cause cancer and
birth defects or other reproductive harm.
Wash hands after handling. For more
information go to
www.P65Warnings.ca.gov.
See California Proposition 65 Warning 01.
Vehicle Storage
{Warning
Batteries have acid that can burn you and
gas that can explode. You can be badly
hurt if you are not careful. Always wear
eye protection. See Jump Starting - North
America 0290 for tips on working
around a battery without getting hurt.
Page 266 of 351

Chevrolet Corvette Owner Manual (GMNA-Localizing-U.S./Canada/Mexico-
16287457) - 2023 - CRC - 3/10/22
Vehicle Care 265
To check a fuse, look at the band inside the
fuse. If the band is broken or melted,
replace the fuse. Be sure to replace a bad
fuse with a fuse of the identical size and
rating.
Replacing a Blown Fuse
At the next opportunity, see your dealer to
replace the blown fuse.
Headlamp Wiring
An electrical overload may cause the lamps
to go on and off, or in some cases to
remain off. Have the headlamp wiring
checked right away if the lamps go on and
off or remain off.
Windshield Wipers
If the wiper motor overheats due to heavy
snow or ice, the windshield wipers will stop
until the motor cools and will then restart.
Although the circuit is protected from
electrical overload, overload due to heavy
snow or ice may cause wiper linkage
damage. Always clear ice and heavy snow
from the windshield before using the
windshield wipers.
If the overload is caused by an electrical
problem and not snow or ice, be sure to get
it fixed.
Page 282 of 351

Chevrolet Corvette Owner Manual (GMNA-Localizing-U.S./Canada/Mexico-
16287457) - 2023 - CRC - 3/10/22
Vehicle Care 281
sequence will continue upon subsequent
vehicle start-ups as long as the malfunction
exists.
When the malfunction indicator is
illuminated, the system may not be able to
detect or signal low tire pressure as
intended. TPMS malfunctions may occur for
a variety of reasons, including the
installation of replacement or alternate tires
or wheels on the vehicle that prevent the
TPMS from functioning properly. Always
check the TPMS malfunction telltale after
replacing one or more tires or wheels on
your vehicle to ensure that the replacement
or alternate tires and wheels allow the
TPMS to continue to function properly.
SeeTire Pressure Monitor Operation 0281.
See Radio Frequency Statement 0327.
Tire Pressure Monitor Operation
This vehicle may have a Tire Pressure
Monitor System (TPMS). The TPMS is
designed to warn the driver when a low tire
pressure condition exists. TPMS sensors are
mounted onto each tire and wheel
assembly, excluding the spare tire and
wheel assembly. The TPMS sensors monitor the air pressure in the tires and transmit the
tire pressure readings to a receiver located
in the vehicle.
When a low tire pressure condition is
detected, the TPMS illuminates the low tire
pressure warning light located on the
instrument cluster. If the warning light
comes on, stop as soon as possible and
inflate the tires to the recommended
pressure shown on the Tire and Loading
Information label. See
Vehicle Load Limits
0 186.
A message to check the pressure in a
specific tire displays in the Driver
Information Center (DIC). The low tire
pressure warning light and the DIC warning
message come on each time the vehicle is
turned on until the tires are inflated to the
correct inflation pressure. If the vehicle has
DIC buttons, tire pressure levels can be
viewed. For additional information and
details about the DIC operation and displays,
see Driver Information Center (DIC) 092. The low tire pressure warning light may
come on in cool weather when the vehicle is
first started, and then turn off as the vehicle
is driven. This could be an early indicator
that the air pressure is getting low and
needs to be inflated to the proper pressure.
A Tire and Loading Information label shows
the size of the original equipment tires and
the correct inflation pressure for the tires
when they are cold. See
Vehicle Load Limits
0 186, for an example of the Tire and
Loading Information label and its location.
Also see Tire Pressure 0278.
The TPMS can warn about a low tire
pressure condition but it does not replace
normal tire maintenance. See Tire Inspection
0 283, Tire Rotation 0283, and Tires0271.
Caution
Tire sealant materials are not all the
same. A non-approved tire sealant could
damage the TPMS sensors. TPMS sensor
damage caused by using an incorrect tire
sealant is not covered by the vehicle
warranty. Always use only the GM
approved tire sealant available through
your dealer or included in the vehicle.
Page 291 of 351

Chevrolet Corvette Owner Manual (GMNA-Localizing-U.S./Canada/Mexico-
16287457) - 2023 - CRC - 3/10/22
290 Vehicle Care
Warning (Continued)
Do not spin the wheels. If traction
devices are used, install them on the tires
of the drive axle only.
If a Tire Goes Flat
It is unusual for a tire to blow out while
driving, especially if the tires are maintained
properly. SeeTires0271. If air goes out of a
tire, it is much more likely to leak out
slowly. But if there ever is a blowout, here
are a few tips about what to expect and
what to do:
If a front tire fails, the flat tire creates a
drag that pulls the vehicle toward that side.
Take your foot off the accelerator pedal and
grip the steering wheel firmly. Steer to
maintain lane position, and then gently
brake to a stop, well off the road,
if possible.
A rear blowout, particularly on a curve, acts
much like a skid and may require the same
correction as used in a skid. Stop pressing
the accelerator pedal and steer to straighten
the vehicle. It may be very bumpy and
noisy. Gently brake to a stop, well off the
road, if possible. The vehicle has no spare tire, no tire
changing equipment, and no place to store
a tire.
If the vehicle has run-flat tires, there is no
need to stop on the side of the road to
change a flat tire. See
Run-Flat Tires0272.{Warning
Driving on a flat tire will cause
permanent damage to the tire.
Re-inflating a tire after it has been driven
on while severely underinflated or flat
may cause a blowout and a serious crash.
Never attempt to re-inflate a tire that has
been driven on while severely
underinflated or flat. Have your dealer or
an authorized tire service center repair or
replace the flat tire as soon as possible.
{Warning
Special tools and procedures are required
to service a run-flat tire. If these special
tools and procedures are not used, injury
or vehicle damage may occur. Always be
sure the proper tools and procedures, as
described in the service manual, are used.
Jump Starting
Jump Starting - North America
For more information about the vehicle
battery, see Battery - North America 0261.
If the battery has run down, use another
vehicle and some jumper cables to start the
vehicle. Be sure to use the following steps
to do it safely.
{Warning
WARNING: Battery posts, terminals and
related accessories can expose you to
chemicals including lead and lead
compounds, which are known to the
State of California to cause cancer and
birth defects or other reproductive harm.
Wash hands after handling. For more
information go to
www.P65Warnings.ca.gov.
See the warning on the back cover.
Page 338 of 351

Chevrolet Corvette Owner Manual (GMNA-Localizing-U.S./Canada/Mexico-
16287457) - 2023 - CRC - 3/10/22
Connected Services 337
Ensuring Security
.Change the default passwords for the
Wi-Fi hotspot and myChevrolet mobile
application. Make these passwords
different from each other and use a
combination of letters and numbers to
increase the security.
.Change the default name of the SSID
(Service Set Identifier). This is your
network’s name that is visible to other
wireless devices. Choose a unique name
and avoid family names or vehicle
descriptions.
Wi-Fi Hotspot (If Equipped)
The vehicle may have a built-in Wi-Fi
hotspot that provides access to the Internet
and web content at 4G LTE speed. Up to
seven mobile devices can be connected.
A data plan is required. Use the in-vehicle
controls only when it is safe to do so. 1. To retrieve Wi-Fi hotspot information, press
=to open the OnStar app on the
infotainment display, then select Wi-Fi
Hotspot. On some vehicles, touch Wi-Fi
or Wi-Fi Settings on the screen.
2. The Wi-Fi settings will display the Wi-Fi hotspot name (SSID), password, and on
some vehicles, the connection type (no Internet connection, 3G, 4G, 4G LTE), and
signal quality (poor, good, excellent). The
LTE icon shows connection to Wi-Fi. It is
possible that the icon may not illuminate
even though the vehicle has an active
connection.
3. To change the SSID or password, press
Qor call 1-888-4ONSTAR to connect
with an Advisor. On some vehicles, the
SSID and password can be changed in
the Wi-Fi Hotspot menu.
After initial set-up, your vehicle’s Wi-Fi
hotspot will connect automatically to your
mobile devices. Manage data usage by
turning Wi-Fi on or off on your mobile
device, using the myChevrolet mobile app,
or by contacting an OnStar Advisor. On
some vehicles, Wi-Fi can also be managed
from the Wi-Fi Hotspot menu.
MyChevrolet Mobile App (If Available)
Download the myChevrolet mobile app to
compatible Apple and Android smartphones.
Chevrolet users can access the following
services from a smartphone:
.Remotely start/stop the vehicle,
if factory-equipped.
.Lock/unlock doors, if equipped with
automatic locks.
.Activate the horn and lamps.
.Check the vehicle’s fuel level, oil life,
or tire pressure, if factory-equipped
with the Tire Pressure Monitor System.
.Send destinations to the vehicle.
.Locate the vehicle on a map
(U.S. market only).
.Turn the vehicle's Wi-Fi hotspot on/off,
manage settings, and monitor data
consumption, if equipped.
.Locate a dealer and schedule service.
.Request Roadside Assistance.
.Set a parking reminder with pin drop,
take a photo, make a note, and set a
timer.
.Connect with Chevrolet on social media.
Features are subject to change. For
myChevrolet mobile app information and
compatibility, see my.chevrolet.com.
An active OnStar or connected service plan
may be required. A compatible device,
factory-installed remote start, and power
locks are required. Data rates apply. See
www.onstar.com for details and system
limitations.