2022 TOYOTA PROACE CITY VERSO lamp
[x] Cancel search: lampPage 67 of 320
67
Ease of use and comfort
3
12 V accessory socket(s)
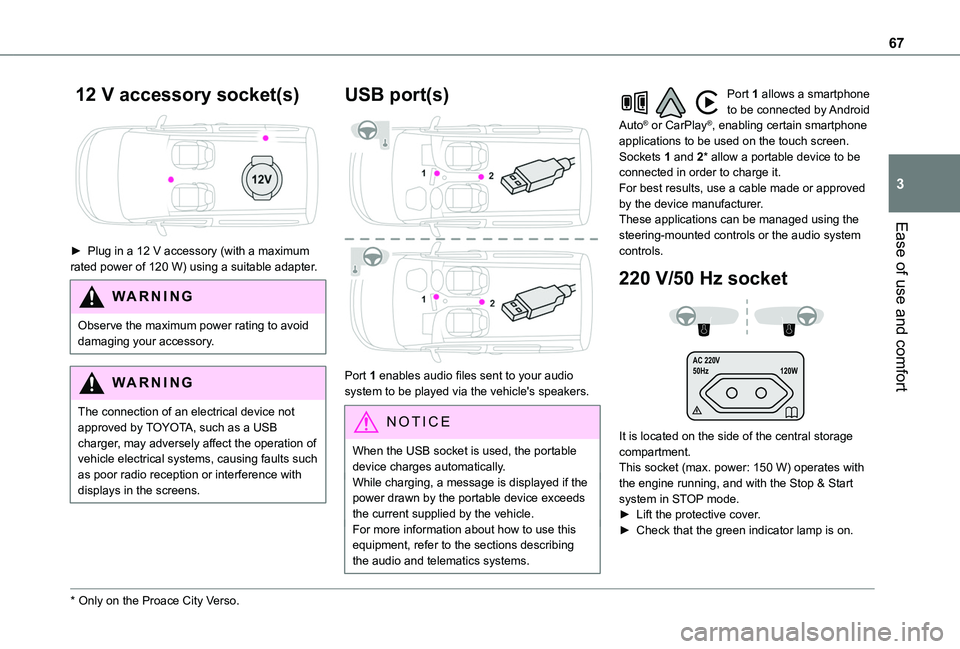
► Plug in a 12 V accessory (with a maximum rated power of 120 W) using a suitable adapter.
WARNI NG
Observe the maximum power rating to avoid damaging your accessory.
WARNI NG
The connection of an electrical device not approved by TOYOTA, such as a USB charger, may adversely affect the operation of vehicle electrical systems, causing faults such as poor radio reception or interference with
displays in the screens.
* Only on the Proace City Verso.
USB port(s)
Port 1 enables audio files sent to your audio system to be played via the vehicle's speakers.
N OTIC E
When the USB socket is used, the portable device charges automatically.While charging, a message is displayed if the power drawn by the portable device exceeds the current supplied by the vehicle.For more information about how to use this
equipment, refer to the sections describing the audio and telematics systems.
Port 1 allows a smartphone to be connected by Android Auto® or CarPlay®, enabling certain smartphone applications to be used on the touch screen.Sockets 1 and 2* allow a portable device to be connected in order to charge it.For best results, use a cable made or approved by the device manufacturer.These applications can be managed using the steering-mounted controls or the audio system controls.
220 V/50 Hz socket
AC 220 V
50Hz 120W
It is located on the side of the central storage compartment.This socket (max. power: 150 W) operates with the engine running, and with the Stop & Start system in STOP mode.► Lift the protective cover.► Check that the green indicator lamp is on.
Page 68 of 320
68
► Connect your multimedia or other electrical device (telephone charger, laptop computer, CD-DVD player, bottle warmer, etc.).In the event of a malfunction, the green indicator lamp flashes.Have the socket checked by a TOYOTA dealer or a qualified workshop.
WARNI NG
Connect only one device at a time to the socket (do not use extension leads or multi-socket adapters).Connect only devices with class II insulation (shown on the device).Do not use metal-cased devices (e.g. electric shaver, etc.).
NOTIC E
As a safety measure, if power consumption is high and power is required by the vehicle's electrical system (due to severe weather conditions, electrical overload, etc.), power to the socket may be cut off, in which case the green indicator lamp goes off.
Wireless smartphone
charger
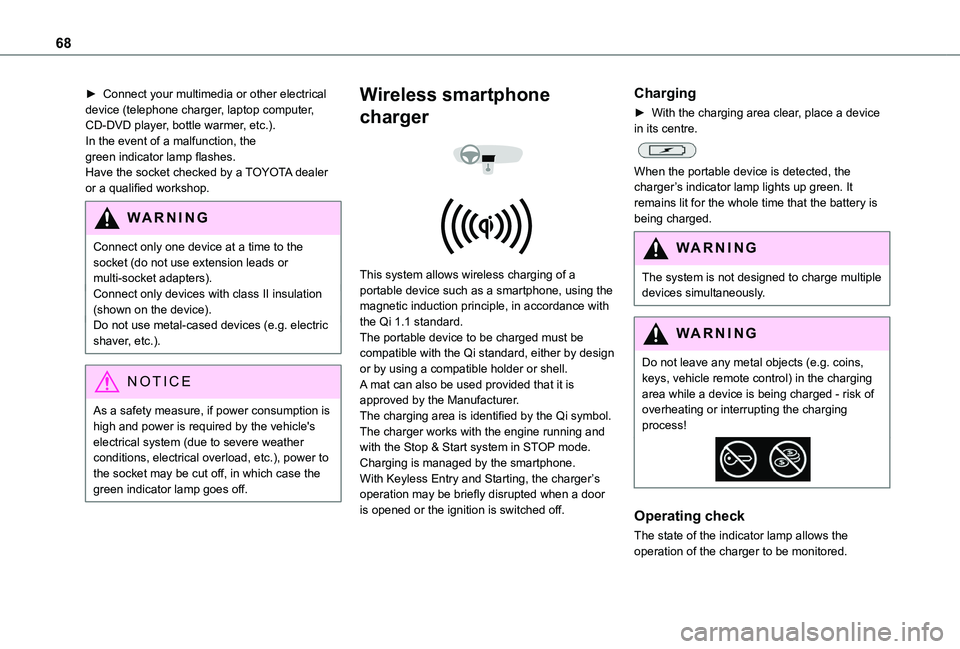
This system allows wireless charging of a portable device such as a smartphone, using the magnetic induction principle, in accordance with the Qi 1.1 standard.The portable device to be charged must be compatible with the Qi standard, either by design or by using a compatible holder or shell.A mat can also be used provided that it is approved by the Manufacturer.The charging area is identified by the Qi symbol.The charger works with the engine running and with the Stop & Start system in STOP mode.Charging is managed by the smartphone.With Keyless Entry and Starting, the charger’s operation may be briefly disrupted when a door is opened or the ignition is switched off.
Charging
► With the charging area clear, place a device in its centre.
When the portable device is detected, the charger’s indicator lamp lights up green. It remains lit for the whole time that the battery is being charged.
WARNI NG
The system is not designed to charge multiple devices simultaneously.
WARNI NG
Do not leave any metal objects (e.g. coins, keys, vehicle remote control) in the charging area while a device is being charged - risk of overheating or interrupting the charging process!
Operating check
The state of the indicator lamp allows the
operation of the charger to be monitored.
Page 69 of 320
69
Ease of use and comfort
3
State of the indicator lampMeaning
OffEngine switched off.No compatible devices detected.Charging finished.
Fixed greenCompatible device detected.Charging.
Flashing orangeForeign object detected in the charging zone.Device not well centred in the charging zone.
Fixed orangeFault with the device's battery meter.Device battery temperature too high.Charger malfunction.
If the indicator lamp is lit orange:– remove the device, then place it back in the centre of the charging zone.or– remove the device and try again in a quarter of an hour.If the problem persists, have the system checked by a TOYOTA dealer or a qualified workshop.
Floor boxes (Petrol or
Diesel)
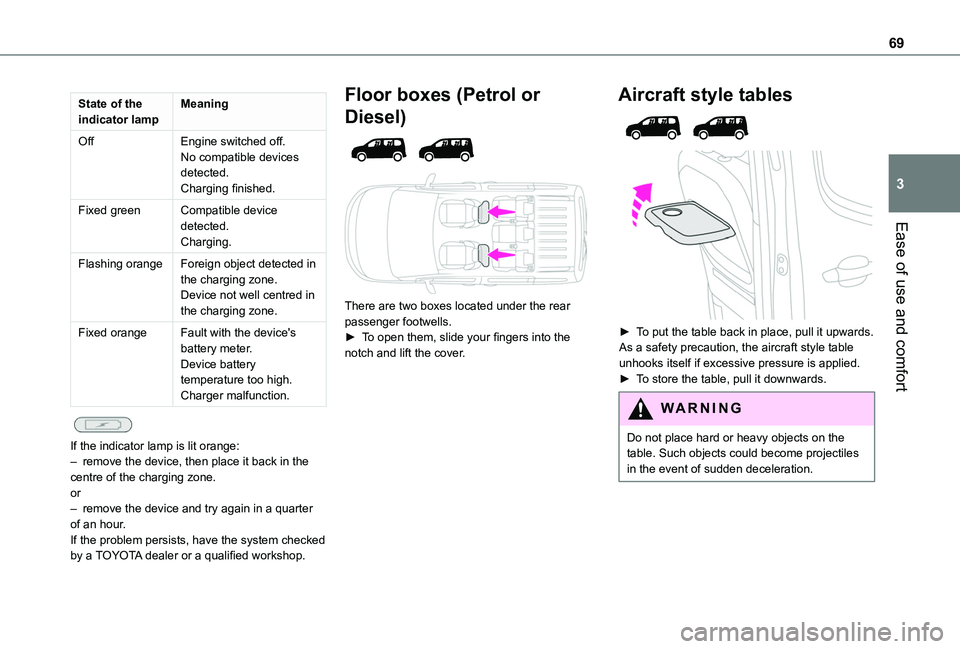
There are two boxes located under the rear passenger footwells.► To open them, slide your fingers into the notch and lift the cover.
Aircraft style tables
► To put the table back in place, pull it upwards.As a safety precaution, the aircraft style table unhooks itself if excessive pressure is applied.► To store the table, pull it downwards.
WARNI NG
Do not place hard or heavy objects on the
table. Such objects could become projectiles in the event of sudden deceleration.
Page 73 of 320
73
Ease of use and comfort
3
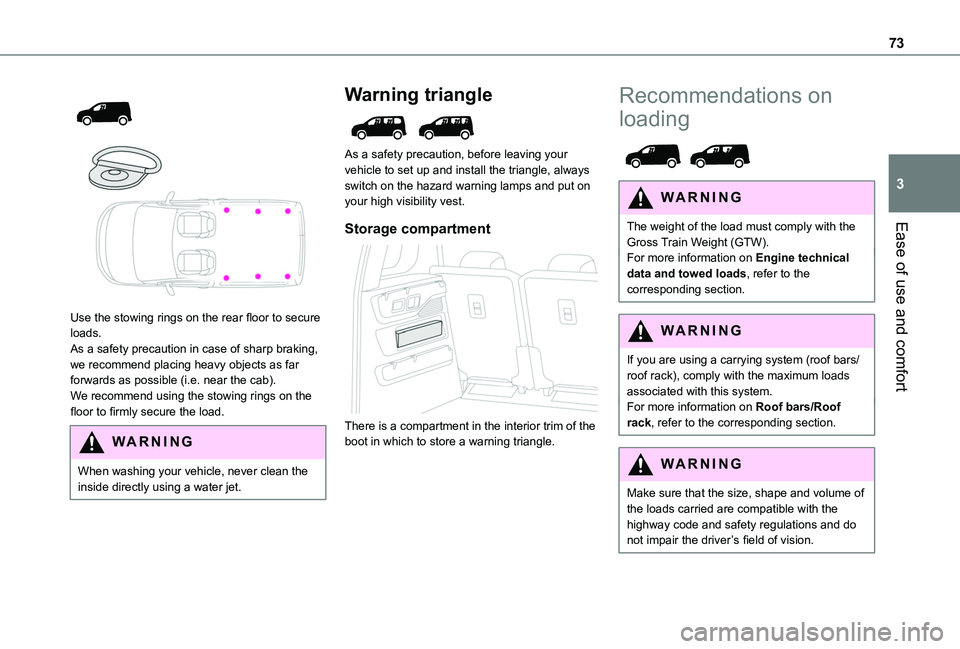
Use the stowing rings on the rear floor to secure loads.As a safety precaution in case of sharp braking, we recommend placing heavy objects as far forwards as possible (i.e. near the cab).We recommend using the stowing rings on the floor to firmly secure the load.
WARNI NG
When washing your vehicle, never clean the inside directly using a water jet.
Warning triangle
As a safety precaution, before leaving your vehicle to set up and install the triangle, always switch on the hazard warning lamps and put on your high visibility vest.
Storage compartment
There is a compartment in the interior trim of the boot in which to store a warning triangle.
Recommendations on
loading
WARNI NG
The weight of the load must comply with the Gross Train Weight (GTW).For more information on Engine technical data and towed loads, refer to the corresponding section.
WARNI NG
If you are using a carrying system (roof bars/roof rack), comply with the maximum loads associated with this system.For more information on Roof bars/Roof rack, refer to the corresponding section.
WARNI NG
Make sure that the size, shape and volume of the loads carried are compatible with the highway code and safety regulations and do not impair the driver’s field of vision.
Page 84 of 320
84
NOTIC E
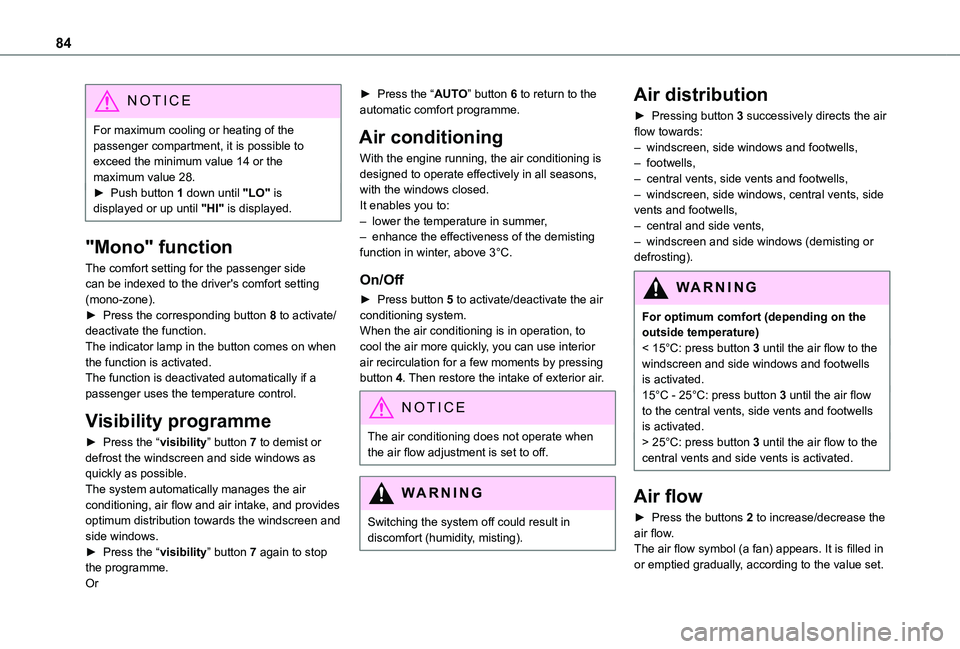
For maximum cooling or heating of the passenger compartment, it is possible to exceed the minimum value 14 or the maximum value 28.► Push button 1 down until "LO" is displayed or up until "HI" is displayed.
"Mono" function
The comfort setting for the passenger side can be indexed to the driver's comfort setting (mono-zone).► Press the corresponding button 8 to activate/deactivate the function.The indicator lamp in the button comes on when the function is activated.The function is deactivated automatically if a passenger uses the temperature control.
Visibility programme
► Press the “visibility” button 7 to demist or
defrost the windscreen and side windows as quickly as possible. The system automatically manages the air conditioning, air flow and air intake, and provides optimum distribution towards the windscreen and side windows.► Press the “visibility” button 7 again to stop the programme.Or
► Press the “AUTO” button 6 to return to the automatic comfort programme.
Air conditioning
With the engine running, the air conditioning is designed to operate effectively in all seasons, with the windows closed.It enables you to:– lower the temperature in summer,– enhance the effectiveness of the demisting function in winter, above 3°C.
On/Off
► Press button 5 to activate/deactivate the air conditioning system.When the air conditioning is in operation, to cool the air more quickly, you can use interior air recirculation for a few moments by pressing button 4. Then restore the intake of exterior air.
NOTIC E
The air conditioning does not operate when the air flow adjustment is set to off.
WARNI NG
Switching the system off could result in discomfort (humidity, misting).
Air distribution
► Pressing button 3 successively directs the air flow towards:– windscreen, side windows and footwells, – footwells,– central vents, side vents and footwells,– windscreen, side windows, central vents, side vents and footwells,– central and side vents, – windscreen and side windows (demisting or defrosting).
WARNI NG
For optimum comfort (depending on the outside temperature)< 15°C: press button 3 until the air flow to the windscreen and side windows and footwells is activated.15°C - 25°C: press button 3 until the air flow to the central vents, side vents and footwells is activated.> 25°C: press button 3 until the air flow to the
central vents and side vents is activated.
Air flow
► Press the buttons 2 to increase/decrease the air flow.The air flow symbol (a fan) appears. It is filled in or emptied gradually, according to the value set.
Page 86 of 320
86
NOTIC E
Heated windscreen and washer jetsFor more information on the Wiper control lever and in particular the heated windscreen and washer jets, refer to the corresponding section.
NOTIC E
With Stop & Start, when demisting - defrosting has been activated, STOP mode is not available.
Heated windscreen
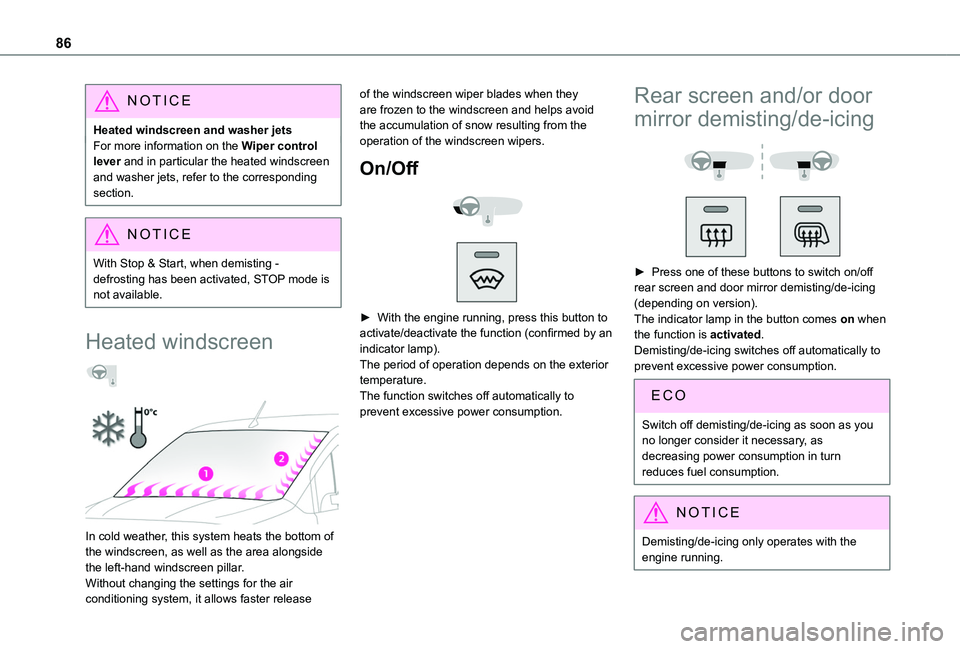
In cold weather, this system heats the bottom of the windscreen, as well as the area alongside the left-hand windscreen pillar.Without changing the settings for the air conditioning system, it allows faster release
of the windscreen wiper blades when they are frozen to the windscreen and helps avoid the accumulation of snow resulting from the operation of the windscreen wipers.
On/Off
► With the engine running, press this button to activate/deactivate the function (confirmed by an indicator lamp).The period of operation depends on the exterior temperature.The function switches off automatically to prevent excessive power consumption.
Rear screen and/or door
mirror demisting/de-icing
► Press one of these buttons to switch on/off rear screen and door mirror demisting/de-icing (depending on version).The indicator lamp in the button comes on when the function is activated.Demisting/de-icing switches off automatically to prevent excessive power consumption.
Switch off demisting/de-icing as soon as you no longer consider it necessary, as
decreasing power consumption in turn reduces fuel consumption.
NOTIC E
Demisting/de-icing only operates with the
engine running.
Page 87 of 320
87
Ease of use and comfort
3
Rear heating and air
conditioning
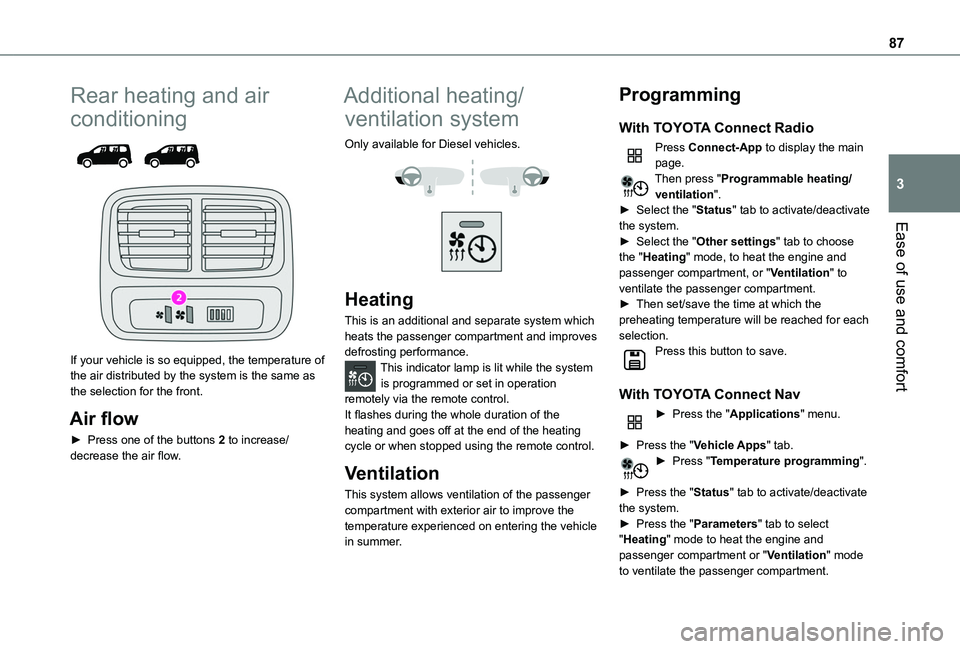
If your vehicle is so equipped, the temperature of the air distributed by the system is the same as the selection for the front.
Air flow
► Press one of the buttons 2 to increase/decrease the air flow.
Additional heating/
ventilation system
Only available for Diesel vehicles.
Heating
This is an additional and separate system which heats the passenger compartment and improves defrosting performance.This indicator lamp is lit while the system is programmed or set in operation remotely via the remote control.It flashes during the whole duration of the heating and goes off at the end of the heating cycle or when stopped using the remote control.
Ventilation
This system allows ventilation of the passenger compartment with exterior air to improve the temperature experienced on entering the vehicle in summer.
Programming
With TOYOTA Connect Radio
Press Connect-App to display the main page.Then press "Programmable heating/ventilation".► Select the "Status" tab to activate/deactivate the system.► Select the "Other settings" tab to choose the "Heating" mode, to heat the engine and passenger compartment, or "Ventilation" to ventilate the passenger compartment.► Then set/save the time at which the preheating temperature will be reached for each selection.Press this button to save.
With TOYOTA Connect Nav
► Press the "Applications" menu.
► Press the "Vehicle Apps" tab.► Press "Temperature programming".
► Press the "Status" tab to activate/deactivate the system.► Press the "Parameters" tab to select "Heating" mode to heat the engine and passenger compartment or "Ventilation" mode to ventilate the passenger compartment.
Page 88 of 320
88
► Then set/save the activation time for each selection.► Press "OK" to confirm.
NOTIC E
You must allow at least 60 minutes between programming operations.
NOTIC E
Depending on the outside temperature, a certain amount of pre-conditioning time is necessary in order to reach the programmed temperature by the stored activation time.This pre-conditioning time lasts up to 45 min. with a Diesel engine and up to 30 min. with a petrol engine.
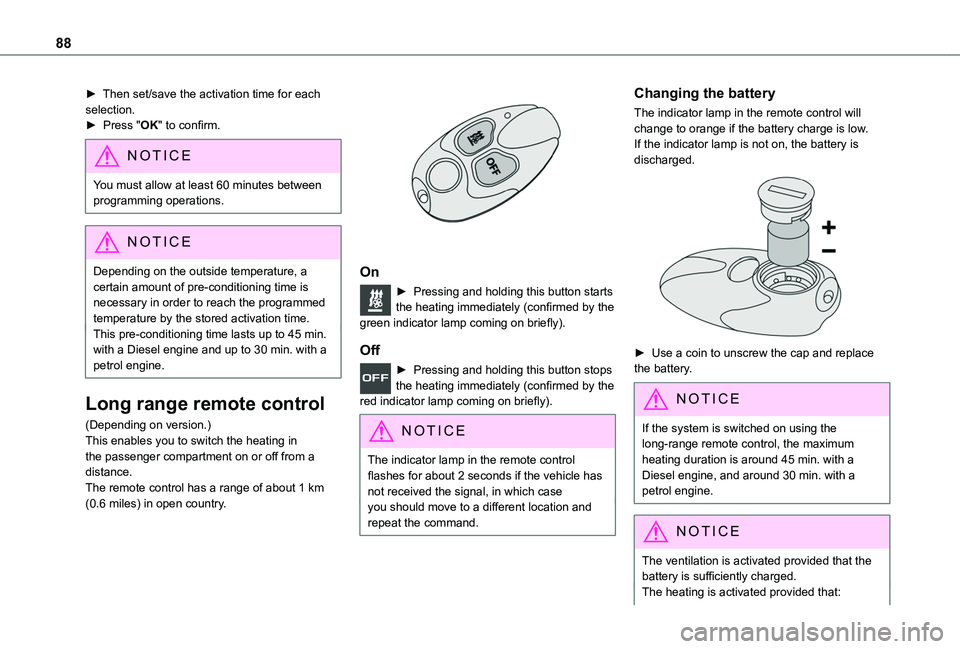
Long range remote control
(Depending on version.)This enables you to switch the heating in
the passenger compartment on or off from a distance.The remote control has a range of about 1 km (0.6 miles) in open country.
On
► Pressing and holding this button starts the heating immediately (confirmed by the green indicator lamp coming on briefly).
Off
► Pressing and holding this button stops the heating immediately (confirmed by the red indicator lamp coming on briefly).
NOTIC E
The indicator lamp in the remote control flashes for about 2 seconds if the vehicle has not received the signal, in which caseyou should move to a different location and repeat the command.
Changing the battery
The indicator lamp in the remote control will change to orange if the battery charge is low.If the indicator lamp is not on, the battery is discharged.
► Use a coin to unscrew the cap and replace the battery.
NOTIC E
If the system is switched on using the long-range remote control, the maximum
heating duration is around 45 min. with a Diesel engine, and around 30 min. with a petrol engine.
NOTIC E
The ventilation is activated provided that the battery is sufficiently charged. The heating is activated provided that: