Page 83 of 356

833-1. CONTROLS
3
CONTROLSIt is not possible to switch on the
drive-ready state if the remote
control has not been detected.
Proceed as follows in this case:
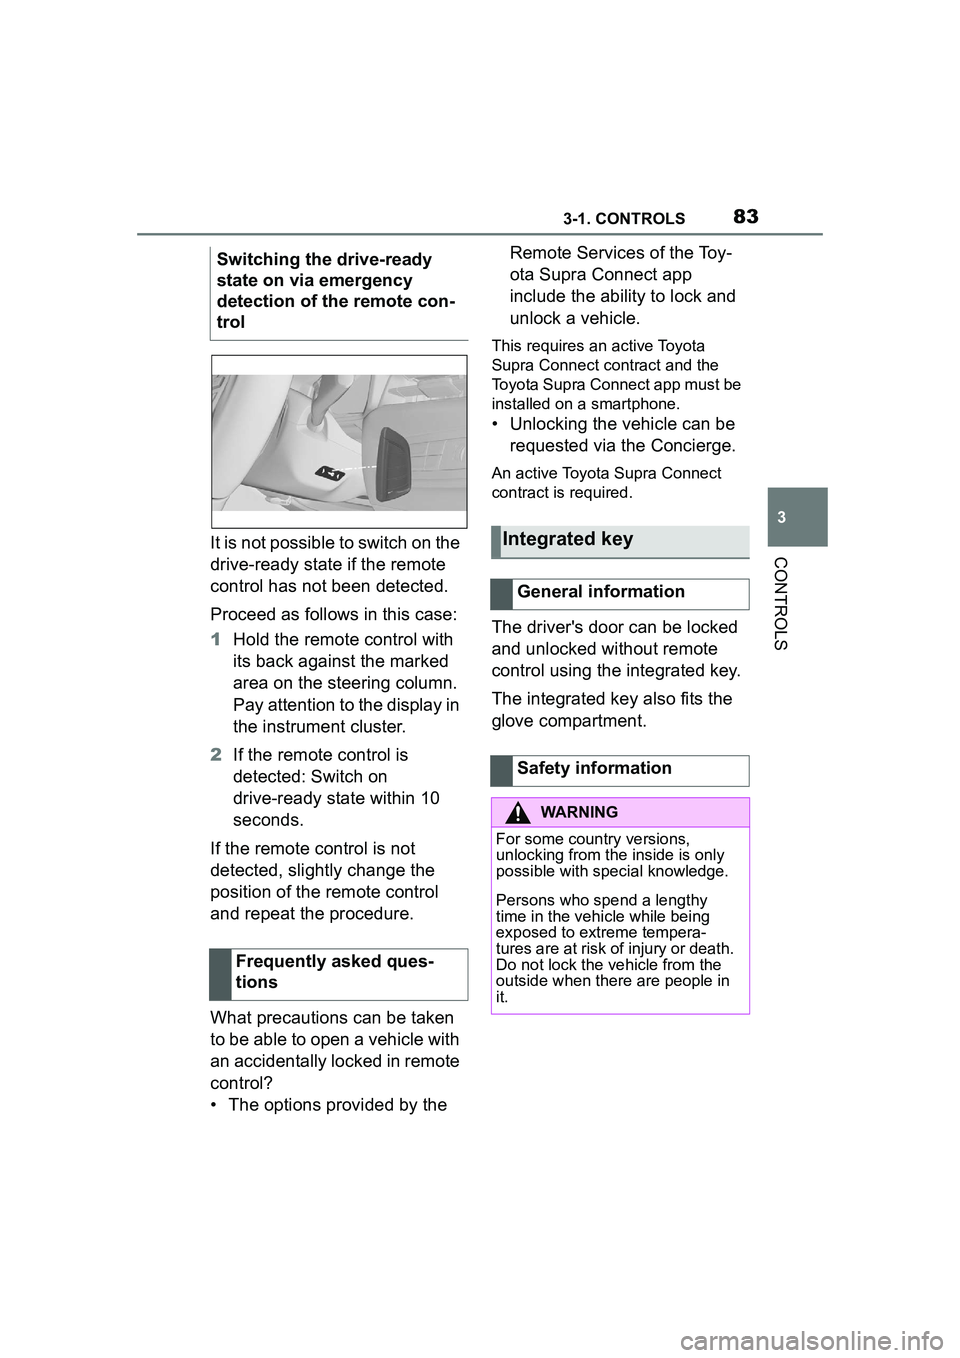
1Hold the remote control with
its back against the marked
area on the steering column.
Pay attention to the display in
the instrument cluster.
2 If the remote control is
detected: Switch on
drive-ready state within 10
seconds.
If the remote control is not
detected, slightly change the
position of the remote control
and repeat the procedure.
What precautions can be taken
to be able to open a vehicle with
an accidentally locked in remote
control?
• The options provided by the Remote Services of the Toy-
ota Supra Connect app
include the ability to lock and
unlock a vehicle.
This requires an active Toyota
Supra Connect contract and the
Toyota Supra Connect app must be
installed on a smartphone.
• Unlocking the vehicle can be
requested via the Concierge.
An active Toyota Supra Connect
contract is required.
The driver's door can be locked
and unlocked without remote
control using the integrated key.
The integrated key also fits the
glove compartment.
Switching the drive-ready
state on via emergency
detection of the remote con-
trol
Frequently asked ques-
tions
Integrated key
General information
Safety information
WARNING
For some country versions,
unlocking from the inside is only
possible with special knowledge.
Persons who spend a lengthy
time in the vehicle while being
exposed to extreme tempera-
tures are at risk of injury or death.
Do not lock the vehicle from the
outside when there are people in
it.
Page 85 of 356

853-1. CONTROLS
3
CONTROLS
In the event of a severe acci-
dent, the vehicle is automatically
unlocked. The hazard warning
system and interior lights come
on.
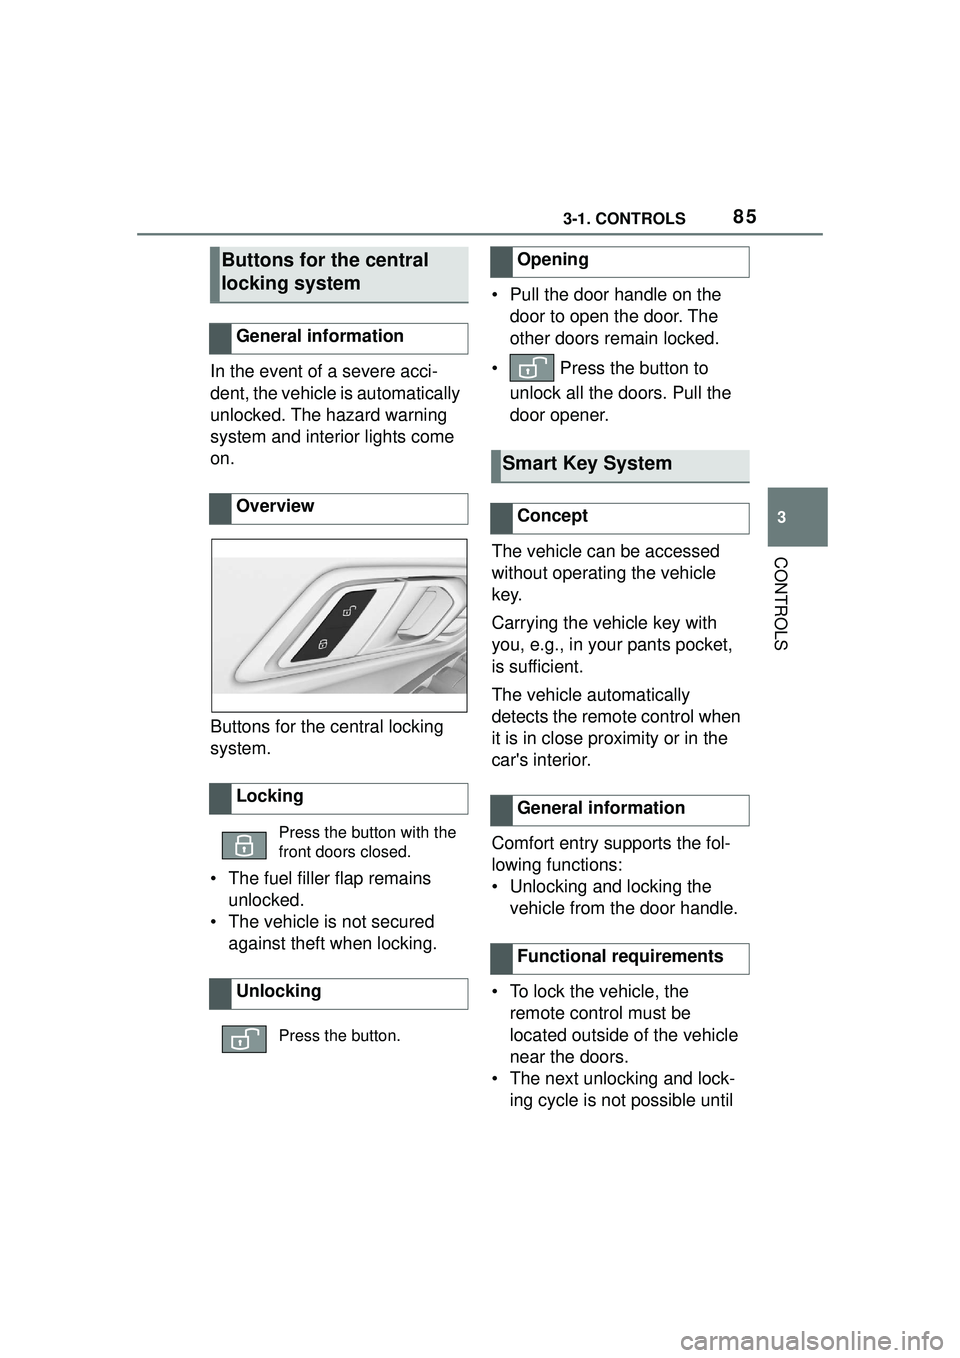
Buttons for the central locking
system.
• The fuel filler flap remains unlocked.
• The vehicle is not secured against theft when locking. • Pull the door handle on the
door to open the door. The
other doors remain locked.
• Press the button to unlock all the doors. Pull the
door opener.
The vehicle can be accessed
without operating the vehicle
key.
Carrying the vehicle key with
you, e.g., in your pants pocket,
is sufficient.
The vehicle automatically
detects the remote control when
it is in close proximity or in the
car's interior.
Comfort entry supports the fol-
lowing functions:
• Unlocking and locking the vehicle from the door handle.
• To lock the vehicle, the remote control must be
located outside of the vehicle
near the doors.
• The next unlocking and lock- ing cycle is not possible until
Buttons for the central
locking system
General information
Overview
Locking
Press the button with the
front doors closed.
Unlocking
Press the button.
Opening
Smart Key System
Concept
General information
Functional requirements
Page 87 of 356
873-1. CONTROLS
3
CONTROLS
Near the front of the center console
Near the rear of the center console
In the luggage compartment and near the rear bumper
Near each door and door handle
The behavior of the vehicle
during unlocking via the Smart
Key System depends on the fol-
lowing settings, refer to page 90:
• If the unlocking of vehicle is confirmed with a light signal
or a sound signal.
• If the welcome light, refer to page 155, is switched on
when the vehicle is being unlocked.
• If the exterior mirrors are automatically folded out and
in when the vehicle is
unlocked and locked.
Effective range (areas within which Smart Key System radio
waves are transmitted)A
B
C
D
Unlocking
General information
Page 88 of 356

883-1. CONTROLS
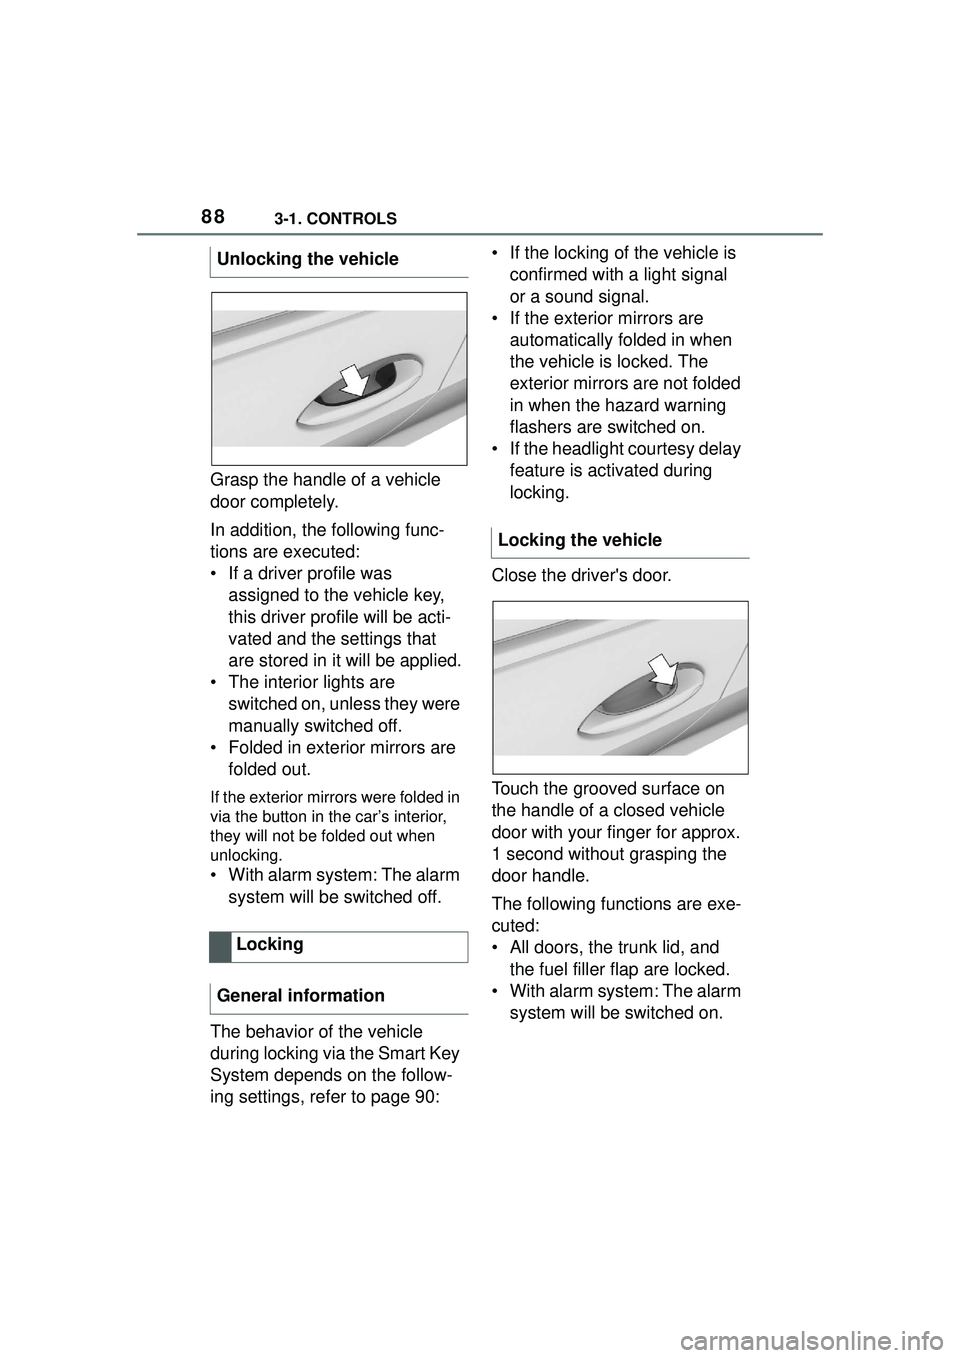
Grasp the handle of a vehicle
door completely.
In addition, the following func-
tions are executed:
• If a driver profile was assigned to the vehicle key,
this driver profile will be acti-
vated and the settings that
are stored in it will be applied.
• The interior lights are switched on, unless they were
manually switched off.
• Folded in exterior mirrors are folded out.
If the exterior mirrors were folded in
via the button in the car’s interior,
they will not be folded out when
unlocking.
• With alarm system: The alarm
system will be switched off.
The behavior of the vehicle
during locking via the Smart Key
System depends on the follow-
ing settings, refer to page 90: • If the locking of the vehicle is
confirmed with a light signal
or a sound signal.
• If the exterior mirrors are automatically folded in when
the vehicle is locked. The
exterior mirrors are not folded
in when the hazard warning
flashers are switched on.
• If the headlight courtesy delay feature is activated during
locking.
Close the driver's door.
Touch the grooved surface on
the handle of a closed vehicle
door with your finger for approx.
1 second without grasping the
door handle.
The following functions are exe-
cuted:
• All doors, the trunk lid, and the fuel filler flap are locked.
• With alarm system: The alarm system will be switched on.
Unlocking the vehicle
Locking
General information
Locking the vehicle
Page 92 of 356

923-1. CONTROLS
3"Doors/Key"
4 "Turn off after door opening"
Opening the front doors establishes
the idle state, refer to page 43.
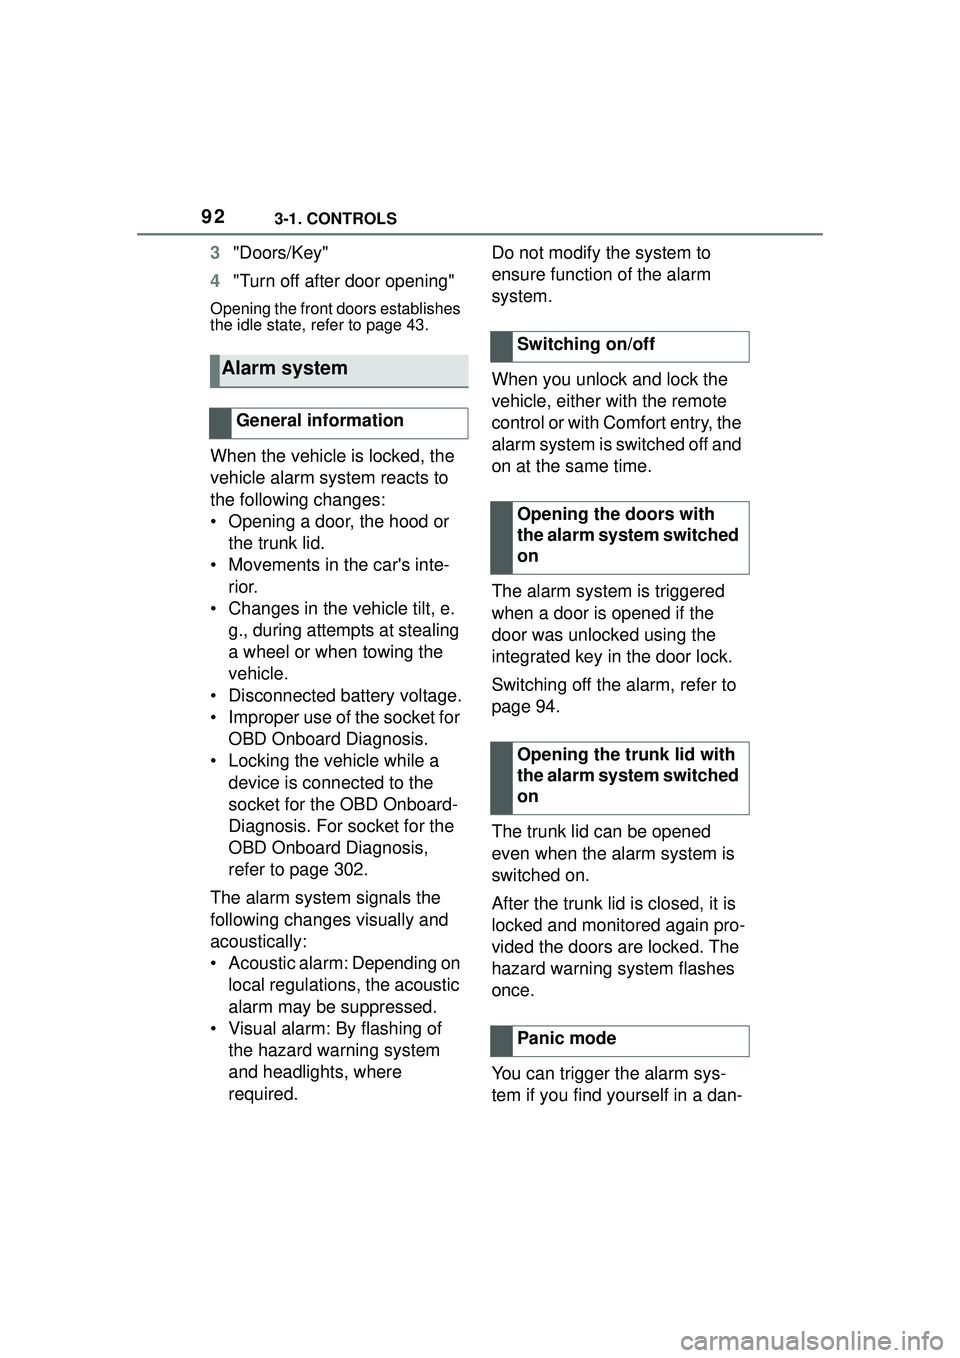
When the vehicle is locked, the
vehicle alarm system reacts to
the following changes:
• Opening a door, the hood or
the trunk lid.
• Movements in the car's inte- rior.
• Changes in the vehicle tilt, e. g., during attempts at stealing
a wheel or when towing the
vehicle.
• Disconnected battery voltage.
• Improper use of the socket for OBD Onboard Diagnosis.
• Locking the vehicle while a device is connected to the
socket for the OBD Onboard-
Diagnosis. For socket for the
OBD Onboard Diagnosis,
refer to page 302.
The alarm system signals the
following changes visually and
acoustically:
• Acoustic alarm: Depending on local regulations, the acoustic
alarm may be suppressed.
• Visual alarm: By flashing of the hazard warning system
and headlights, where
required. Do not modify the system to
ensure function of the alarm
system.
When you unlock and lock the
vehicle, either with the remote
control or with Comfort entry, the
alarm system is switched off and
on at the same time.
The alarm system is triggered
when a door is opened if the
door was unlocked using the
integrated key in the door lock.
Switching off the alarm, refer to
page 94.
The trunk lid can be opened
even when the alarm system is
switched on.
After the trunk lid is closed, it is
locked and monitored again pro-
vided the doors are locked. The
hazard warning system flashes
once.
You can trigger the alarm sys-
tem if you find yourself in a dan-
Alarm system
General information
Switching on/off
Opening the doors with
the alarm system switched
on
Opening the trunk lid with
the alarm system switched
on
Panic mode
Page 93 of 356

933-1. CONTROLS
3
CONTROLS
gerous situation.
To switch off the alarm: press
any button.
• The indicator light flashes briefly every 2 seconds: The
alarm system is switched on.
• Indicator light flashes for approx. 10 seconds, then it
flashes briefly every 2 sec-
onds: Interior motion sensor
and tilt alarm sensor are not
active, as doors, hood, or
trunk lid are not correctly
closed. Correctly closed
access points are secured.
When the still open access points
are closed, interior motion sensor
and tilt alarm sensor will be
switched on.
• The indicator light goes out
after unlocking: The vehicle has not been tampered with.
• The indicator light flashes after unlocking until
drive-ready state is switched
on, but no longer than approx.
5 minutes: An alarm has been
triggered.
The tilt of the vehicle is moni-
tored.
The alarm system responds in
situations such as attempts to
steal a wheel or when the vehi-
cle is towed.
The car's interior is monitored to
the height of the seats. The
alarm system is switched on
together with the interior motion
sensor even when the window is
open. Falling objects such as
leaves can trigger the alarm
unintentionally.
The tilt alarm sensor and interior
motion sensor can trigger an
alarm, although no unauthorized
action occurred.
Possible situations for an
unwanted alarm:
• In automatic vehicle washes.
• Press the button on the remote control and hold
for at least 3 seconds.
• Briefly press the button on the remote control
three times in succes-
sion.
Indicator light on the inte-
rior mirror
Tilt alarm sensor
Interior motion sensor
Avoiding unintentional
alarms
General information
Page 94 of 356

943-1. CONTROLS
• In duplex garages.
• During transport on trains car-rying vehicles, at sea or on a
trailer.
• With animals in the vehicle.
• When the vehicle is locked
after start of fueling.
The tilt alarm sensor and the
interior motion sensor can be
switched off in such situations.
The indicator light lights up for
approx. 2 seconds and then
continues to flash.
The tilt alarm sensor and interior
motion sensor are switched off
until the vehicle is locked again.
• Unlock the vehicle with the remote control.
• Unlock the vehicle with the integrated key and activate
the drive-ready state via
emergency detection of the
vehicle key, refer to page 82.
• With Smart Key System: when carrying the vehicle key,
grasp the driver’s door or front
passenger door handle com-
pletely. The windows can be opened
with the vehicle key from the
outside as well as closed with
Smart Key System.
Additional information: Vehicle
key, refer to page 77.
The windows can be operated
under the following conditions.
• Standby state is established.
• Drive-ready state is activated.
Switching off the tilt alarm
sensor and interior motion
sensor
Press the button on the
remote control within 10
seconds as soon as the
vehicle is locked.
Switching off the alarm
Power windows
General information
Safety information
WARNING
When operating the windows,
body parts and objects can be
jammed. There is a risk of injury
or risk of damage to property.
Make sure that the area of move-
ment of the windows is clear
during opening and closing.
Overview
Power windows
Functional requirements
Page 102 of 356
1023-1. CONTROLS
Position the head restraint so that the center of it is at the same
height as the top of your ears
Make sure that the seat belt is not twisted
Adjust the seat so that your arms bend slightly at the elbow when
gripping the upper part of the steering wheel
Make sure that the seat belt is snug and not loose at any point
Position the lap belt as low as possible over the hips
Sit well back in the seat with the seatback upright
Sit so your entire back is in contact with the seatback
Position the shoulder belt so that it does not contact your neck or
slide off your shoulder Correct driving posture and use of the seat beltsA
B
C
D
E
F
G
H
WARNING
Do not recline the seatback
excessively while driving.