2022 TOYOTA COROLLA set clock
[x] Cancel search: set clockPage 89 of 678
87
2
2-1. Instrument cluster
Vehicle status information and indicators
lights are on and off.
• To adjust the brightness, display the
meter light control display and press
and hold the display change button.
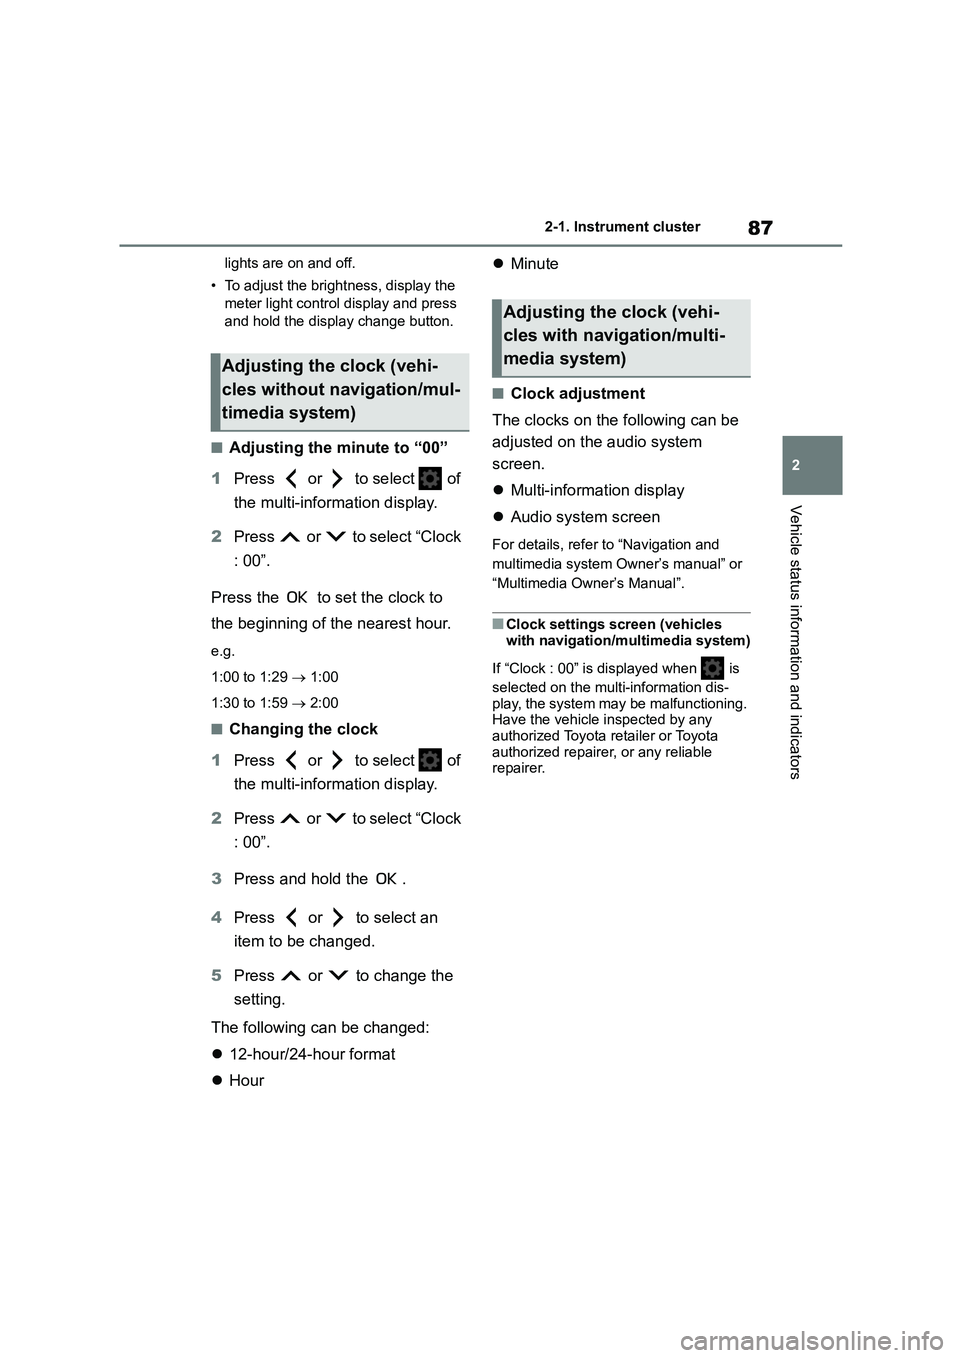
■Adjusting the minute to “00”
1 Press or to select of
the multi-information display.
2 Press or to select “Clock
: 00”.
Press the to set the clock to
the beginning of the nearest hour.
e.g.
1:00 to 1:29 1:00
1:30 to 1:59 2:00
■Changing the clock
1 Press or to select of
the multi-information display.
2 Press or to select “Clock
: 00”.
3 Press and hold the .
4 Press or to select an
item to be changed.
5 Press or to change the
setting.
The following can be changed:
12-hour/24-hour format
Hour
Minute
■Clock adjustment
The clocks on the following can be
adjusted on the audio system
screen.
Multi-information display
Audio system screen
For details, refer to “Navigation and
multimedia system Owner’s manual” or
“Multimedia Owner’s Manual”.
■Clock settings screen (vehicles
with navigation/multimedia system)
If “Clock : 00” is displayed when is
selected on the multi-information dis-
play, the system may be malfunctioning.
Have the vehicle inspected by any authorized Toyota retailer or Toyota
authorized repairer, or any reliable
repairer.
Adjusting the clock (vehi-
cles without navigation/mul-
timedia system)
Adjusting the clock (vehi-
cles with navigation/multi-
media system)
Page 94 of 678
922-1. Instrument cluster
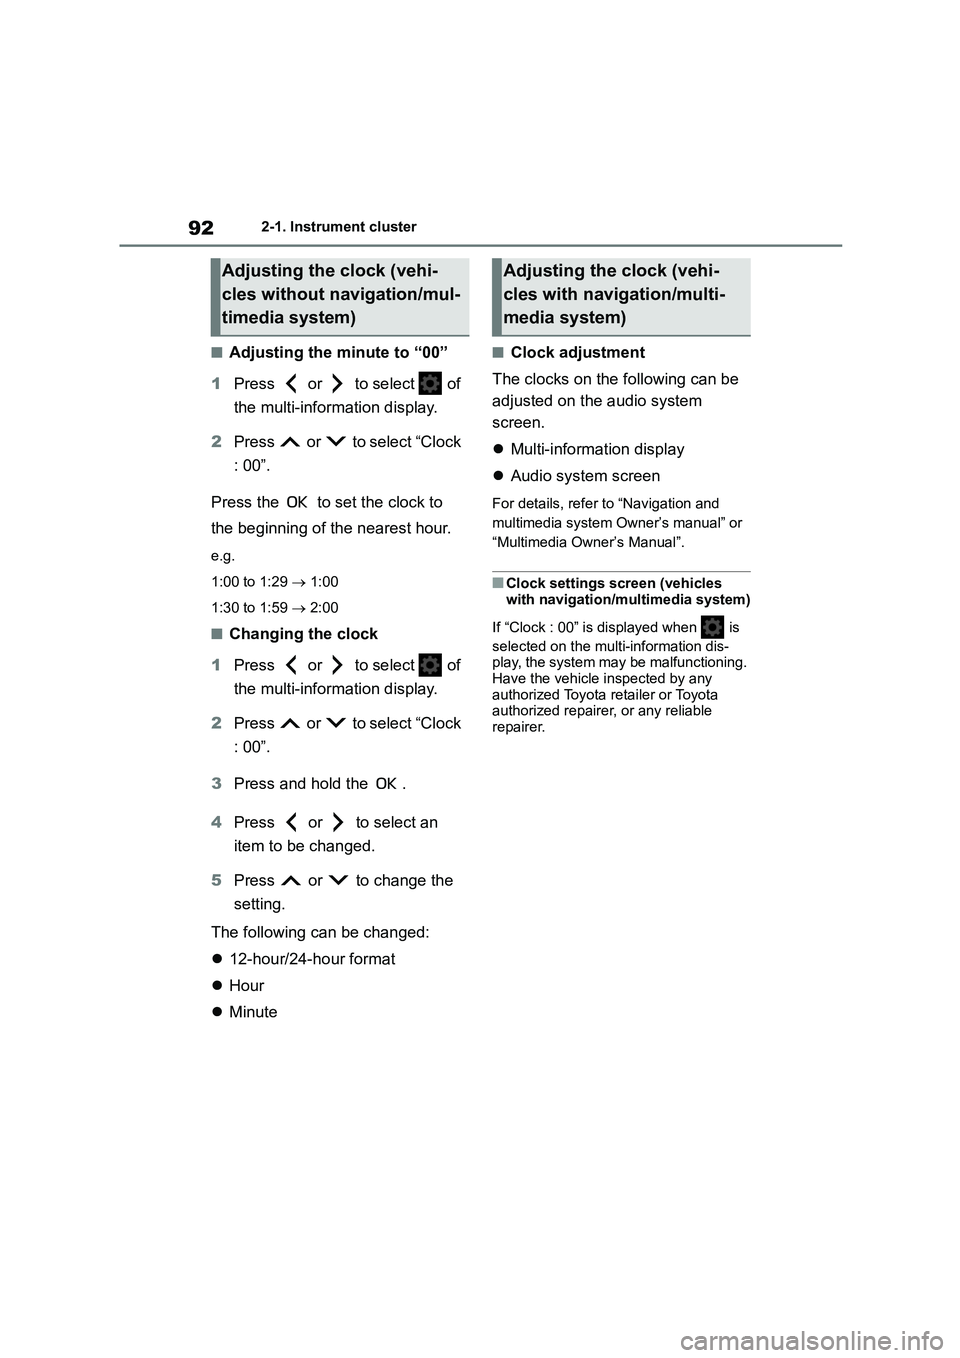
■Adjusting the minute to “00”
1 Press or to select of
the multi-information display.
2 Press or to select “Clock
: 00”.
Press the to set the clock to
the beginning of the nearest hour.
e.g.
1:00 to 1:29 1:00
1:30 to 1:59 2:00
■Changing the clock
1 Press or to select of
the multi-information display.
2 Press or to select “Clock
: 00”.
3 Press and hold the .
4 Press or to select an
item to be changed.
5 Press or to change the
setting.
The following can be changed:
12-hour/24-hour format
Hour
Minute
■Clock adjustment
The clocks on the following can be
adjusted on the audio system
screen.
Multi-information display
Audio system screen
For details, refer to “Navigation and
multimedia system Owner’s manual” or
“Multimedia Owner’s Manual”.
■Clock settings screen (vehicles
with navigation/multimedia system)
If “Clock : 00” is displayed when is
selected on the multi-information dis-
play, the system may be malfunctioning.
Have the vehicle inspected by any authorized Toyota retailer or Toyota
authorized repairer, or any reliable
repairer.
Adjusting the clock (vehi-
cles without navigation/mul-
timedia system)
Adjusting the clock (vehi-
cles with navigation/multi-
media system)
Page 100 of 678
982-1. Instrument cluster
• Average vehicle speed: Displays the
average vehicle speed since the dis-
play was reset*
*: To reset, display the desired item and
press and hold the meter control
switch.
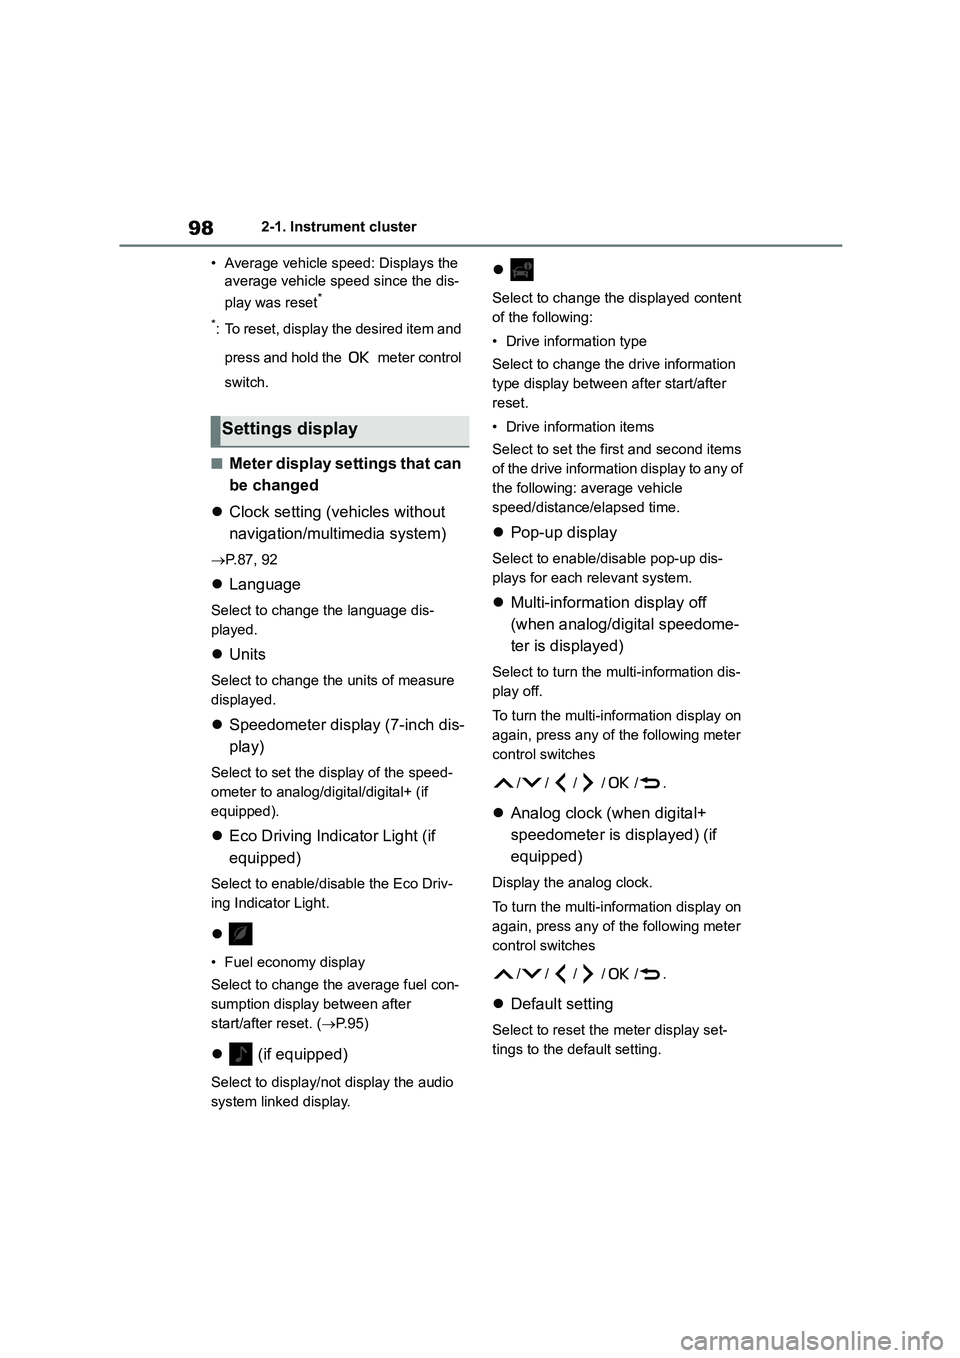
■Meter display settings that can
be changed
Clock setting (vehicles without
navigation/multimedia system)
P.87, 92
Language
Select to change the language dis-
played.
Units
Select to change the units of measure
displayed.
Speedometer display (7-inch dis-
play)
Select to set the display of the speed-
ometer to analog/digital/digital+ (if
equipped).
Eco Driving Indicator Light (if
equipped)
Select to enable/disable the Eco Driv-
ing Indicator Light.
• Fuel economy display
Select to change the average fuel con-
sumption display between after
start/after reset. ( P. 9 5 )
(if equipped)
Select to display/not display the audio
system linked display.
Select to change the displayed content
of the following:
• Drive information type
Select to change the drive information
type display between after start/after
reset.
• Drive information items
Select to set the first and second items
of the drive information display to any of
the following: average vehicle
speed/distance/elapsed time.
Pop-up display
Select to enable/disable pop-up dis-
plays for each relevant system.
Multi-information display off
(when analog/digital speedome-
ter is displayed)
Select to turn the multi-information dis-
play off.
To turn the multi-information display on
again, press any of the following meter
control sw itches
//// /.
Analog clock (when digital+
speedometer is displayed) (if
equipped)
Display the analog clock.
To turn the multi-information display on
again, press any of the following meter
control sw itches
//// /.
Default setting
Select to reset the meter display set-
tings to the default setting.
Settings display
Page 363 of 678
361
5
5-7. “SETUP” menu
Audio system
2 Select “Favourites” using the
“TUNE•SELECT” knob.
3 Select a desired number using
the knob.
4 Press (Delete favourites).
5 Select desired contact using the
knob.
Press (All) to delete all favorites.
6 Select (Yes) when the confir-
mation screen appears.
1 Select “HF sound setting” using
the “TUNE•SELECT” knob.
2 Select “Call volume” using the
knob.
3 Change the call volume.
To decrease the volume: Turn the knob
counterclockwise.
To increase the volume: Turn the knob clockwise.
To set the volume, press (Back).
1 Select “HF sound setting” using
the “TUNE•SELECT” knob.
2 Select “Ringtone volume” using
the knob.
3 Change the ring tone volume.
To decrease the volume: Turn the knob counterclockwise.
To increase the volume: Turn the knob
clockwise.
To set the volume, press (Back).
1 Select “HF sound setting” using
the “TUNE•SELECT” knob.
2 Select “Ringtone” using the
knob.
3 Using the knob, select a ring
tone (1 - 3 or “From phone”). To
set the selected ring tone, press
(Back).
■Phone number
Up to 5000 names (maximum of 1000
names per device) can be stored.
■Call history
Up to 10 numbers can be stored in each
of the outgoing, incoming and missed
call history memories.
■Limitation of number of digits
A phone number that exceeds 24 digits
cannot be registered.
■Bluetooth® phone system func-
tions
Certain functions may not be available
during driving.
Setting call volume
Setting ring tone volume
Setting ring tone
Page 368 of 678
3665-9. Bluetooth® Phone
ber and returns to the previous screen.
Pressing (Exit) deletes the number
and go to “Enter a number” screen.
Phone number containing a “p”
symbol
When the “p” symbol is dialed in an
outgoing call, ther e will be a pause
for 2 seconds before the following
digits are dialed automatically.
Phone number containing a “w”
symbol
When the “w” symbol is dialed in an
outgoing call, you need to press
(Send) again to dial following
digits.
This operation can be performed
while driving.
Your voice volume that the other
party hears from their speaker can
be adjusted.
1 Press (Send vol)
2 Use the “TUNE•SELECT” knob
to adjust the volume. (-5 to +5)
To decrease the volume: Turn the
“POWER VOLUME” knob
counterclockwise.
To increase the volume: Turn the
“POWER VOLUME” knob clock-
wise.
■When talking on the phone
●Do not talk simultaneously with the
other party.
●Keep the volume of the received voice
down. Otherwise, voice echo will increase.
■Automatic volume adjustment
When vehicle speed is 80 km/h (50
mph) or more, the volume automatically increases. The volume returns to the
previous volume setting when vehicle
speed drops to 70 km/h (43 mph) or less.
■Phone call system functions
Depending on the cellular phone, certain
functions may not be available.
■Situations where the system may not recognize your voice
●When driving on a rough road
●When driving at high speeds
●When air is blowing out of the vents
onto the microphone
●When the air conditioning fans emits a
loud noise
Adjusting the outgoing vol-
ume
Setting call volume
Page 382 of 678
3806-1. Using the air conditioning system and defogger
6-1.Using the air conditioning system and defogger
*: If equipped
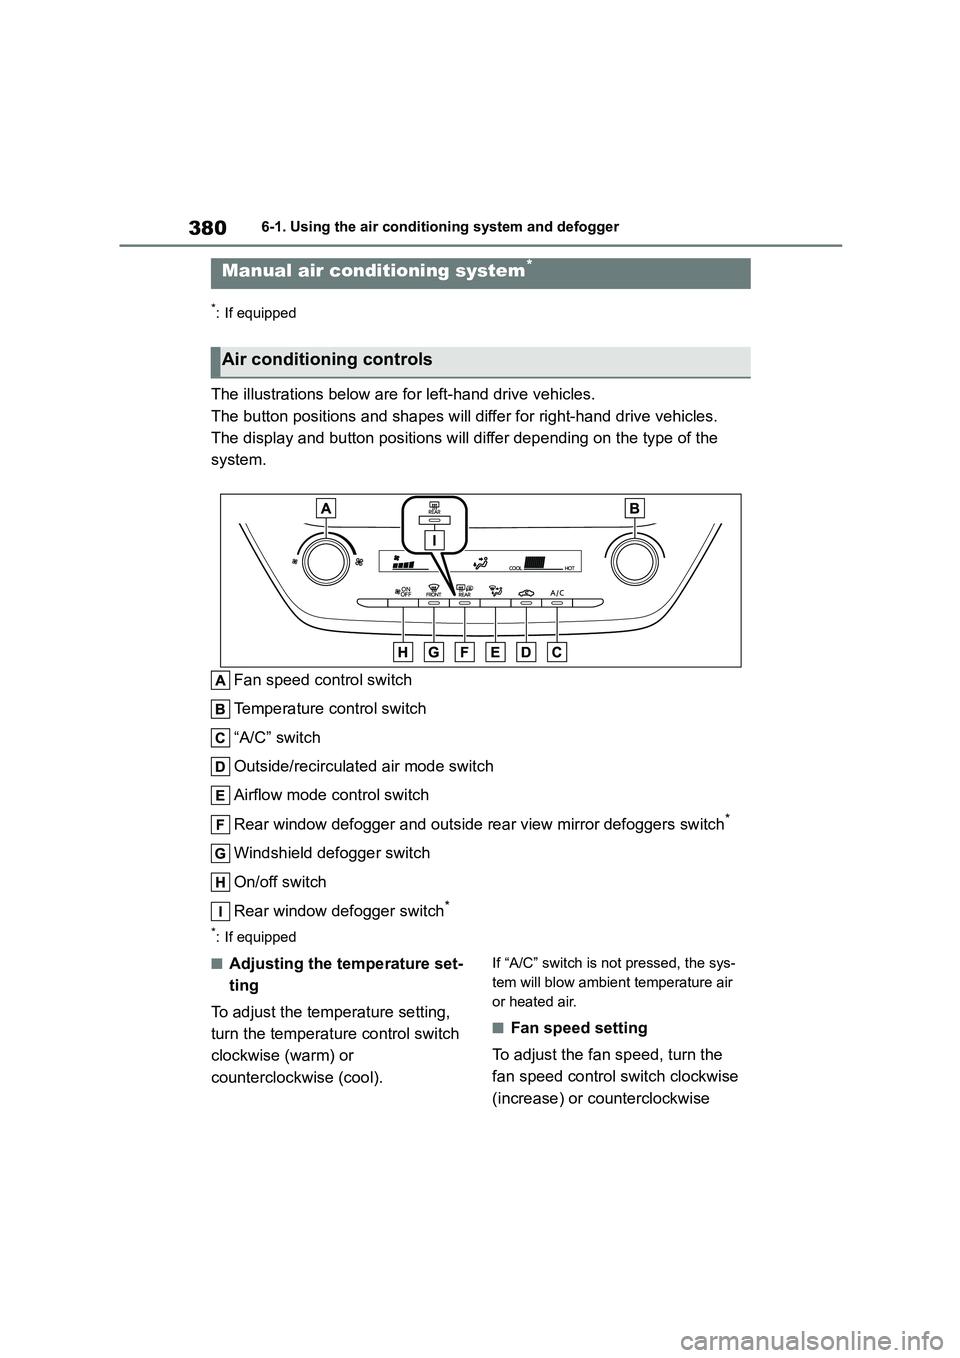
The illustrations below are for left-hand drive vehicles.
The button positions and shapes will differ for right-hand drive vehicles.
The display and button positions will di ffer depending on the type of the
system.
Fan speed control switch
Temperature control switch
“A/C” switch
Outside/recirculated air mode switch
Airflow mode control switch
Rear window defogger and outside rear view mirror defoggers switch*
Windshield defogger switch
On/off switch
Rear window defogger switch*
*: If equipped
■Adjusting the temperature set-
ting
To adjust the temperature setting,
turn the temperature control switch
clockwise (warm) or
counterclockwise (cool).
If “A/C” switch is not pressed, the sys-
tem will blow ambient temperature air
or heated air.
■Fan speed setting
To adjust the fan speed, turn the
fan speed control switch clockwise
(increase) or counterclockwise
Manual air conditioning system*
Air conditioning controls
Page 383 of 678
381
6
6-1. Using the air conditioning system and defogger
Interior features
(decrease).
Pressing the on/off switch to turns off
the fan.
When the fan is off, pressing the on/off
switch or turning the fan speed control
switch clockwise will turn on the fan.
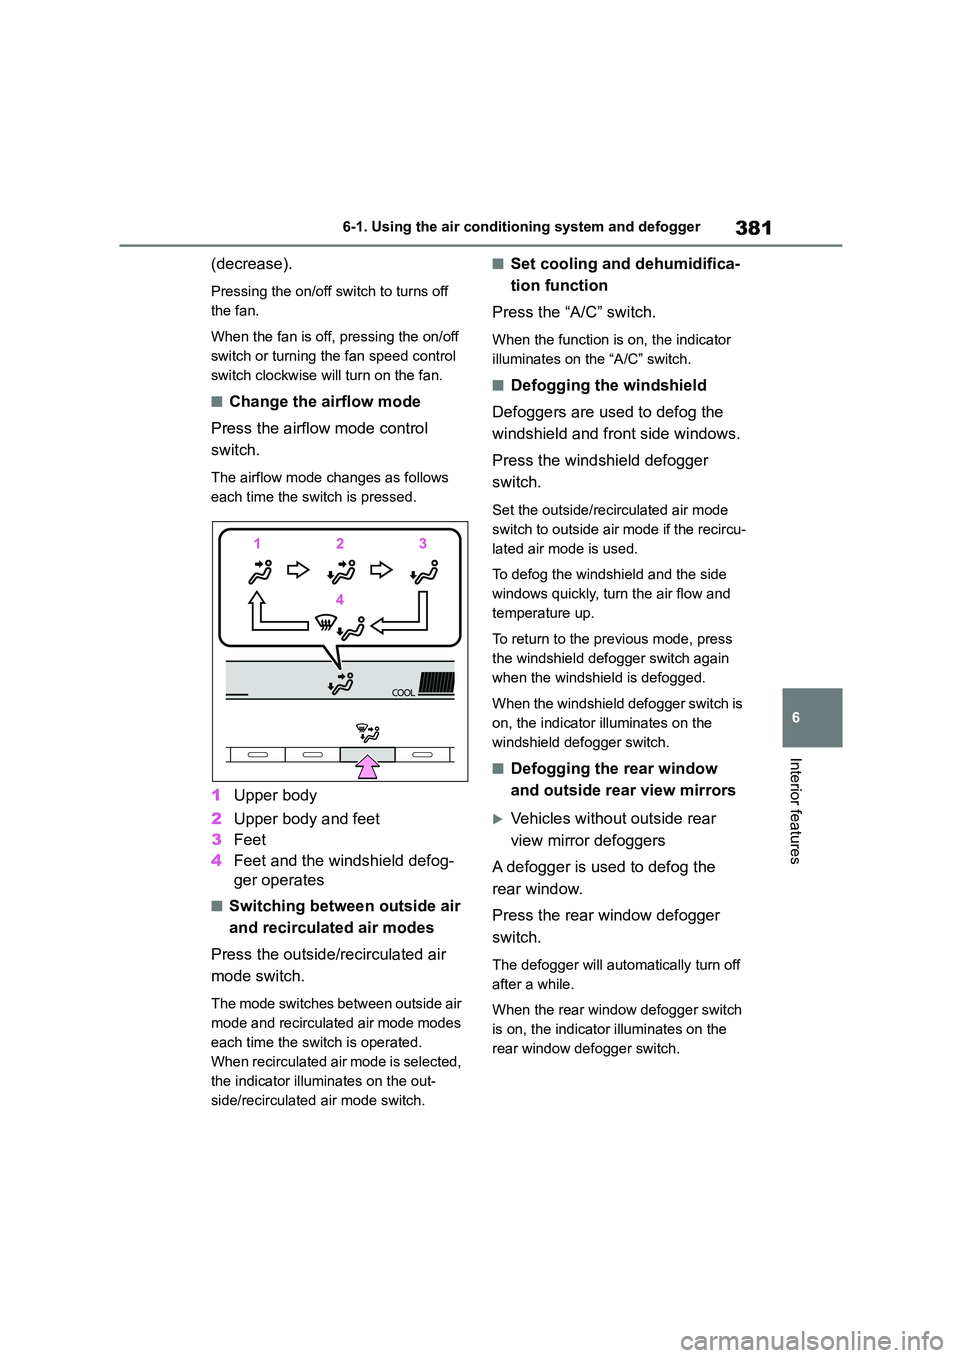
■Change the airflow mode
Press the airflow mode control
switch.
The airflow mode changes as follows
each time the sw itch is pressed.
1Upper body
2 Upper body and feet
3 Feet
4 Feet and the windshield defog-
ger operates
■Switching between outside air
and recirculated air modes
Press the outside/recirculated air
mode switch.
The mode switches between outside air
mode and recirculated air mode modes
each time the sw itch is operated.
When recirculated air mode is selected,
the indicator illuminates on the out-
side/recirculated air mode switch.
■Set cooling and dehumidifica-
tion function
Press the “A/C” switch.
When the function is on, the indicator
illuminates on the “A/C” switch.
■Defogging the windshield
Defoggers are used to defog the
windshield and front side windows.
Press the windshield defogger
switch.
Set the outside/recirculated air mode
switch to outside air mode if the recircu-
lated air mode is used.
To defog the windshield and the side
windows quickly, turn the air flow and
temperature up.
To return to the previous mode, press
the windshield defogger switch again
when the windshield is defogged.
When the windshield defogger switch is
on, the indicator illuminates on the
windshield defogger switch.
■Defogging the rear window
and outside rear view mirrors
Vehicles without outside rear
view mirror defoggers
A defogger is used to defog the
rear window.
Press the rear window defogger
switch.
The defogger will automatically turn off
after a while.
When the rear window defogger switch
is on, the indicator illuminates on the
rear window defogger switch.
Page 388 of 678
3866-1. Using the air conditioning system and defogger
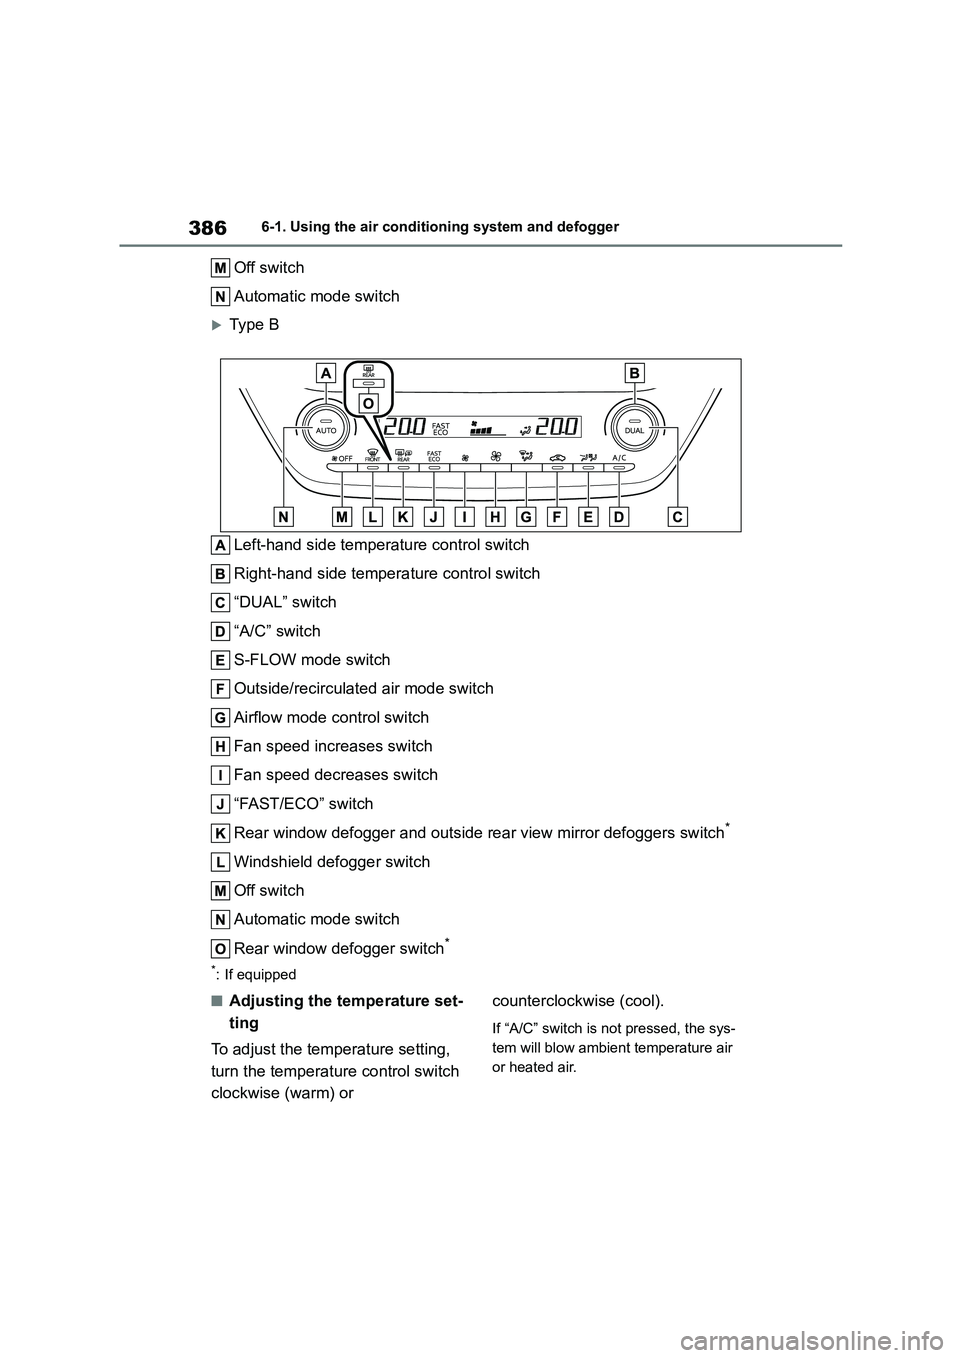
Off switch
Automatic mode switch
Type B
Left-hand side temperature control switch
Right-hand side temperature control switch
“DUAL” switch
“A/C” switch
S-FLOW mode switch
Outside/recirculated air mode switch
Airflow mode control switch
Fan speed increases switch
Fan speed decreases switch
“FAST/ECO” switch
Rear window defogger and outside rear view mirror defoggers switch*
Windshield defogger switch
Off switch
Automatic mode switch
Rear window defogger switch*
*: If equipped
■Adjusting the temperature set-
ting
To adjust the temperature setting,
turn the temperature control switch
clockwise (warm) or
counterclockwise (cool).
If “A/C” switch is not pressed, the sys-
tem will blow ambient temperature air
or heated air.