2022 TOYOTA COROLLA check engine
[x] Cancel search: check enginePage 177 of 678

175
4
4-2. Driving procedures
Driving
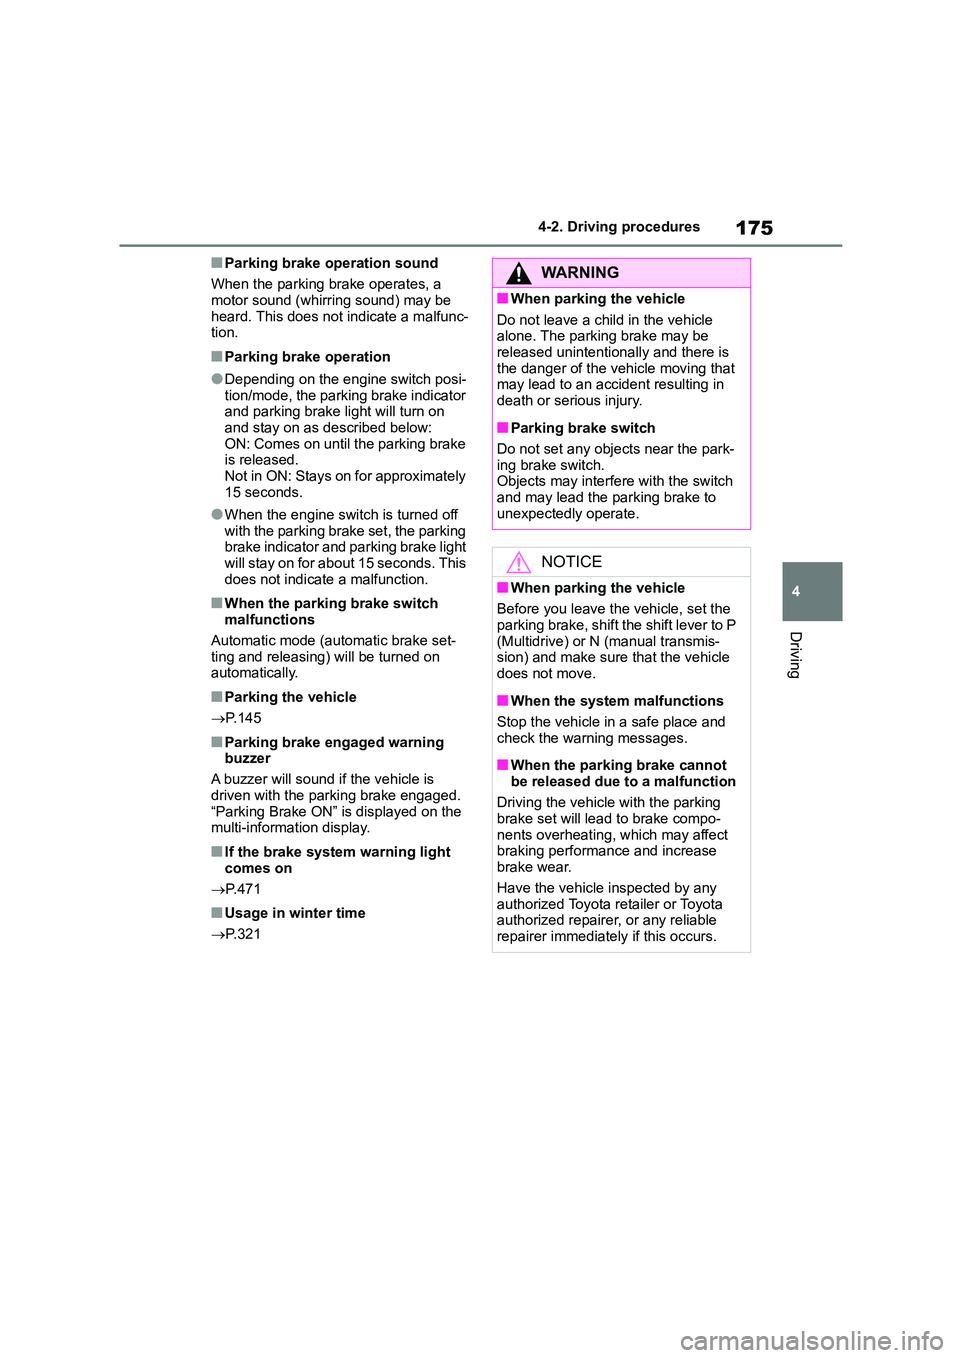
■Parking brake operation sound
When the parking brake operates, a motor sound (whirring sound) may be
heard. This does not indicate a malfunc-
tion.
■Parking brake operation
●Depending on the engine switch posi-
tion/mode, the parking brake indicator and parking brake light will turn on
and stay on as described below:
ON: Comes on until the parking brake is released.
Not in ON: Stays on for approximately
15 seconds.
●When the engine switch is turned off
with the parking brake set, the parking brake indicator and parking brake light
will stay on for about 15 seconds. This
does not indicate a malfunction.
■When the parking brake switch malfunctions
Automatic mode (automatic brake set-
ting and releasing) will be turned on automatically.
■Parking the vehicle
P.145
■Parking brake engaged warning
buzzer
A buzzer will sound if the vehicle is
driven with the parking brake engaged.
“Parking Brake ON” is displayed on the multi-information display.
■If the brake system warning light
comes on
P.471
■Usage in winter time
P.321
WA R N I N G
■When parking the vehicle
Do not leave a child in the vehicle
alone. The parking brake may be released unintentionally and there is
the danger of the vehicle moving that
may lead to an accident resulting in death or serious injury.
■Parking brake switch
Do not set any objects near the park- ing brake switch.
Objects may interfer e with the switch
and may lead the parking brake to unexpectedly operate.
NOTICE
■When parking the vehicle
Before you leave the vehicle, set the
parking brake, shift the shift lever to P
(Multidrive) or N (manual transmis- sion) and make sure that the vehicle
does not move.
■When the system malfunctions
Stop the vehicle in a safe place and
check the warning messages.
■When the parking brake cannot
be released due to a malfunction
Driving the vehicle with the parking brake set will lead to brake compo-
nents overheating, which may affect
braking performance and increase brake wear.
Have the vehicle inspected by any
authorized Toyota retailer or Toyota authorized repairer, or any reliable
repairer immediately if this occurs.
Page 188 of 678

1864-3. Operating the lights and wipers
5Increases the rain-sensing wind-
shield wiper sensitivity
6 Decreases the rain-sensing
windshield wiper sensitivity
7 Washer/wiper dual opera-
tion
Pulling the lever operates the wipers
and washer.
Wipers will automatically operate a cou-
ple of times after the washer squirts.
Vehicles with headlight cleaners: When
the headlights are on and the lever is
pulled and held, the headlight cleaners
will operate once. After this, the head-
light cleaners will operate every 5th
time the lever is pulled.
■The windshield wiper and washer can be operated when
The engine switch is in ON.
■Effects of vehicle speed on wiper
operation (vehicles with rain-sens- ing windshield wipers)
Vehicle speed affects the Intermittent
wiper interval.
■Raindrop sensor (vehicles with rain-sensing windshield wipers)
●The raindrop sensor judges the amount of raindrops.
An optical sensor is adopted. It may
not operate properly when sunlight from the rising or setting of the sun
intermittently strikes the windshield, or
if bugs etc. are present on the wind- shield.
●If the wiper is turned to AUTO mode while the engine switch is in ON, the
wipers will operate once to show that
AUTO mode is activated.
●If the temperature of the raindrop sen-
sor is 85°C (185°F) or higher, or -15°C (5°F) or lower, automatic operation
may not occur. In this case, operate
the wipers in any mode other than AUTO mode.
■If no windshield washer fluid
sprays
Check that the washer nozzles are not blocked if there is washer fluid in the
windshield washer fluid reservoir.
■When stopping the engine in an
emergency while driving
If the windshield wipers are operating when the engine is stopped, the wind-
shield wipers will operate in high speed
operation. After the vehicle is stopped, operation will return to normal when the
engine switch is turned to ON, or opera-
tion will stop when the driver’s door is opened.
Page 273 of 678

271
4
4-5. Using the driving support systems
Driving
change settings. ( P. 9 4 )
1 Press or to select .
2 Press or to select
and then press and hold .
3 Select the volume and then
press .
Each time the switch is pressed, the
volume level will change between 1, 2, and 3.
■Muting a buzzer
A mute button will be displayed on
the multi-information display when
an object is detected. To mute the
buzzer, press .
The buzzers for the Toyota parking
assist-sensor and RCTA function (if
equipped) will be muted simultane-
ously.
Mute will be cancel ed automatically
in the following situations:
When the shift lever is changed.
When the vehicle speed exceeds
a certain speed.
When the operating function is
temporarily canceled.
When the operating function is
disabled manually.
When the engine switch is turned
off.
*: If equipped
RCTA (Rear Crossing
Traffic Alert) function*
The RCTA function uses the
BSM rear side radar sensors
installed behind the rear
bumper. This function is
intended to assist the driver in
checking areas that are not
easily visible when backing up.
WA R N I N G
■Cautions regarding the use of the system
There is a limit to the degree of recog-
nition accuracy and control perfor- mance that this system can provide,
do not overly rely on this system. The
driver is always responsible for paying attention to the vehicle’s surroundings
and driving safely. ( P.258)
■To ensure the system can oper- ate properly
P. 2 5 9
System components
Page 279 of 678

277
4
4-5. Using the driving support systems
Driving
detection area behind the vehicle
when backing up. ( P.286)
The Parking Support Brake can be
enabled/disabled on the multi-infor-
mation display. All of the Parking
WA R N I N G
■Cautions regarding the use of
the system
Do not overly rely on the system, as
doing so may lead to an accident.
●The driver is solely responsible for safe driving. Always drive carefully,
taking care to observe your
surroundings. The Parking Support Brake system is designed to pro-
vide support to lessen the severity
of collisions. However, it may not operate in some situations.
●The Parking Support Brake system is not designed to stop the vehicle
completely. Additionally, even if the
system has stopped the vehicle, it is necessary to depress the brake
pedal immediately as brake control
will be canceled after approximately 2 seconds.
●It is extremely dangerous to check the system operatio ns by intention-
ally driving the vehicle into the
direction of a wall, etc. Never attempt such actions.
■When to disable the Parking Sup-port Brake
In the following situations, disable the
Parking Support Br ake as the system may operate even though there is no
possibility of a collision.
●When inspecting the vehicle using
a chassis roller, chassis dynamo or
free roller
●When loading the vehicle onto a
boat, truck or other transport vessel
●If the suspension has been modi-
fied or tires of a size other than specified are installed
●If the front of the vehicle is raised or lowered due to the carried load
●When equipment that may obstruct a sensor is installed, such as a tow-
ing eyelet, bumper protector (an
additional trim strip, etc.), bicycle carrier, or snow plow
●When using automatic car washing devices
●If the vehicle cannot be driven in a stable manner, such as when the
vehicle has been in an accident or
is malfunctioning
●When the vehicle is driven in a
sporty manner or off-road
●When the tires are not properly
inflated
●When the tires are very worn
●When a tire chains, compact spare
tire or an emergency tire puncture
repair kit is used
NOTICE
■If “Parking Support Brake Una- vailable” is displayed on the
multi-information display and the
PKSB OFF indicator is flashing
If this message is displayed immedi-
ately after the engine switch is
changed to ON, operate the vehicle carefully, paying attention to your
surroundings. It may be necessary to
drive the vehicle for a certain amount of time before the system returns to
normal. (If the system does not return
to normal after driving for a while, clean the sensors and their surround-
ing area on the bumpers.)
Enabling/Disabling the Park-
ing Support Brake
Page 307 of 678

305
4
4-5. Using the driving support systems
Driving
When the Simple Intelligent Parking Assist System cannot be operated, or
when operation is stopped, canceled, etc., the one of the following mes-
sage is displayed on the multi-information display. Take appropriate action
according to the display.
■When it is not possible to operate
NOTICE
■When using the back-in parking
assist mode
●If the road surface has any dips or inclines, the target parking spot
cannot be correctly set. Therefore,
the vehicle may be parked at an angle or may deviate from the park-
ing spot. In these cases, do not use
the back-in parking assist mode.
●When parking in a narrow space,
the vehicle will come close to adja-
cent vehicles. If it seems the vehicle may make contact, stop the vehicle
by depressing the brake pedal.
●It may not be possible to detect objects that are low to the ground.
Directly confirm the safety of your
surroundings and, if it seems the vehicle may make contact with an
obstacle, stop the vehicle by
depressing the brake pedal.
●Depending on the surrounding envi-
ronment, such as other parked vehicles, the vehicle may be parked
at an angle or may deviate from the
parking spot. Manually adjust vehi- cle alignment as necessary.
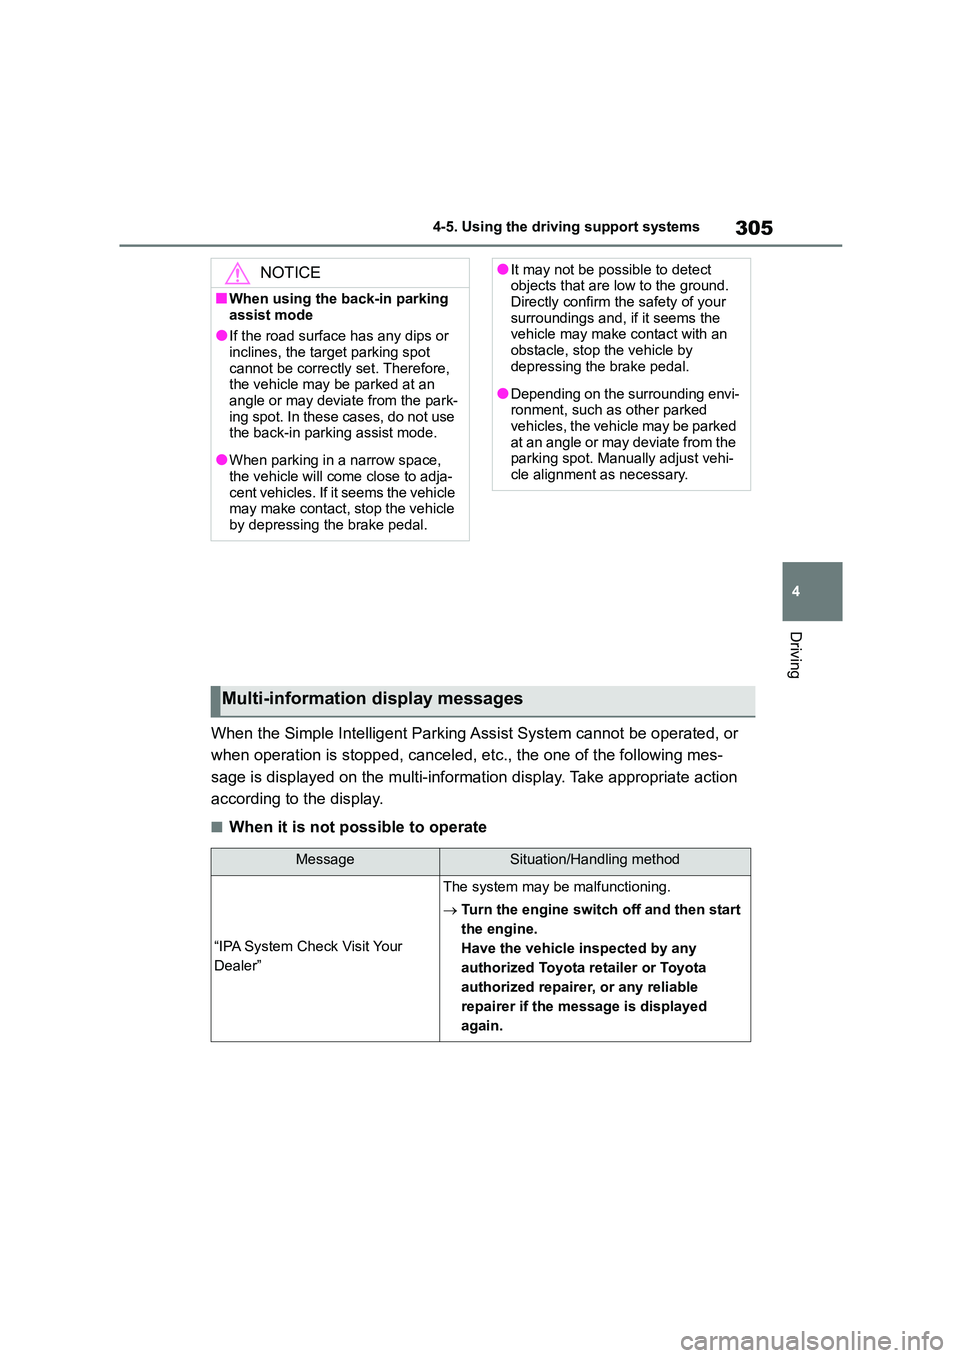
Multi-information display messages
MessageSituation/Handling method
“IPA System Check Visit Your
Dealer”
The system may be malfunctioning.
Turn the engine switch off and then start
the engine.
Have the vehicle inspected by any
authorized Toyota retailer or Toyota
authorized repairer, or any reliable
repairer if the message is displayed
again.
Page 337 of 678

335
5
5-4. Playing an audio CD and MP3/WMA discs
Audio system
the desired file.
■Fast-forwarding and rewinding
files
Press and hold the “SEEK >” or “<
TRACK” button until you hear a
beep.
■Random play
Pressing (RDM) changes
modes in the following order:
Folder random Disc randomOff
■Repeat play
Pressing (RPT) changes modes
in the following order: File
repeat Folder repeat*Off
*: Available except when “RDM” (ran-
dom play) is selected
■Switching the display
Press (Text) to display or hide
the album title.
If there are continuing texts, is dis-
played.
Press and hold (Text) until you hear
a beep to display the remaining texts.
■Display
Depending on the contents recorded,
the characters may not be displayed
properly or may not be displayed at all.
■Error messages
If an error message is displayed, refer to
the following table and take the appro-
priate measures. If the problem is not rectified, take the vehicle to any author-
ized Toyota retailer or Toyota authorized
repairer, or any reliable repairer.
■Discs that can be used
Discs with the marks shown below can be used.
Playback may not be possible depend-
ing on recording format or disc features, or due to scratches, dirt or deterioration.
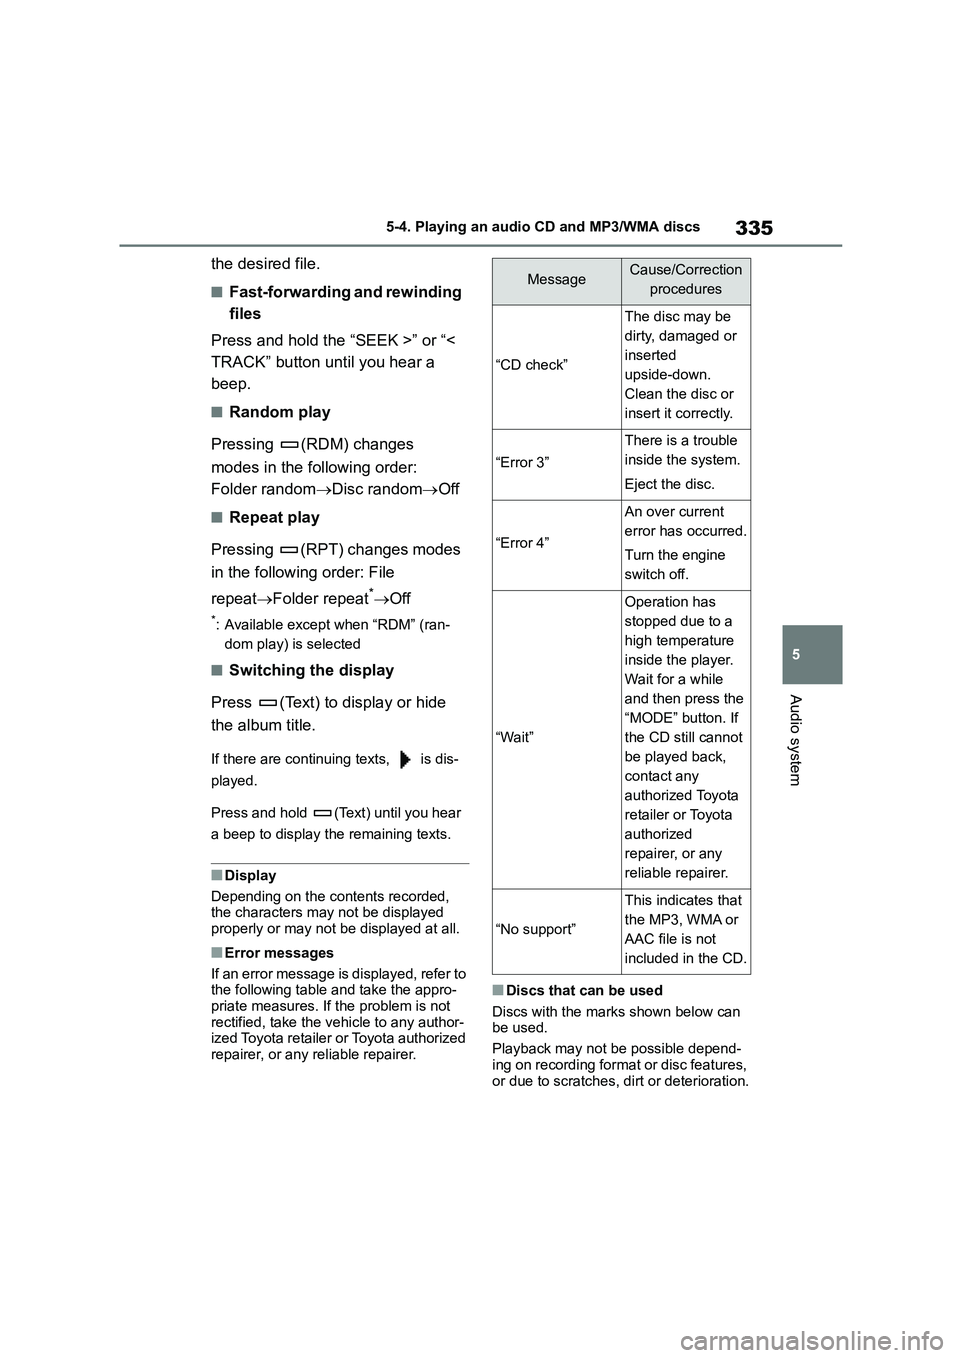
MessageCause/Correction
procedures
“CD check”
The disc may be
dirty, damaged or
inserted
upside-down.
Clean the disc or
insert it correctly.
“Error 3”
There is a trouble
inside the system.
Eject the disc.
“Error 4”
An over current
error has occurred.
Turn the engine
switch off.
“Wait”
Operation has
stopped due to a
high temperature
inside the player.
Wait for a while
and then press the
“MODE” button. If
the CD still cannot
be played back,
contact any
authorized Toyota
retailer or Toyota
authorized
repairer, or any
reliable repairer.
“No support”
This indicates that
the MP3, WMA or
AAC file is not
included in the CD.
Page 406 of 678

4046-4. Other interior features
■The wireless charger can be oper-
ated when
The engine switch is in ACC or ON.
■Portable devices that can be
charged
●Portable devices compatible with the
Qi wireless charging standard can be
charged by the wireless charger. How- ever, compatibility with all devices
which meet the Qi wireless charging
standard is not guaranteed.
●The wireless charger is designed to
supply low power electricity (5 W or
less) to a cellular phone, smartphone, or other portable device.
■If a cover or accessory is attached
to the portable device
Do not charge a portable device if a cover or accessory which is not Qi com-
patible is attached. Depending on the
type of cover and/or accessory attached, it may not be possible to
charge the portable device. If the porta-
ble device is placed on the charging area and does not charge, remove the
cover and/or accessories.
■If interference is heard in AM radio
broadcasts while charging
Turn off the wireless charger and check
if the noise is reduced. If noise is
reduced, press and hold the power sup-
ply switch of the wireless charger for 2 seconds. The frequency of the wireless
charger is changed and noise may be
reduced. When the frequency is changed, the operation indicator light
will blink (orange) 2 times.
■Charging precautions
●If the electronic key cannot be
detected in the cabin, charging cannot
be performed. When a door is opened and closed, charging may be tempo-
rarily suspended.
●While charging, the wireless charger
and the portable device will become
warm. This is not a malfunction.If a portable
device becomes warm while charging
and charging stops due to the protec- tion function of the portable device,
wait until the portable device cools
down and charge it again.
■Sound generated during operation
When the power supply switch is turned on or while a portable device is being
identified, operation sounds may be
heard. This is not a malfunction.
■Cleaning the wireless charger
P. 4 1 3
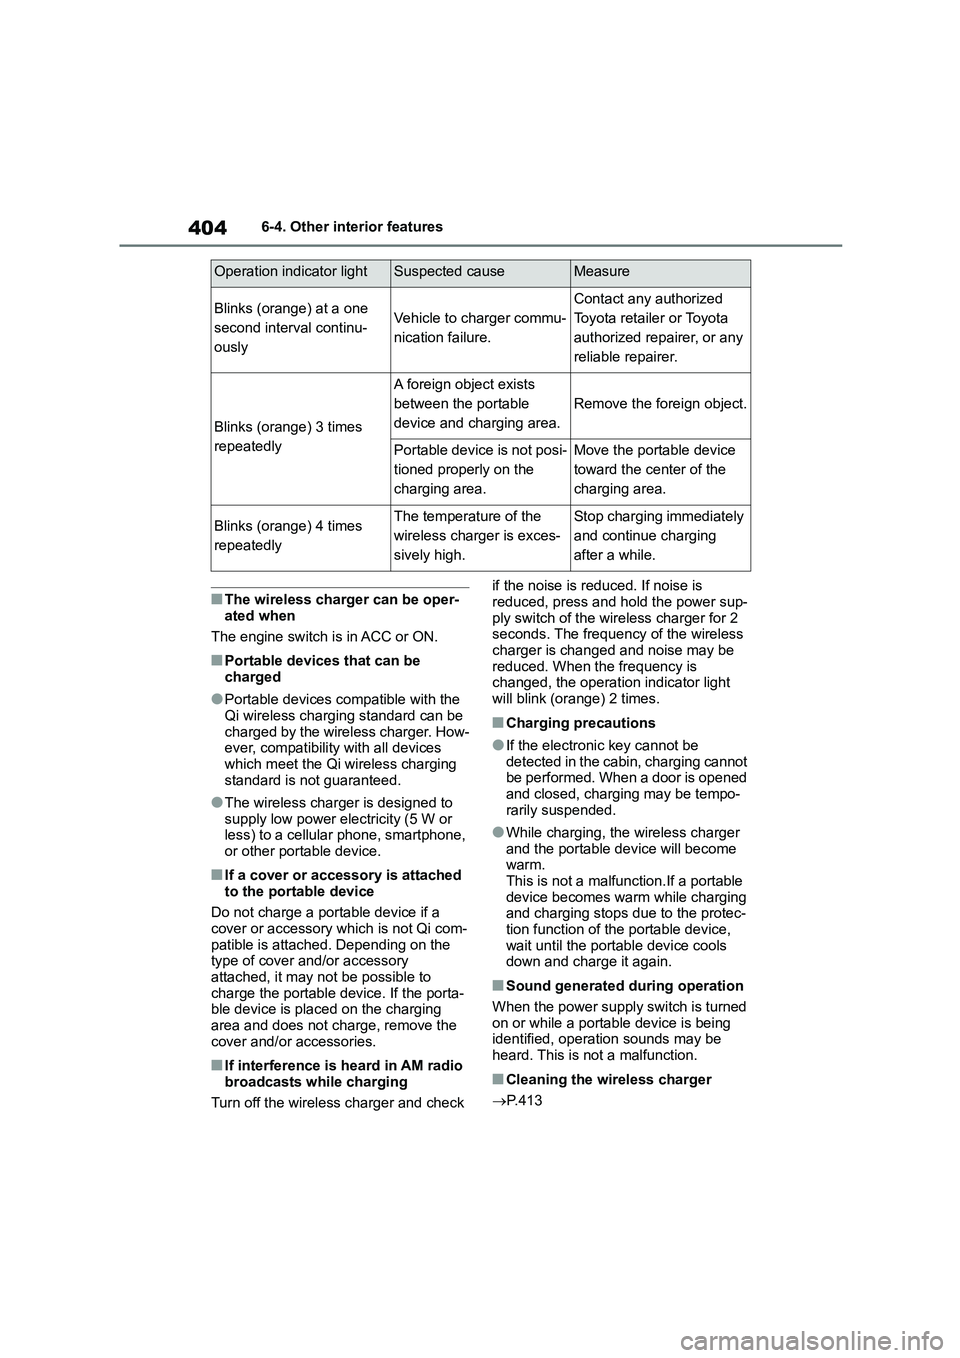
Operation indicator lightSuspected causeMeasure
Blinks (orange) at a one
second interval continu-
ously
Vehicle to charger commu-
nication failure.
Contact any authorized
Toyota retailer or Toyota
authorized repairer, or any
reliable repairer.
Blinks (orange) 3 times
repeatedly
A foreign object exists
between the portable
device and charging area.
Remove the foreign object.
Portable device is not posi-
tioned properly on the
charging area.
Move the portable device
toward the center of the
charging area.
Blinks (orange) 4 times
repeatedly
The temperature of the
wireless charger is exces-
sively high.
Stop charging immediately
and continue charging
after a while.
Page 411 of 678

7
409
7
Maintenance and care
Maintenance and care
.7-1. Maintenance and care
Cleaning and protecting the
vehicle exterior ............... 410
Cleaning and protecting the
vehicle interior ................ 413
7-2. Maintenance
Maintenance requirements
....................................... 416
7-3. Do-it-yourself maintenance
Do-it-yourself service precau-
tions ................................ 418
Hood ................................. 419
Positioning a floor jack ...... 420
Engine compartment ........ 422
Tires .................................. 429
Tire inflation pressure ....... 444
Wheels.............................. 445
Air conditioning filter ......... 447
Wireless remote control/elec-
tronic key battery ............ 449
Checking and replacing fuses
....................................... 452
Light bulbs ........................ 455