2022 PEUGEOT 308 keyless entry
[x] Cancel search: keyless entryPage 42 of 260
40
Access
► Switch on the ignition; this stops the alarm.
The indicator lamp in the button goes off.
Locking the vehicle without
activating the alarm
► Lock the vehicle using the key (built-in the
remote control) in the front left-hand door lock.
Automatic activation
(Depending on version)
The system is activated automatically 2 minutes
after the last door or the boot is closed.
►
T
o avoid triggering the alarm on entering the
vehicle, first press the unlocking button on the
remote control or unlock the vehicle using the
"Keyless Entry and Start" system.
Malfunction
When the ignition is switched on, the fixed
lighting of the red indicator lamp in the button
indicates a system malfunction.
Have it checked by a PEUGEOT dealer or a
qualified workshop.
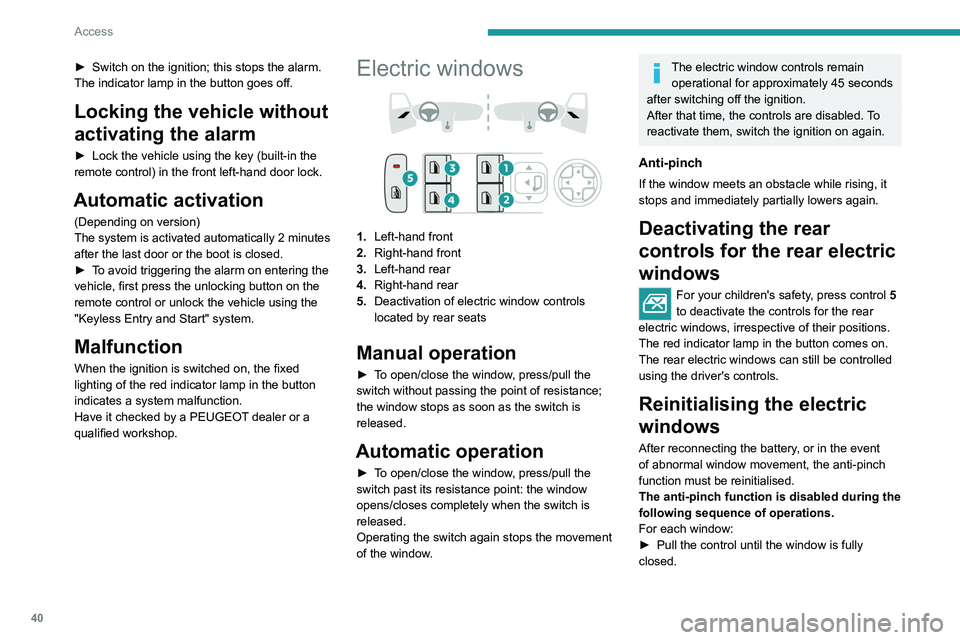
Electric windows
1. Left-hand front
2. Right-hand front
3. Left-hand rear
4. Right-hand rear
5. Deactivation of electric window controls
located by rear seats
Manual operation
► To open/close the window, press/pull the
switch without passing the point of resistance;
the window stops as soon as the switch is
released.
Automatic operation
► To open/close the window, press/pull the
switch past its resistance point: the window
opens/closes completely when the switch is
released.
Operating the switch again stops the movement
of the window.
The electric window controls remain
operational for approximately 45 seconds
after switching off the ignition.
After that time, the controls are disabled. To
reactivate them, switch the ignition on again.
Anti-pinch
If the window meets an obstacle while rising, it
stops and immediately partially lowers again.
Deactivating the rear
controls for the rear electric
windows
For your children's safety, press control 5
to deactivate the controls for the rear
electric windows, irrespective of their positions.
The red indicator lamp in the button comes on.
The rear electric windows can still be controlled
using the driver's controls.
Reinitialising the electric
windows
After reconnecting the battery, or in the event
of abnormal window movement, the anti-pinch
function must be reinitialised.
The anti-pinch function is disabled during the
following sequence of operations.
For each window:
►
Pull the control until the window is fully
closed.
Page 61 of 260
59
Ease of use and comfort
3allows a smartphone to be connected by Android
Auto® or CarPlay®, enabling certain smartphone
applications to be used on the touch screen.
For best results, use a cable made or approved
by the device manufacturer.
These applications can be managed using the
steering-mounted controls or the audio system
controls.
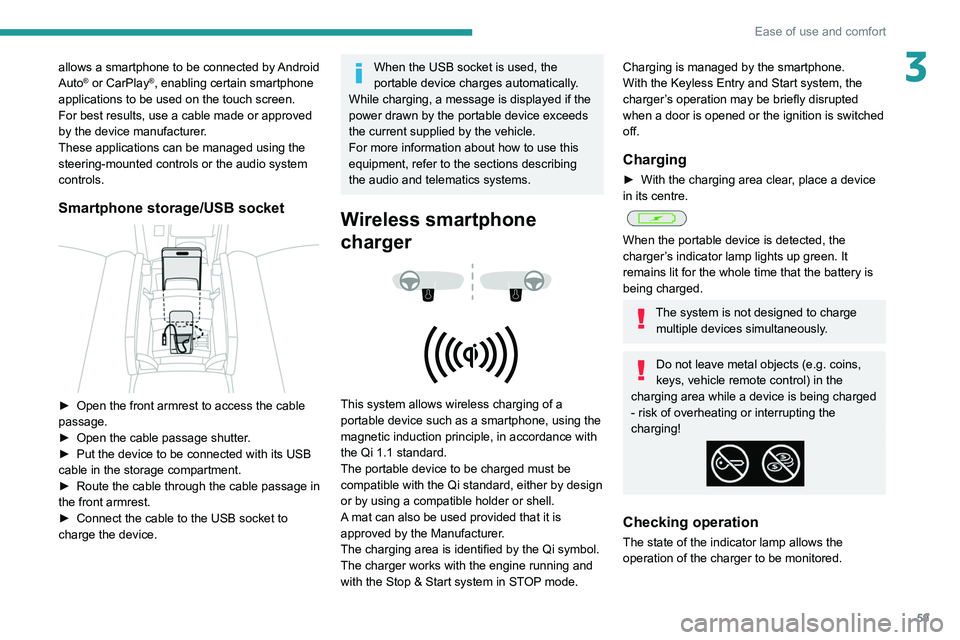
Smartphone storage/USB socket
► Open the front armrest to access the cable
passage.
►
Open the cable passage shutter
.
►
Put the device to be connected with its USB
cable in the storage compartment.
►
Route the cable through the cable passage in
the front armrest.
►
Connect the cable to the USB socket to
charge the device.
When the USB socket is used, the
portable device charges automatically.
While charging, a message is displayed if the
power drawn by the portable device exceeds
the current supplied by the vehicle.
For more information about how to use this
equipment, refer to the sections describing
the audio and telematics systems.
Wireless smartphone
charger
This system allows wireless charging of a
portable device such as a smartphone, using the
magnetic induction principle, in accordance with
the Qi 1.1 standard.
The portable device to be charged must be
compatible with the Qi standard, either by design
or by using a compatible holder or shell.
A mat can also be used provided that it is
approved by the Manufacturer.
The charging area is identified by the Qi symbol.
The charger works with the engine running and
with the Stop & Start system in STOP mode.
Charging is managed by the smartphone.
With the Keyless Entry and Start system, the
charger’s operation may be briefly disrupted
when a door is opened or the ignition is switched
off.
Charging
► With the charging area clear , place a device
in its centre.
When the portable device is detected, the
charger’s indicator lamp lights up green. It
remains lit for the whole time that the battery is
being charged.
The system is not designed to charge multiple devices simultaneously.
Do not leave metal objects (e.g. coins,
keys, vehicle remote control) in the
charging area while a device is being charged
- risk of overheating or interrupting the
charging!
Checking operation
The state of the indicator lamp allows the
operation of the charger to be monitored.
Page 102 of 260
100
Driving
► Remove the key from the ignition switch.
► T o lock the steering column, turn the steering
wheel until it locks.
To facilitate unlocking of the steering column, it is recommended that the
wheels be returned to the straight ahead
position before switching off the engine.
Never switch off the ignition before the
complete immobilisation of the vehicle.
With the engine off, the braking and steering
assistance systems are also cut off - risk of
loss of control of the vehicle!
Check that the parking brake is correctly
applied, particularly on sloping ground.
When leaving the vehicle, keep the key in
your possession and lock the vehicle.
Energy economy mode
After the engine has stopped (position 1. Stop),
for a maximum combined duration of 40 minutes,
you can still use functions such as the audio and
telematics system, courtesy lamps or dipped
beam headlamps.
For more information on Energy
economy mode, refer to the
corresponding section.
Key left in
When the driver's door is opened, a
message is displayed, accompanied by an
audible signal, if the key has been left in the
ignition switch in position 1.
If the key has been left in the ignition switch
in position 2, the ignition will be switched off
automatically after one hour.
To switch the ignition back on, turn the key to
position 1, then back to position 2.
Starting/Switching off the
engine with Keyless Entry
and Start
The electronic key must be present in the
passenger compartment.
The electronic key is also detected in the
boot.
If the electronic key is not detected, a
message is displayed.
Move the electronic key so that the engine
can be started or switched off.
If there is still a problem, refer to the "Key
not detected - Back-up starting or Back-up
switch-off" section.
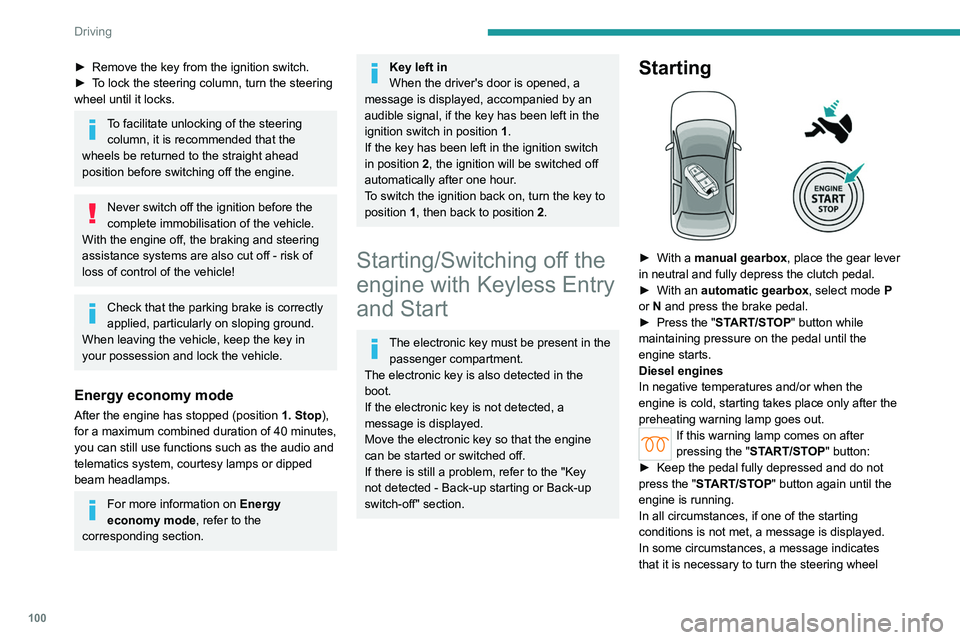
Starting
► With a manual gearbox, place the gear lever
in neutral and fully depress the clutch pedal.
►
With an
automatic gearbox, select mode P
or
N and press the brake pedal.
►
Press the "
START/STOP" button while
maintaining pressure on the pedal until the
engine starts.
Diesel engines
In negative temperatures and/or when the
engine is cold, starting takes place only after the
preheating warning lamp goes out.
If this warning lamp comes on after
pressing the " START/STOP" button:
►
Keep the pedal fully depressed and do not
press the "
START/STOP" button again until the
engine is running.
In all circumstances, if one of the starting
conditions is not met, a message is displayed.
In some circumstances, a message indicates
that it is necessary to turn the steering wheel
Page 177 of 260
175
Practical information
7Never pour the AdBlue® into the Diesel
fuel tank.
If any AdBlue® is splashed, or if there are
any spillages on the bodywork, rinse
immediately with cold water or wipe with a
damp cloth.
If the fluid has crystallised, clean it off using a
sponge and hot water.
Important: in the event of a top-up after
a breakdown because of a lack of
AdBlue, it is essential to wait around 5
minutes before switching on the ignition,
without opening the driver’s door,
unlocking the vehicle, inserting the key
into the ignition switch, or bringing the
key for the "Keyless Entry and Start"
system into the passenger compartment.
Switch on the ignition, then wait for 10
seconds before starting the engine.
►
Switch off the ignition and remove the key
from the switch to switch off the engine.
or
►
With Keyless Entry and Start, press the
"
START/STOP" button to switch off the engine.
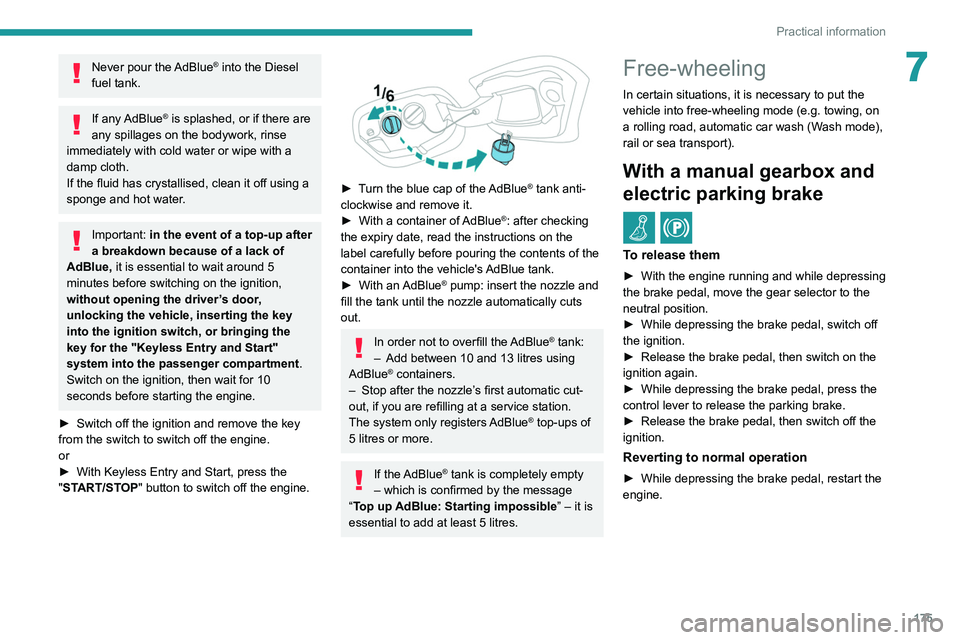
► Turn the blue cap of the AdBlue® tank anti-
clockwise and remove it.
►
With a container of
AdBlue
®: after checking
the expiry date, read the instructions on the
label carefully before pouring the contents of the
container into the vehicle's AdBlue tank.
►
With an
AdBlue® pump: insert the nozzle and
fill the tank until the nozzle automatically cuts
out.
In order not to overfill the AdBlue® tank:
–
Add between 10 and 13 litres using
AdBlue® containers.
–
Stop after the nozzle’ s first automatic cut-
out, if you are refilling at a service station.
The system only registers AdBlue
® top-ups of
5
litres or more.
If the AdBlue® tank is completely empty
– which is confirmed by the message
“Top up
AdBlue: Starting impossible ” – it is
essential to add at least 5 litres.
Free-wheeling
In certain situations, it is necessary to put the
vehicle into free-wheeling mode (e.g. towing, on
a rolling road, automatic car wash (Wash mode),
rail or sea transport).
With a manual gearbox and
electric parking brake
/
To release them
► With the engine running and while depressing
the brake pedal, move the gear selector to the
neutral position.
►
While depressing the brake pedal, switch off
the ignition.
►
Release the brake pedal, then switch on the
ignition again.
►
While depressing the brake pedal, press the
control lever to release the parking brake.
►
Release the brake pedal, then switch off the
ignition.
Reverting to normal operation
► While depressing the brake pedal, restart the
engine.
Page 178 of 260

176
Practical information
With EAT8 automatic
gearbox and electric parking
brake
/
Release procedure
► With the vehicle stationary and the engine
running, depress the brake pedal and select
mode
N.
Within 5
seconds:
►
Depress and hold the brake pedal, then
observe this order: switch off the ignition and
move the push selector forwards or backwards.
►
Release the brake pedal, then switch on the
ignition again.
►
Place your foot on the brake and press the
electric parking brake control to release it.
►
Release the brake pedal, then switch off the
ignition.
A message is displayed on the instrument panel to confirm the unlocking
of the wheels for 15 minutes.
In Wash mode, a message may appear on
the instrument panel to indicate that the audio
system cannot be updated.
Reverting to normal operation
► While depressing the brake pedal, restart the
engine.
Keyless Entry and Start
You must not depress the brake pedal
while switching the ignition on again, then
switching it off. If you do, the engine will start,
requiring you to restart the procedure.
Advice on care and maintenance
General recommendations
Observe the following recommendations to avoid
damaging the vehicle.
Exterior
Never use a high-pressure jet wash in
the engine compartment - risk of
damaging the electrical components!
Do not wash the vehicle in bright sunshine or
extremely cold conditions.
When washing the vehicle in an
automatic roller-brush car wash, be sure
to lock the doors and, depending on version,
move the electronic key away and deactivate
the "hands-free" function (Hands-Free
Tailgate Access).
When using a pressure washer, keep the jet
nozzle at a minimum distance of 30 cm from
the vehicle (particularly when cleaning areas
containing chipped paint, sensors or seals).
Promptly clean up any stains containing
chemicals liable to damage the vehicle's
paintwork (including tree resin, bird
droppings, insect secretions, pollen and tar).
Depending on the environment, clean the
vehicle frequently to remove salty deposits
(in coastal areas), soot (in industrial areas)
and mud/salts (in wet or cold areas). These
substances can be highly corrosive.
Contact a PEUGEOT dealer or a qualified
workshop for advice on removing stubborn
stains requiring special products (such as tar
or insect removers).
Preferably, have paint touch-ups performed
by a PEUGEOT dealer or a qualified
workshop.
Interior
When washing the vehicle, never use a
water hose or high-pressure jet to clean
the interior.
Liquids carried in cups or other open
containers can spill, presenting a risk of
damage to the instruments and controls and
the controls located on the centre console. Be
vigilant!
To clean instrument panels, touch screens
or other displays, wipe gently with a soft,
dry cloth. Do not use products (e.g. alcohol,
disinfectant) or soapy water directly on these
surfaces - risk of damage!
Page 228 of 260
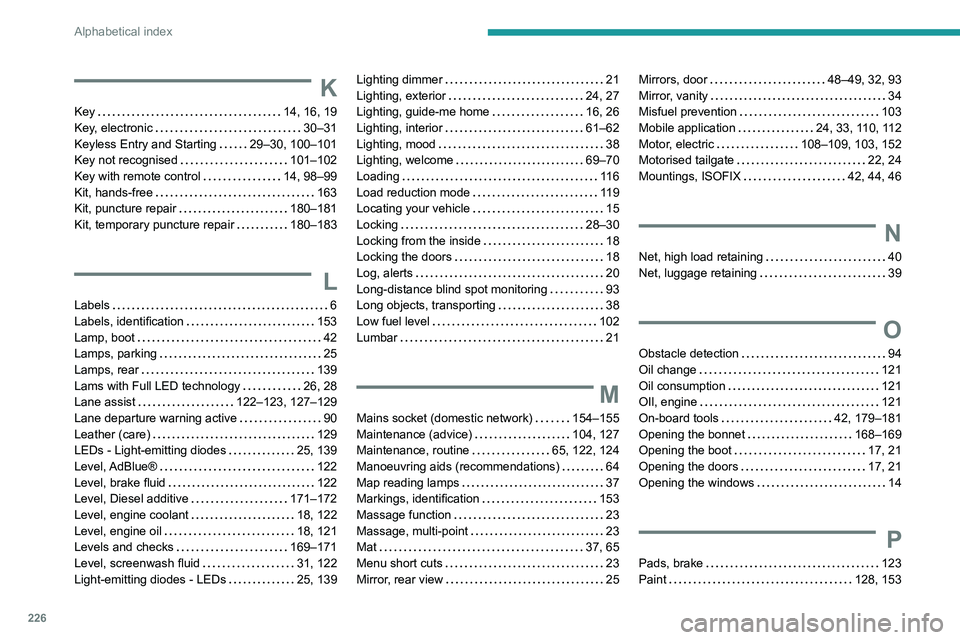
226
Alphabetical index
K
Key 14, 16, 19
Key, electronic
30–31
Keyless Entry and Starting
29–30, 100–101
Key not recognised
101–102
Key with remote control
14, 98–99
Kit, hands-free
163
Kit, puncture repair
180–181
Kit, temporary puncture repair
180–183
L
Labels 6
Labels, identification
153
Lamp, boot
42
Lamps, parking
25
Lamps, rear
139
Lams with Full LED technology
26, 28
Lane assist
122–123, 127–129
Lane departure warning active
90
Leather (care)
129
LEDs - Light-emitting diodes
25, 139
Level, AdBlue®
122
Level, brake fluid
122
Level, Diesel additive
171–172
Level, engine coolant
18, 122
Level, engine oil
18, 121
Levels and checks
169–171
Level, screenwash fluid
31, 122
Light-emitting diodes - LEDs
25, 139
Lighting dimmer 21
Lighting, exterior
24, 27
Lighting, guide-me home
16, 26
Lighting, interior
61–62
Lighting, mood
38
Lighting, welcome
69–70
Loading
11 6
Load reduction mode
119
Locating your vehicle
15
Locking
28–30
Locking from the inside
18
Locking the doors
18
Log, alerts
20
Long-distance blind spot monitoring
93
Long objects, transporting
38
Low fuel level
102
Lumbar
21
M
Mains socket (domestic network) 154–155
Maintenance (advice)
104, 127
Maintenance, routine
65, 122, 124
Manoeuvring aids (recommendations)
64
Map reading lamps
37
Markings, identification
153
Massage function
23
Massage, multi-point
23
Mat
37, 65
Menu short cuts
23
Mirror, rear view
25
Mirrors, door 48–49, 32, 93
Mirror, vanity
34
Misfuel prevention
103
Mobile application
24, 33, 110, 112
Motor, electric
108–109, 103, 152
Motorised tailgate
22, 24
Mountings, ISOFIX
42, 44, 46
N
Net, high load retaining 40
Net, luggage retaining
39
O
Obstacle detection 94
Oil change
121
Oil consumption
121
OIl, engine
121
On-board tools
42, 179–181
Opening the bonnet
168–169
Opening the boot
17, 21
Opening the doors
17, 21
Opening the windows
14
P
Pads, brake 123
Paint
128, 153
Page 229 of 260

227
Alphabetical index
Paint colour code 153
Parking brake, electric
102–104, 124
Parking sensors, audible and visual
94
Parking sensors, front
95
Parking sensors, rear
94
Passenger compartment temperature pre-
conditioning (Rechargeable hybrid)
24, 33
Pedestrian horn (Rechargeable hybrid)
30
Personalisation
10, 24
Plates, identification
153
Port, USB
58–59, 38
Post Collision Safety Brake
33
Power
20
Power indicator (Rechargeable hybrid)
8, 20
Pressures, tyres
124, 133, 154
Pre-tensioning seat belts
36
Priming the fuel system
130
Profiles
156
Protecting children
87–93
Proximity Keyless Entry & Start
16
Puncture
181–182, 135
R
Radar (warnings) 64
Radio
214–215
Range, AdBlue®
18, 122
Reading lamps
37
READY lamp
119
Rear screen, demisting
32
Rear traffic alert
99
Rechargeable hybrid engine 8, 23, 119,
146, 152
Rechargeable hybrid system
6, 8, 23,
52, 60, 103
Recharging the battery
140, 142, 144
Recharging the traction battery
107
Recharging the traction battery
(Rechargeable hybrid)
103, 159–160
Recirculation, air
55–56
Recovery
194–196
Recovery of the vehicle
195–196
Reduction of electrical load
119
Regeneration of the particle filter
123
Regenerative braking (deceleration
by engine braking)
57
Reinitialisation of the under-inflation
detection system
63
Reinitialising the remote control
20
Reminder, key in ignition
51
Reminder, lighting on
24
Remote control
27–32
Remote functions
11 2
Remotely operable functions
(Rechargeable hybrid)
24, 33
Removing a wheel
185–186
Removing the mat
37
Replacing bulbs
187–188
Replacing fuses
140
Replacing the air filter
123
Replacing the oil filter
123
Replacing the passenger compartment
filter
123Reservoir, screenwash 122
Reset trip
21
Reversing camera
65, 145–146
Reversing lamps
139
Roof bars
11 6
Roof, opening
28
Running out of fuel (Diesel)
130
S
Safety, children 87–93
Saturation of the particle filter (Diesel)
123
Screens, very cold conditions
11 7
Screenwash
31
Screenwash, front
31
Screenwash, rear
31
SCR (Selective Catalytic Reduction)
19, 124
Seat angle
21
Seat belts
84–85, 42
Seat belts, rear
35
Seat, rear bench
26
Seats, electric
45–46
Seats, front
44–46
Seats, heated
46–47
Seats, rear
50–52, 40
Selector, gear
105–107
Semi-automatic lane changing
82
Sensors (warnings)
65
Serial number, vehicle
153
Service indicator
17
Servicing
17, 122, 124