2022 NISSAN TITAN ECO mode
[x] Cancel search: ECO modePage 4 of 635

For descriptions specified for 4-wheel drive
models, amark is placed at the be-
ginning of the applicable sections/items.
As with other vehicles with features for
off-road use, failure to operate 4-wheel
drive models correctly may result in loss
of control or a collision. For additional
information, see “Driving safety precau-
tions” (P. 5-11).
ON-PAVEMENT AND OFF-ROAD DRIVING
This vehicle will handle and maneuver
differently from an ordinary passenger
car because it has a higher center of
gravity for off-road use. As with other
vehicles with features of this type, fail-
ure to operate this vehicle correctly may
result in loss of control or an accident.
For additional information, see “On-
pavement and off-road driving precau-
tions” (P. 5-8), “Avoiding collision and
roll- over” (P. 5-9) and “Driving safety
precautions” (P. 5-11).
MODIFICATION OF YOUR VEHICLE
This vehicle should not be modified.
Modification could affect its perfor-
mance, safety, emissions or durability
and may even violate governmental
regulations. In addition, damage or per-
formance problems resulting from
modifications may not be covered un-
der NISSAN warranties.
WARNING
Installing an af termarket On-Board Di-
agnostic (OBD) plug-in device that uses
the port during normal driving, for ex-
ample remote insurance company
monitoring, remote vehicle diagnos-
tics, telematics or engine reprogram-
ming, may cause interference or dam-
age to vehicle systems. We do not
recommend or endorse the use of any
af termarket OBD plug-in devices, un-
less specifically approved by NISSAN.
The vehicle warranty may not cover
damage caused by any af termarket
plug-in device. This manual includes information for all
features and equipment available on this
model. Features and equipment in your ve-
hicle may vary depending on model, trim
level, options selected, order, date of pro-
duction, region or availability. Therefore,
you may find information about features or
equipment that are not included or in-
stalled on your vehicle.
All information, specifications and illustra-
tions in this manual are those in effect at
the time of printing. NISSAN reserves the
right to change specifications, perfor-
mance, design or component suppliers
without notice and without obligation.
From time to time, NISSAN may update or
revise this manual to provide Owners with
the most accurate information currently
available. Please carefully read and retain
with this manual all revision updates sent
to you by NISSAN to ensure you have ac-
cess to accurate and up-to-date informa-
tion regarding your vehicle. Current ver-
sions of vehicle Owner's Manuals and any
updates can also be found in the Owner
section of the NISSAN website at
https://
owners.nissanusa.com/nowners/
navigation/manualsGuide . If you have
questions concerning any information in
WHEN READING THE MANUAL
Page 5 of 635
your Owner's Manual, contact NISSAN Con-
sumer Affairs. For contact information, re-
fer to the NISSAN CUSTOMER CARE PRO-
GRAM page in this Owner’s Manual.
IMPORTANT INFORMATION ABOUT
THIS MANUAL
You will see various symbols in this manual.
They are used in the following ways:
WARNING
This is used to indicate the presence of
a hazard that could cause death or se-
rious personal injury. To avoid or re-
duce the risk, the procedures must be
followed precisely.
CAUTION
This is used to indicate the presence of
a hazard that could cause minor or
moderate personal injury or damage to
your vehicle. To avoid or reduce the risk,
the procedures must be followed
carefully. If you see this symbol, it means
“Do not do
this” or“Do not let this happen.”If you see a symbol similar to these in an
illustration, it means the arrow points to the
front of the vehicle.
Arrows in an illustration that are similar to
these indicate movement or action.
Arrows in an illustration that are similar to
these call attention to an item in the
illustration.
CALIFORNIA PERCHLORATE
ADVISORY
Some vehicle parts, such as lithium bat-
teries, may contain perchlorate material.
The following advisory is provided: “Per-
chlorate Material – special handling may
apply. For additional information, refer
to www.dtsc.ca.gov/hazardouswaste/
perchlorate/”.
© 2021 NISSAN NORTH AMERICA, INC.
All rights reserved. No part of this Owner's
Manual may be reproduced or stored in a
retrieval system, or transmitted in any
form, or by any means, electronic, me-
chanical, photocopying, recording or oth-
erwise, without the prior written permis-
sion of Nissan North America, Inc.
APD1005
Page 11 of 635

1. Antenna (P. 4-42)
2. Power windows (P. 2-82)
3. Windshield (P. 8-22)
4. Wiper and washer switch (P. 2-41)5. Engine hood (P. 3-23)
6. Front view camera (if so equipped)
(P. 4-11)
7. Recovery hooks (if so equipped) (P. 6-16) 8. Front fog lights (if so equipped) (P. 2-52)
LED Daytime Running Lights (DRL)
system (if so equipped) (P. 2-50)
Front sonar sensors (if so equipped)
(P. 5-124)
9. Headlight and turn signal switches
(P. 2-45, 2-51)
Replacing bulbs (P. 8-29)
LED Daytime Running Lights (DRL)
system (if so equipped) (P. 2-50)
10. Tire pressure (P. 8-33) Flat tire (P. 6-3)
Tire chains (P. 8-42)
11. Mirrors (P. 3-29) Side view camera (if so equipped)
(P. 4-11)
12. Door locks (P. 3-4) NISSAN Intelligent Key® system (P. 3-9)
Refer to the page number indicated in
parentheses for operating details.
NOTE:
Crew Cab model shown, King Cab® model
similar.
LII2732
EXTERIOR FRONT
Illustrated table of contents0-3
Page 12 of 635

1. Cargo lamp (P. 2-53)
2. Rear sliding window (P. 2-85)3. Bed liner storage bins (if so equipped)
(P. 2-80)
4. Under rail bed lamps (if so equipped)
(P. 8-30) 5. Truck box (P. 3-34)
Tailgate (P. 3-34)
Rearview camera (P. 4-10)
6. Towing (P. 10-32)
7. Rear sonar sensors (P. 5-124)
8. Replacing bulbs (P. 8-29)
9. Fuel-filler cap (P. 3-23) Fuel-filler door (P. 3-23)
Fuel recommendation (P. 10-4)
10. Child safety rear door lock
(if so equipped) (P. 3-4)
Refer to the page number indicated in
parentheses for operating details.
NOTE:
Crew Cab model shown, King Cab® model
similar.
LII2733
EXTERIOR REAR
0-4Illustrated table of contents
Page 40 of 635
•Do not allow children to play with the
seat belts. Most seating positions are
equipped with Automatic Locking
Retractor (ALR) mode seat belts. If
the seat belt becomes wrapped
around a child’s neck with the ALR
mode activated, the child can be se-
riously injured or killed if the seat belt
retracts and becomes tight. This can
occur even if the vehicle is parked.
Unbuckle the seat belt to release the
child. If the seat belt cannot be un-
buckled or is already unbuckled, re-
lease the child by cutting the seat
belt with a suitable tool (such as a
knife or scissors) to release the seat
belt.
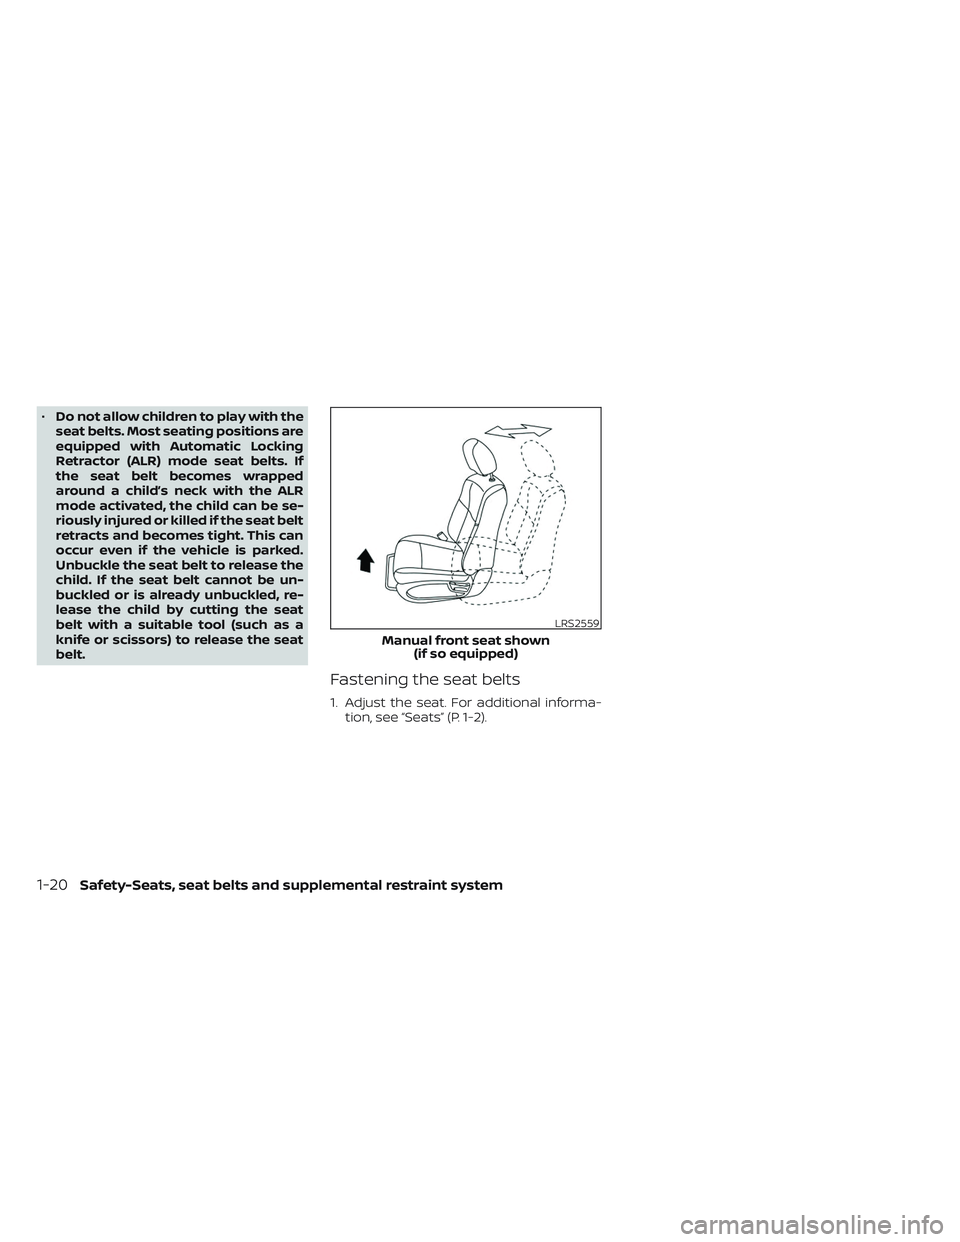
Fastening the seat belts
1. Adjust the seat. For additional informa- tion, see “Seats” (P. 1-2).
LRS2559
Manual front seat shown (if so equipped)
1-20Safety-Seats, seat belts and supplemental restraint system
Page 45 of 635
•Periodically check to see that the seat
belt and the metal components, such
as buckles, tongues, retractors, flexible
wires and anchors, work properly. If loose
parts, deterioration, cuts or other dam-
age on the webbing is found, the entire
seat belt assembly should be replaced.WARNING
Do not allow children to play with the
seat belts. Most seating positions are
equipped with Automatic Locking Re-
tractor (ALR) mode seat belts. If the seat
belt becomes wrapped around a child’s
neck with the ALR mode activated, the
child can be seriously injured or killed if
the seat belt retracts and becomes
tight. This can occur even if the vehicle
is parked. Unbuckle the seat belt to re-
lease the child. If the seat belt cannot
be unbuckled or is already unbuckled,
release the child by cutting the seat
belt with a suitable tool (such as a knife
or scissors) to release the seat belt.
Children need adults to help protect
them. They need to be properly
restrained.
In addition to the general information in
this manual, child safety information is
available from many other sources, includ-
ing doctors, teachers, government traffic
safety offices, and community organiza-
tions. Every child is different, so be sure to
learn the best way to transport your child. There are three basic types of child re-
straint systems:
• Rear-facing child restraints
• Forward-facing child restraints
• Booster seats
The proper restraint depends on the child's
size. Generally, infants up to about 1 year
and less than 20 lbs. (9 kg) should be placed
in rear-facing child restraints. Forward-
facing child restraints are available for chil-
dren who outgrow rear-facing child re-
straints and are at least 1 year old. Booster
seats are used to help position a vehicle
lap/shoulder belt on a child who can no
longer use a forward-facing child restraint.
WARNING
Infants and children need special pro-
tection. The vehicle's seat belts may
not fit them properly. The shoulder belt
may come too close to the face or neck.
The lap belt may not fit over their small
hip bones. In an accident, an improp-
erly fitting seat belt could cause serious
or fatal injury. Always use appropriate
child restraints.
CHILD SAFETY
Safety-Seats, seat belts and supplemental restraint system1-25
Page 60 of 635
Rear bench seat
OUTBOARD SEATING POSITIONS
1. Remove the head restraint/headrestand store it in a secure place. Be sure to
reinstall the head restraint/headrest
when the child restraint is removed. For
additional information, see “Head
restraints/headrests” (P. 1-11) for head
restraint/headrest adjustment, removal
and installation information.
2. Position the top tether strap over the seatback.
3. Secure the tether strap to the tether an- chor point as shown.
4. Tighten the tether strap according to the manufacturer’s instructions to re-
move any slack.
If you have any questions when install-
ing a top tether strap, it is recommended
that you visit a NISSAN dealer for this
service.
WARNING
Child restraint anchorages are de-
signed to withstand only those loads
imposed by correctly fitted child re-
straints. Under no circumstances are they to be used to attach adult seat
belts, or other items or equipment to
the vehicle. Doing so could damage the
child restraint anchorages. The child
restraint will not be properly installed
using the damaged anchorage, and a
child could be seriously injured or killed
in a collision.
FORWARD-FACING CHILD
RESTRAINT INSTALLATION USING
THE SEAT BELTS — REAR BENCH
SEAT
WARNING
The three-point seat belt with Auto-
matic Locking Retractor (ALR) must be
used when installing a child restraint.
Failure to use the ALR mode will result
in the child restraint not being properly
secured. The restraint could tip over or
be loose and cause injury to a child in a
sudden stop or collision.
For additional information, see all Warnings
and Cautions in “Child safety” (P. 1-25) and
“Child restraints” (P. 1-28) before installing a
child restraint. Do not use the lower anchors if the com-
bined weight of the child and the child re-
straint exceeds 65 lbs. (29.5 kg). If the com-
bined weight of the child and the child
restraint is greater than 65 lbs. (29.5 kg), use
the vehicle's seat belt (not the lower an-
chors) to install the child restraint. Be sure
to follow the child restraint manufacturer's
instructions for installation.
Follow these steps to install a forward-
facing child restraint using the vehicle seat
belt in the rear seats:
1.
If you must install a child restraint in
the front seat, it should be placed in a
forward-facing direction only. Move
the seat to the rearmost position.
Child restraints for infants must be
used in the rear-facing direction and
therefore must not be used in the front
seat.
2. Position the child restraint on the seat. Always follow the child restraint manu-
facturer’s instructions.
The back of the child restraint should be
secured against the vehicle seatback.
1-40Safety-Seats, seat belts and supplemental restraint system
Page 64 of 635
Rear bench seat
OUTBOARD SEATING POSITIONS
1. Remove the head restraint/headrestand store it in a secure place. Be sure to
reinstall the head restraint/headrest
when the child restraint is removed. For
additional information, see “Head
restraints/headrests” (P. 1-11).
2. Position the top tether strap as shown.
3. Secure the tether strap to the tether an- chor point as shown.
4. Tighten the tether strap according to the manufacturer’s instructions to re-
move any slack.
CENTER SEATING POSITION
1. Position the top tether strap as shown.
2. Secure the tether strap to the tether an- chor point as shown.
3. Tighten the tether strap according to the manufacturer’s instructions to re-
move any slack.
If you have any questions when install-
ing a top tether strap, it is recommended
that you visit a NISSAN dealer for this
service.WARNING
Child restraint anchorages are de-
signed to withstand only those loads
imposed by correctly fitted child re-
straints. Under no circumstances are
they to be used to attach adult seat
belts, or other items or equipment to
the vehicle. Doing so could damage the
child restraint anchorages. The child
restraint will not be properly installed
using the damaged anchorage, and a
child could be seriously injured or killed
in a collision.
FORWARD-FACING CHILD
RESTRAINT INSTALLATION USING
THE SEAT BELTS — PASSENGER
SEAT AND CENTER SEAT (if so
equipped)
WARNING
The three-point seat belt with Auto-
matic Locking Retractor (ALR) must be
used when installing a child restraint.
Failure to use the ALR mode will result
in the child restraint not being properly
secured. The restraint could tip over or
be loose and cause injury to a child in a sudden stop or collision. Also, it can
change the operation of the front pas-
senger air bag. For additional informa-
tion, see “Front passenger air bag and
status light” (P. 1-63).
For additional information, see all Warnings
and Cautions in “Child safety” (P. 1-25) and
“Child restraints” (P. 1-28) before installing a
child restraint.
Do not use the lower anchors if the com-
bined weight of the child and the child re-
straint exceeds 65 lbs. (29.5 kg). If the com-
bined weight of the child and the child
restraint is greater than 65 lbs. (29.5 kg), use
the vehicle's seat belt (not the lower an-
chors) to install the child restraint. Be sure
to follow the child restraint manufacturer's
instructions for installation.
Follow these steps to install a forward-
facing child restraint using the vehicle seat
belt:
1. If you must install a child restraint in
the front seat, it should be placed in a
forward-facing direction only. Move
the seat to the rearmost position.
Child restraints for infants must be
used in the rear-facing direction and
therefore must not be used in the front
seat.
1-44Safety-Seats, seat belts and supplemental restraint system