2022 NISSAN TITAN ECO mode
[x] Cancel search: ECO modePage 70 of 635

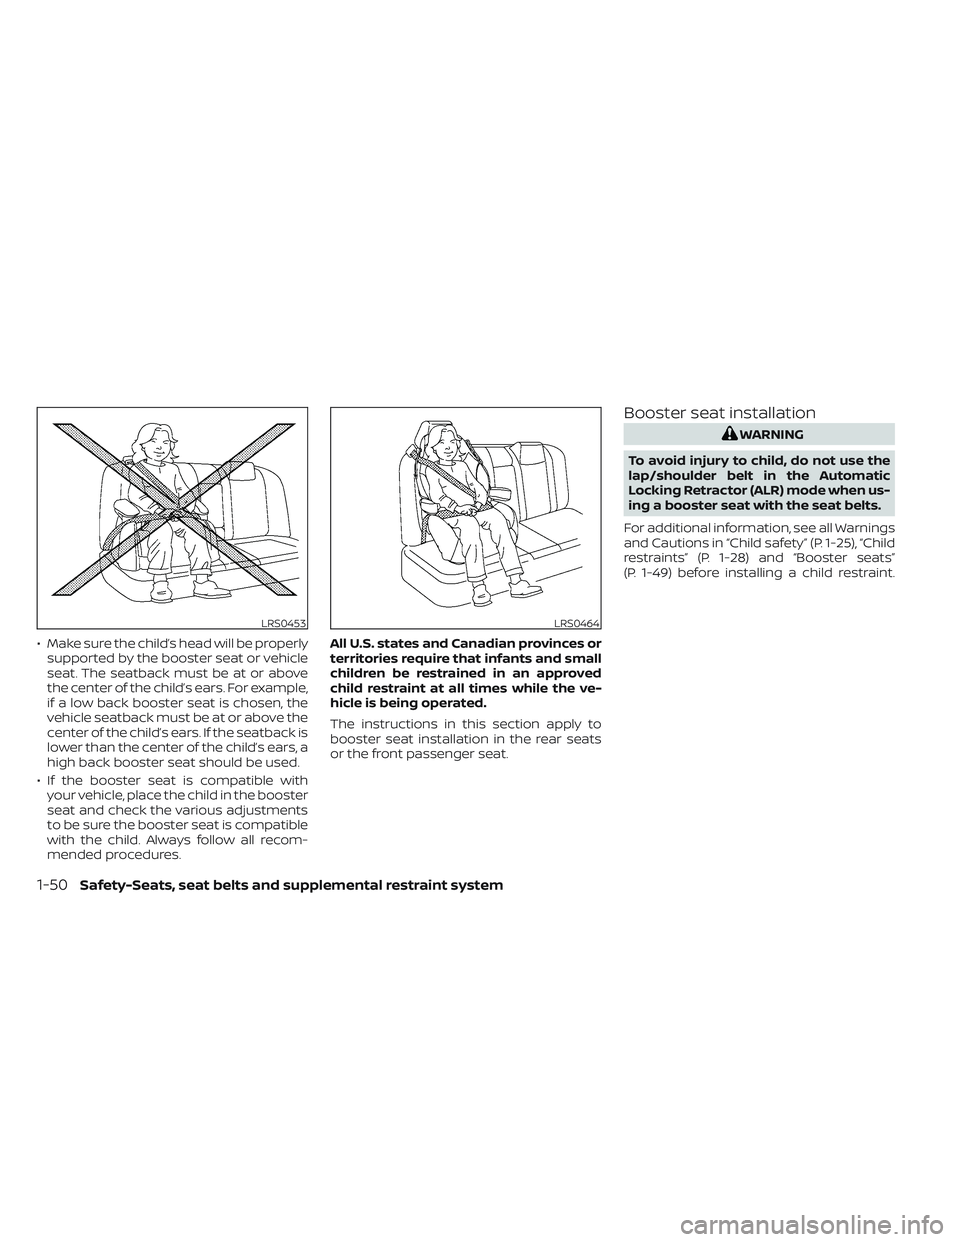
• Make sure the child’s head will be properlysupported by the booster seat or vehicle
seat. The seatback must be at or above
the center of the child’s ears. For example,
if a low back booster seat is chosen, the
vehicle seatback must be at or above the
center of the child’s ears. If the seatback is
lower than the center of the child’s ears, a
high back booster seat should be used.
• If the booster seat is compatible with your vehicle, place the child in the booster
seat and check the various adjustments
to be sure the booster seat is compatible
with the child. Always follow all recom-
mended procedures. All U.S. states and Canadian provinces or
territories require that infants and small
children be restrained in an approved
child restraint at all times while the ve-
hicle is being operated.
The instructions in this section apply to
booster seat installation in the rear seats
or the front passenger seat.
Booster seat installation
WARNING
To avoid injury to child, do not use the
lap/shoulder belt in the Automatic
Locking Retractor (ALR) mode when us-
ing a booster seat with the seat belts.
For additional information, see all Warnings
and Cautions in “Child safety” (P. 1-25), “Child
restraints” (P. 1-28) and “Booster seats”
(P. 1-49) before installing a child restraint.
LRS0453LRS0464
1-50Safety-Seats, seat belts and supplemental restraint system
Page 84 of 635

and front passenger supplemental knee
air bag are OFF, it will not inflate in a crash.
The driver air bag and other air bags in your
vehicle are not part of this system.
The purpose of the regulation is to help
reduce the risk of injury or death from an
inflating air bag to certain front passenger
seat occupants, such as children, by requir-
ing the air bag to be automatically turned
OFF under some conditions. Certain sen-
sors are used to meet the requirements.
The occupant classification sensor in this
vehicle is a weight sensor. It is designed to
detect an occupant and objects on the
seat by weight. For example, if a child up to
the approximate size and weight of a one
year old is properly restrained in the front
passenger seat, the NISSAN Advanced Air
Bag System is designed to turn the front
passenger air bag and front passenger
supplemental knee air bag OFF. For a prop-
erly restrained child who is larger than the
approximate size and weight of a one year
old, the front passenger air bag and front
passenger supplemental knee air bag may
or may not be automatically turned OFF,
depending on the size of the child and the
type of child restraint being used. Af ter in-
stalling the child restraint and positioning
the child, place the ignition switch in the ONposition: if the front passenger air bag sta-
tus light is illuminated, the front passenger
air bag and front passenger supplemental
knee air bag are OFF. If the front passenger
air bag status light is not illuminated, the air
bag will inflate in a crash.
Front passenger seat adult occupants who
are properly seated and using the seat belt
as outlined in this manual should not
cause the front passenger air bag and
front passenger supplemental knee air
bag to be automatically turned OFF. For
small adults it may be turned OFF, however
if the occupant takes his/her weight off the
seat cushion (for example, by not sitting
upright, by sitting on an edge of the seat, or
by otherwise being out of position), this
could cause the sensor to turn the front
passenger air bag and front passenger
supplemental knee air bag OFF. Always be
sure to be seated and wearing the seat belt
properly for the most effective protection
by the seat belt and supplemental air bag.
NISSAN recommends that pre-teens and
children be properly restrained in a rear
seat. NISSAN also recommends that ap-
propriate child restraints and booster
seats be properly installed in a rear seat. If
this is not possible, the occupant classifica-
tion sensor is designed to operate as de-scribed above to turn the front passenger
air bag and front passenger supplemental
knee air bag OFF for specified child re-
straints as required by the regulations. Fail-
ing to properly secure child restraints and
to use the ALR mode may allow the re-
straint to tip or move in a collision or sud-
den stop. This can also result in the passen-
ger air bag and front passenger
supplemental knee air bag inflating in a
crash instead of being OFF. For additional
information, see “Child restraints” (P. 1-28).
If the front passenger seat is not occupied,
the front passenger air bag and front pas-
senger supplemental knee air bag are de-
signed not to inflate in a crash. However,
heavy objects placed on the seat could re-
sult in air bag inflation, because of the ob-
ject’s weight detected by the occupant
classification sensor. Other conditions
could also result in air bag inflation, such as
if a child is standing on the seat, or if two
children are on the seat, contrary to the
instructions in this manual. Always be sure
that you and all vehicle occupants are
seated and restrained properly.
Using the front passenger air bag status
light, you can monitor when the front pas-
senger air bag and front passenger
1-64Safety-Seats, seat belts and supplemental restraint system
Page 119 of 635

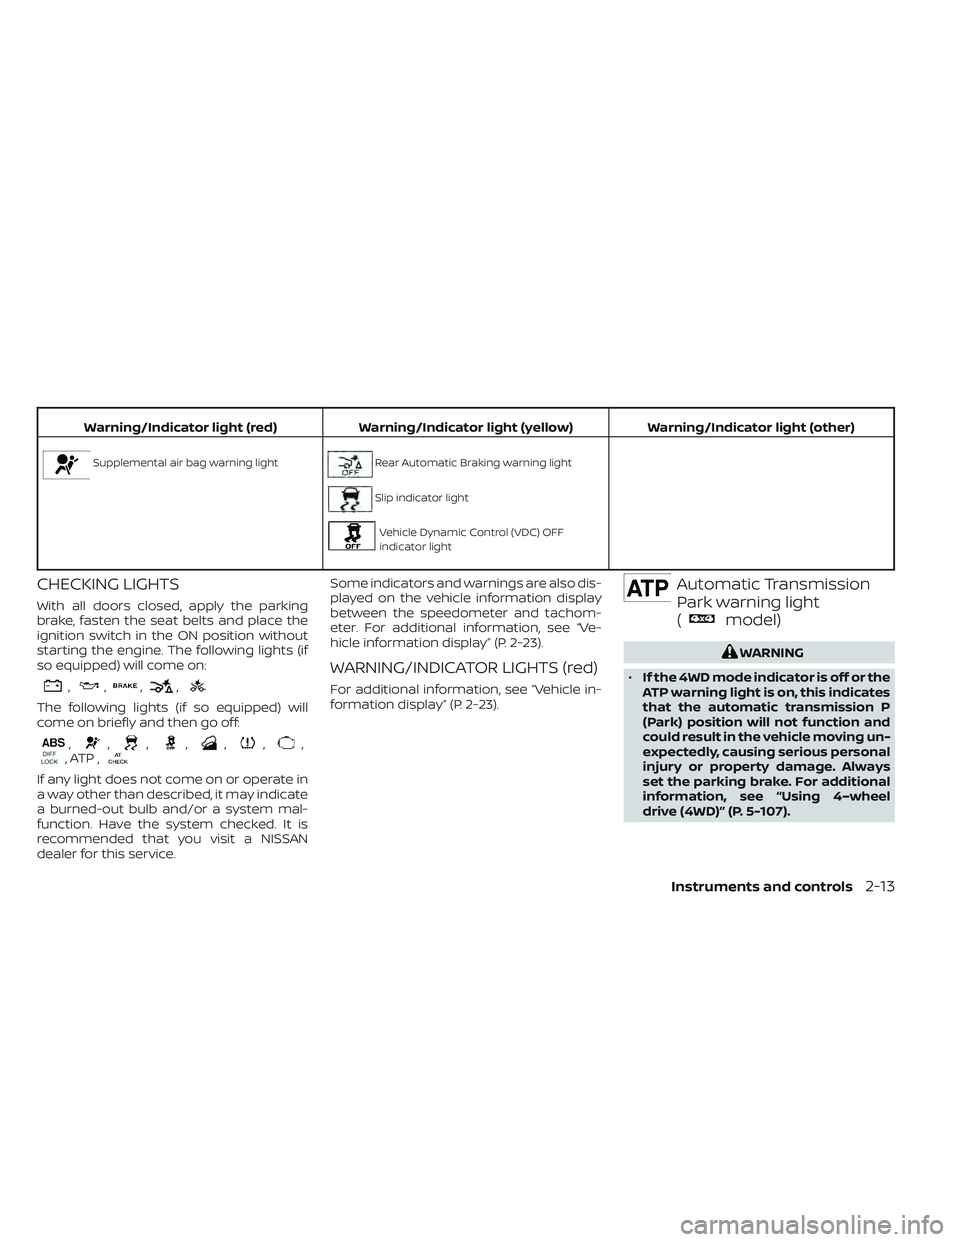
Warning/Indicator light (red)Warning/Indicator light (yellow) Warning/Indicator light (other)
Supplemental air bag warning lightRear Automatic Braking warning light
Slip indicator light
Vehicle Dynamic Control (VDC) OFF
indicator light
CHECKING LIGHTS
With all doors closed, apply the parking
brake, fasten the seat belts and place the
ignition switch in the ON position without
starting the engine. The following lights (if
so equipped) will come on:
,,,,
The following lights (if so equipped) will
come on briefly and then go off:
,,,,,,,, ATP ,
If any light does not come on or operate in
a way other than described, it may indicate
a burned-out bulb and/or a system mal-
function. Have the system checked. It is
recommended that you visit a NISSAN
dealer for this service. Some indicators and warnings are also dis-
played on the vehicle information display
between the speedometer and tachom-
eter. For additional information, see “Ve-
hicle information display” (P. 2-23).
WARNING/INDICATOR LIGHTS (red)
For additional information, see “Vehicle in-
formation display” (P. 2-23).
Automatic Transmission
Park warning light
(
model)
WARNING
• If the 4WD mode indicator is off or the
ATP warning light is on, this indicates
that the automatic transmission P
(Park) position will not function and
could result in the vehicle moving un-
expectedly, causing serious personal
injury or property damage. Always
set the parking brake. For additional
information, see “Using 4–wheel
drive (4WD)” (P. 5-107).
Instruments and controls2-13
Page 130 of 635

The ENTER button also controls audio
functions. For additional information, refer
to the separate NissanConnect® Owner’s
Manual.
STARTUP DISPLAY
When the vehicle is placed in the ON or ACC
(if so equipped) position, the vehicle infor-
mation display may display the following
screens:
• Speed
• Off Road (if so equipped)
• Auxiliary Gauges (if so equipped)
• Driving
• Fuel Economy
• Audio
• Navigation (if so equipped)
• Compass (if so equipped)
• Driving Aids
• Tire Pressures
• Warning Confirmation
• SettingsWarning Confirmation will only display if
there are any warnings present. For addi-
tional information, see “Vehicle information
display warnings and indicators” (P. 2-32).
To control which items display in the ve-
hicle information display, see “Settings”
(P. 2-24).
SETTINGS
The setting mode allows you to change the
information displayed in the vehicle infor-
mation display:
• Driver Assistance
• Meter Settings
• Vehicle Settings
• Towing Settings
• Alerts
• Maintenance
• Unit
• Language
• Factory Reset
2-24Instruments and controls
Page 141 of 635

Release Parking Brake
This warning appears in the message area
of the vehicle information display when the
parking brake is set and the vehicle is
driven. Press the brake pedal to release the
parking brake.
Reminder: Turn OFF
Headlights
This warning appears when the headlights
are lef t in the ON position when exiting the
vehicle. Place the headlight switch in the
OFF or AUTO position. For additional infor-
mation, see “Headlight control switch”
(P. 2-45).
Remote Engine Start Mode
This warning appears in the vehicle infor-
mation display when the vehicle has been
started using the remote start function. To
start the vehicle, apply the brake and place
the ignition switch in the ON position.
Shif t to Park
This warning appears when the ignition
switch is in the ACC or OFF position and the
shif t lever is not in the P (Park) position. Also,
a chime sounds when the ignition switch is
in the ACC or OFF position.If this warning appears, move the shif t lever
to the P (Park) position and start the engine.
Shipping Mode On Push Storage Fuse
This warning may appear if the extended
storage switch is not pushed in. When this
warning appears, push in the extended
storage switch to turn off the warning. For
additional information, see “Extended stor-
age switch” (P. 2-69).
Tire Pressure Low - Add Air
This warning appears when the low tire
pressure warning light in the meter illumi-
nates and low tire pressure is detected. The
warning appears each time the ignition
switch is placed in the ON position as long
as the low tire pressure warning light re-
mains illuminated. If this warning appears,
stop the vehicle and adjust the tire pres-
sures of all four tires to the recommended
COLD tire pressure shown on the Tire and
Loading Information label. For additional
information, see “Low tire pressure warning
light” (P. 2-18) and “Tire Pressure Monitoring
System (TPMS)” (P. 5-5).
TPMS Error: See Owner’s Manual
This warning appears when there is an er-
ror with your TPMS. If this warning appears,
have the system checked. It is recom-
mended that you visit a NISSAN dealer for
this service.
When parked apply parking
brake
This message appears when a malfunc-
tion occurs in the electric shif t control sys-
tem below 3 mph (5 km/h).
Have the system checked. It is recom-
mended that you visit a NISSAN dealer for
this service.
4WD Error: See Owner’s
Manual
This warning appears when the 4-wheel
drive system is not functioning properly
while the engine is running.
Tire Size Incorrect: See
Owner’s Manual
This warning appears when the 4-wheel
drive system is not functioning properly
while the engine is running.
Instruments and controls2-35
Page 142 of 635

4WD shif t indicators
These indicators show which 4WD mode is
selected. For additional information, see
“Using 4–wheel drive (4WD)” (P. 5-107).
4WD MODE SHIFTING
This message appears when the vehicle is
shif ting into 4WD. For additional informa-
tion, see “Using 4–wheel drive (4WD)”
(P. 5-107).
AT (Automatic
Transmission) CHECK
If the service warning appears while the
engine is running, or while driving, it may
indicate that the AT is not functioning prop-
erly and may need servicing. Have the sys-
tem checked, and if necessary, repaired
promptly. It is recommended that you visit
a NISSAN dealer for this service.
AT (Automatic Transmission) Error:
See Owner’s Manual
If this message appears while the engine is
running, or while driving, it may indicate
that the AT is not functioning properly and
may need servicing. Have the system
checked, and if necessary, repaired
promptly. It is recommended that you visit
a NISSAN dealer for this service.
Service AT
This transmission has a high fluid tem-
perature protection mode. If the fluid tem-
perature becomes too high (for example,
climbing steep grades in high tempera-
tures with heavy loads, such as when tow-
ing a trailer), engine power and, under
some conditions, vehicle speed will be de-
creased automatically to reduce the
chance of transmission damage. Vehicle
speed can be controlled with the accelera-
tor pedal, but the engine and vehicle speed
may be reduced.
WARNING
When the high fluid temperature pro-
tection mode operation occurs, vehicle
speed may be gradually reduced. The
reduced speed may be lower than
other traffic, which could increase the
chance of a collision. Be especially
careful when driving. If necessary, pull
to the side of the road at a safe place
and allow the transmission to return to
normal operation; or have it repaired if
necessary.
Automatic Emergency
Braking (AEB) with
Pedestrian Detection
emergency warning
indicator
This indicator appears along, with an au-
dible warning, when the system detects
the possibility of a forward collision.
For additional information, see “Automatic
Emergency Braking (AEB) with Pedestrian
Detection” (P. 5-80).
Blind Spot Warning (BSW)/
Rear Cross Traffic Alert
(RCTA) indicator
This indicator appears when the BSW and
RCTA systems are engaged.
For additional information, see “Blind Spot
Warning (BSW)” (P. 5-32) and “Rear Cross
Traffic Alert (RCTA)” (P. 5-42).
Cruise control indicator
This indicator shows the cruise control sys-
tem status.
For additional information, see “Cruise con-
trol” (P. 5-49).
2-36Instruments and controls
Page 167 of 635

•Use the E-lock system only in an
emergency when it is not possible to
free a stuck vehicle even using 4LO.
Never use the E-Lock system on a
slippery road surface such as snow
or ice surface. Using the E-Lock sys-
tem when driving in these road con-
ditions may cause unexpected
movement of the vehicle during en-
gine braking, accelerating or turning,
which may result in an accident and
serious personal injury.
• Observe the above warnings. Other-
wise, loss of normal steering control
may result. This may result in an ac-
cident and serious personal injury.
CAUTION
• Af ter using the E-Lock system, or
during normal driving, turn the
switch OFF to prevent possible dam-
age to drivetrain components from
extended use.
• When the E-Lock system is in opera-
tion, turning the vehicle becomes dif-
ficult. This can be dangerous, espe-
cially at high speeds. Doing so could
damage drivetrain components. •
Do not operate the E-Lock system
when the vehicle is turning or when
one side wheel is rotating. Otherwise,
the drivetrain components could be
damaged.
• The E-Lock system operates only
when the engine is running.
• In 4H mode, the E-Lock system does
not operate when the E-Lock system
switch is turned to the ON position.
(The E-Lock system indicator light
will flash.)
• Avoid quick starts while the E-Lock
system is in operation. Otherwise the
drivetrain components could be
damaged.
• Observe the above cautions. Other-
wise, loss of normal steering may
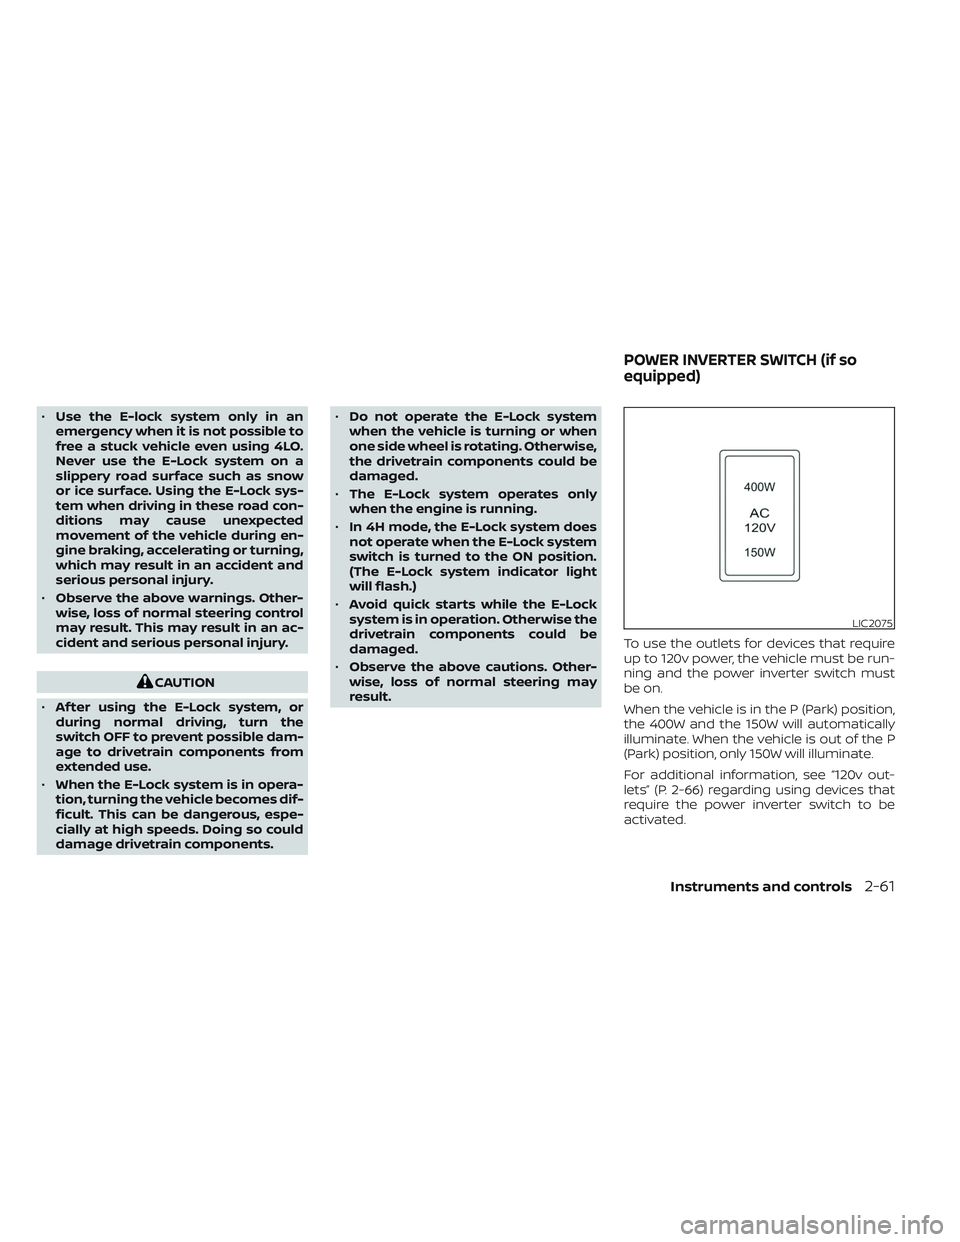
result. To use the outlets for devices that require
up to 120v power, the vehicle must be run-
ning and the power inverter switch must
be on.
When the vehicle is in the P (Park) position,
the 400W and the 150W will automatically
illuminate. When the vehicle is out of the P
(Park) position, only 150W will illuminate.
For additional information, see “120v out-
lets” (P. 2-66) regarding using devices that
require the power inverter switch to be
activated.
LIC2075
POWER INVERTER SWITCH (if so
equipped)
Instruments and controls2-61
Page 169 of 635

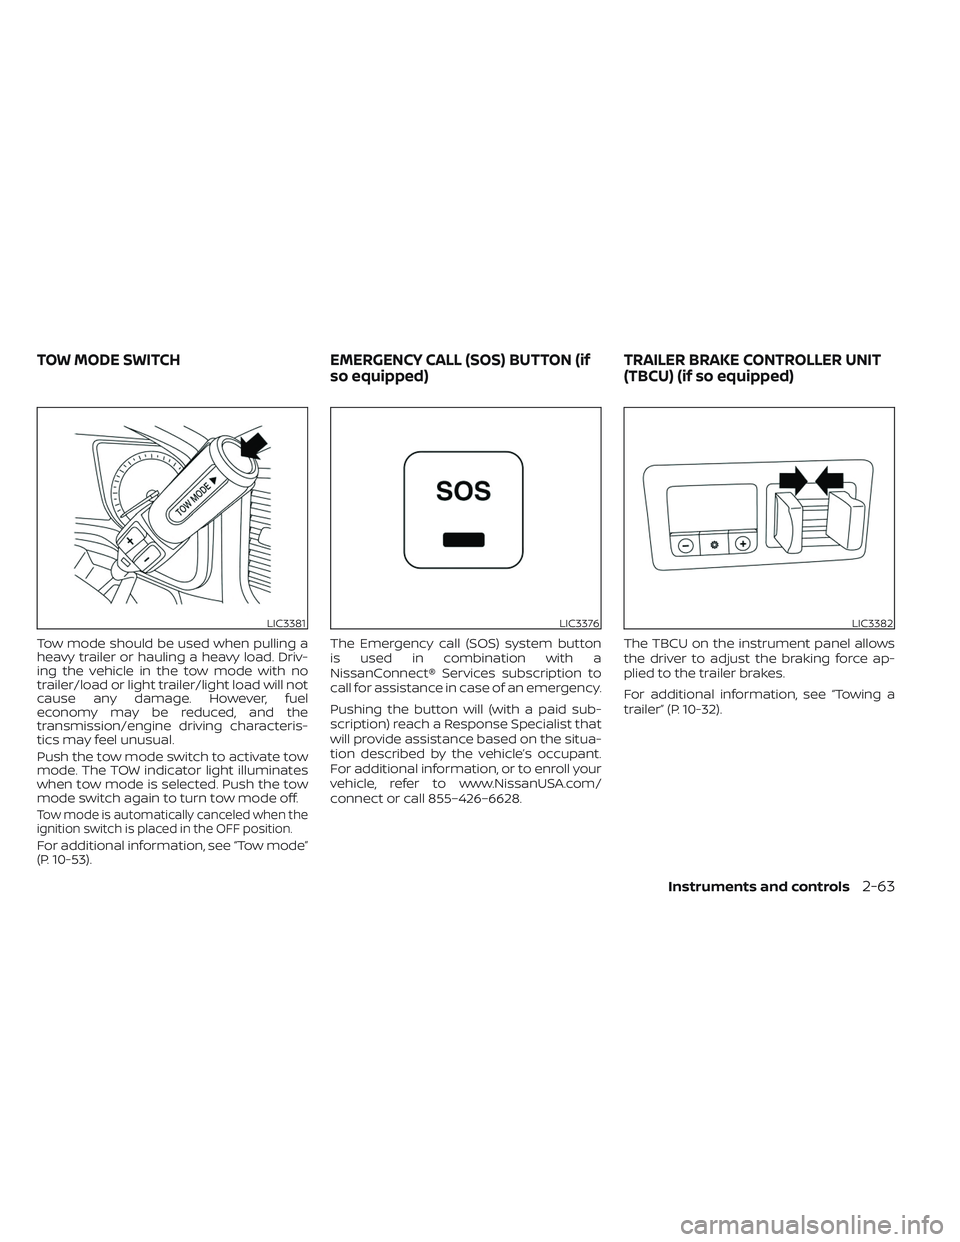
Tow mode should be used when pulling a
heavy trailer or hauling a heavy load. Driv-
ing the vehicle in the tow mode with no
trailer/load or light trailer/light load will not
cause any damage. However, fuel
economy may be reduced, and the
transmission/engine driving characteris-
tics may feel unusual.
Push the tow mode switch to activate tow
mode. The TOW indicator light illuminates
when tow mode is selected. Push the tow
mode switch again to turn tow mode off.
Tow mode is automatically canceled when the
ignition switch is placed in the OFF position.
For additional information, see “Tow mode”
(P. 10-53).The Emergency call (SOS) system button
is used in combination with a
NissanConnect® Services subscription to
call for assistance in case of an emergency.
Pushing the button will (with a paid sub-
scription) reach a Response Specialist that
will provide assistance based on the situa-
tion described by the vehicle’s occupant.
For additional information, or to enroll your
vehicle, refer to www.NissanUSA.com/
connect or call 855–426–6628.
The TBCU on the instrument panel allows
the driver to adjust the braking force ap-
plied to the trailer brakes.
For additional information, see “Towing a
trailer” (P. 10-32).
LIC3381LIC3376LIC3382
TOW MODE SWITCH
EMERGENCY CALL (SOS) BUTTON (if
so equipped) TRAILER BRAKE CONTROLLER UNIT
(TBCU) (if so equipped)
Instruments and controls2-63