MenuAction
[Manage Presets] Touch to display the list of registered preset stations/channels. Touching [
] by the
station/channel name can cancel the registration.
Station List The station list is displayed on the right side of the AM and FM menu screen.
[SXM Menu]:
MenuAction
[Now Playing] Touch to display the SiriusXM® screen.
[Listener History] Touch to display the history of played channels.
[Help & Support] Touch to display the customer care URL and phone number. If your phone device is connected for hands-free
phone operation, you can call the customer care by touching [Call SiriusXM].
“Setting devices” (page 2-17)
[Manage Presets] Touch to display the list of registered preset stations/channels. Touching [
] by the station/channel name
can cancel the registration.
[Notifications] Touch to turn on/off the notification to inform you when the song, artist, team for games, etc., registered as
your favorites are on air.
Touch [Manage] to register your favorite artists, songs and teams. Notification setting in further detail can
also be changed.
[Block Explicit] Touch to set the channels you wish to block, such as channels with age restrictions.
[Tune Start] Touch to turn on/off the Tune Start feature. This feature buffers the content playing on each of the
SiriusXM® preset channels, so that when a preset channel is selected, the currently playing song always starts
playing from the beginning.
[Reset History and Recommenda-
tions] Touch to reset the history of the played and recommended channels.
3. Audio system
3-13
Page 50 of 192
3. Audio system
INFO:
. SiriusXM® Audio requires a subscription after trial period and are sold separately or as a package. The satellite service is available only in
the 48 contiguous USA and DC. SiriusXM® satellite service is also available in Canada; see www.siriusxm.ca.
. It may take some time to receive the activation signal after the initiation of the SiriusXM® Satellite Radio subscription. After receiving the
activation signal, an available channel list will automatically be updated in the radio. Change the position of the ignition switch from LOCK
to ACC to update the SiriusXM® channel list.
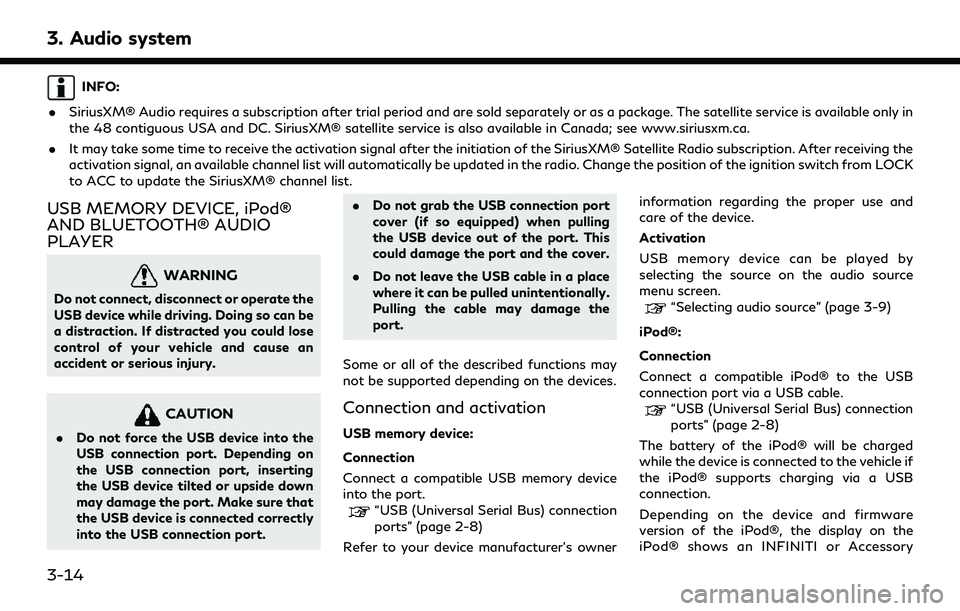
USB MEMORY DEVICE, iPod®
AND BLUETOOTH® AUDIO
PLAYER
WARNING
Do not connect, disconnect or operate the
USB device while driving. Doing so can be
a distraction. If distracted you could lose
control of your vehicle and cause an
accident or serious injury.
CAUTION
.Do not force the USB device into the
USB connection port. Depending on
the USB connection port, inserting
the USB device tilted or upside down
may damage the port. Make sure that
the USB device is connected correctly
into the USB connection port. .
Do not grab the USB connection port
cover (if so equipped) when pulling
the USB device out of the port. This
could damage the port and the cover.
. Do not leave the USB cable in a place
where it can be pulled unintentionally.
Pulling the cable may damage the
port.
Some or all of the described functions may
not be supported depending on the devices.
Connection and activation
USB memory device:
Connection
Connect a compatible USB memory device
into the port.
“USB (Universal Serial Bus) connection
ports” (page 2-8)
Refer to your device manufacturer’s owner information regarding the proper use and
care of the device.
Activation
USB memory device can be played by
selecting the source on the audio source
menu screen.
“Selecting audio source” (page 3-9)
iPod®:
Connection
Connect a compatible iPod® to the USB
connection port via a USB cable.
“USB (Universal Serial Bus) connection
ports” (page 2-8)
The battery of the iPod® will be charged
while the device is connected to the vehicle if
the iPod® supports charging via a USB
connection.
Depending on the device and firmware
version of the iPod®, the display on the
iPod® shows an INFINITI or Accessory
3-14
Page 51 of 192
Attached screen when the connection is
completed. When the iPod® is connected
to the vehicle, the iPod® music library can
only be operated by the vehicle audio
controls.
Activation
The iPod® can be played by selecting the
source on the audio source menu screen.
“Selecting audio source” (page 3-9)
Bluetooth® audio:
Connection
Connect a compatible streaming audio com-
patible Bluetooth® device with streaming
audio capability (A2DP profile) to set up a
wireless connection between the Blue-
tooth® device and the in-vehicle system.
Bluetooth® connection can be set up from
the Connections screen.
“Setting devices” (page 2-17)
INFO:
. Depending on the Bluetooth® audio
device that is connected, it may not be
possible to perform audio operations or a
delay may occur before music is played
back. .
Not all Bluetooth® devices have the
same level of controls for AVRCP. Con-
sult the manual for your Bluetooth®
device for more details.
. Wireless LAN (Wi-Fi) and the Blue-
tooth® functions share the same fre-
quency band (2.4 GHz). Using the
Bluetooth® and the wireless LAN func-
tions at the same time may slow down or
disconnect the communication and cause
undesired noise. It is recommended that
you turn off the wireless LAN (Wi-Fi)
when using the Bluetooth® functions.
Activation
A Bluetooth® audio device can be played by
selecting the source on the audio source
menu screen.
“Selecting audio source” (page 3-9)
USB memory device, iPod® or
Bluetooth® audio operation
General operations of USB memory device,
iPod® and Bluetooth® audio are as follows.
Available functions and buttons/switches
may vary depending on the models, specifi-
cations, software versions and conditions.
3. Audio system
3-15
Page 52 of 192
3. Audio system
FunctionOperation
Play .
Touch screen display— Touch [] on the audio screen.
Pause .
Touch screen display— Touch [] on the audio screen.
Selecting audio source .
Touch screen display— Touch [Source] on the audio screen to select an audio source from the source menu screen.“Selecting audio source” (page 3-9)
Displaying menu screens .
Touch screen display— Touch the menu keys (such as [USB Menu], [iPod Menu], etc.) on the audio screens.
Skipping tracks .
Control panel— Push .
— Turn .
— Push <
TUNE FOLDER>.
.
Steering wheel switch— Push <>/<>.
.
Touch screen display— Touch []/[].
Selecting folders and tracks .
Touch screen display— Touch the menu keys (such as [USB Menu], [iPod Menu], etc.) on the audio screens to display
folder or track list. Select a preferred folder or track from the list.
“USB memory device, iPod® or Bluetooth® audio menu” (page 3-17)
Rewinding/fast-forwarding .
Control Panel— Push and hold .
.
Steering wheel switch— Push and hold <>/<>.
.
Touch screen display— Touch and hold []/[].
Changing play mode (repeat/random) .
Touch screen display— Touch [] to change the repeat mode, and touch [] to change the random mode.
3-16
Page 53 of 192
USB memory device, iPod® or
Bluetooth® audio menu
Touch [USB Menu], [iPod Menu] and
[Menu] (Bluetooth® audio menu) on each
audio screen to display the corresponding
audio menu screen.
Available setting items may vary depending
on models, specifications, software versions
and the connected audio device.
Depending on the connected device, [Menu]
(Bluetooth® audio menu) may not be dis-
played.
Menu Action
[Now Play-
ing]Touch to display the current
playing audio screen.
[Current
List] A list of tracks in the currently
selected category is displayed.
[Folder List] Touch to display the folder list. Touch an item on the list to
select the folder.
The subfolder or track list will
be displayed. Select a sub-
folder or track from the list.
[Album Art-
work] Touch to turn on/off the al-
bum artwork display on the
audio screens. Menu Action
[Playlists] Touch to display the list ac-
cording to the selected item.
[Artists]
[Albums]
[Songs]
[Genres]
[Compo-
sers]
[Audio-
books]
[Podcasts]
[Connec-
tions] Touch to display the Connec-
tions screen.
“Connections settings”
(page 2-17)
SMARTPHONE AUDIO
You can also listen to music from your
compatible smartphone using Apple Car-
Play® or Android Auto.
“Apple CarPlay®” (page 5-17)“Android AutoTM” (page 5-21)
Connecting smartphone
Connect the iPhone® or Android phone to
the USB connection port.
“USB (Universal Serial Bus) connection ports” (page 2-8)
Depending on the models, specifications and
software versions, iPhone® devices can also
be connected wirelessly for Apple CarPlay®
(if so equipped).
“Connecting wirelessly” (page 5-18)
Smartphone audio operation
1. Connect the iPhone® or Android phone and activate Apple CarPlay® or Android
Auto.
2. Push
Page 54 of 192
3. Audio system
AUDIO SETTINGS
Audio settings can be adjusted with the
following procedure.
1. Touch [Settings] on the Launch Bar.
“System settings” (page 2-14)
2. Touch [Sound].
Available setting items may vary depending
on models, specifications and software ver-
sions.
Setting items Action
[Bass]
Adjust the speaker tone
quality and sound balance by
touching [-]/[+], [L]/[R] or
[R]/[F].
[Middle]
[Treble]
[Balance]
[Fade]
[Bass Enhan-
cer]
When this item is turned on,
the system enhances bass
sound.
[Speed Sensi-
tive Vol.] Automatically adjusts the
volume depending on the
vehicle speed. Touch [-]/[+]
to change the sensitivity le-
vel. [Bose Audio-
Pilot]
Adjusts the volume and
sound quality depending on
the changes of the vehicle
speed and the noise picked
up by the microphone. It
compensates for noise for
different road surface con-
ditions and open windows.
Turn on the item to activate
Bose AudioPilot.
[Bose Center-
point] When this item is turned on,
surround sound playback is
generated from a traditional
stereo recording. Turn on the
item to activate Bose Cen-
terpoint and to change its
effect level with [Surround
Volume].
[Surround Vo-
lume] Touch [+]/[-] to adjust the
Surround Effect level if Bose
Centerpoint is turned on. [Driver’s
Audio Stage]
When this item is turned on,
a better sound will be pro-
vided to the driver’s position.
The driver can enjoy a more
crisp and clear sound that is
specialized for the driver’s
seat position. The promi-
nency of the effect of this
feature depends on the type
of music that is played. For
some music, it may be diffi-
cult to recognize the effect
of the feature.
AUDIO ADJUSTMENTS WITH
AUDIO ADJUST BAR (if so
equipped)
Sound quality can be adjusted with
FOLDER/PUSH AUDIO> on the control
panel.
When the list screen is not displayed, push-
3-18
Page 55 of 192
ing the button will display the audio adjust-
ment bar. Each time the button is pushed,
the menu will shift to the available setting
items.
Turn the button to adjust the level of the
selected setting item.
INFO:
This function may not be available when a
menu is highlighted on the screen.
USB MEMORY DEVICE CARE
AND CLEANING
USB MEMORY DEVICE
. Never touch the terminal portion of the
USB memory device.
. Do not place heavy objects on the USB
memory device.
. Do not store the USB memory device in
highly humid locations.
. Do not expose the USB memory device
to direct sunlight.
. Do not spill any liquids on the USB
memory device.
Refer to the USB memory device Owner’s
Manual for the details.
3. Audio system
3-19