2022 HYUNDAI SANTA CRUZ MANUAL MODE
[x] Cancel search: MANUAL MODEPage 1 of 598
All information in this Owner’s Manual is current at the time
of publication. However, HYUNDAI reserves the right to make
changes at any time so that our policy of continual product
improvement may be carried out.
This manual applies to all models of this vehicle and includes
descriptions and explanations of optional as well as standard
equipment.
As a result, you may find material in this manual that does not
apply to your specific vehicle.
OWNER’S MANUAL
Operation
Maintenance
Specifications
Introduction
1
Page 3 of 598
F3
This manual includes information titled as DANGER, WARNING, CAUTION and
NOTICE.
These titles indicate the following:
DANGER
DANGER indicates a hazardous situation which, if not avoided, will result in
death or serious injury.
WARNING
WARNING indicates a hazardous situation which, if not avoided, could result
in death or serious injury.
CAUTION
CAUTION indicates a hazardous situation which, if not avoided, could result
in minor or moderate injury.
NOTICE
NOTICE indicates a situation which, if not avoided, could result in vehicle
damage.
SAFETY AND VEHICLE DAMAGE WARNING
Page 8 of 598
Introduction
1-4
We want to help you get the greatest possible driving pleasure from your vehicle. Your
Owner’s Manual can assist you in many ways. To gain an overview of the contents
of your Owner’s Manual, use the Table of Contents in the front of the manual. The
first page of each Chapter includes a detailed Table of Contents of the topics in that
Chapter.
To quickly locate information about your vehicle, use the Index in the back of the
manual. It is an alphabetical list of what is in this manual and the page number where it
can be found.
For your convenience, we have incorporated tabs on the right-hand page edges.
These tabs are coded with the Chapter titles to assist you with navigating through the
manual.
SAFETY MESSAGES
Your safety, and the safety of others, is very important. This Owner’s Manual provides
you with many safety precautions and operating procedures. This information alerts
you to potential hazards that may hurt you or others, as well as damage your vehicle.
Safety messages found on vehicle labels and in this manual describe these hazards
and what to do to avoid or reduce the risks.
Warnings and instructions contained in this manual are for your safety. Failure to follow
safety warnings and instructions can lead to serious injury or death.
Throughout this manual DANGER, WARNING, CAUTION, NOTICE and the SAFETY
ALERT SYMBOL will be used.
This is the safety alert symbol. It is used to alert you to potential physical injury
hazards. Obey all safety messages that follow this symbol to avoid possible
injury or death. The safety alert symbol precedes the signal words DANGER,
WARNING and CAUTION.
DANGER
DANGER indicates a hazardous
situation which, if not avoided, will
result in death or serious injury.
WARNING
WARNING indicates a hazardous
situation which, if not avoided, could
result in death or serious injury.
CAUTION
CAUTION indicates a hazardous
situation which, if not avoided, could
result in minor or moderate injury.
NOTICE
NOTICE indicates a situation which,
if not avoided, could result in vehicle
damage.
HOW TO USE THIS MANUAL
Page 54 of 598
Seats & Safety System
3-24
Rear Seat Belt – Passenger’s 3point
system with convertible locking
retractor
This type of seat belt combines the
features of both an emergency locking
retractor seat belt and an automatic
locking retractor seat belt. Convertible
retractor type seat belts are installed
in the rear seat positions to help
accommodate the installation of child
restraint systems. Although a convertible
retractor is also installed in the front
passenger seat position, NEVER place
any infant/child restraint system in the
front seat of the vehicle.
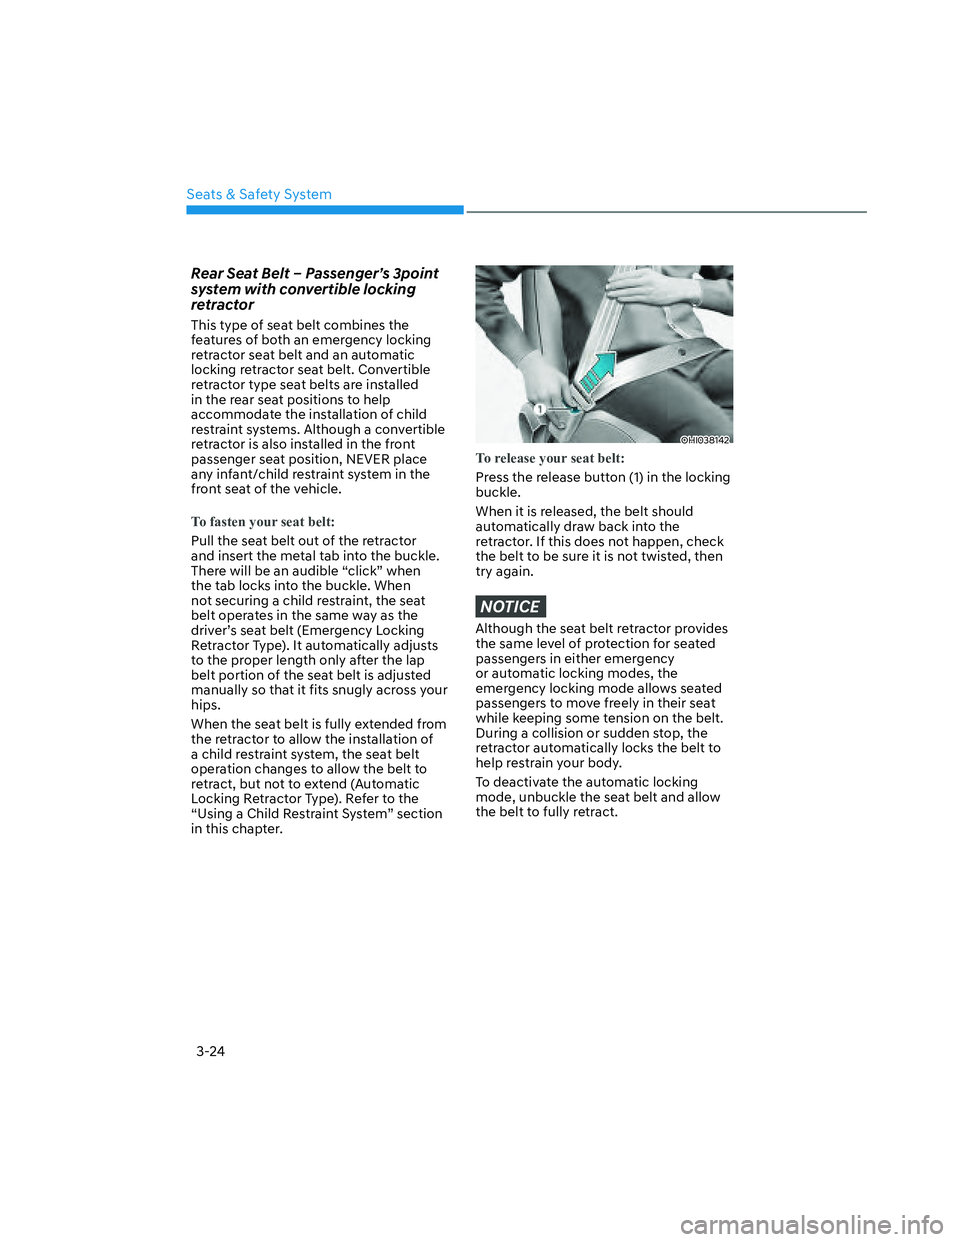
To fasten your seat belt:
Pull the seat belt out of the retractor
and insert the metal tab into the buckle.
There will be an audible “click” when
the tab locks into the buckle. When
not securing a child restraint, the seat
belt operates in the same way as the
driver’s seat belt (Emergency Locking
Retractor Type). It automatically adjusts
to the proper length only after the lap
belt portion of the seat belt is adjusted
manually so that it fits snugly across your
hips.
When the seat belt is fully extended from
the retractor to allow the installation of
a child restraint system, the seat belt
operation changes to allow the belt to
retract, but not to extend (Automatic
Locking Retractor Type). Refer to the
“Using a Child Restraint System” section
in this chapter.
OHI038142OHI038142
To release your seat belt:
Press the release button (1) in the locking
buckle.
When it is released, the belt should
automatically draw back into the
retractor. If this does not happen, check
the belt to be sure it is not twisted, then
try again.
NOTICE
Although the seat belt retractor provides
the same level of protection for seated
passengers in either emergency
or automatic locking modes, the
emergency locking mode allows seated
passengers to move freely in their seat
while keeping some tension on the belt.
During a collision or sudden stop, the
retractor automatically locks the belt to
help restrain your body.
To deactivate the automatic locking
mode, unbuckle the seat belt and allow
the belt to fully retract.
Page 69 of 598
03
3-39
Securing a Child Restraint System
with a lap/shoulder belt
WARNING
ALWAYS place a rearward-facing Child
Restraint System in the rear seat of the
vehicle.
Placing a rearward-facing child restraint
in the front seat can result in serious
injury or death if the Child Restraint
System is struck by an inflating air bag.
When not using the LATCH system, all
Child Restraint Systems must be secured
to a rear seat with the lap part of a lap/
shoulder belt.
OHI038145OHI038145
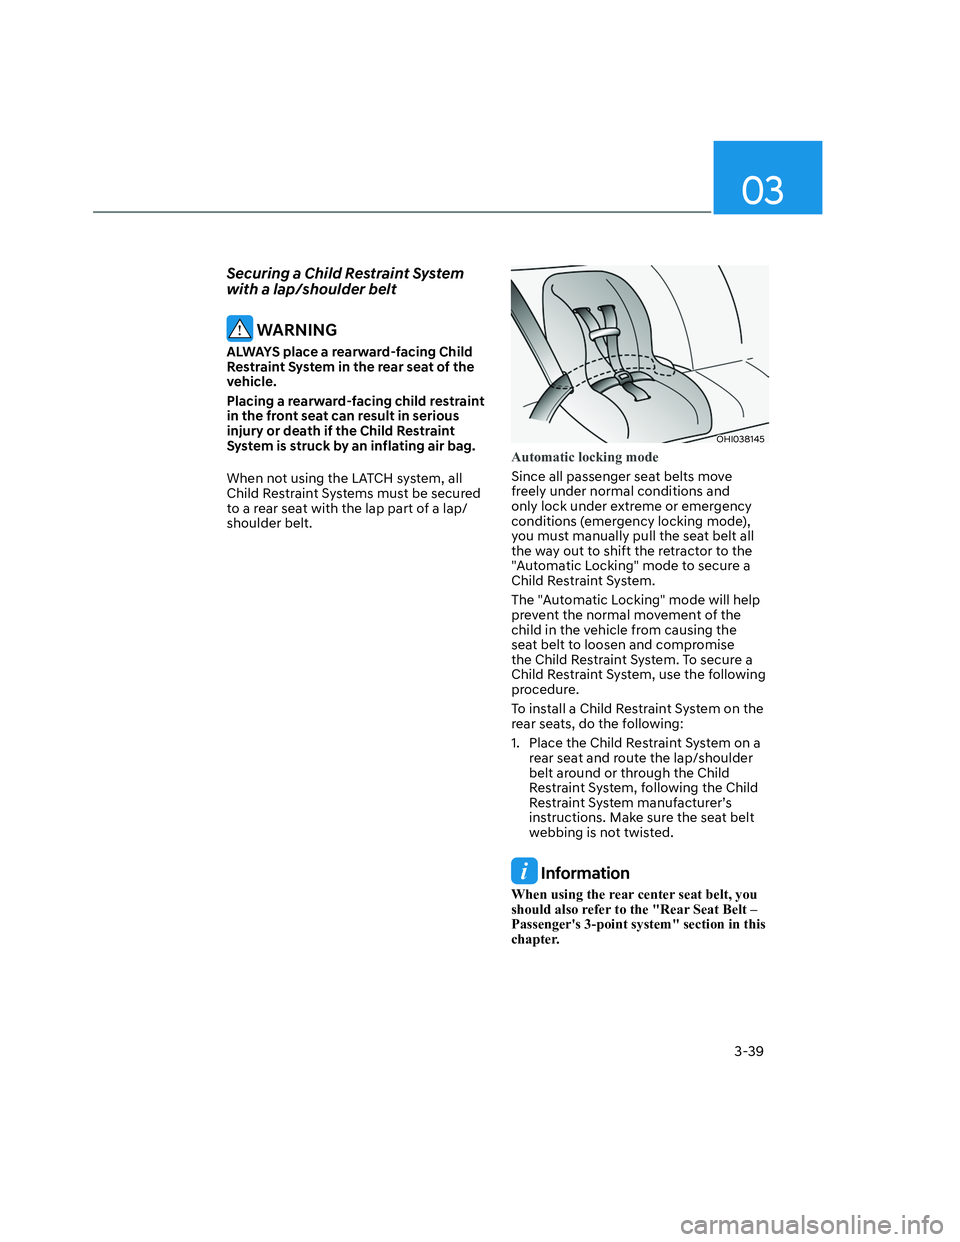
Automatic locking mode
Since all passenger seat belts move
freely under normal conditions and
only lock under extreme or emergency
conditions (emergency locking mode),
you must manually pull the seat belt all
the way out to shift the retractor to the
"Automatic Locking" mode to secure a
Child Restraint System.
The "Automatic Locking" mode will help
prevent the normal movement of the
child in the vehicle from causing the
seat belt to loosen and compromise
the Child Restraint System. To secure a
Child Restraint System, use the following
procedure.
To install a Child Restraint System on the
rear seats, do the following:
1. Place the Child Restraint System on a
rear seat and route the lap/shoulder
belt around or through the Child
Restraint System, following the Child
Restraint System manufacturer’s
instructions. Make sure the seat belt
webbing is not twisted.
Information
When using the rear center seat belt, you
should also refer to the "Rear Seat Belt –
Passenger's 3-point system" section in this
chapter.
Page 71 of 598
03
3-41
Information
When the seat belt is allowed to retract to
its fully stowed position, the retractor will
automatically switch from the “Automatic
Locking” mode to the emergency lock
mode for normal adult usage.
WARNING
If the retractor is not in the “Automatic
Locking” mode, the child restraint
can move when your vehicle turns or
stops suddenly. A child can be seriously
injured or killed if the child restraint
is not properly anchored in the car,
including manually pulling the seat belt
all the way out to shift the retractor to
the “Automatic Locking” mode.
To remove the Child Restraint System,
press the release button on the buckle
and then pull the lap/shoulder belt out of
the Child Restraint System and allow the
seat belt to retract fully.
WARNING
If a child restraint is installed in the
second row center seat, move the
second row seat far back as possible, to
minimize contact with the front center
air bag.
Page 104 of 598
Instrument Cluster
4-10
Parking brake warning light
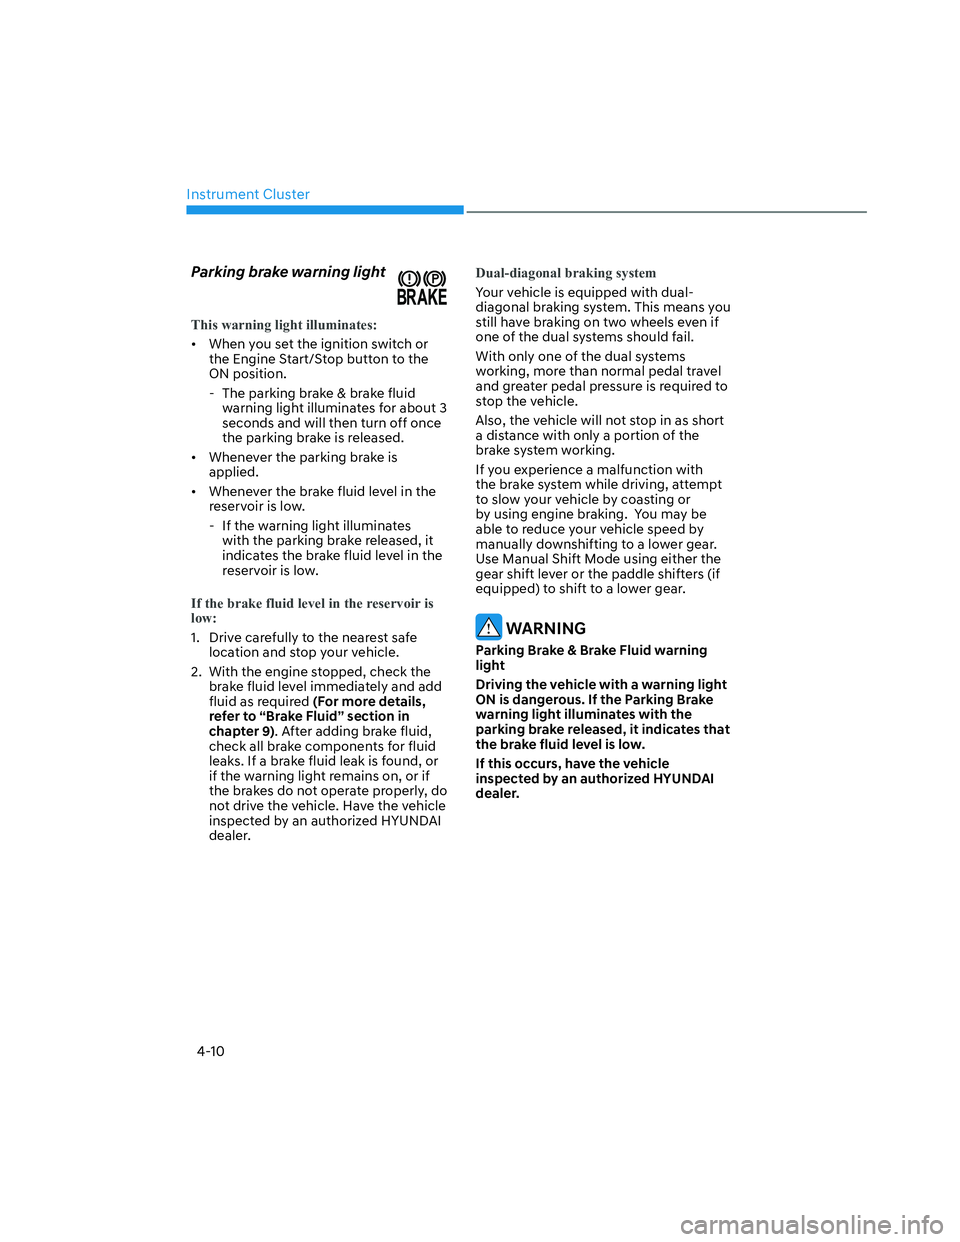
This warning light illuminates:
• When you set the ignition switch or
the Engine Start/Stop button to the
ON position.
- The parking brake & brake fluid
warning light illuminates for about 3
seconds and will then turn off once
the parking brake is released.
• Whenever the parking brake is
applied.
• Whenever the brake fluid level in the
reservoir is low.
- If the warning light illuminates
with the parking brake released, it
indicates the brake fluid level in the
reservoir is low.
If the brake fluid level in the reservoir is
low:
1. Drive carefully to the nearest safe
location and stop your vehicle.
2. With the engine stopped, check the
brake fluid level immediately and add
fluid as required (For more details,
refer to “Brake Fluid” section in
chapter 9). After adding brake fluid,
check all brake components for fluid
leaks. If a brake fluid leak is found, or
if the warning light remains on, or if
the brakes do not operate properly, do
not drive the vehicle. Have the vehicle
inspected by an authorized HYUNDAI
dealer.
Dual-diagonal braking system
Your vehicle is equipped with dual-
diagonal braking system. This means you
still have braking on two wheels even if
one of the dual systems should fail.
With only one of the dual systems
working, more than normal pedal travel
and greater pedal pressure is required to
stop the vehicle.
Also, the vehicle will not stop in as short
a distance with only a portion of the
brake system working.
If you experience a malfunction with
the brake system while driving, attempt
to slow your vehicle by coasting or
by using engine braking. You may be
able to reduce your vehicle speed by
manually downshifting to a lower gear.
Use Manual Shift Mode using either the
gear shift lever or the paddle shifters (if
equipped) to shift to a lower gear.
WARNING
Parking Brake & Brake Fluid warning
light
Driving the vehicle with a warning light
ON is dangerous. If the Parking Brake
warning light illuminates with the
parking brake released, it indicates that
the brake fluid level is low.
If this occurs, have the vehicle
inspected by an authorized HYUNDAI
dealer.
Page 125 of 598
04
4-31
ONX4OB041013ONX4OB041013
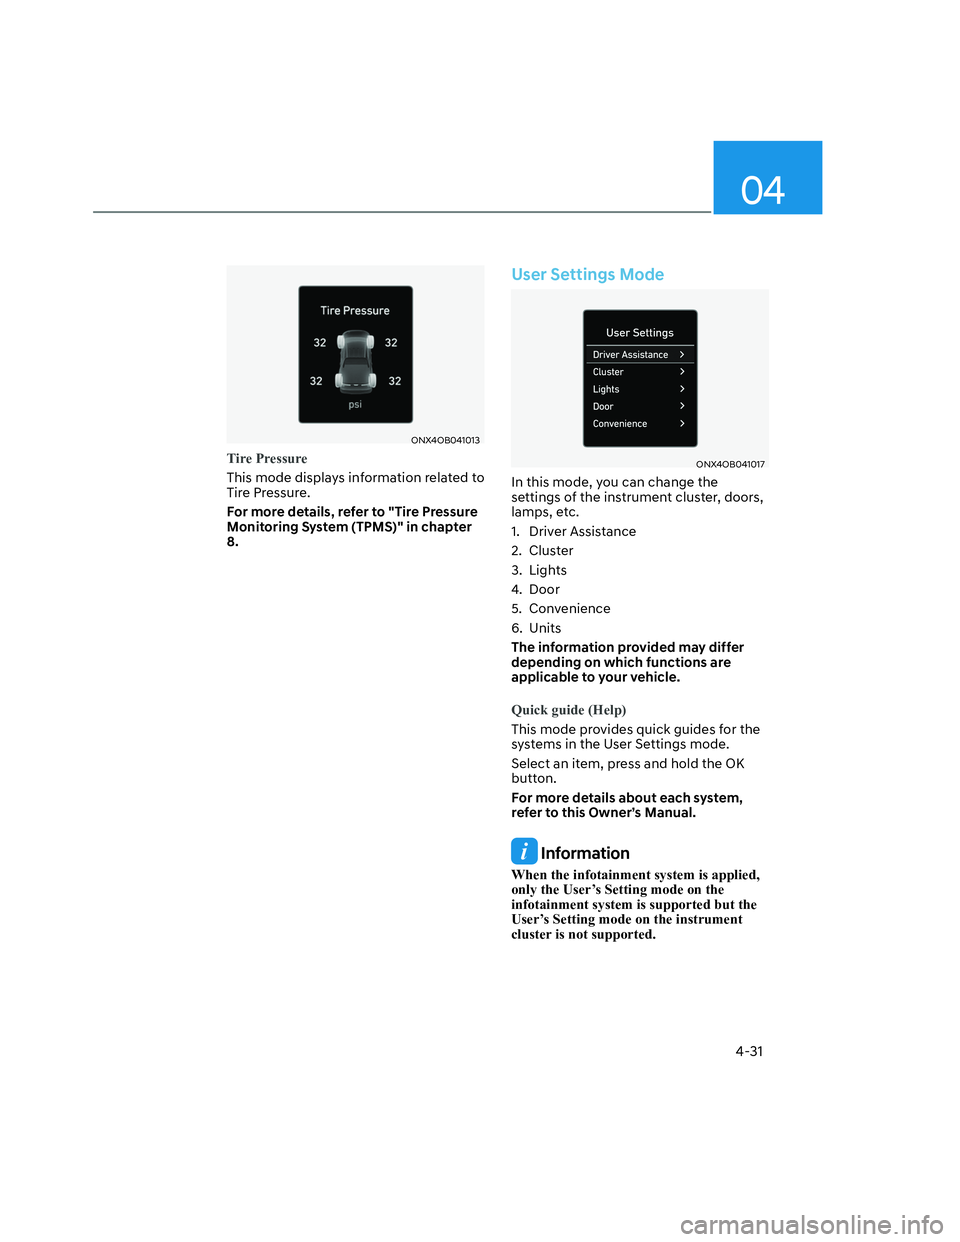
Tire Pressure
This mode displays information related to
Tire Pressure.
For more details, refer to "Tire Pressure
Monitoring System (TPMS)" in chapter
8.
User Settings Mode
ONX4OB041017ONX4OB041017
In this mode, you can change the
settings of the instrument cluster, doors,
lamps, etc.
1. Driver Assistance
2. Cluster
3. Lights
4. Door
5. Convenience
6. Units
The information provided may differ
depending on which functions are
applicable to your vehicle.
Quick guide (Help)
This mode provides quick guides for the
systems in the User Settings mode.
Select an item, press and hold the OK
button.
For more details about each system,
refer to this Owner’s Manual.
Information
When the infotainment system is applied,
only the User’s Setting mode on the
infotainment system is supported but the
User’s Setting mode on the instrument
cluster is not supported.