2022 HYUNDAI KONA EV warning
[x] Cancel search: warningPage 230 of 548
Convenient features
5-46
OOSEV050125L
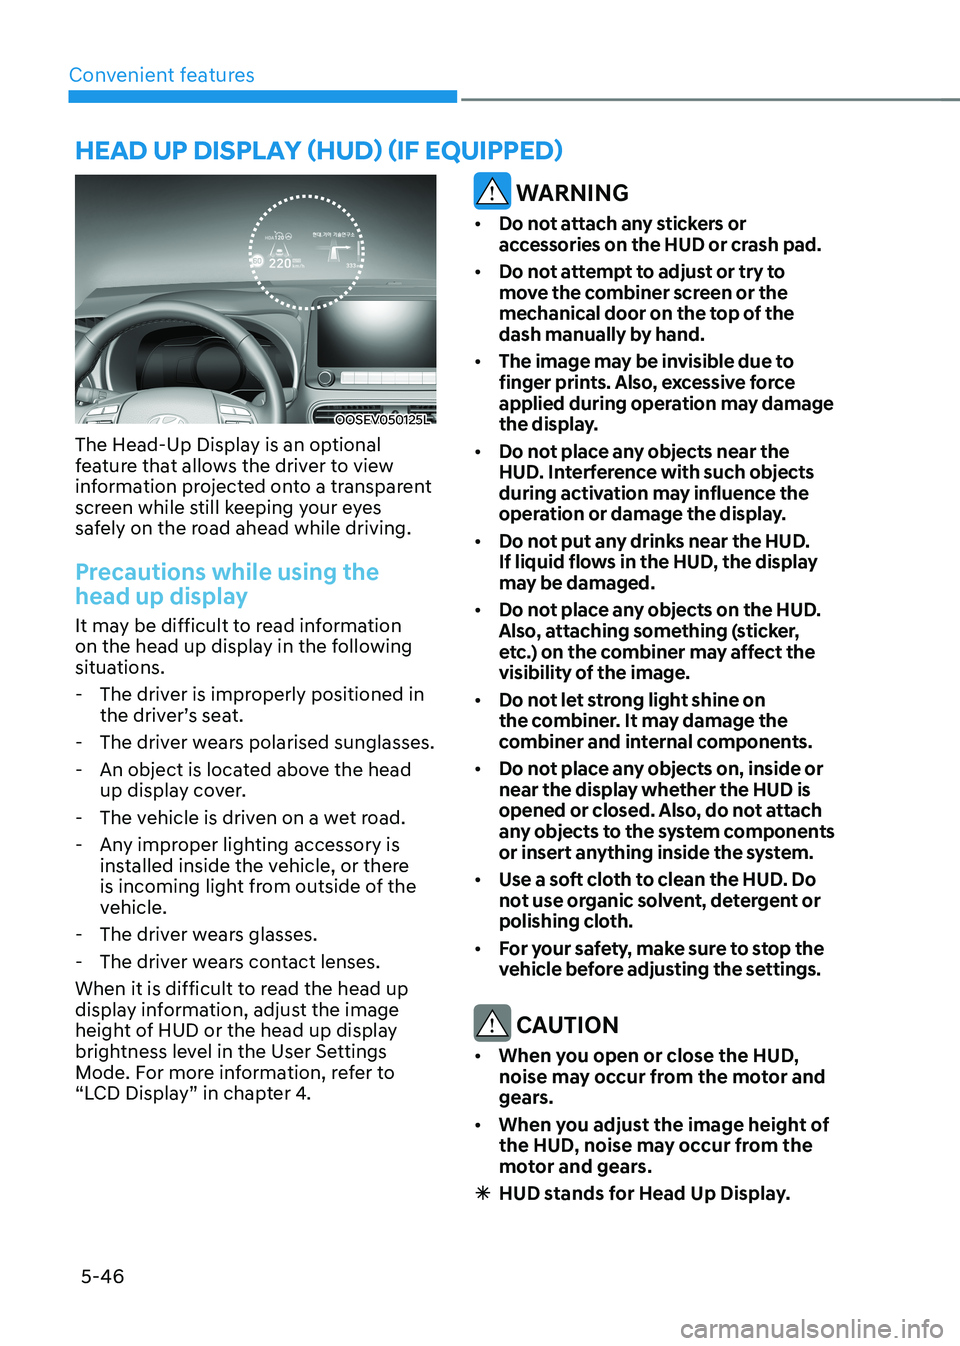
The Head-Up Display is an optional
feature that allows the driver to view
information projected onto a transparent
screen while still keeping your eyes
safely on the road ahead while driving.
Precautions while using the
head up display
It may be difficult to read information
on the head up display in the following
situations. - The driver is improperly positioned in the driver’s seat.
- The driver wears polarised sunglasses.
- An object is located above the head up display cover.
- The vehicle is driven on a wet road.
- Any improper lighting accessory is installed inside the vehicle, or there
is incoming light from outside of the
vehicle.
- The driver wears glasses.
- The driver wears contact lenses.
When it is difficult to read the head up
display information, adjust the image
height of HUD or the head up display
brightness level in the User Settings
Mode. For more information, refer to
“LCD Display” in chapter 4.
WARNING
• Do not attach any stickers or
accessories on the HUD or crash pad.
• Do not attempt to adjust or try to
move the combiner screen or the
mechanical door on the top of the
dash manually by hand.
• The image may be invisible due to
finger prints. Also, excessive force
applied during operation may damage
the display.
• Do not place any objects near the
HUD. Interference with such objects
during activation may influence the
operation or damage the display.
• Do not put any drinks near the HUD.
If liquid flows in the HUD, the display
may be damaged.
• Do not place any objects on the HUD.
Also, attaching something (sticker,
etc.) on the combiner may affect the
visibility of the image.
• Do not let strong light shine on
the combiner. It may damage the
combiner and internal components.
• Do not place any objects on, inside or
near the display whether the HUD is
opened or closed. Also, do not attach
any objects to the system components
or insert anything inside the system.
• Use a soft cloth to clean the HUD. Do
not use organic solvent, detergent or
polishing cloth.
• For your safety, make sure to stop the
vehicle before adjusting the settings.
CAUTION
• When you open or close the HUD,
noise may occur from the motor and
gears.
• When you adjust the image height of
the HUD, noise may occur from the
motor and gears.
à HUD stands for Head Up Display.
head up display (hud) (if equipped)
Page 233 of 548
05
5-49
OOS047405N
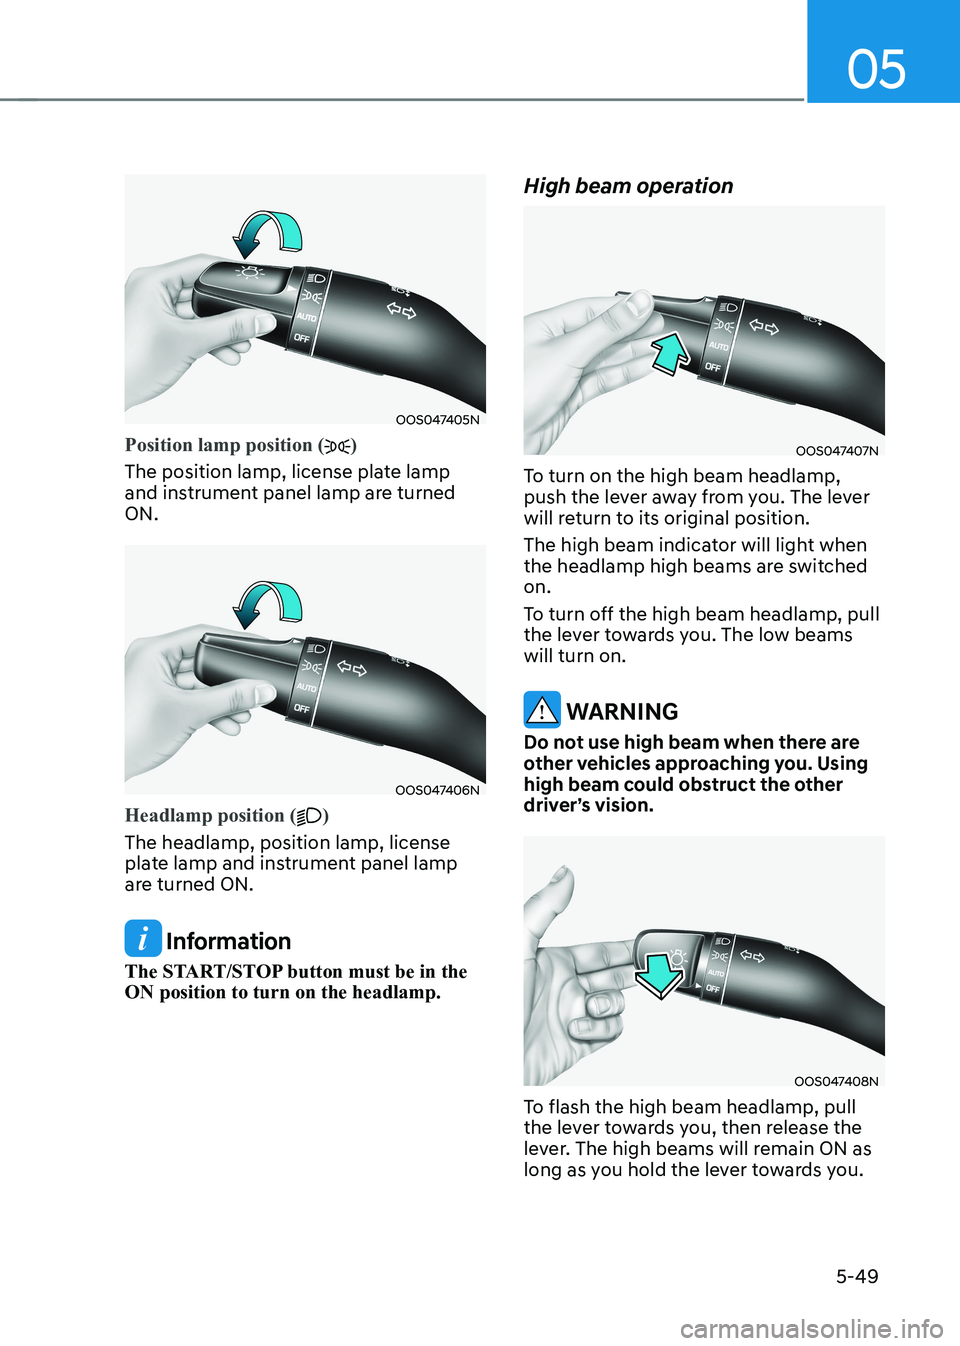
Position lamp position ()
The position lamp, license plate lamp
and instrument panel lamp are turned ON.
OOS047406N
Headlamp position ()
The headlamp, position lamp, license
plate lamp and instrument panel lamp
are turned ON.
Information
The START/STOP button must be in the ON position to turn on the headlamp. High beam operation
OOS047407N
To turn on the high beam headlamp,
push the lever away from you. The lever
will return to its original position.
The high beam indicator will light when
the headlamp high beams are switched on.
To turn off the high beam headlamp, pull
the lever towards you. The low beams will turn on.
WARNING
Do not use high beam when there are
other vehicles approaching you. Using
high beam could obstruct the other
driver’s vision.
OOS047408N
To flash the high beam headlamp, pull
the lever towards you, then release the
lever. The high beams will remain ON as
long as you hold the lever towards you.
Page 236 of 548
Convenient features
5-52
Interior lights
WARNING
Do not use the interior lights when
driving in the dark. The interior lights
may obscure your view and cause an
accident.
NOTICE
Do not use the interior lights for
extended periods when the vehicle is
turned off or the battery will discharge.
Interior lamp AUTO cut
The interior lamps will automatically go
off approximately 20 minutes after the
vehicle is turned off and the doors are closed. If a door is opened, the lamp
will go off 40 minutes after the vehicle
is turned off. If the doors are locked and
the vehicle enters the armed stage of the
theft alarm system, the lamps will go off
five seconds later. Front lamps
„„Type A
OOSEV048023
„„Type B
OOSEV048045
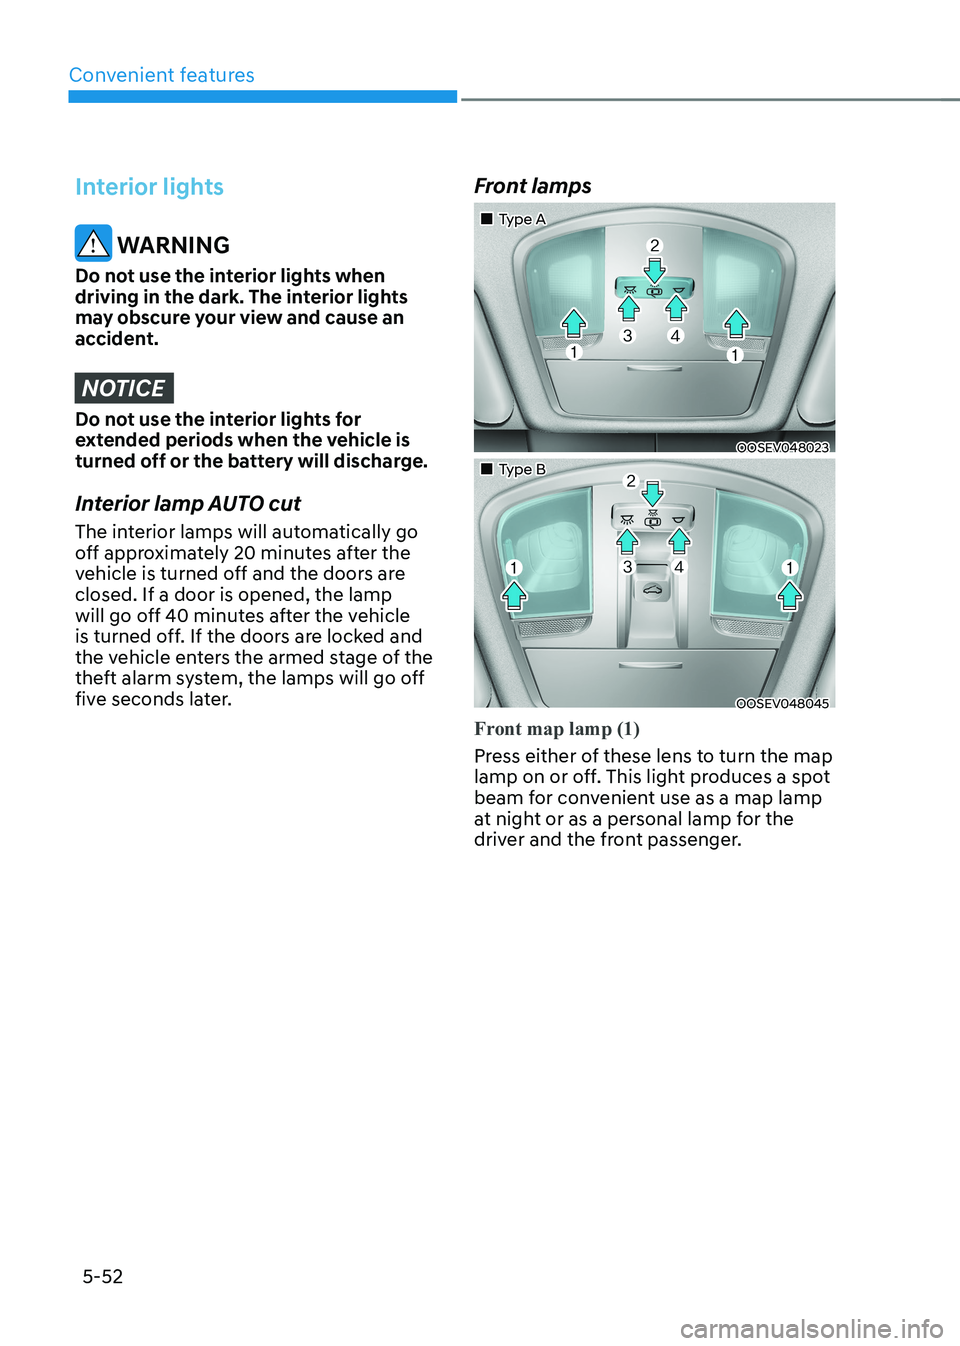
Front map lamp (1)
Press either of these lens to turn the map
lamp on or off. This light produces a spot
beam for convenient use as a map lamp
at night or as a personal lamp for the
driver and the front passenger.
Page 239 of 548
05
5-55
OPDE046057
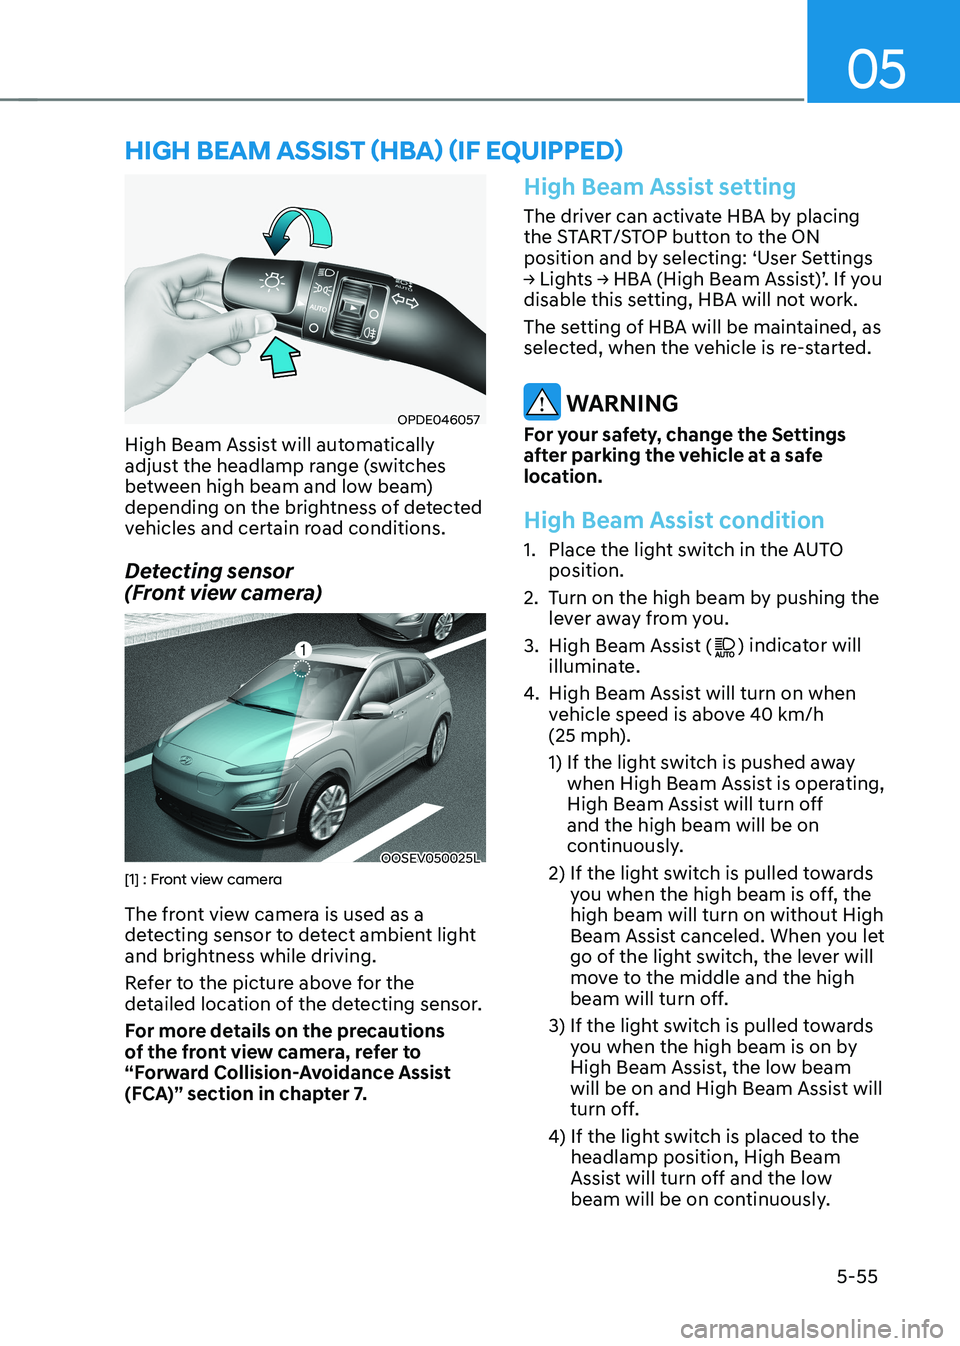
High Beam Assist will automatically
adjust the headlamp range (switches
between high beam and low beam)
depending on the brightness of detected
vehicles and certain road conditions.
Detecting sensor
(Front view camera)
OOSEV050025L[1] : Front view camera
The front view camera is used as a
detecting sensor to detect ambient light
and brightness while driving.
Refer to the picture above for the
detailed location of the detecting sensor.
For more details on the precautions
of the front view camera, refer to
“Forward Collision-Avoidance Assist
(FCA)” section in chapter 7.
High Beam Assist setting
The driver can activate HBA by placing
the START/STOP button to the ON
position and by selecting: ‘User Settings
→ Lights → HBA (High Beam Assist)’. If you
disable this setting, HBA will not work.
The setting of HBA will be maintained, as
selected, when the vehicle is re-started.
WARNING
For your safety, change the Settings
after parking the vehicle at a safe
location.
High Beam Assist condition
1. Place the light switch in the AUTO position.
2. Turn on the high beam by pushing the lever away from you.
3. High Beam Assist (
) indicator will
illuminate.
4. High Beam Assist will turn on when
vehicle speed is above 40 km/h
(25 mph).
1) If the light switch is pushed away
when High Beam Assist is operating,
High Beam Assist will turn off and the high beam will be on
continuously.
2) If the light switch is pulled towards you when the high beam is off, the high beam will turn on without High
Beam Assist canceled. When you let
go of the light switch, the lever will
move to the middle and the high
beam will turn off.
3) If the light switch is pulled towards you when the high beam is on by
High Beam Assist, the low beam
will be on and High Beam Assist will
turn off.
4) If the light switch is placed to the headlamp position, High Beam
Assist will turn off and the low
beam will be on continuously.
high Beam assisT (hBa) (if equipped)
Page 240 of 548
Convenient features
5-56
When High Beam Assist is operating, the
high beam switches to low beam in the
following conditions.
- When the headlamp of an on-coming vehicle is detected.
- When the tail lamp of a vehicle in front
is detected.
- When headlamp/tail lamp of bicycle/ motorcycle is detected.
- When the surroundings are bright enough high beams are not needed.
- When street lights or other lights are detected.
- When the light switch is not in the AUTO position.
- When High Beam Assist is off.
- When vehicle speed is below 25 km/h (15 mph).
High Beam Assist Malfunction
and Limitations
High Beam Assist malfunction
OOS047127L
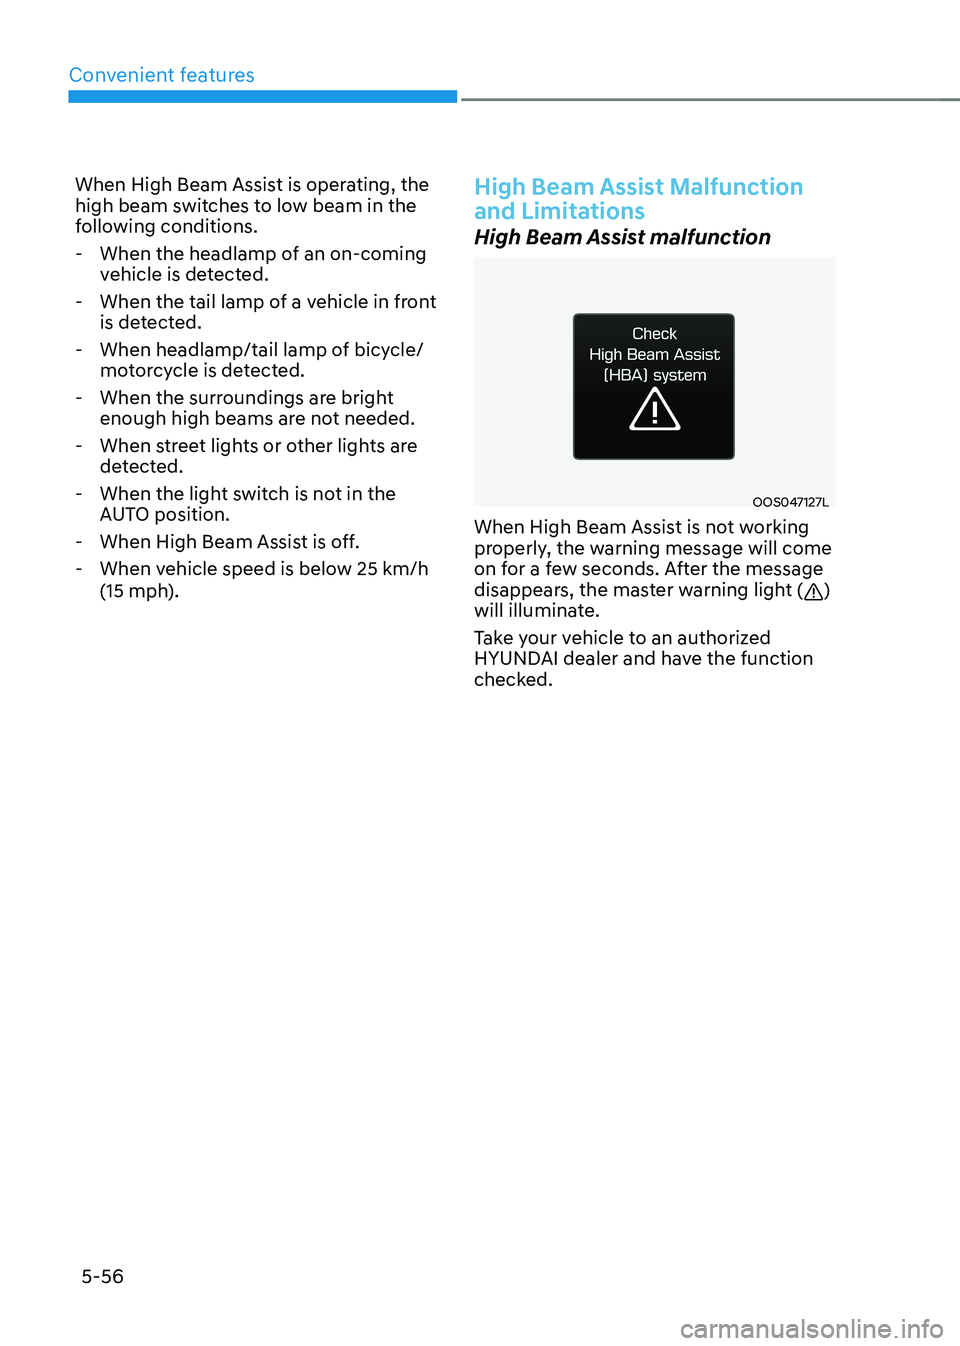
When High Beam Assist is not working
properly, the warning message will come
on for a few seconds. After the message
disappears, the master warning light (
)
will illuminate.
Take your vehicle to an authorized
HYUNDAI dealer and have the function
checked.
Page 241 of 548
05
5-57
Limitations of High Beam Assist
High Beam Assist may not work properly
in the following situations: •
Light from a vehicle is not detected
because of lamp damage, or because
it is hidden from sight, etc.
• Headlamp of a vehicle is covered with
dust, snow or water.
• A vehicle’s headlamps are off but the
fog lamps are on and etc.
• There is a lamp that has a similar
shape as a vehicle’s lamp.
• Headlamps have been damaged or
not repaired properly.
• Headlamps are not aimed properly.
• Driving on a narrow curved road,
rough road, uphill or downhill.
• Vehicle in front is partially visible on a
crossroad or curved road.
• There is a traffic light, reflecting sign,
flashing sign or mirror ahead.
• There is a temporary reflector or flash
ahead (construction area).
• The road conditions are bad such as
being wet, iced or covered with snow.
• A vehicle suddenly appears from a
curve.
• The vehicle is tilted from a flat tire or
is being towed.
• Light from a vehicle is not detected
because of exhaust fume, smoke, fog,
snow, etc.
NOTICE
For more details on the limitations
of the front view camera, refer to
“Forward Collision-Avoidance Assist
(FCA)” section in chapter 7.
WARNING
• At times, High Beam Assist may
not work properly. The system is
for your convenience only. It is the
responsibility of the driver for safe
driving practices and always check
the road conditions for your safety.
• When High Beam Assist does
not operate normally, change the headlamp position manually
between high beam and low beam.
Page 243 of 548
05
5-59
AUTO (Automatic) control (if equipped)
OOS047322L
Rain Sensor
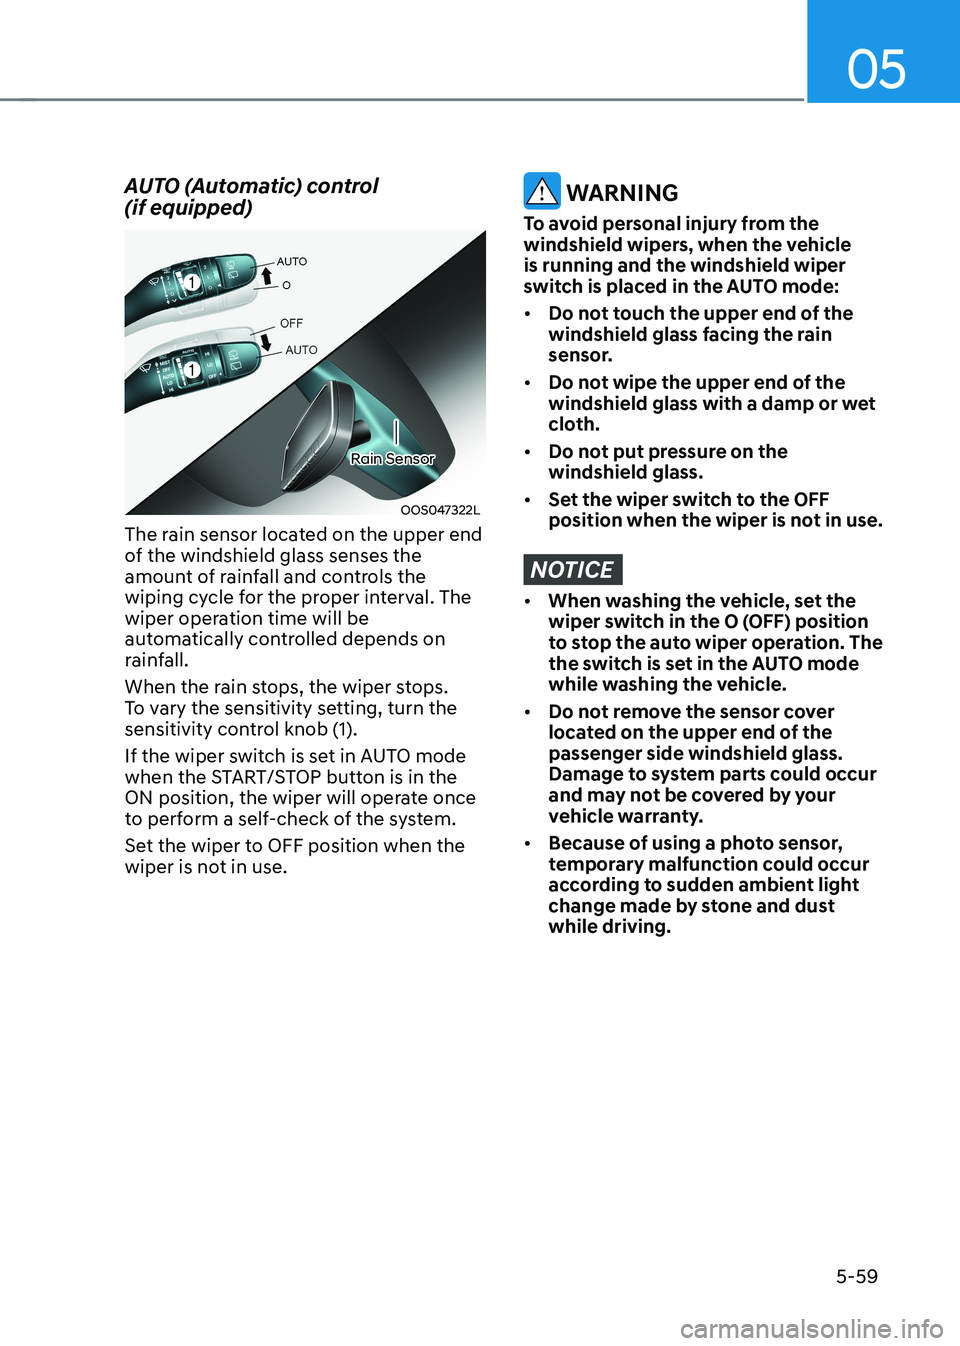
The rain sensor located on the upper end
of the windshield glass senses the
amount of rainfall and controls the
wiping cycle for the proper interval. The
wiper operation time will be
automatically controlled depends on
rainfall.
When the rain stops, the wiper stops.
To vary the sensitivity setting, turn the
sensitivity control knob (1).
If the wiper switch is set in AUTO mode
when the START/STOP button is in the
ON position, the wiper will operate once
to perform a self-check of the system.
Set the wiper to OFF position when the
wiper is not in use.
WARNING
To avoid personal injury from the
windshield wipers, when the vehicle is running and the windshield wiper
switch is placed in the AUTO mode: • Do not touch the upper end of the
windshield glass facing the rain
sensor.
• Do not wipe the upper end of the
windshield glass with a damp or wet
cloth.
• Do not put pressure on the windshield glass.
• Set the wiper switch to the OFF
position when the wiper is not in use.
NOTICE
• When washing the vehicle, set the
wiper switch in the O (OFF) position
to stop the auto wiper operation. The
the switch is set in the AUTO mode
while washing the vehicle.
• Do not remove the sensor cover
located on the upper end of the passenger side windshield glass.
Damage to system parts could occur
and may not be covered by your
vehicle warranty.
• Because of using a photo sensor,
temporary malfunction could occur
according to sudden ambient light
change made by stone and dust while driving.
Page 244 of 548
Convenient features
5-60
Front windshield washers
OTLE045163
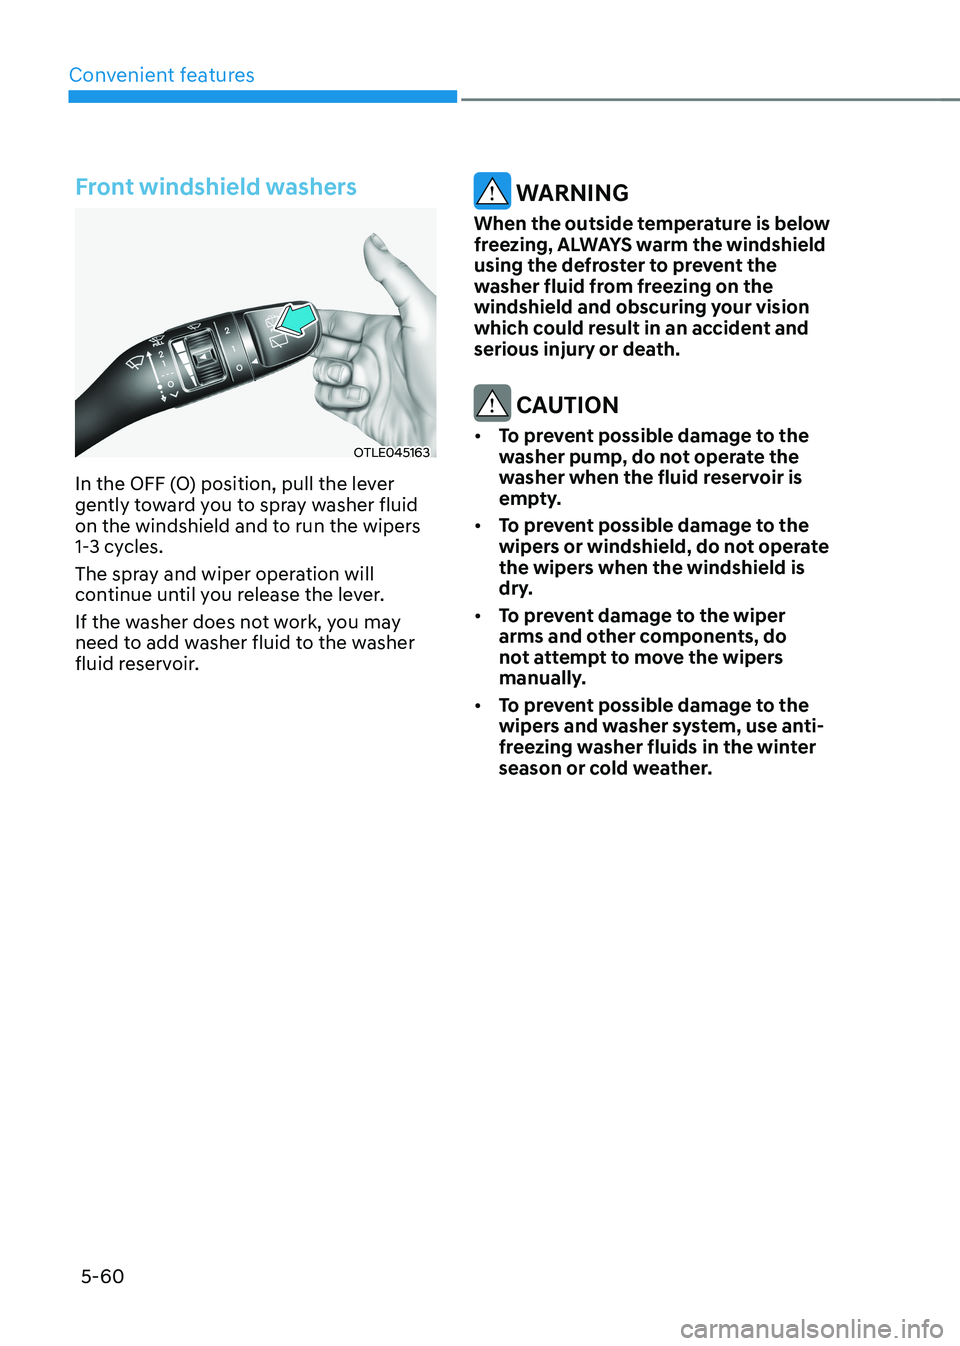
In the OFF (O) position, pull the lever
gently toward you to spray washer fluid
on the windshield and to run the wipers
1-3 cycles.
The spray and wiper operation will
continue until you release the lever.
If the washer does not work, you may
need to add washer fluid to the washer
fluid reservoir.
WARNING
When the outside temperature is below
freezing, ALWAYS warm the windshield
using the defroster to prevent the
washer fluid from freezing on the
windshield and obscuring your vision
which could result in an accident and
serious injury or death.
CAUTION
• To prevent possible damage to the
washer pump, do not operate the
washer when the fluid reservoir is
empty.
• To prevent possible damage to the
wipers or windshield, do not operate
the wipers when the windshield is
dry.
• To prevent damage to the wiper
arms and other components, do
not attempt to move the wipers
manually.
• To prevent possible damage to the
wipers and washer system, use anti-
freezing washer fluids in the winter
season or cold weather.