2022 HYUNDAI ELANTRA HYBRID change time
[x] Cancel search: change timePage 162 of 529
05
5-15
Information
This device complies with Industry Canada RSS-210 standard.
Operation is subject to the following three conditions: 1. This device may not cause harmful
interference.
2. This device must accept any
interference received, including
interference that may cause undesired operation.
3. Changes or modifications not expressly
approved by the party responsible
for compliance could void the user’s authority to operate the device.
“Limp Home” Mode and Related
Procedures
If the immobilizer warning indicator
blinks for five seconds when the ignition
key is turned to the “ON” position,
this indicates the immobilizer system
requires service. The engine cannot be
started without using the procedure
below.
The following procedure describes
how to start the engine using the limp
home function (0, 1, 2, 3 as a sample
password).
NOTICE
You can get a limp home password
when the vehicle is first delivered to
you. If you do not have a password,
consult your authorized HYUNDAI
dealer.
1. To activate the password, turn the ignition key “ON” and “OFF“
according to the digit numbers. The
immobilizer indicator will blink along
with the operation of the ignition
key. For example, turn the ignition
key once for digit number “1”, and
twice for “2”, and so on. For the digit
number “0”, you must cycle the
ignition key 10 times.
2. Wait for 3~10 seconds.
3. You may set the remaining number of digits by following steps 1 and 2.
4. If all of the four password digits have
been successfully entered, turn the
ignition key “ON” and check that the
immobilizer indicator illuminates.
From this time, you have to start your
engine within 30 seconds. If you try
to start your engine after 30 seconds,
your engine will not start.
NOTICE
If the engine stalls while driving in the
“limp home” mode, you can start your
engine within 3 seconds without re-
entering the password.
If the immobilizer indicator blinks for
five seconds, you must re-enter the
password (steps 1~4).
After performing the limp home
activation procedure, consult with your
authorized HYUNDAI dealer as soon as possible.
CAUTION
• If the password is entered incorrectly
three consecutive times, wait for
about one hour to perform the limp
home activation procedure again.
• If you cannot start your engine using
the limp home activation procedure,
have your vehicle towed by an
authorized HYUNDAI dealer.
Page 164 of 529
05
5-17
Smart key
OCN7050078
To lock the doors, press the button on the outside door handle while carrying
the smart key with you or press the door
lock button on the smart key.
To unlock the doors, press the button on the outside door handle while carrying
the smart key with you or press the door
unlock button on the smart key.
Once the doors are unlocked, they may
be opened by pulling the door handle.
When closing the door, push the door by
hand. Make sure that doors are closed
securely.
Information
• In cold and wet climates, door lock
and door mechanisms may not work
properly due to freezing conditions.
• If the door is locked/unlocked multiple
times in rapid succession with either
the vehicle key or door lock switch, the system may stop operating temporarily
in order to protect the circuit and
prevent damage to system components.
• Two press unlock setting can be
changed in the User Settings mode on
the cluster.
Operating Door Locks from
Inside the Vehicle
With the door handle
OCN7050010
Front door
If the inner door handle is pulled when
the door is locked, the door will unlock and open.
Rear door
If the inner door handle is pulled once
when the door is locked, the door will unlock.If the inner door handle is pulled
once more, the door will open.
Page 173 of 529
Convenient Features
5-26
Electric Power Steering (EPS)
The system assists you with steering the
vehicle. If the vehicle is turned off or
if the power steering system becomes
inoperative, you may still steer the
vehicle, but it will require increased
steering effort.
Also, the steering effort becomes heavier
as the vehicle’s speed increases and
becomes lighter as the vehicle’s speed
decreases for better control of the
steering wheel.
Should you notice any change in the
effort required to steer during normal
vehicle operation, have the system
checked by an authorized HYUNDAI
dealer.
CAUTION
• If the Electric Power Steering System
does not operate normally, the
warning light (
) will illuminate
on the instrument cluster. You may
steer the vehicle, but it will require
increased steering efforts. Take your
vehicle to an authorized HYUNDAI
dealer and have the system checked as soon as possible.
• When an abnormality is detected
in the electric power steering
system, to prevent a an accident, the
steering assist function may become
inoperative. At this time, the warning
light turns on or blinks on the cluster.
The steering wheel may become
difficult to control or operate. Have
your vehicle checked immediately,
after moving the vehicle to a safe
area.
Information
The following symptoms may occur during normal vehicle operation: • The steering effort may be high
immediately after placing the ignition switch in the ON position. This happens as the system performs
the EPS system diagnostics. When the
diagnostics are completed, the steering
wheel effort will return to its normal condition.
• When the battery voltage is low, you
might have to put more steering effort.
However, it is a temporary condition so
that it will return to normal condition
after charging the battery.
• A click noise may be heard from the
EPS relay after the ignition switch is in
the ON or LOCK/OFF position.
• Motor noise may be heard when the
vehicle is at a stop or at a low driving speed.
• When you operate the steering wheel
in low temperatures, abnormal noise
may occur. If the temperature rises, the
noise will disappear. This is a normal condition.
• When an error is detected from the EPS, the steering effort assist function
may become inoperative in order to
prevent fatal accidents. Instrument
cluster warning lights may be on or the steering effort may be high. If these
symptoms occur, drive the vehicle to
a safe area as soon as it is safe to do so. Have the system checked by an
authorized HYUNDAI dealer as soon as possible.
steering Wheel
Page 182 of 529
05
5-35
Information
This device complies with Industry Canada RSS-210 standard.
Operation is subject to the following three conditions: 1. This device may not cause harmful
interference.
2. This device must accept any
interference received, including
interference that may cause undesired operation.
3. Changes or modifications not expressly
approved by the party responsible
for compliance could void the user’s authority to operate the device. Two Way Communication Programing
1. Complete the HomeLink
“Programming” first.
2. Before the first 10 times HomeLink button is pressed after the
programming, the following steps
MUST occur to program two way
communication. (only for some older
garage doors)
OCN7050088N
3. Press and release the programed HomeLink button to activate the
garage door.
4. Once the garage door is stopped, press and release the “Learn” or
“Smart” button on the Garage door
opener within 1 minute from the time
of pressing the programed HomeLink
button on mirror.
Page 205 of 529
Convenient Features
5-58
High Beam Operation
ODN8A059205
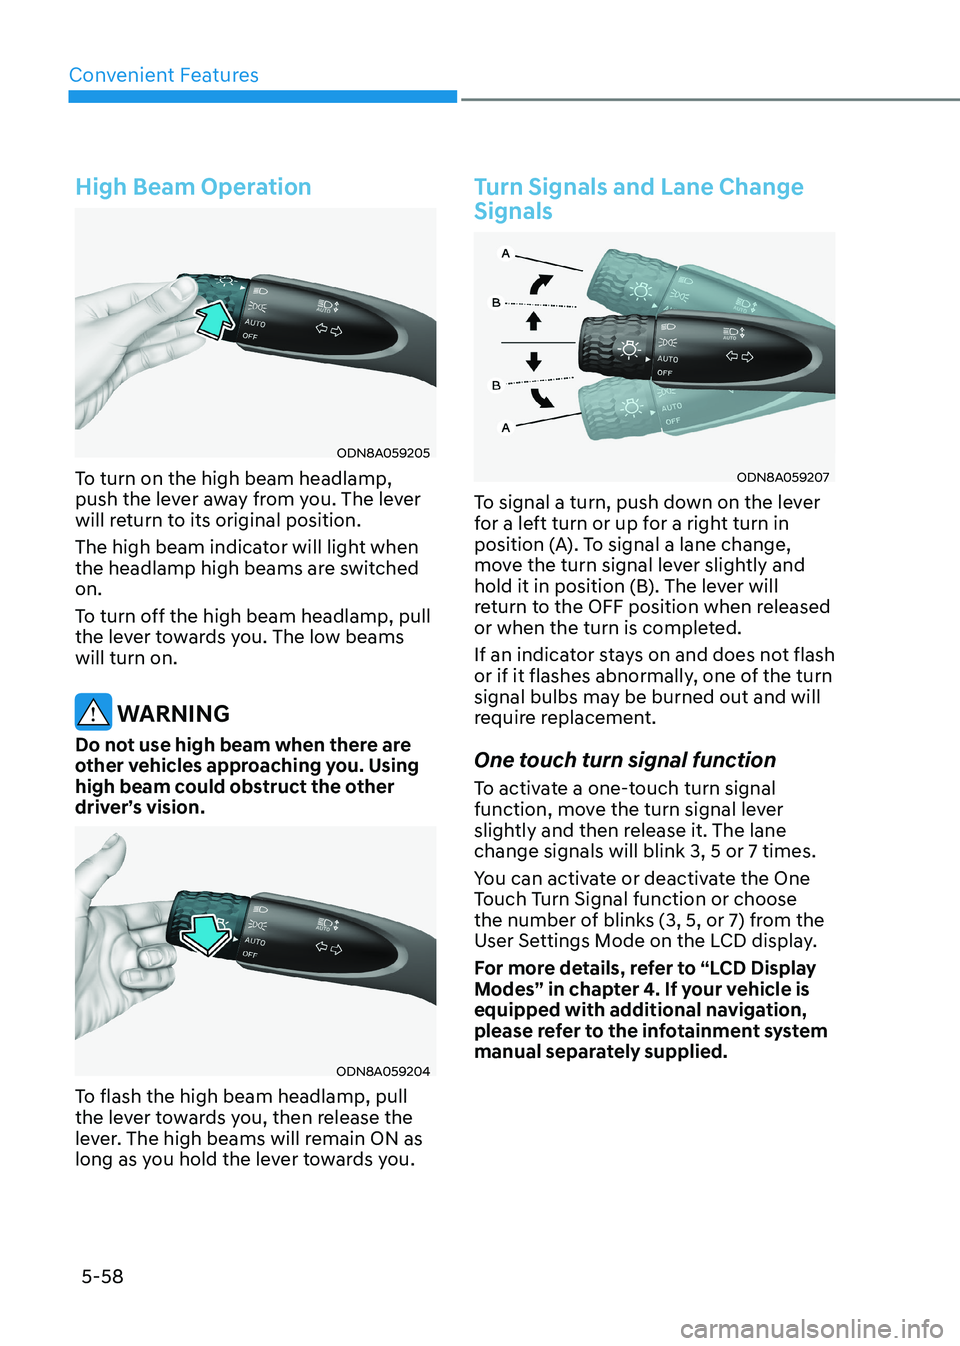
To turn on the high beam headlamp,
push the lever away from you. The lever
will return to its original position.
The high beam indicator will light when
the headlamp high beams are switched on.
To turn off the high beam headlamp, pull
the lever towards you. The low beams will turn on.
WARNING
Do not use high beam when there are
other vehicles approaching you. Using
high beam could obstruct the other
driver’s vision.
ODN8A059204
To flash the high beam headlamp, pull
the lever towards you, then release the
lever. The high beams will remain ON as
long as you hold the lever towards you.
Turn Signals and Lane Change Signals
ODN8A059207
To signal a turn, push down on the lever
for a left turn or up for a right turn in
position (A). To signal a lane change,
move the turn signal lever slightly and
hold it in position (B). The lever will
return to the OFF position when released
or when the turn is completed.
If an indicator stays on and does not flash
or if it flashes abnormally, one of the turn
signal bulbs may be burned out and will
require replacement.
One touch turn signal function
To activate a one-touch turn signal
function, move the turn signal lever
slightly and then release it. The lane change signals will blink 3, 5 or 7 times.
You can activate or deactivate the One
Touch Turn Signal function or choose
the number of blinks (3, 5, or 7) from the
User Settings Mode on the LCD display.
For more details, refer to “LCD Display
Modes” in chapter 4. If your vehicle is
equipped with additional navigation,
please refer to the infotainment system
manual separately supplied.
Page 209 of 529
Convenient Features
5-62
Limitations of the High Beam Assist
High Beam Assist may not work properly
in the following situations: •
Light from an oncoming or front
vehicle is not detected because of lamp damage, or because it is hidden
from sight, etc.
• Headlamp of an oncoming or front
vehicle is covered with dust, snow or
water.
• A front vehicle’s headlamps are off,
but the fog lamps are on, etc.
• There is a lamp that has a similar
shape as a vehicle’s lamp.
• Headlamps have been damaged or
not repaired properly.
• Headlamps are not aimed properly.
• Driving on a narrow-curved road,
rough road, uphill or downhill.
• Vehicle in front is partially visible on a
crossroad or curved road.
• There is a traffic light, reflecting sign,
flashing sign or mirror ahead.
• There is a temporary reflector or flash
ahead (construction area).
• The road conditions are bad such as
being wet, iced or covered with snow.
• A vehicle suddenly appears from a
curve.
• The vehicle is tilted from a flat tire or
is being towed.
• Light from an oncoming or front
vehicle is not detected due to
obstacles in the air such as exhaust
fume, smoke, fog, snow, or water spay
or blizzard on the road, or fogging in
the lamp, etc.
Information
For more details on the limitations of the
front view camera, refer to “Forward
Collision-Avoidance Assist (FCA)” section
in chapter 7
WARNING
• At times, High Beam Assist may not
work properly High Beam Assist is
for your convenience only. It is the
responsibility of the driver for safe
driving practices and always check
the road conditions for your safety.
• When High Beam Assist does
not operate properly, change the headlamp position manually
between high beam and low beam.
Page 221 of 529
Convenient Features
5 -74
Temperature conversion
If the battery has been discharged or
disconnected, the temperature mode
display will reset to Centigrade.
To change the temperature unit from °C
to °F or °F to °C : - Automatic climate control system Press the AUTO button for 3 seconds
while pressing the OFF button.
- Instrument clusterAutomatic climate control system
Go to User Settings → Other →
Temperature Unit.
The temperature unit on both the
cluster LCD display and the climate
control screen will change.
Information
When starting the vehicle in cold weather
using manual temperature control,
operate the system in the following method
to improve heating. - Turn off or lower the blower, right after starting the engine.
- Allow the engine to warm up during
this time since the air flow from the
heater is still cold.
- After a few minutes of engine warm up,
turn on or set the fan to a higher level
and adjust the temperature setting to hot. Air intake control
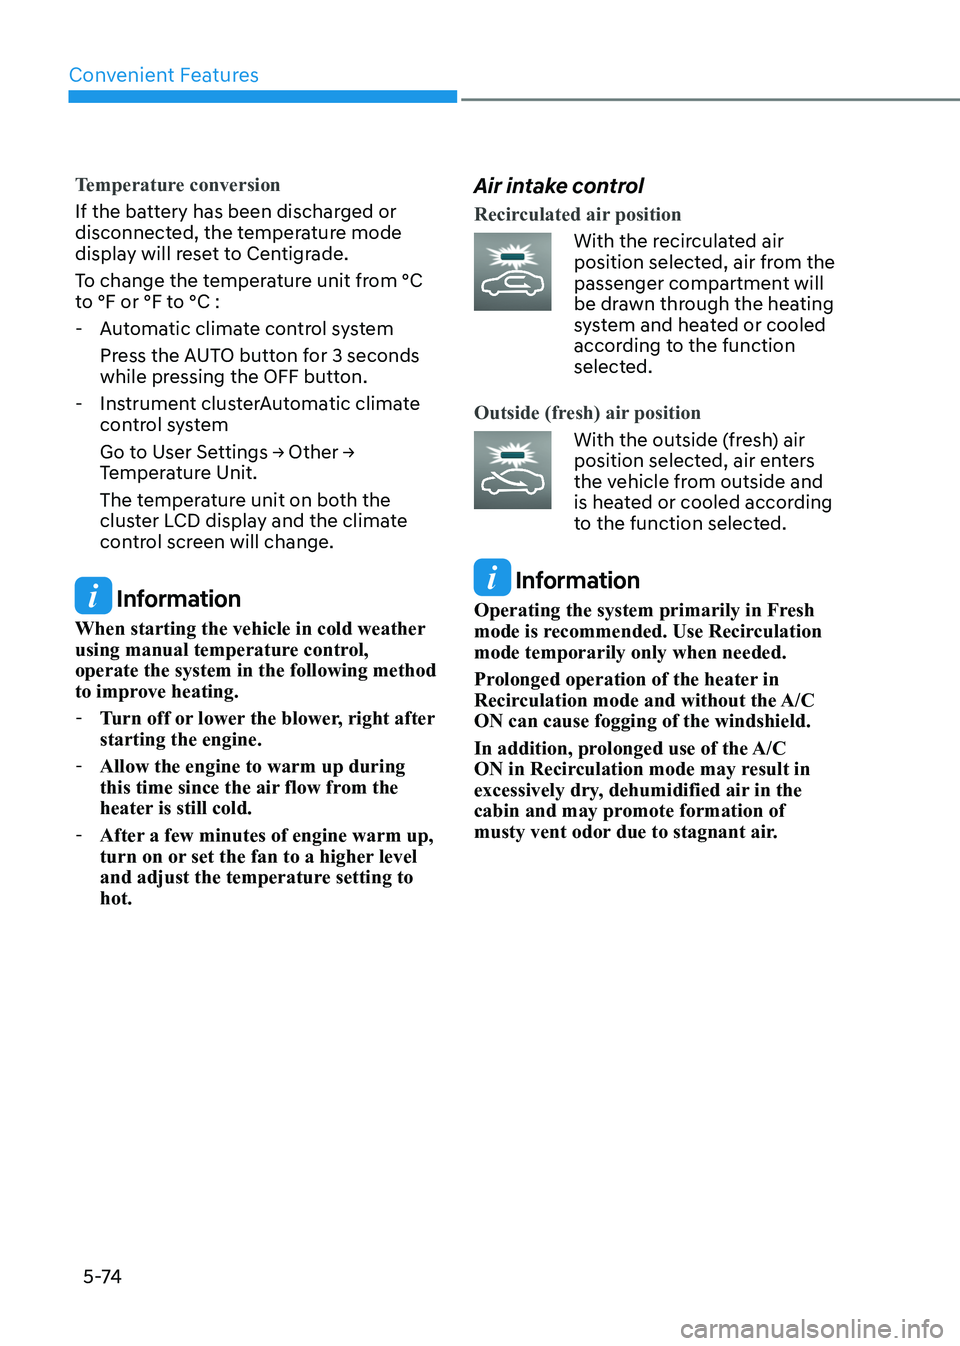
Recirculated air position
With the recirculated air
position selected, air from the
passenger compartment will
be drawn through the heating
system and heated or cooled
according to the function
selected.
Outside (fresh) air position
With the outside (fresh) air
position selected, air enters
the vehicle from outside and
is heated or cooled according
to the function selected.
Information
Operating the system primarily in Fresh
mode is recommended. Use Recirculation mode temporarily only when needed.
Prolonged operation of the heater in
Recirculation mode and without the A/C ON can cause fogging of the windshield.
In addition, prolonged use of the A/C
ON in Recirculation mode may result in
excessively dry, dehumidified air in the
cabin and may promote formation of
musty vent odor due to stagnant air.
Page 224 of 529
05
5-77
Air conditioning
HYUNDAI Air Conditioning Systems are
filled with R-134a or R-1234yf refrigerant.
1. Start the vehicle.
2. Push the air conditioning button.
3. Select the Face Level
mode.
4. Set the air intake control to
Recirculation mode temporarily to
allow the cabin to cool quickly. When
the desired temperature in the cabin
is reached, change the air intake
control back to Fresh mode.
5. Adjust the fan speed control and temperature control to maintain
maximum comfort.
Information
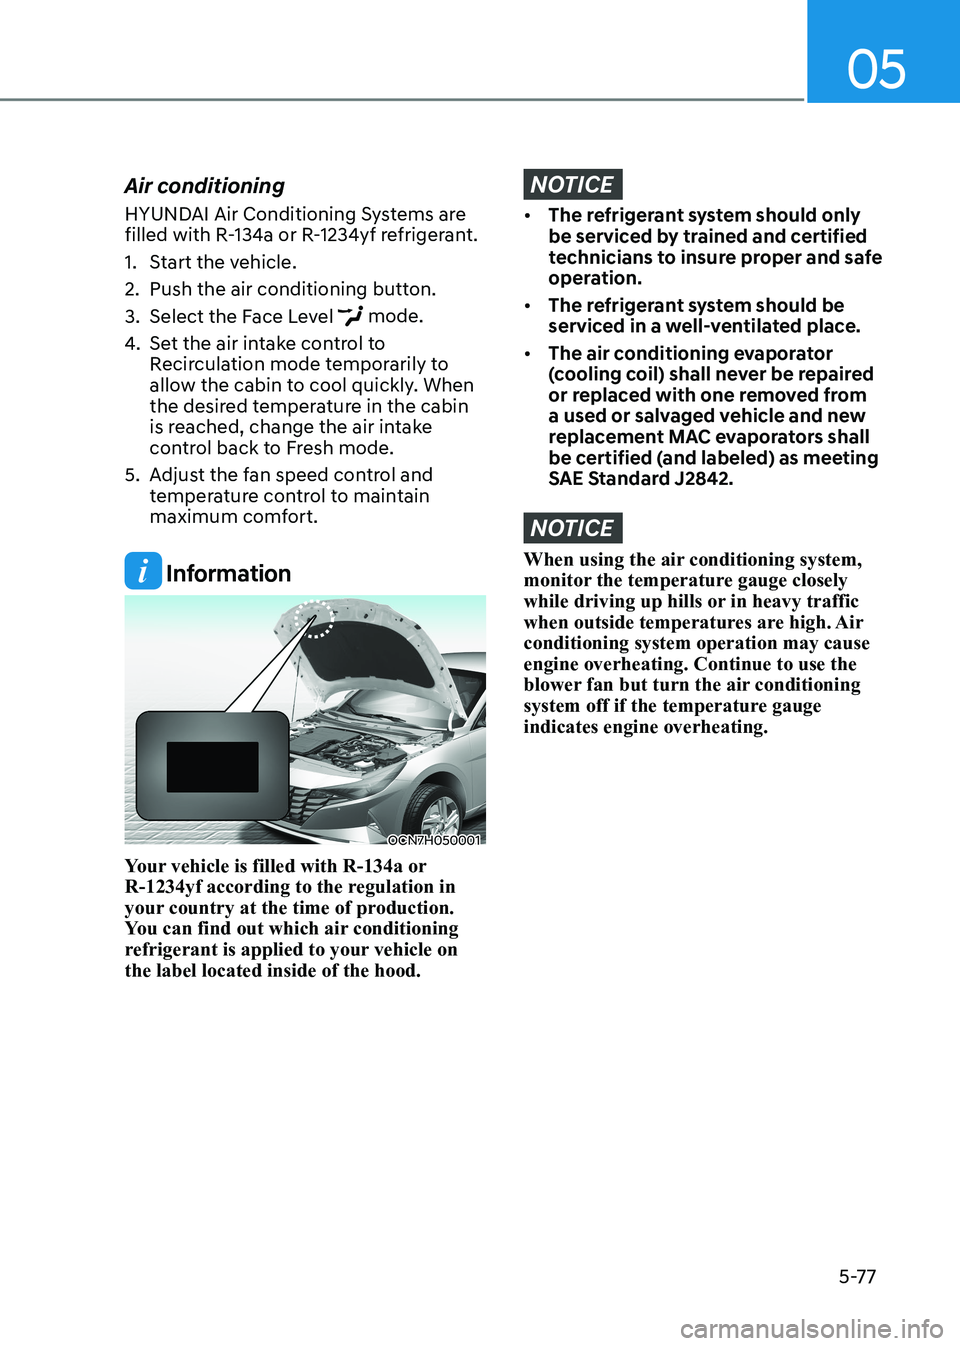
OCN7H050001
Your vehicle is filled with R-134a or
R-1234yf according to the regulation in
your country at the time of production.
You can find out which air conditioning
refrigerant is applied to your vehicle on the label located inside of the hood.
NOTICE
• The refrigerant system should only
be serviced by trained and certified
technicians to insure proper and safe
operation.
• The refrigerant system should be
serviced in a well-ventilated place.
• The air conditioning evaporator
(cooling coil) shall never be repaired
or replaced with one removed from
a used or salvaged vehicle and new
replacement MAC evaporators shall
be certified (and labeled) as meeting
SAE Standard J2842.
NOTICE
When using the air conditioning system,
monitor the temperature gauge closely
while driving up hills or in heavy traffic
when outside temperatures are high. Air conditioning system operation may cause engine overheating. Continue to use the
blower fan but turn the air conditioning
system off if the temperature gauge indicates engine overheating.