2022 FORD F-650/750 audio
[x] Cancel search: audioPage 8 of 379

Engine Specifications - 7.3L
....................287
Motorcraft Parts - 6.7L Diesel ................
288
Motorcraft Parts - 7.3L ..............................
289
Bulb Specification Chart .........................
290
Engine Oil Capacity and Specification - 6.7L Diesel .................................................
290
Engine Oil Capacity and Specification - 7.3L ...............................................................
293
Cooling System Capacity and Specification - 6.7L Diesel ..................
295
Cooling System Capacity and Specification - 7.3L ................................
296
Fuel Tank Capacity - Diesel ....................
296
Fuel Tank Capacity - Gasoline ...............
297
Air Conditioning System Capacity and Specification - 6.7L Diesel ..................
298
Air Conditioning System Capacity and Specification - 7.3L ................................
299
Washer Fluid Specification .....................
299
Diesel Exhaust Fluid Capacity and Specification ...........................................
300
Automatic Transmission Fluid Capacity and Specification ...................................
300
Brake Fluid Specification ..........................
301
Rear Axle Fluid Capacity and Specification - Diesel ............................
302
Rear Axle Fluid Capacity and Specification - Gasoline ......................
303
Hydraulic Power Steering Fluid Capacity and Specification ...................................
304
Vehicle Identification
Vehicle Identification Number ..............
305
Connected Vehicle
Connected Vehicle Requirements .......
306
Connected Vehicle Limitations .............
306
Connecting the Vehicle to a Mobile Network - Vehicles With: Modem .....
306
Connected Vehicle – Troubleshooting ........................................................................\
307 Audio System
General Information
..................................
308
Audio Unit .....................................................
308
Digital Radio ...................................................
311
Connecting a Bluetooth® Device ..........
313
Streaming Bluetooth Audio .....................
314
Playing Media From a USB Device ........
314
Audio Input Jack ...........................................
314
USB Port .........................................................
315
Using Voice Recognition ...........................
316
Accessories
Auxiliary Switches ........................................
317
Ford Protect
Ford Protect ...................................................
319
Scheduled Maintenance
General Maintenance Information ........
321
Normal Scheduled Maintenance ..........
325
Special Operating Conditions Scheduled Maintenance ..............................................
331
Customer Information
Rollover Warning ........................................
340
Radio Frequency Certification Labels .......................................................................
340
Appendices
Electromagnetic Compatibility .............
345
End User License Agreement ................
348
5
2022 F650750 (TBC) , enUSA, Edition date: 202010, Second-Printing Table of Contents
Page 26 of 379
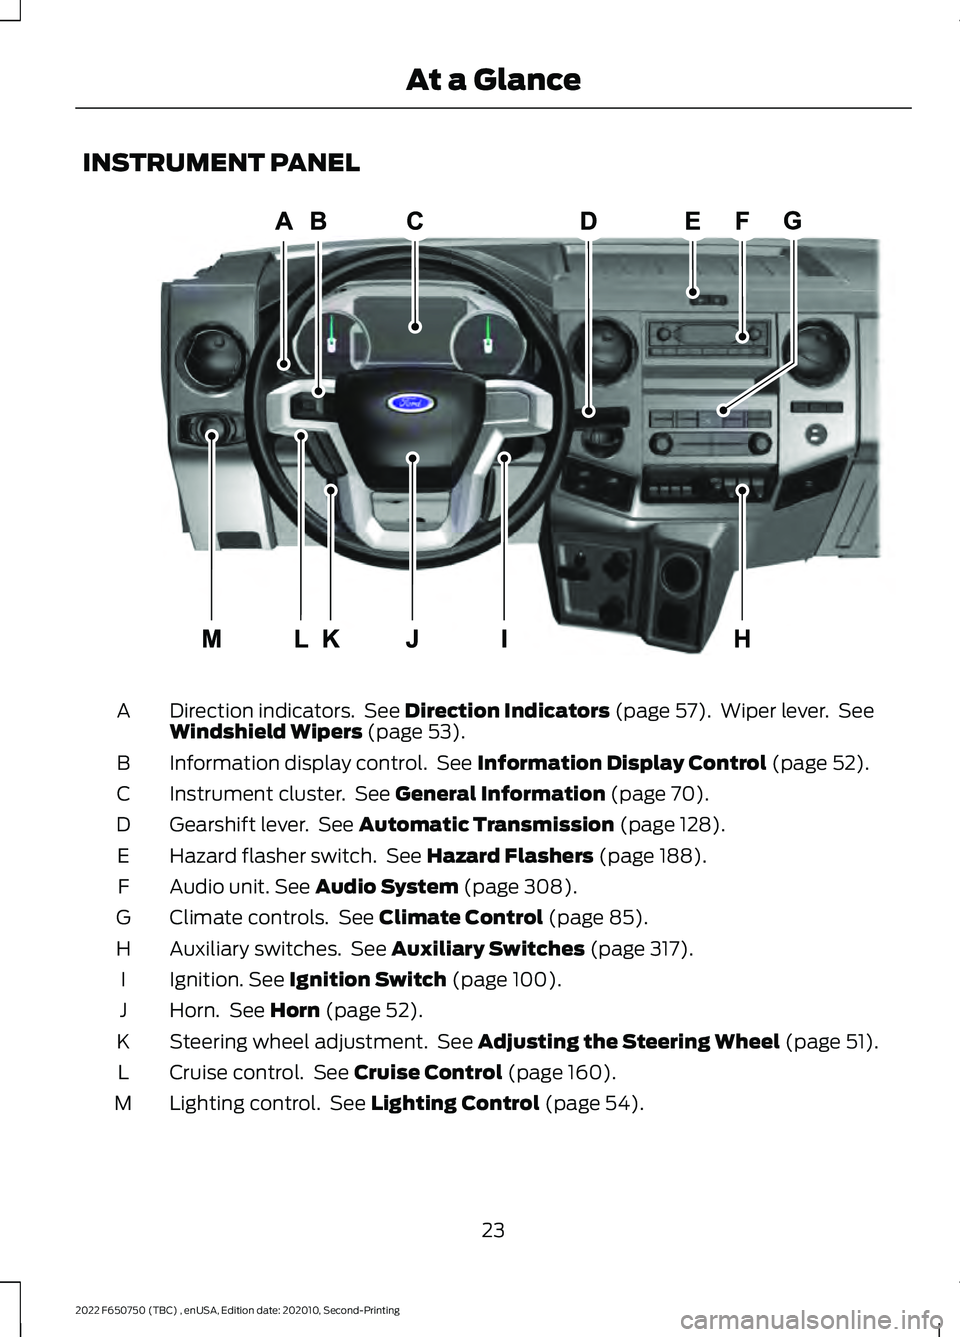
INSTRUMENT PANEL
Direction indicators. See Direction Indicators (page 57). Wiper lever. See
Windshield Wipers (page 53).
A
Information display control. See
Information Display Control (page 52).
B
Instrument cluster. See
General Information (page 70).
C
Gearshift lever. See
Automatic Transmission (page 128).
D
Hazard flasher switch. See
Hazard Flashers (page 188).
E
Audio unit.
See Audio System (page 308).
F
Climate controls. See
Climate Control (page 85).
G
Auxiliary switches. See
Auxiliary Switches (page 317).
H
Ignition.
See Ignition Switch (page 100).
I
Horn. See
Horn (page 52).
J
Steering wheel adjustment. See
Adjusting the Steering Wheel (page 51).
K
Cruise control. See
Cruise Control (page 160).
L
Lighting control. See
Lighting Control (page 54).
M
23
2022 F650750 (TBC) , enUSA, Edition date: 202010, Second-Printing At a GlanceE307565
Page 100 of 379
LOCATING THE USB PORTS
Data Transfer USB Ports
The USB Ports could be in the following
locations:
•
On the lower instrument panel.
• Inside the media bin.
• Inside the center console.
Note: These USB ports can also charge
devices.
Note: Not all USB ports in your vehicle have
data transfer capabilities.
Note: We recommend using only USB-IF
certified cables and adapters. Non-certified
cables and adapters may not work.
Charge Only USB Ports The USB ports could be in the following
locations:
•
On the lower instrument panel.
• On the upper instrument panel.
• Inside the media bin.
• Inside the center console.
• On the rear of the center console.
• In the cargo area. PLAYING MEDIA USING THE
USB PORT WARNING: Driving while distracted
can result in loss of vehicle control, crash
and injury. We strongly recommend that
you use extreme caution when using any
device that may take your focus off the
road. Your primary responsibility is the
safe operation of your vehicle. We
recommend against the use of any
hand-held device while driving and
encourage the use of voice-operated
systems when possible. Make sure you
are aware of all applicable local laws
that may affect the use of electronic
devices while driving.
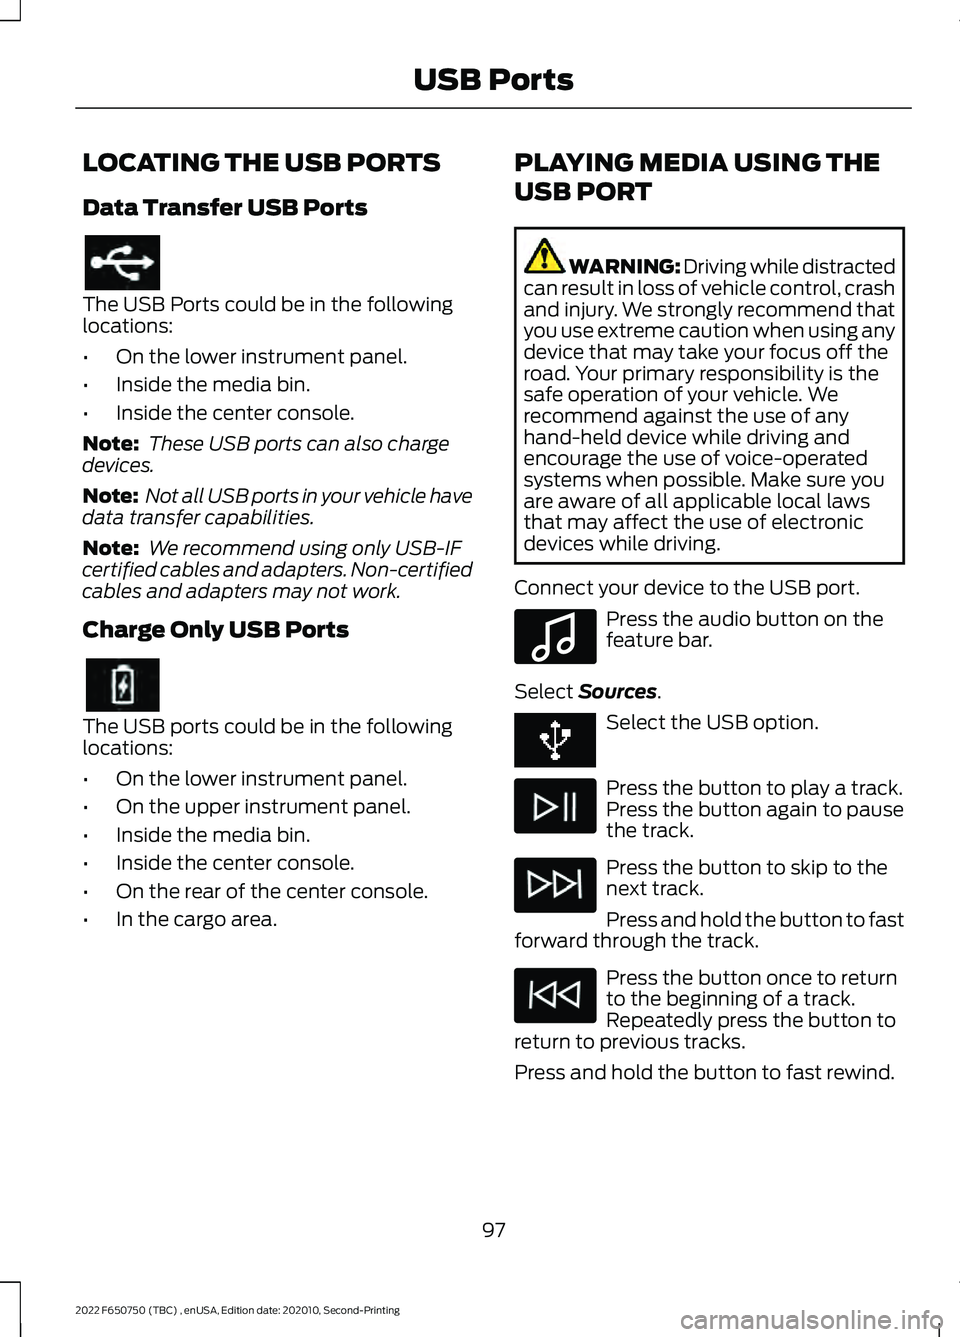
Connect your device to the USB port. Press the audio button on the
feature bar.
Select Sources. Select the USB option.
Press the button to play a track.
Press the button again to pause
the track.
Press the button to skip to the
next track.
Press and hold the button to fast
forward through the track. Press the button once to return
to the beginning of a track.
Repeatedly press the button to
return to previous tracks.
Press and hold the button to fast rewind.
97
2022 F650750 (TBC) , enUSA, Edition date: 202010, Second-Printing USB Ports E100027
Page 167 of 379

When you switch the system on and it
detects an unintentional drift out of your
lane is likely to occur, the system notifies
or assists you to stay in your lane through
the steering system and information
display. The system provides a warning by
an audible tone.
Switching the System On and Off
Note:
The system on or off setting is stored
until it is manually changed, unless a MyKey
is detected. If the system detects a MyKey,
it defaults to on and the mode is set to alert.
Note: If a MyKey is detected, pressing the
button does not affect the on or off status
of the system. You can only change the
mode and sensitivity settings. Press the button to switch the
system on or off. The button is
above the audio unit or on the
center console.
System Settings
The system sensitivity and intensity can
be adjusted through the display screen.
The system remembers the last selection.
You do not need to readjust the setting
each time you turn on your vehicle.
Sensitivity: This setting allows you to
select where in the lane a warning is
provided. Increasing the sensitivity setting
moves the warning zones in closer to your
vehicle. Normal
A
Increased
B
Note: The alert diagram illustrates general
zone coverage. It does not provide exact
zone parameters.
System Display When you switch on the system, a graphic
with lane markings appears in the display
screen.
Note:
The overhead vehicle graphic may
still display if adaptive cruise control is
enabled.
While the system is on, the color of the
lane markings change to indicate the
system status.
164
2022 F650750 (TBC) , enUSA, Edition date: 202010, Second-Printing Driving AidsE173233 E165517 E233874
Page 249 of 379

5. Turn the air conditioning (if equipped)
on and allow the engine to idle for at
least one minute.
6. Release the parking brake. With your foot on the brake pedal and with the
air conditioning on, put the vehicle in
drive (D) and allow the engine to idle
for at least one minute.
•If you do not allow the engine to
relearn its idle trim, the idle quality
of your vehicle may be adversely
affected until the idle trim is
eventually relearned.
7. Drive the vehicle to complete the relearning process
•The vehicle may need to be driven
10 mi (16 km) or more to relearn the
idle and fuel trim strategy along
with the ethanol content for flexible
fuel vehicles.
If the battery has been disconnected or a
new battery has been installed, the clock
and radio settings must be reset once the
battery is reconnected.
Always dispose of automotive
batteries in a responsible manner.
Follow your local authorized standards
for disposal. Call your local authorized
recycling center to find out more about
recycling automotive batteries.
Battery Management System (If
Equipped)
The battery management system (BMS)
monitors battery conditions and takes
actions to extend battery life. If excessive
battery drain is detected, the system may
temporarily disable certain electrical
features to protect the battery. Those
electrical accessories affected include the
rear defrost, heated/cooled seats, climate
control fan, heated steering wheel, audio
and navigation system. A message may be
shown in the information displays to alert the driver that battery protection actions
are active. These messages are only for
notification that an action is taking place,
and not intended to indicate an electrical
problem or that the battery requires
replacement.
Electrical accessory installation
To ensure proper operation of the BMS,
any electrical devices that are added to
the vehicle should not have their ground
connection made directly at the negative
battery post. A connection at the negative
battery post can cause inaccurate
measurements of the battery condition
and potential incorrect system operation.
Note:
Electrical or electronic accessories
added to the vehicle by the dealer or the
owner may adversely affect battery
performance and durability, and may also
affect the performance of other electrical
systems in the vehicle.
When a battery replacement is required,
the battery should only be replaced with
a Ford recommended replacement battery
which matches the electrical requirements
of the vehicle. After battery replacement,
or in some cases after charging the battery
with the external charger, the BMS requires
eight hours of vehicle sleep time (key off
with doors closed) to relearn the new
battery state of charge. Prior to relearning
the state of charge, the BMS may disable
electrical features (to protect the battery)
earlier than normal.
ADJUSTING THE HEADLAMPS
Vertical Aim Adjustment
The headlamps on your vehicle are
properly aimed at the assembly plant. If
your vehicle has been in an accident, the
alignment of your headlamps should be
checked by your authorized dealer.
246
2022 F650750 (TBC) , enUSA, Edition date: 202010, Second-Printing Maintenance
Page 311 of 379
GENERAL INFORMATION
WARNING: Driving while distracted
can result in loss of vehicle control, crash
and injury. We strongly recommend that
you use extreme caution when using any
device that may take your focus off the
road. Your primary responsibility is the
safe operation of your vehicle. We
recommend against the use of any hand-held device while driving and
encourage the use of voice-operated
systems when possible. Make sure you
are aware of all applicable local laws
that may affect the use of electronic
devices while driving.
Radio Frequencies and Reception
Factors
Note: Listening to loud audio for long
periods of time could damage your hearing. Radio Reception Factors
The further you travel from an AM or FM station, the
weaker the signal and the weaker the reception.
Distance and strength
Hills, mountains, tall buildings, bridges, tunnels, freeway
overpasses, parking garages, dense tree foliage and
thunderstorms can interfere with the reception.
Terrain
When you pass a ground-based broadcast repeating
tower, a stronger signal may overtake a weaker one and
result in the audio system muting.
Station overload
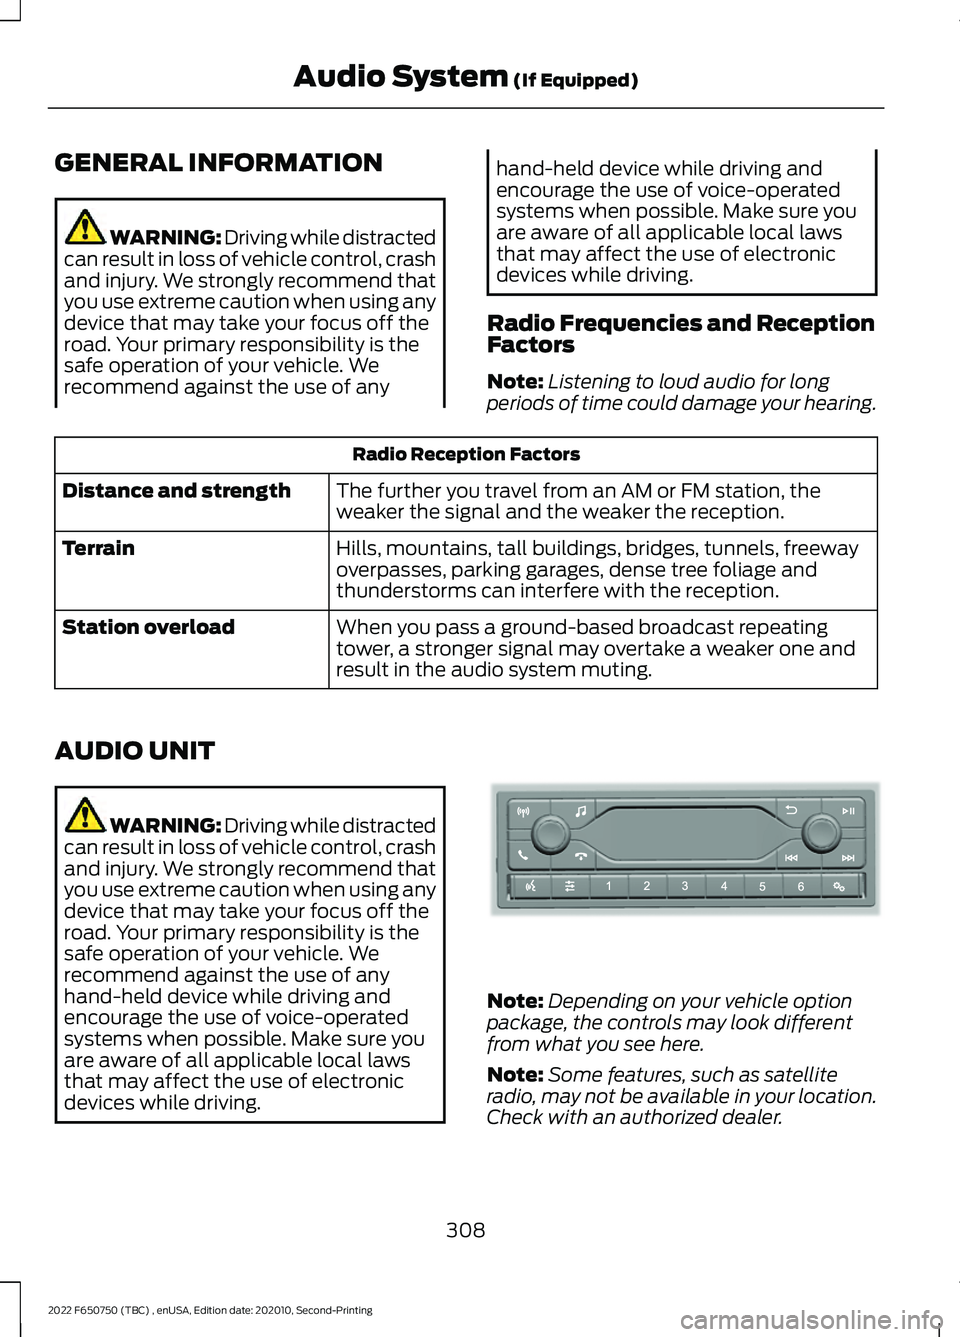
AUDIO UNIT WARNING: Driving while distracted
can result in loss of vehicle control, crash
and injury. We strongly recommend that
you use extreme caution when using any
device that may take your focus off the
road. Your primary responsibility is the
safe operation of your vehicle. We
recommend against the use of any
hand-held device while driving and
encourage the use of voice-operated
systems when possible. Make sure you
are aware of all applicable local laws
that may affect the use of electronic
devices while driving. Note:
Depending on your vehicle option
package, the controls may look different
from what you see here.
Note: Some features, such as satellite
radio, may not be available in your location.
Check with an authorized dealer.
308
2022 F650750 (TBC) , enUSA, Edition date: 202010, Second-Printing Audio System (If Equipped)E305609
Page 312 of 379
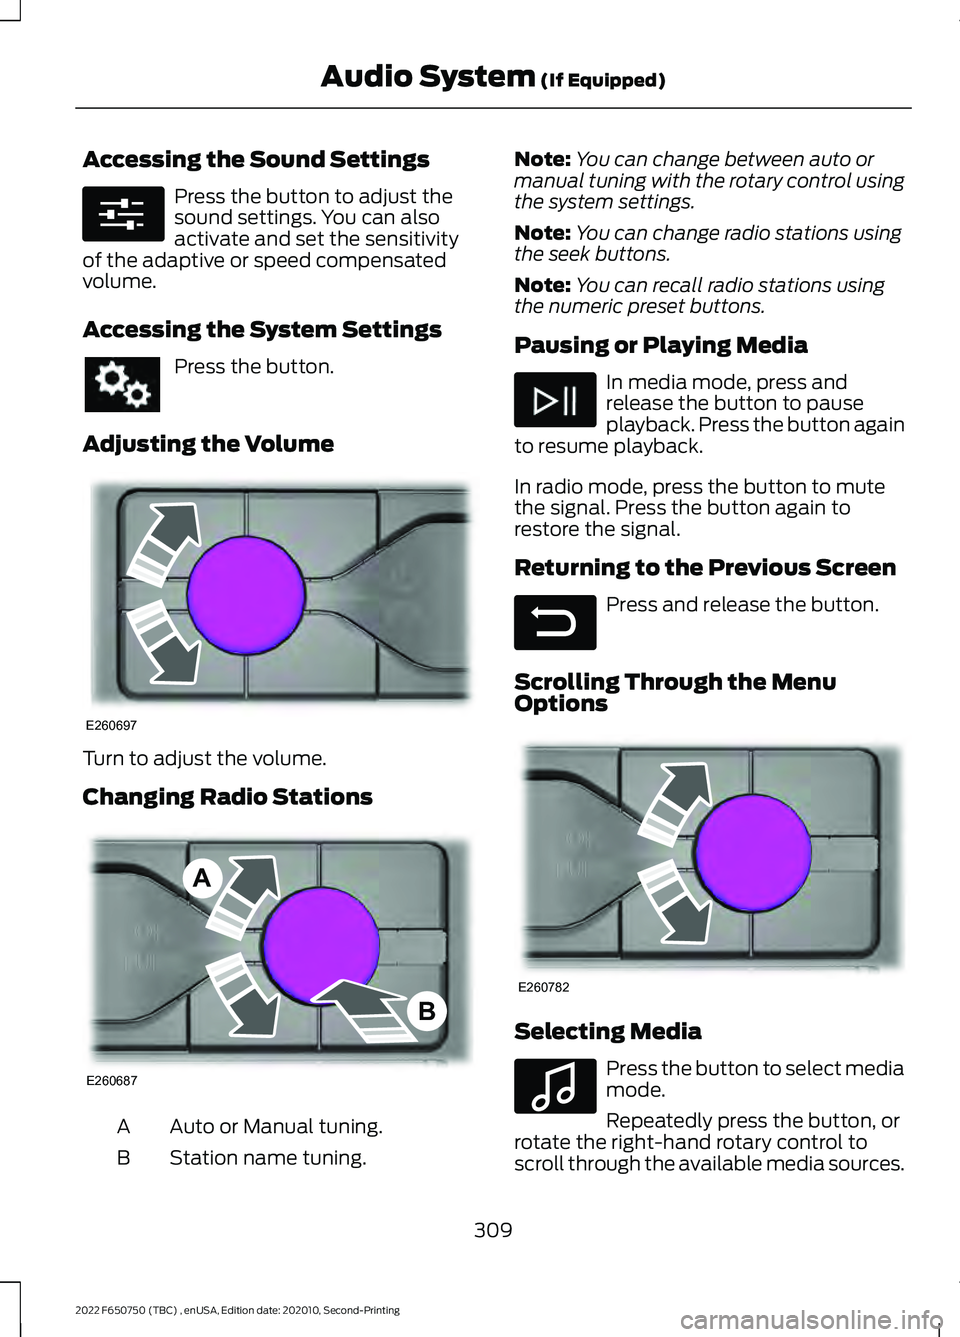
Accessing the Sound Settings
Press the button to adjust the
sound settings. You can also
activate and set the sensitivity
of the adaptive or speed compensated
volume.
Accessing the System Settings Press the button.
Adjusting the Volume Turn to adjust the volume.
Changing Radio Stations
Auto or Manual tuning.
A
Station name tuning.
B Note:
You can change between auto or
manual tuning with the rotary control using
the system settings.
Note: You can change radio stations using
the seek buttons.
Note: You can recall radio stations using
the numeric preset buttons.
Pausing or Playing Media In media mode, press and
release the button to pause
playback. Press the button again
to resume playback.
In radio mode, press the button to mute
the signal. Press the button again to
restore the signal.
Returning to the Previous Screen Press and release the button.
Scrolling Through the Menu
Options Selecting Media
Press the button to select media
mode.
Repeatedly press the button, or
rotate the right-hand rotary control to
scroll through the available media sources.
309
2022 F650750 (TBC) , enUSA, Edition date: 202010, Second-Printing Audio System (If Equipped)E280315 E260697 E260687
A
B E281480 E260782 E100027
Page 313 of 379
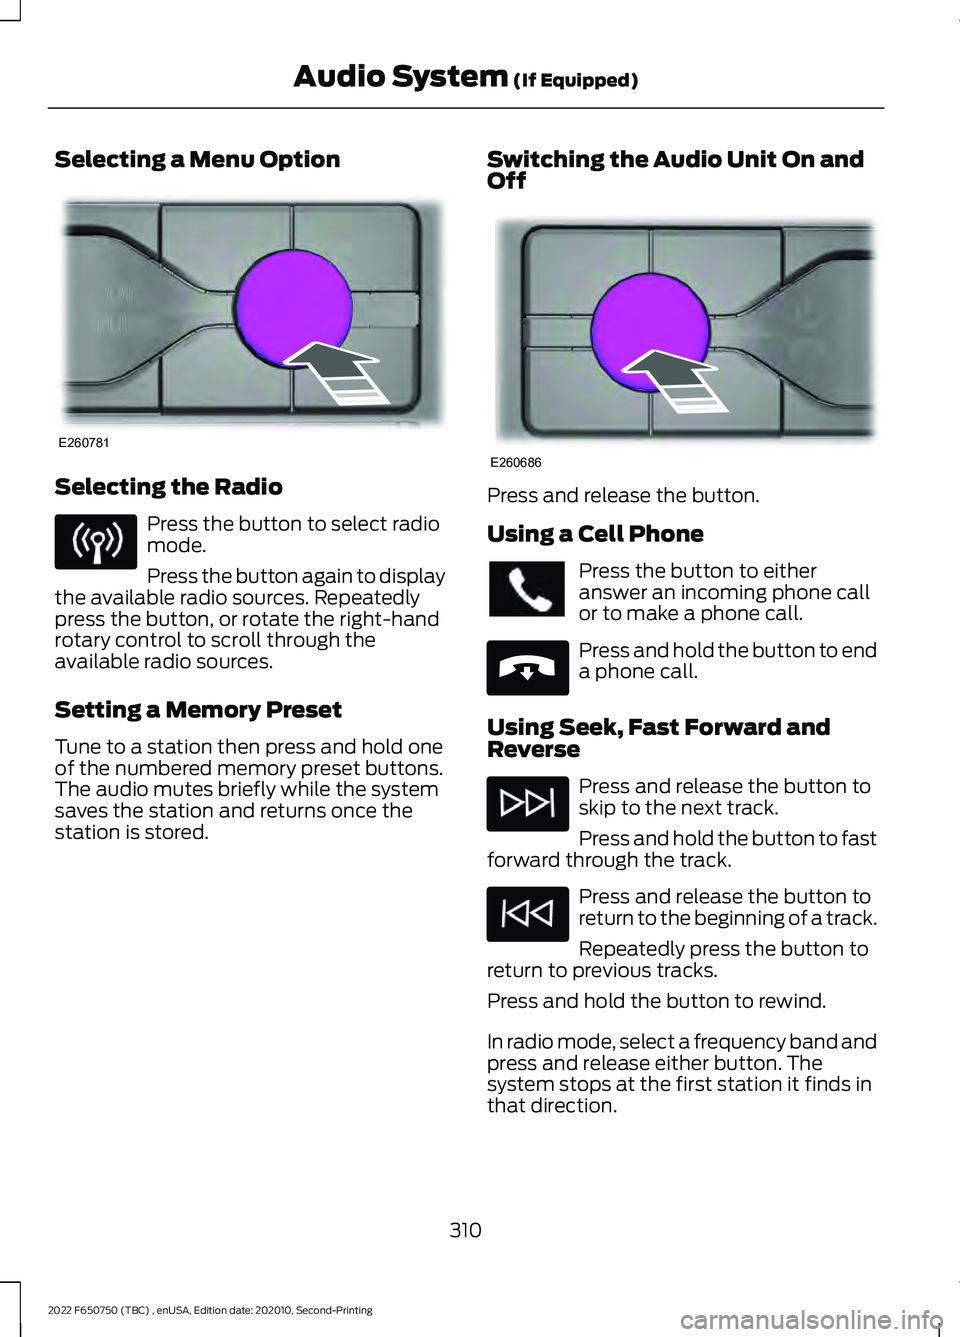
Selecting a Menu Option
Selecting the Radio
Press the button to select radio
mode.
Press the button again to display
the available radio sources. Repeatedly
press the button, or rotate the right-hand
rotary control to scroll through the
available radio sources.
Setting a Memory Preset
Tune to a station then press and hold one
of the numbered memory preset buttons.
The audio mutes briefly while the system
saves the station and returns once the
station is stored. Switching the Audio Unit On and
Off Press and release the button.
Using a Cell Phone
Press the button to either
answer an incoming phone call
or to make a phone call.
Press and hold the button to end
a phone call.
Using Seek, Fast Forward and
Reverse Press and release the button to
skip to the next track.
Press and hold the button to fast
forward through the track. Press and release the button to
return to the beginning of a track.
Repeatedly press the button to
return to previous tracks.
Press and hold the button to rewind.
In radio mode, select a frequency band and
press and release either button. The
system stops at the first station it finds in
that direction.
310
2022 F650750 (TBC) , enUSA, Edition date: 202010, Second-Printing Audio System (If Equipped)E260781 E260686 E265040