2022 FORD F-650/750 instrument cluster
[x] Cancel search: instrument clusterPage 71 of 379

Powertrain Malfunction/Reduced
Power/Electronic Throttle Control
(If Equipped)
Illuminates in the event of a
powertrain fault. Have your
vehicle checked as soon as
possible.
Service Engine Soon If it illuminates when the engine
is running, the on-board
diagnostics system notifies you
that the emission control system requires
service.
If it flashes, engine misfire may be
occurring. An increase in exhaust gas
temperatures can damage the catalytic
converter or other vehicle components.
Avoid heavy acceleration and deceleration
and have your vehicle immediately
serviced.
It illuminates when you switch the ignition
on prior to engine start to check the bulb
and to indicate whether your vehicle is
ready for Inspection and Maintenance
(I/M) testing.
Normally, it illuminates until the engine is
cranked and turns off if no malfunctions
are present. However, if after 15 seconds
it flashes eight times, this indicates that
your vehicle is not ready for inspection and
maintenance (I/M) testing.
See Catalytic Converter (page 116).
Stability Control Indicator (If Equipped) Flashes during operation.
If it does not illuminate when you switch
the ignition on, or remains on when the
engine is running, this indicates a
malfunction. Have your vehicle checked
as soon as possible. Traction Control Indicator Flashes during a traction control
event.
If it does not illuminate when you switch
the ignition on, or remains on when the
engine is running, this indicates a
malfunction. Have your vehicle checked
as soon as possible.
Traction Control System Off Illuminates when you switch the
system off.
Trailer Anti-Lock Brake System
(ABS) Briefly illuminates when you
switch on the ignition, and only
when you connect a PLC trailer
or a PLC diagnostic tool. If the light fails to
illuminate, remains on after you start the
vehicle or continues to flash, have the
system immediately serviced.
Transmission Tow/Haul Illuminates when you switch on
tow/haul. If the light steadily
flashes, have the system
immediately serviced, damage to the
transmission could occur.
Two Speed Axle (If Equipped) The two speed axle indicator
comes on when you switch the
low axle range on.
Wait to Start
(If Equipped) Illuminates when you switch the
ignition on as part of the
pre-start system. Wait until the
wait to start indicator turns off before
attempting to start vehicle.
68
2022 F650750 (TBC) , enUSA, Edition date: 202010, Second-Printing Instrument Cluster E138639 E138639 E194301 E209040 E246592 E208809
Page 72 of 379

WARNING: Do not use starting
fluid, for example ether, in the air intake
system. Such fluid could cause
immediate explosive damage to the
engine and possible personal injury.
Water in Fuel
(If Equipped) Illuminates when the fuel
filter/water separator has a
significant quantity of water in
it.
If the light illuminates when the engine is
running, stop the vehicle as soon as safely
possible, shut off the engine, then drain the
fuel filter/water separator.
Allowing water to stay in the system could
result in extensive damage to, or failure of,
the fuel injection system. WARNING:
Do not drain the
water-in-fuel separator while the engine
is running. Failure to follow this warning
may result in fire, serious injury, death or
property damage.
AUDIBLE WARNINGS AND
INDICATORS
Headlamps On Warning Chime
Sounds when you remove the key from the
ignition and open the driver's door and you
have left the headlamps or parking lamps
on.
Key in Ignition Warning Chime
Sounds when you open the driver's door
and you have left the key in the ignition. Parking Brake On Warning Chime
Sounds when you have left the parking
brake on and drive your vehicle. If the
warning chime remains on after you have
released the parking brake, have the
system checked by your authorized dealer
immediately.
69
2022 F650750 (TBC) , enUSA, Edition date: 202010, Second-Printing Instrument Cluster
Page 77 of 379

INFORMATION MESSAGES
Note:
Not all messages will display or be
available depending on your vehicle options
and instrument cluster type. The
information display may abbreviate or
shorten certain messages. Press the OK button to acknowledge and
remove some messages from the
information display. The information
display will automatically remove other
messages after a short period of time.
You need to confirm certain messages
before you can access the menus.
Adaptive Cruise Control Action
Message
The radar requires service and is preventingthe adaptive cruise control from engaging.
Adaptive Cruise Malfunction
A condition exists such that the adaptivecruise cannot function properly.
Adaptive Cruise Not Available
You have a blocked sensor due to
inclement weather, ice, mud or water in
front of the radar sensor. You can typically clean the sensor to resolve.
Adaptive Cruise Not Available Sensor
Blocked See Manual
The system has disabled the automaticbraking. Verify the system is on, if the
message continues to display have the system checked as soon as possible.
Normal Cruise Active Adaptive Braking Off
The radar requires service and is preventingthe adaptive cruise control from engaging.
Front Sensor Not Aligned
74
2022 F650750 (TBC) , enUSA, Edition date: 202010, Second-Printing Information DisplaysE184451
Page 115 of 379

WARNING: Do not remove the fuel
pump nozzle from its fully inserted
position when refueling.
Use the following guidelines to avoid
electrostatic charge build-up when filling
an ungrounded fuel container:
• Place approved fuel container on the
ground.
• Do not fill a fuel container while it is in
the vehicle (including the cargo area).
• Keep the fuel pump nozzle in contact
with the fuel container while filling.
• Do not use a device that would hold
the fuel pump handle in the fill position.
Fuel Filler Cap WARNING: The fuel system may
be under pressure. If you hear a hissing
sound near the fuel filler inlet, do not
refuel until the sound stops. Otherwise,
fuel may spray out, which could cause
serious personal injury. WARNING:
If you do not use the
correct fuel filler cap, excessive pressure
or vacuum in the fuel tank may damage
the fuel system or cause the fuel cap to
disengage in a crash. Failure to follow
this warning could result in serious
personal injury.
The fuel tank has a threaded fuel filler cap.
Note: If you must replace the fuel filler cap,
replace it with a fuel filler cap that is
designed for your vehicle. The vehicle
Warranty may be void for any damage to
the fuel tank or fuel system if the correct
genuine Ford, Motorcraft or other certified
fuel filler cap is not used.
When refueling the vehicle fuel tank do the
following. 1. When your vehicle has stopped, shift
into neutral (N) or park (P).
2. Apply the parking brake and switch the
ignition off.
3. Turn the fuel filler cap counterclockwise and remove it.
4. Refuel your vehicle as required.
5. Replace the fuel filler cap, turn it clockwise until you feel a strong
resistance.
If the fuel cap warning lamp or a warning
message appears in the instrument cluster,
you may not have installed the fuel filler
cap correctly.
If the fuel cap warning lamp remains on,
at the next opportunity, safely pull off of
the road, remove the fuel filler cap, align
the cap properly and reinstall it. The check
fuel cap warning lamp or warning message
may not reset immediately. It may take
several driving cycles for the indicators to
turn off. A driving cycle consists of an
engine start-up (after four or more hours
with the engine off) followed by normal
city and highway driving.
FUEL CONSUMPTION
The advertised capacity is the maximum
amount of fuel that you can add to the fuel
tank after running out of fuel. Included in
the advertised capacity is an empty
reserve. The empty reserve is an
unspecified amount of fuel that remains
in the fuel tank when the fuel gauge
indicates empty.
Note: The amount of fuel in the empty
reserve varies and should not be relied upon
to increase driving range.
112
2022 F650750 (TBC) , enUSA, Edition date: 202010, Second-Printing Fuel and Refueling
Page 131 of 379

AUTOMATIC TRANSMISSION
WARNING: Apply the parking
brake, shift into park (P), switch the
ignition off and remove the key before
you leave your vehicle. Failure to follow
this instruction could result in personal
injury or death.
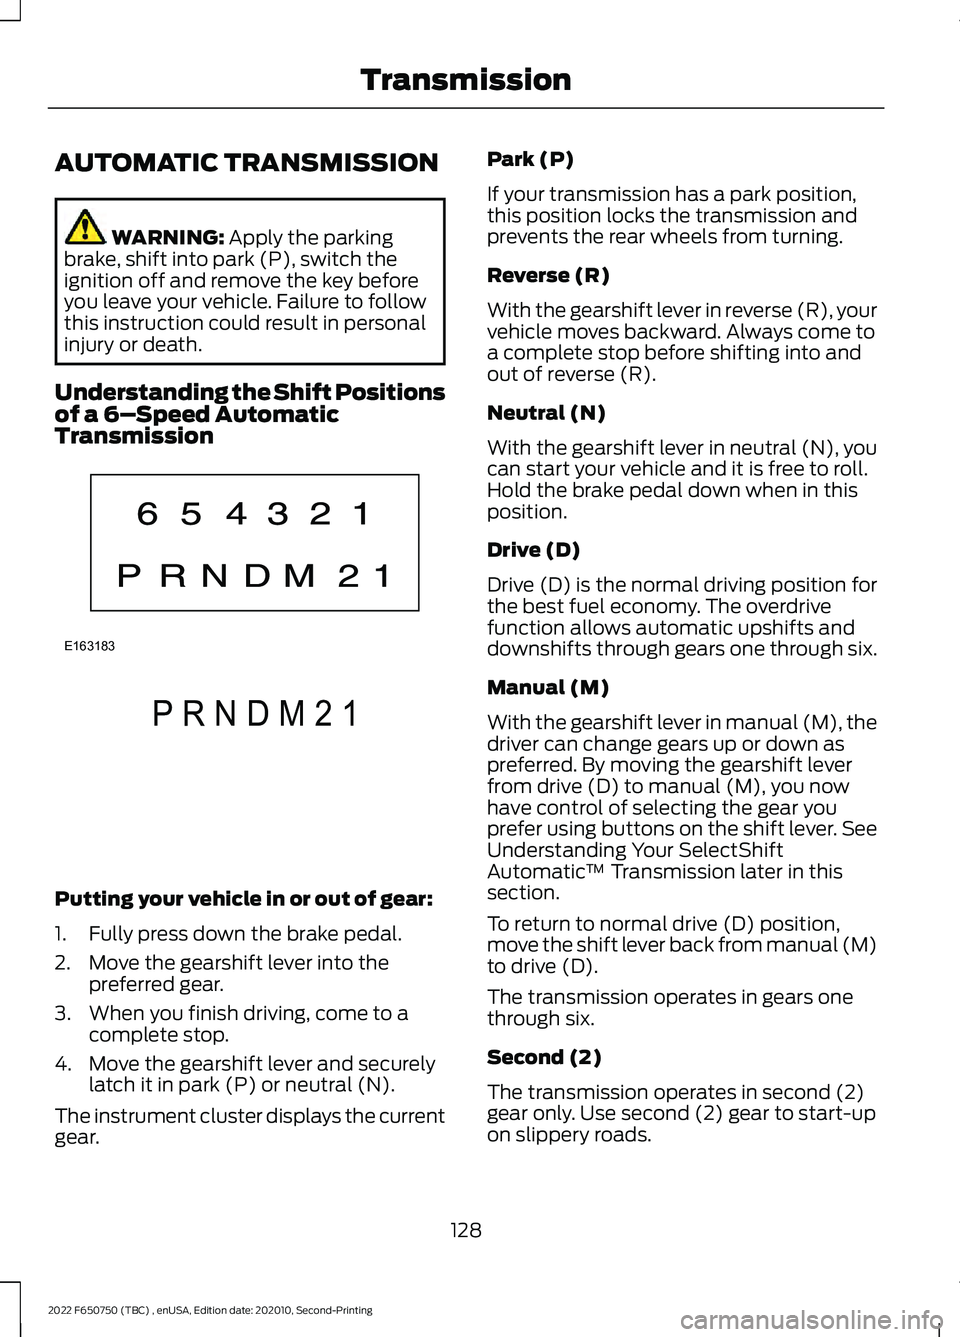
Understanding the Shift Positions
of a 6– Speed Automatic
Transmission Putting your vehicle in or out of gear:
1. Fully press down the brake pedal.
2. Move the gearshift lever into the
preferred gear.
3. When you finish driving, come to a complete stop.
4. Move the gearshift lever and securely latch it in park (P) or neutral (N).
The instrument cluster displays the current
gear. Park (P)
If your transmission has a park position,
this position locks the transmission and
prevents the rear wheels from turning.
Reverse (R)
With the gearshift lever in reverse (R), your
vehicle moves backward. Always come to
a complete stop before shifting into and
out of reverse (R).
Neutral (N)
With the gearshift lever in neutral (N), you
can start your vehicle and it is free to roll.
Hold the brake pedal down when in this
position.
Drive (D)
Drive (D) is the normal driving position for
the best fuel economy. The overdrive
function allows automatic upshifts and
downshifts through gears one through six.
Manual (M)
With the gearshift lever in manual (M), the
driver can change gears up or down as
preferred. By moving the gearshift lever
from drive (D) to manual (M), you now
have control of selecting the gear you
prefer using buttons on the shift lever. See
Understanding Your SelectShift
Automatic
™ Transmission later in this
section.
To return to normal drive (D) position,
move the shift lever back from manual (M)
to drive (D).
The transmission operates in gears one
through six.
Second (2)
The transmission operates in second (2)
gear only. Use second (2) gear to start-up
on slippery roads.
128
2022 F650750 (TBC) , enUSA, Edition date: 202010, Second-Printing TransmissionE163183 P R N D M 2 1E307627
Page 132 of 379

First (1)
•
The transmission operates in first (1)
gear only.
• Provides maximum engine braking.
• Allows upshifts by moving gearshift
lever.
• Does not downshift into first (1) gear
at high speeds; allows for first (1) gear
when vehicle reaches slower speeds.
Forced downshifts
• Allowed in drive (D) with the tow/haul
feature on or off.
• Press the accelerator to the floor.
• Allows transmission to select an
appropriate gear.
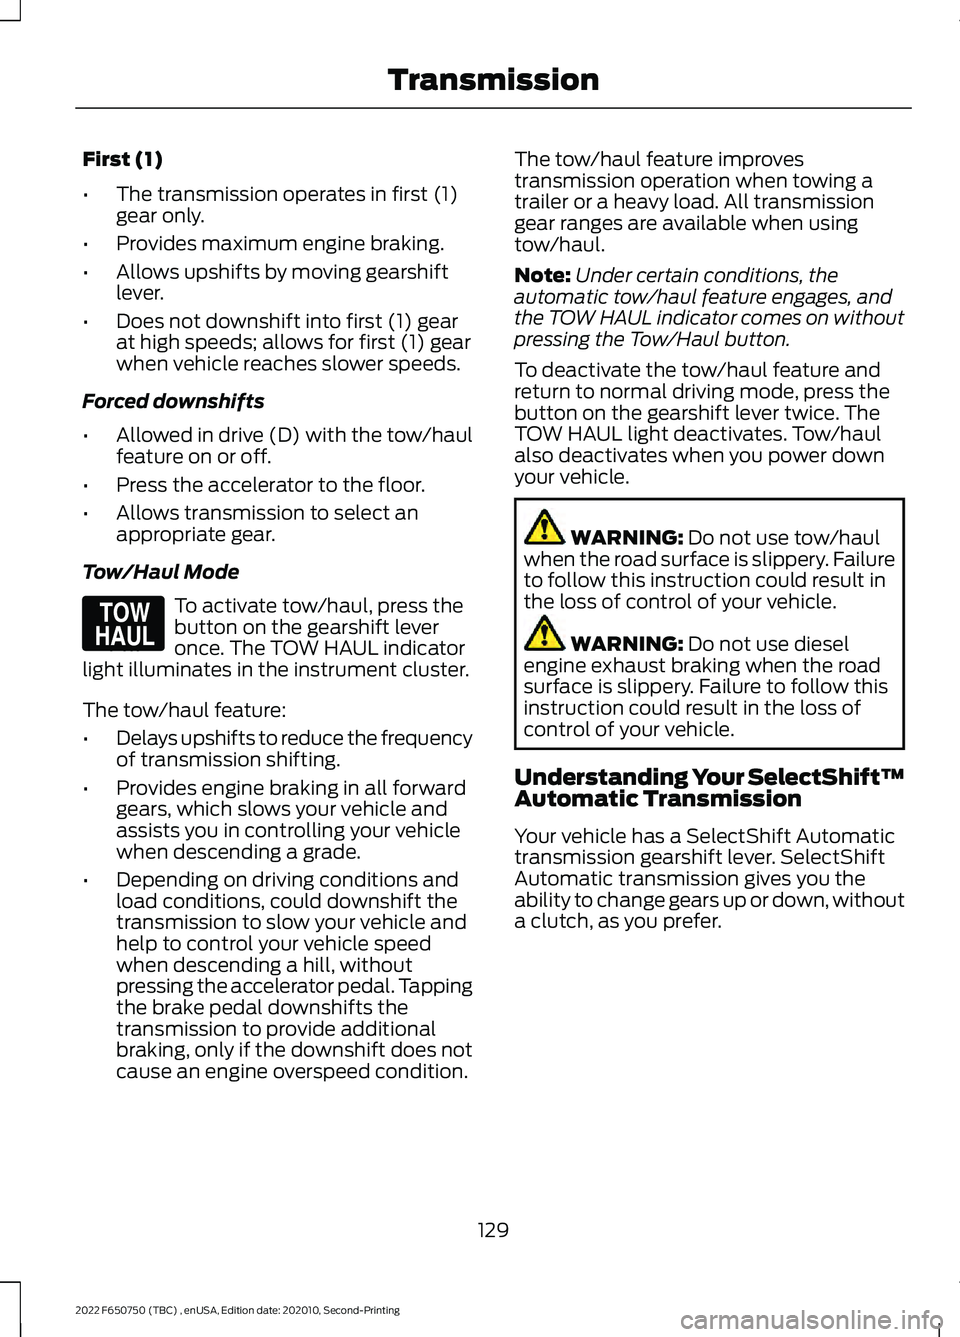
Tow/Haul Mode To activate tow/haul, press the
button on the gearshift lever
once. The TOW HAUL indicator
light illuminates in the instrument cluster.
The tow/haul feature:
• Delays upshifts to reduce the frequency
of transmission shifting.
• Provides engine braking in all forward
gears, which slows your vehicle and
assists you in controlling your vehicle
when descending a grade.
• Depending on driving conditions and
load conditions, could downshift the
transmission to slow your vehicle and
help to control your vehicle speed
when descending a hill, without
pressing the accelerator pedal. Tapping
the brake pedal downshifts the
transmission to provide additional
braking, only if the downshift does not
cause an engine overspeed condition. The tow/haul feature improves
transmission operation when towing a
trailer or a heavy load. All transmission
gear ranges are available when using
tow/haul.
Note:
Under certain conditions, the
automatic tow/haul feature engages, and
the TOW HAUL indicator comes on without
pressing the Tow/Haul button.
To deactivate the tow/haul feature and
return to normal driving mode, press the
button on the gearshift lever twice. The
TOW HAUL light deactivates. Tow/haul
also deactivates when you power down
your vehicle. WARNING: Do not use tow/haul
when the road surface is slippery. Failure
to follow this instruction could result in
the loss of control of your vehicle. WARNING:
Do not use diesel
engine exhaust braking when the road
surface is slippery. Failure to follow this
instruction could result in the loss of
control of your vehicle.
Understanding Your SelectShift™
Automatic Transmission
Your vehicle has a SelectShift Automatic
transmission gearshift lever. SelectShift
Automatic transmission gives you the
ability to change gears up or down, without
a clutch, as you prefer.
129
2022 F650750 (TBC) , enUSA, Edition date: 202010, Second-Printing TransmissionE161509
Page 133 of 379

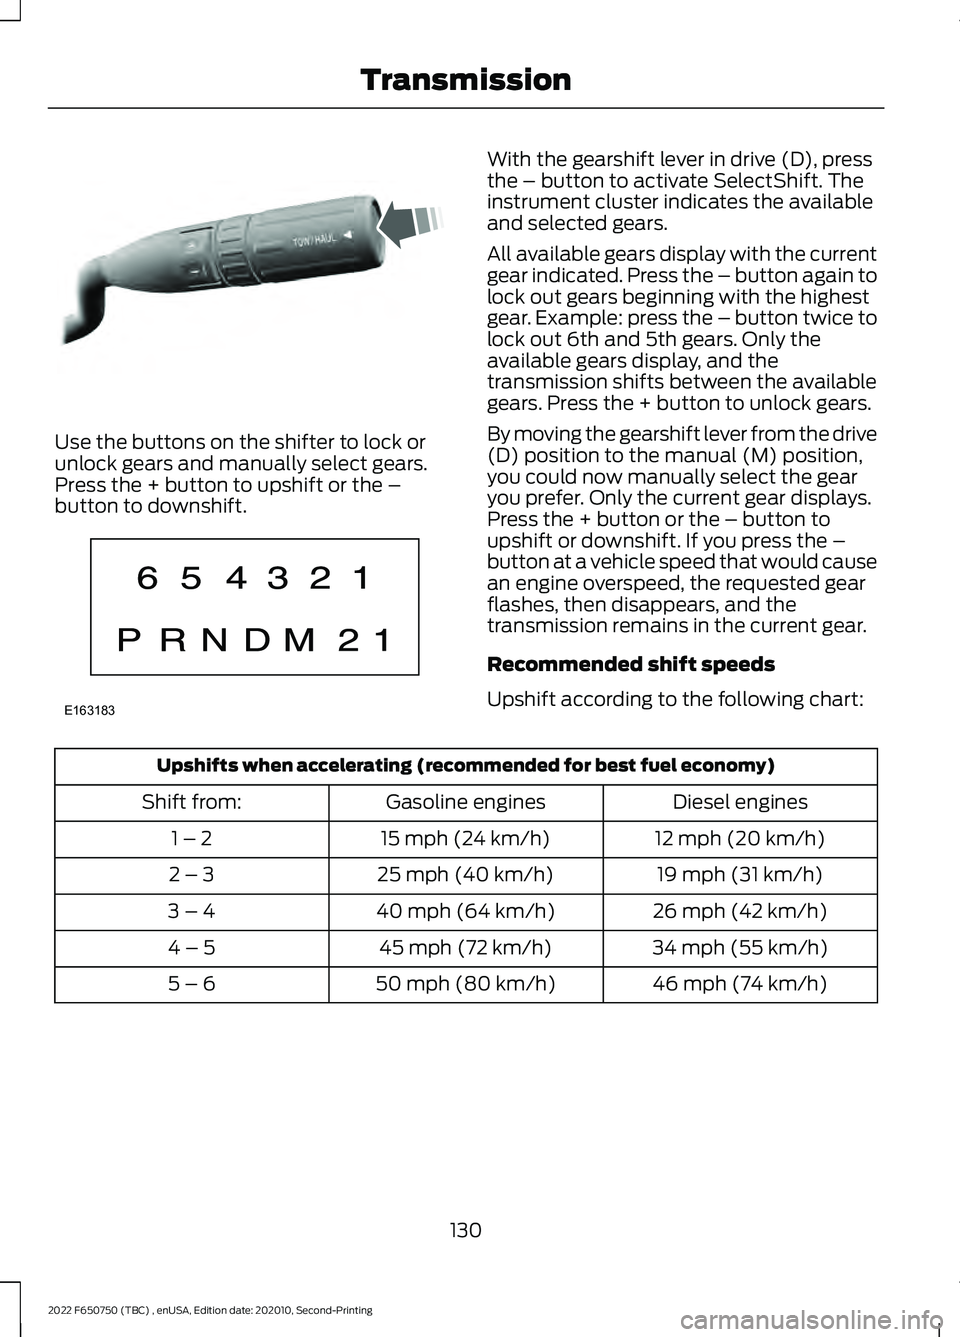
Use the buttons on the shifter to lock or
unlock gears and manually select gears.
Press the + button to upshift or the –
button to downshift. With the gearshift lever in drive (D), press
the – button to activate SelectShift. The
instrument cluster indicates the available
and selected gears.
All available gears display with the current
gear indicated. Press the – button again to
lock out gears beginning with the highest
gear. Example: press the – button twice to
lock out 6th and 5th gears. Only the
available gears display, and the
transmission shifts between the available
gears. Press the + button to unlock gears.
By moving the gearshift lever from the drive
(D) position to the manual (M) position,
you could now manually select the gear
you prefer. Only the current gear displays.
Press the + button or the – button to
upshift or downshift. If you press the –
button at a vehicle speed that would cause
an engine overspeed, the requested gear
flashes, then disappears, and the
transmission remains in the current gear.
Recommended shift speeds
Upshift according to the following chart:
Upshifts when accelerating (recommended for best fuel economy)
Diesel engines
Gasoline engines
Shift from:
12 mph (20 km/h)
15 mph (24 km/h)
1 – 2
19 mph (31 km/h)
25 mph (40 km/h)
2 – 3
26 mph (42 km/h)
40 mph (64 km/h)
3 – 4
34 mph (55 km/h)
45 mph (72 km/h)
4 – 5
46 mph (74 km/h)
50 mph (80 km/h)
5 – 6
130
2022 F650750 (TBC) , enUSA, Edition date: 202010, Second-Printing TransmissionE318028 E163183
Page 134 of 379

To prevent the engine from running at too
low an RPM, which could cause it to stall,
SelectShift still makes some downshifts
if it has determined that you have not
downshifted in time. Although SelectShift
makes some downshifts for you, it still
allows you to downshift at any time if the
SelectShift determines that there is no
damage to the engine from over-revving.
SelectShift does not automatically upshift,
even if the engine is approaching the RPM
limit. Shift manually by pressing the +
button.
Note:
Engine damage could occur if you rev
the engine excessively and hold it without
shifting.
Progressive Range Selection - PRS
(If Equipped)
Progressive Range Selection gives you the
ability to lockout gears from the automatic
shifting range. This could provide you with
an improved driving experience, for
example, in slippery conditions or when
experiencing a steep slope.
With the gearshift lever in drive (D), press
the – button to activate progressive range
selection. The instrument cluster indicates
the available and selected gears.
All available gears display with the current
gear indicated. Press the – button again to
lock out gears beginning with the highest
gear. Example: press the – button twice to
lock out 6th and 5th gears. Only the
available gears display, and the
transmission shifts between the available
gears. Press the + button to unlock gears
to allow the transmission to shift to higher
gears. The transmission shifts within the
gear range you select. Automatic Transmission at a stop
(If Equipped)
Your transmission could reduce the load
on the engine when the vehicle stops, and
the gear selector is in drive (D) to reduce
fuel consumption and emissions. The
transmission resumes operation when you
release the brake. This feature activates
when the transmission is sufficiently
warmed, and the vehicle is on a level slope.
Automatic Transmission Adaptive
Learning
This feature could increase durability and
provide consistent shift feel over the life
of your vehicle. A new vehicle or
transmission may have firm shifts, soft
shifts, or both. This is normal and does not
affect the function or durability of the
transmission. Over time, the adaptive
learning process fully updates transmission
operation.
Brake-Shift Interlock
WARNING: Do not drive your
vehicle until you verify that the
stoplamps are working. WARNING:
When doing this
procedure, you need to take the
transmission out of park (P) which
means your vehicle can roll freely. To
avoid unwanted vehicle movement,
always fully apply the parking brake prior
to doing this procedure. Use wheels
chocks if appropriate. WARNING:
If the parking brake is
fully released, but the brake warning
lamp remains illuminated, the brakes
may not be working properly. Have your
vehicle checked as soon as possible.
131
2022 F650750 (TBC) , enUSA, Edition date: 202010, Second-Printing Transmission