2021 VOLVO V90 CROSS COUNTRY overheating
[x] Cancel search: overheatingPage 450 of 683
||
STARTING AND DRIVING
* Option/accessory.
448
Related information
Trailer Stability Assist
* (p. 448)
Checking trailer lights (p. 449)
Towing capacity and tongue weight (p. 656)
Overheating of engine and transmission(p. 442)
Trailer Stability Assist
*
Trailer Stability Assist (TSA 23
) is part of the
ESC 24
stability system and is a function
designed to help stabilize a vehicle that is towing a trailer when the vehicle and trailerhave begun to sway. The function is addedwhen installing a towbar. Contact a Volvoretailer for more information.
Reasons for swayingA vehicle towing a trailer may begin to sway for various reasons. Normally this only occursat high speeds. However, if the trailer is over-loaded or unevenly distributed, e.g. too farback, there is a risk of swaying even at lowspeeds. Swaying may be caused by factors such as:
The vehicle and trailer are hit by a sudden, strong crosswind.
The vehicle and trailer are traveling on anuneven road or over a bump.
Sudden movements of the steering wheel.
Once swaying has begun, it can be difficult orimpossible to stop it. This makes the vehicleand trailer difficult to control and there is a riskof swerving into oncoming traffic or driving offthe road.
Trailer Stability Assist functionTrailer Stability Assist continuously monitorsthe vehicle's movements, particularly lateralmovements. If swaying is detected, the brakesare applied individually on the front wheels,which has a stabilizing effect on the vehicleand trailer. This is often enough to enable thedriver to regain control of the vehicle. If the Trailer Stability Assist function's first attempt is not adequate to stop the swayingmotion, the brakes are applied on all wheelsand engine power is temporarily reduced. Asthe swaying motion begins to decrease andthe vehicle and trailer have once againbecome stable, TSA stops regulating thebrakes/engine power and the driver regainscontrol of the vehicle.
NOTE
Trailer Stability Assist is deactivated if the driver activates ESC Sport Mode in the
center display's menu system.
Trailer Stability Assist may not intervene if the driver tries to compensate for the swayingmotion by moving the steering wheel rapidly,because the system will then not be able todetermine if it is the trailer or the driver caus-ing the swaying.
23 Trailer Stability Assist
24 Electronic Stability Control
Page 511 of 683
AUDIO, MEDIA AND INTERNET
* Option/accessory.509
If the phone is not charging:
Make sure that the charging plate is switched on in the center display's Func-tion view.
Make sure there are no other objects onthe charging pad.
Make sure the phone supports wirelesscharging (Qi).
If the phone has a phone case, remove it.
Lift up the phone and then put it back onthe center of the charging pad.
Make sure the ignition is on.
If the phone is incorrectly positioned or anobject prevents charging on the charge pad, amessage is shown on the center display.
CAUTION
Keep cellular phones and charger stations away from other objects while charging tohelp avoid overheating.
Related information
Phone (p. 499)
Wireless phone charger
* (p. 508)
Certificate for wireless charger (p. 510)
Symbols in the center display status bar (p. 128)
Page 561 of 683
WHEELS AND TIRES
}}
559
8. Start the compressor by moving the
switch to the I (On) position.
When the compressor starts, the pressure
can increase up to 6 bar (88 psi), but thepressure will decrease afterapprox. 30 seconds.
WARNING
Never stand next to a tire being inflated with the compressor. If cracks, bulges, etc.form on the tire, switch off the compressorimmediately. The vehicle should not bedriven. Call roadside assistance to have thevehicle towed to a workshop for inspec-tion/replacement of the tire. Volvo recom-mends an authorized workshop.
9. Inflate the tire for 7 minutes.
CAUTION
To help avoid overheating, the compressor should never be used for more than10 minutes at a time.
10. Switch off the compressor and check the inflation pressure using the air pressure gauge. The inflation pressure should bebetween 1.8 bar (22 psi) and 3.5 bar(51 psi). If the inflation pressure is toohigh, use the air release valve to releaseair.
WARNING
If pressure falls below 1.8 bar (22 psi), the hole in the tire may be too large. The vehi-cle should not be driven. Call roadsideassistance to have the vehicle towed to aworkshop for inspection/replacement ofthe tire. Volvo recommends an authorizedworkshop.
11. Switch off the compressor and remove the electrical cable.
12. Unscrew the hose from the tire's valve and screw the valve cap back on.
NOTE
After inflating a tire, always replace the valve cap to help prevent valve damagecaused by gravel, dirt, etc.
Use plastic valve caps only. Metal capscould corrode and become difficult toremove.
13. Put the protective hose cover onto the
hose to help prevent leakage of any resid- ual sealing compound. Return the equip-ment to the cargo compartment.
14. Immediately drive the vehicle at least 3 km (2 miles) at a maximum speed of80 km/h (50 mph) to allow the sealingcompound to seal the tire, and thenrecheck the inflation pressure.
WARNING
During the tire's first revolution, some seal- ing compound may spray out of the punc-ture hole. Before driving away, make surethat no one is near the vehicle who couldbe sprayed with sealing compound. Makesure no one is within 2 meters (7 feet) ofthe vehicle.
15. Rechecking the inflation pressure Connect the hose to the tire's valve and screw the hose connector onto the valveas far as possible. The compressor mustbe switched off.
Page 563 of 683
WHEELS AND TIRES
}}
561
4. Start the compressor by moving the
switch to the I (On) position.
CAUTION
Risk of overheating. The compressor should not be running for longer than 10minutes at a time.
5. Inflate the tire to the pressure specified on
the tire pressure decal on the driver's side door pillar. If the inflation pressure is toohigh, use the air release valve to releaseair.
6. Switch off the compressor. Remove the hose and the electrical cable.
7. Screw the valve cap back onto the tire.
NOTE
After inflating a tire, always replace the valve cap to help prevent valve damagecaused by gravel, dirt, etc.
Use plastic valve caps only. Metal capscould corrode and become difficult toremove.
NOTE
The compressor is an electric device. Fol- low local regulations for disposal.
Related information
Recommended tire pressure (p. 543)
Using the tire sealing system (p. 557)
Tire sealing system (p. 556)
Determining the vehicle's permitted weight
Properly loading your vehicle will provide maximum return of vehicle design perform-ance.
Weight designationsBefore loading your vehicle, familiarize your- self with the following terms for determiningyour vehicle's weight ratings, with or without atrailer, from the vehicle's Federal/CanadianMotor Vehicle Safety Standards (FMVSS/CMVSS) label, and the vehicle's tire informa-tion placard:
Curb weight
The weight of the vehicle including a full tank of fuel and all standard equipment. It does notinclude passengers, cargo, or optional equip-ment.
Capacity weight
All weight added to the curb weight, including cargo and optional equipment. When towing,towbar weight is also part of cargo weight.
Permissible axle weight
The maximum allowable weight that can be carried by a single axle (front or rear). Thesenumbers are shown on the Federal/CanadianMotor Vehicle Safety Standards (FMVSS/CMVSS) label. The total load on each axlemust never exceed its maximum permissibleweight.
Page 668 of 683
INDEX
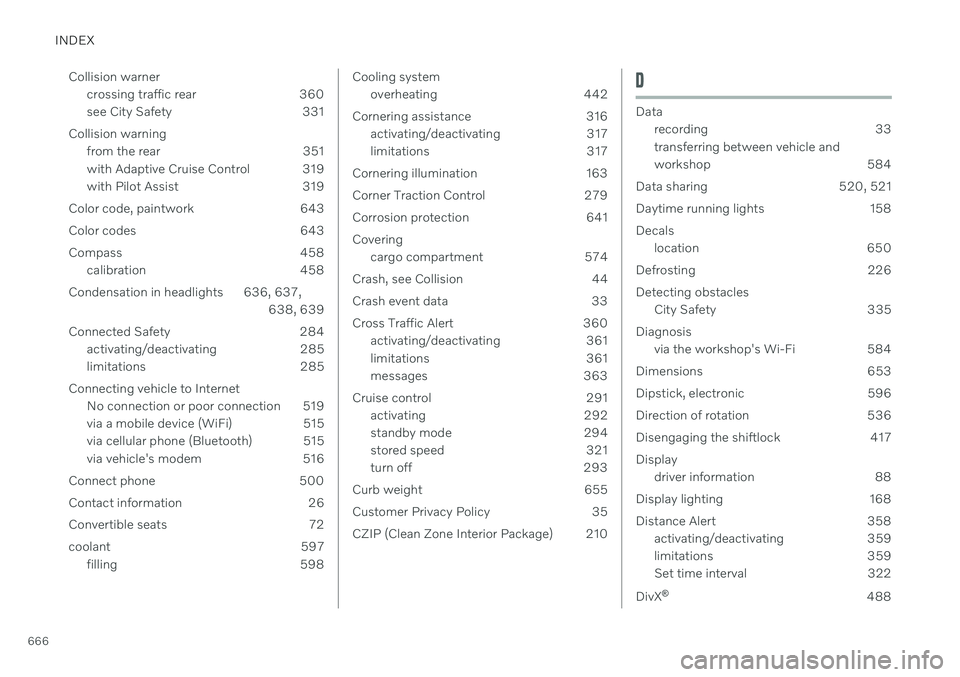
666Collision warner
crossing traffic rear 360
see City Safety 331
Collision warning from the rear 351
with Adaptive Cruise Control 319
with Pilot Assist 319
Color code, paintwork 643
Color codes 643
Compass 458 calibration 458
Condensation in headlights 636, 637, 638, 639
Connected Safety 284 activating/deactivating 285
limitations 285
Connecting vehicle to Internet No connection or poor connection 519
via a mobile device (WiFi) 515
via cellular phone (Bluetooth) 515
via vehicle's modem 516
Connect phone 500
Contact information 26
Convertible seats 72
coolant 597 filling 598
Cooling systemoverheating 442
Cornering assistance 316 activating/deactivating 317
limitations 317
Cornering illumination 163
Corner Traction Control 279
Corrosion protection 641Covering cargo compartment 574
Crash, see Collision 44
Crash event data 33
Cross Traffic Alert 360 activating/deactivating 361
limitations 361
messages 363
Cruise control 291 activating 292
standby mode 294
stored speed 321
turn off 293
Curb weight 655
Customer Privacy Policy 35
CZIP (Clean Zone Interior Package) 210D
Data recording 33 transferring between vehicle and
workshop 584
Data sharing 520, 521
Daytime running lights 158Decals location 650
Defrosting 226Detecting obstacles City Safety 335
Diagnosis via the workshop's Wi-Fi 584
Dimensions 653
Dipstick, electronic 596
Direction of rotation 536
Disengaging the shiftlock 417 Display driver information 88
Display lighting 168
Distance Alert 358 activating/deactivating 359
limitations 359
Set time interval 322
DivX ®
488
Page 669 of 683
INDEX
667
Door mirrors 176
compass 458
dimming 177
outer 176
power folding 177
resetting 177
store position 192, 193
Download Center 585 use 585
Driveline transmission 412
Drive mode 419 changing 421
ECO 422, 424
when using driver support 323
Driver Alert Control 356 activating/deactivating 357
limitations 358
rest stop guidance 357
Driver performance 96 settings 97
Driver profile 140 edit 141, 142, 143
select 141
Driver support system 278 Drive mode 323
Drivingcooling system 442
with a trailer 446
Driving economy 435
Driving through standing water 437driving with a trailer towball load 656
towing capacity 656
E
ECO climate 422
ECO mode 422
activate with function button 424
Economical driving 422, 435
Electrical outlet 566 use 567
Electrical system 600
Electric parking brake 406
Electronic immobilizer 260
emergency brake lights 165
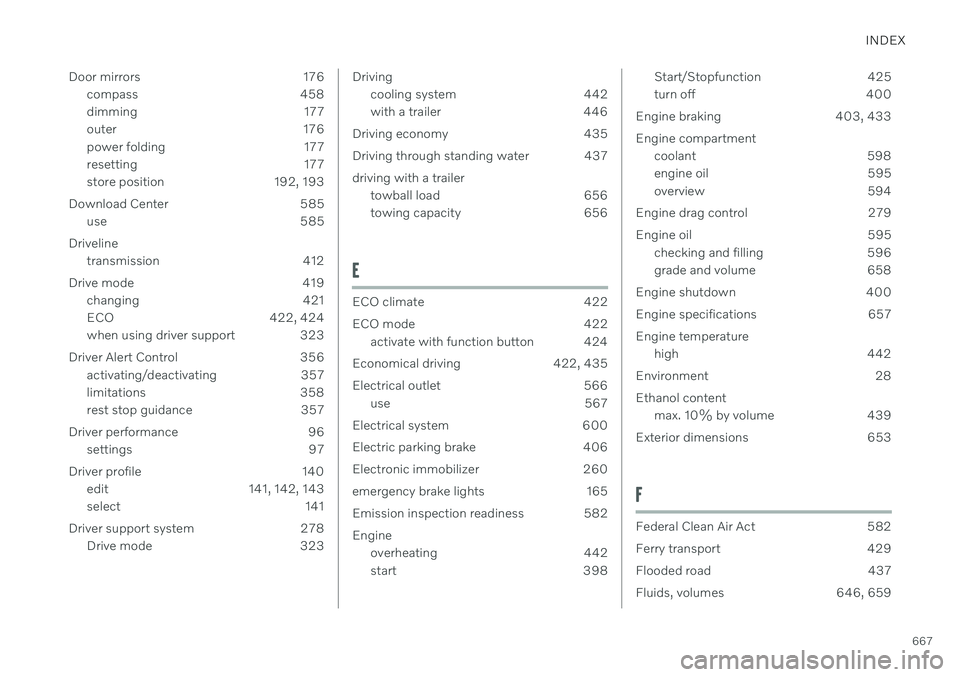
Emission inspection readiness 582 Engine overheating 442
start 398
Start/Stopfunction 425
turn off 400
Engine braking 403, 433 Engine compartment coolant 598
engine oil 595
overview 594
Engine drag control 279
Engine oil 595 checking and filling 596
grade and volume 658
Engine shutdown 400
Engine specifications 657Engine temperature high 442
Environment 28Ethanol content max. 10% by volume 439
Exterior dimensions 653
F
Federal Clean Air Act 582
Ferry transport 429
Flooded road 437
Fluids, volumes 646, 659
Page 673 of 683

INDEX
671
Locks and remote keys 244 Low battery charge level
start battery 443
Low beams 159
Low-speed driving 432 activate with function button 433
M
Maintained climate comfort 239start/stop 239
Maintenance 582 corrosion protection 641
Max. axle weight 655
Max. roof load 655
Media player 483, 484, 485 compatible file formats 491
voice control 153
Messages and symbols Adaptive Cruise Control 302
Assistance at risk of collision 350
BLIS 355
camera and radar unit 395
City Safety 344
Cross Traffic Alert 363
Lane Keeping Aid 328
Park Assist Camera 377
Park Assist Pilot 386
Parking Assist 368
Pilot Assist 314
stability and traction control system 282
Messages in display 110, 144 handling 111, 144
saved 112, 145
Mileage 93 Misting condensation in headlights 634, 637
Mood lighting 168 adjusting 168
N
Netcargo compartment 577
O
Occupant safety 45
Occupant weight sensor 59
Octane rating 440
Oil, see also Engine oil 658
Oil filter 595
Oil level 596
On-board diagnostics 582
On-board Diagnostic socket 37
Option/accessory 21
Outside temperature gauge 98
Overheating 442, 446
Owner's information 16
OWNER'S MANUAL 21 environmental labeling 23
in cellular phone 20
in the center display 17, 18
P
Paddle at steering wheel 202 Paint
color code 643
paint damage and touch-up 641, 642 , 643
Panoramic roof 179 opening and closing 180
pinch protection 172
sun shade 182
ventilation position 181
Parallel parking 379
Park Assist Camera 369 activating 375
limitations 390