2021 TOYOTA PROACE CITY service
[x] Cancel search: servicePage 236 of 272
236
– Filling stations,– Car park,– Traffic,– POI local search.A Danger area pack (optional).
Declaration: "Risk areas
alert"
WARNI NG
To send information about danger zones, select the option:Allow declaration of danger zones
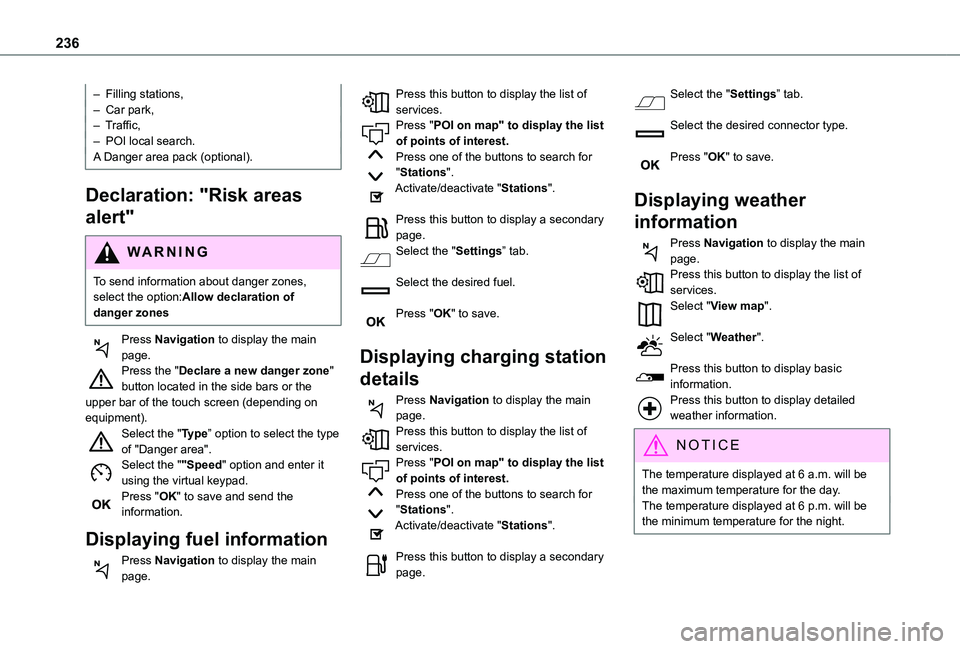
Press Navigation to display the main page.Press the "Declare a new danger zone" button located in the side bars or the upper bar of the touch screen (depending on equipment).Select the "Type” option to select the type of "Danger area".Select the ""Speed" option and enter it using the virtual keypad.Press "OK" to save and send the information.
Displaying fuel information
Press Navigation to display the main page.
Press this button to display the list of services.Press "POI on map" to display the list of points of interest.Press one of the buttons to search for "Stations".Activate/deactivate "Stations".
Press this button to display a secondary page.Select the "Settings” tab.
Select the desired fuel.
Press "OK" to save.
Displaying charging station
details
Press Navigation to display the main page.Press this button to display the list of
services.Press "POI on map" to display the list of points of interest.Press one of the buttons to search for "Stations".Activate/deactivate "Stations".
Press this button to display a secondary page.
Select the "Settings” tab.
Select the desired connector type.
Press "OK" to save.
Displaying weather
information
Press Navigation to display the main page.Press this button to display the list of services.Select "View map".
Select "Weather".
Press this button to display basic information.Press this button to display detailed weather information.
NOTIC E
The temperature displayed at 6 a.m. will be the maximum temperature for the day.The temperature displayed at 6 p.m. will be the minimum temperature for the night.
Page 237 of 272
237
TOYOTA Connect Nav
12
Applications
USB ports
Depending on equipment, for more information on the USB ports compatible with CarPlay®, MirrorLinkTM or Android Auto applications, refer to the "Ease of use and comfort" section.
NOTIC E
For the list of suitable smartphones, visit the Brand's national website.
NOTIC E
Synchronising a smartphone enables users to display applications that support the smartphone’s MirrorLinkCarPlay®, TM or Android Auto technology on the vehicle’s screen. For CarPlay® technology, the CarPlay® function must first be activated on the smartphone.In all cases, the smartphone must be unlocked, to enable the communication process between the smartphone and the system to function.As principles and standards are constantly changing, we recommend keeping the smartphone's operating system up-to-
date, together with the date and time on the smartphone and the system.
Connectivity
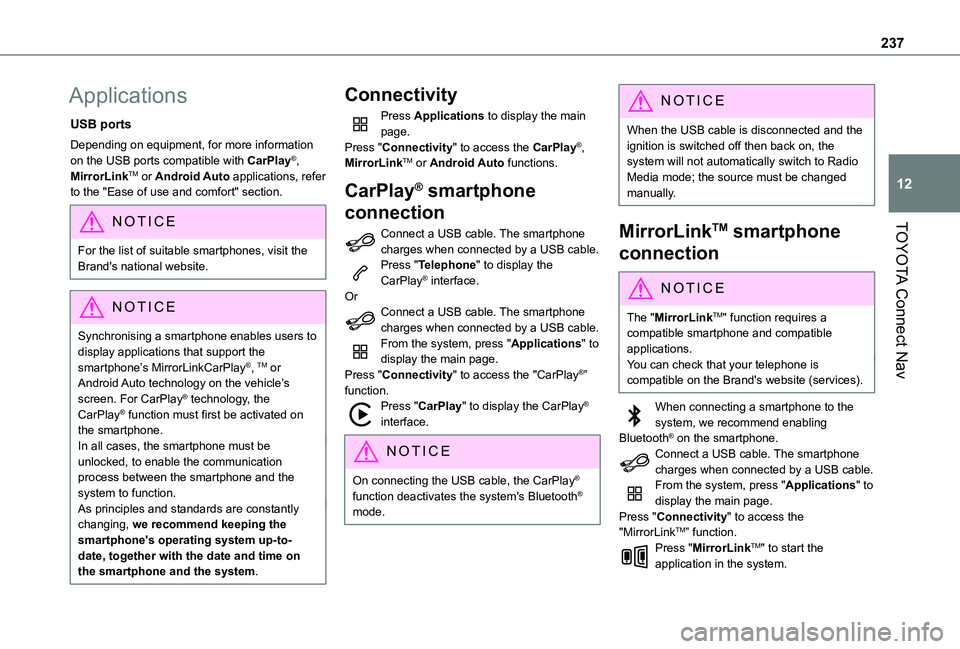
Press Applications to display the main page.Press "Connectivity" to access the CarPlay®, MirrorLinkTM or Android Auto functions.
CarPlay® smartphone
connection
Connect a USB cable. The smartphone charges when connected by a USB cable.Press "Telephone" to display the CarPlay® interface.OrConnect a USB cable. The smartphone charges when connected by a USB cable.From the system, press "Applications" to display the main page.Press "Connectivity" to access the "CarPlay®” function.Press "CarPlay" to display the CarPlay® interface.
NOTIC E
On connecting the USB cable, the CarPlay® function deactivates the system's Bluetooth® mode.
NOTIC E
When the USB cable is disconnected and the ignition is switched off then back on, the system will not automatically switch to Radio Media mode; the source must be changed manually.
MirrorLinkTM smartphone
connection
NOTIC E
The "MirrorLinkTM" function requires a compatible smartphone and compatible applications.You can check that your telephone is compatible on the Brand's website (services).
When connecting a smartphone to the system, we recommend enabling Bluetooth® on the smartphone.Connect a USB cable. The smartphone charges when connected by a USB cable.From the system, press "Applications" to display the main page.Press "Connectivity" to access the "MirrorLinkTM” function.Press "MirrorLinkTM" to start the application in the system.
Page 239 of 272
239
TOYOTA Connect Nav
12
NOTIC E
Connection to the internet is via one of the network connections provided by the vehicle or the user.
Bluetooth connection®
WARNI NG
The services available depend on the network, the SIM card and the compatibility of the Bluetooth devices used. Consult the smartphone user guide and the service provider to check which services are available.
NOTIC E
The Bluetooth function must be activated and the smartphone configured as "Visible to all".
To complete the pairing, whichever procedure is used (from the smartphone or from the system), ensure that the code is the same in the system and in the smartphone.
NOTIC E
If the pairing procedure fails, we recommend deactivating and then reactivating the Bluetooth function on the smartphone.
Procedure from the smartphone
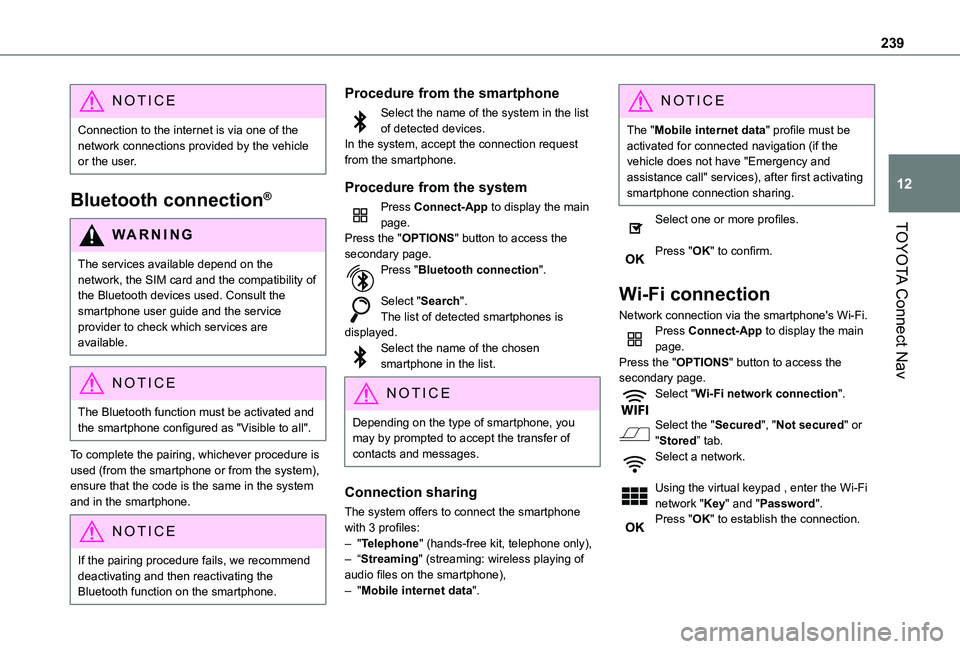
Select the name of the system in the list of detected devices.In the system, accept the connection request from the smartphone.
Procedure from the system
Press Connect-App to display the main page.Press the "OPTIONS" button to access the secondary page.Press "Bluetooth connection".
Select "Search".The list of detected smartphones is displayed.Select the name of the chosen smartphone in the list.
NOTIC E
Depending on the type of smartphone, you may by prompted to accept the transfer of contacts and messages.
Connection sharing
The system offers to connect the smartphone with 3 profiles:– "Telephone" (hands-free kit, telephone only),– “Streaming" (streaming: wireless playing of audio files on the smartphone),– "Mobile internet data".
NOTIC E
The "Mobile internet data" profile must be activated for connected navigation (if the vehicle does not have "Emergency and assistance call" services), after first activating smartphone connection sharing.
Select one or more profiles.
Press "OK" to confirm.
Wi-Fi connection
Network connection via the smartphone's Wi-Fi.Press Connect-App to display the main page.Press the "OPTIONS" button to access the secondary page.Select "Wi-Fi network connection".
Select the "Secured", "Not secured" or "Stored” tab.
Select a network.
Using the virtual keypad , enter the Wi-Fi network "Key" and "Password".Press "OK" to establish the connection.
Page 240 of 272
240
NOTIC E
The Wi-Fi connection and Wi-Fi connection sharing are exclusive.
Wi-Fi connection sharing
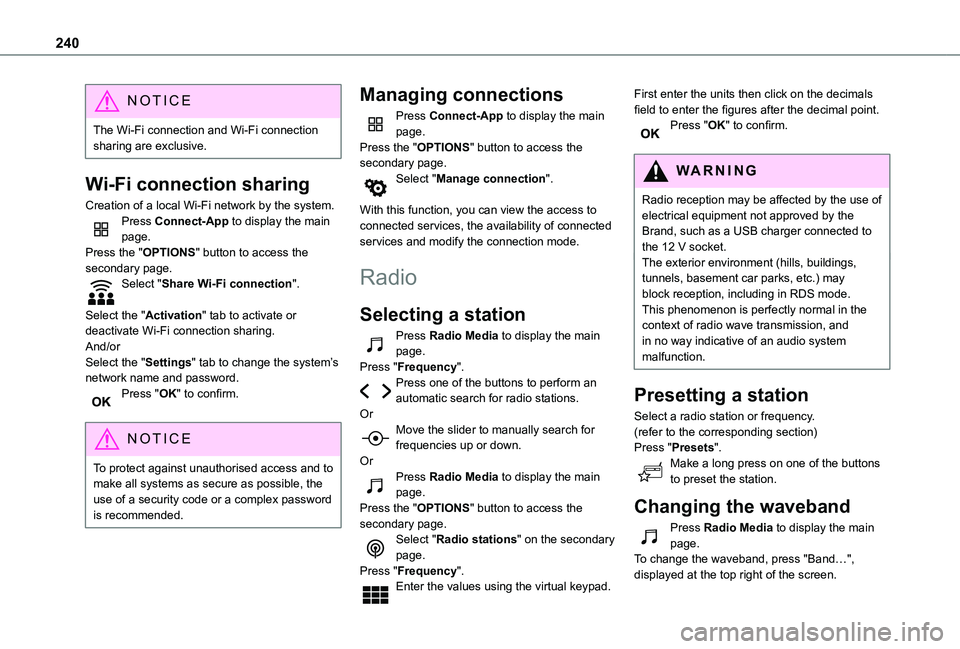
Creation of a local Wi-Fi network by the system.Press Connect-App to display the main page.Press the "OPTIONS" button to access the secondary page.Select "Share Wi-Fi connection".
Select the "Activation" tab to activate or deactivate Wi-Fi connection sharing.And/orSelect the "Settings" tab to change the system’s network name and password.Press "OK" to confirm.
NOTIC E
To protect against unauthorised access and to make all systems as secure as possible, the use of a security code or a complex password is recommended.
Managing connections
Press Connect-App to display the main page.Press the "OPTIONS" button to access the secondary page.Select "Manage connection".
With this function, you can view the access to connected services, the availability of connected services and modify the connection mode.
Radio
Selecting a station
Press Radio Media to display the main page.Press "Frequency".Press one of the buttons to perform an automatic search for radio stations.OrMove the slider to manually search for
frequencies up or down.OrPress Radio Media to display the main page.Press the "OPTIONS" button to access the secondary page.Select "Radio stations" on the secondary page.Press "Frequency".Enter the values using the virtual keypad.
First enter the units then click on the decimals field to enter the figures after the decimal point.Press "OK" to confirm.
WARNI NG
Radio reception may be affected by the use of electrical equipment not approved by the Brand, such as a USB charger connected to
the 12 V socket.The exterior environment (hills, buildings, tunnels, basement car parks, etc.) may block reception, including in RDS mode. This phenomenon is perfectly normal in the context of radio wave transmission, and in no way indicative of an audio system malfunction.
Presetting a station
Select a radio station or frequency.(refer to the corresponding section)Press "Presets".Make a long press on one of the buttons to preset the station.
Changing the waveband
Press Radio Media to display the main page.To change the waveband, press "Band…", displayed at the top right of the screen.
Page 243 of 272
243
TOYOTA Connect Nav
12
Control is from the portable device or by using the system's touch buttons.
NOTIC E
Once connected in streaming mode, the smartphone is considered to be a media source.
Connecting Apple® players
Connect the Apple® player to the USB port using a suitable cable (not supplied).Play starts automatically.Control is via the audio system.
NOTIC E
The classifications available are those of the portable device connected (artists/albums/genres/playlists/audio books/podcasts).The default classification used is by artist. To modify the classification used, return to the first level of the menu then select the desired classification (playlists for example) and confirm to go down through the menu to the desired track.
The version of software in the audio system may not be compatible with the generation of the
Apple® player.
Information and advice
The system supports USB mass storage devices, BlackBerry® devices and Apple® players via the USB ports. The adapter cable is not supplied.Devices are managed using the audio system controls.Other devices, not recognised on connection, must be connected to the auxiliary socket using a jack cable (not supplied) or via Bluetooth streaming, if compatible.The audio system will only play audio files with ".wma", ".aac", ".flac", ".ogg" and ".mp3" file extensions, at bit rates between 32 Kbps and 320 Kbps.It also supports VBR (Variable Bit Rate) mode.No other file types (".mp4", etc.) can be read.All ".wma" files must be standard WMA 9 files.The supported sampling rates are 32, 44 and 48 KHz.To avoid reading and display problems, we recommend choosing file names less than 20
characters long that do not contain any special characters (e.g. “ ? . ; ù).Use only USB memory sticks in FAT32 format (File Allocation Table).
NOTIC E
We recommend using the original USB cable for the portable device.
Telephone
Pairing a Bluetooth®
telephone
WARNI NG
The services available depend on the network, the SIM card and the compatibility of
the Bluetooth devices used. Consult the telephone user guide and the service provider to check which services are available.
NOTIC E
The Bluetooth function must be activated and the telephone configured as "Visible to all” (in the telphone settings).
To complete the pairing, whichever procedure is used (from the telephone or from the system), ensure that the code is the same in the system and in the telephone.
NOTIC E
If the pairing procedure fails, we recommend deactivating and then reactivating the Bluetooth function on the telephone.
Page 249 of 272
249
TOYOTA Connect Nav
12
Frequently asked
questions
The following information groups together the answers to the most frequently asked questions concerning the system.
Navigation
I cannot enter the navigation address.The address is not recognised.► Use the "intuitive method" by pressing the "Search…" button at the bottom of the "Navigation” page.The route calculation is not successful.The route settings may conflict with the current location (for example, if toll roads are excluded but the vehicle is on a toll road).► Check the route settings in the "Navigation" menu.I do not receive "Danger zone” alerts.You have not subscribed to the online services option.► If you have subscribed to the option:
- a few days may elapse before the service is activated,- services may not be selected in the system menu,- online services are not active ("TOMTOM TRAFFIC" not shown on the map).The POIs do not appear.The POIs have not been selected.► Set the zoom level to 600 ft (200 m) or select
POIs in the POI list.
The "Danger zone" audible warning feature is not working.The audible warning is not active or the volume is too low.► Activate the audible warning in the "Navigation" menu and check the voice volume in the sound settings.The system does not suggest a detour around an incident on the route.The route settings do not take account of TMC messages.► Configure the "Traffic info " function in the route settings list (Without, Manual or Automatic).I receive a warning about a "Danger area" that is not on my route.As well as providing guided navigation, the system announces all "Danger areas" positioned in a cone located in front of the vehicle. It may provide an alert for "Danger areas" located on nearby or parallel roads.► Zoom the map to show the exact location of the "Danger area". You can select "On the
route" to stop receiving warnings or decrease the warning duration.Certain traffic jams along the route are not indicated in real time.On starting, a few minutes may elapse before the system begins to receive traffic information.► Wait until traffic information is being received correctly (traffic information icons shown on the map).
In certain countries, only major routes (motorways, etc.) are listed for the traffic information.This is perfectly normal. The system is dependent on the traffic information available.The altitude is not displayed.On starting, GPS initialisation may take up to 3 minutes to receive more than 4 satellites correctly.► Wait until the system has started up completely so that there is GPS coverage by at least 4 satellites.Depending on the geographical environment (tunnel, etc.) or the weather, the conditions of reception of the GPS signal may vary.This behaviour is normal. The system is dependent on the GPS signal reception conditions.My navigation is no longer connected.During start-up and in certain geographical areas, the connection may be unavailable.► Check that the online services are activated (settings, contract).
Page 250 of 272
250
Radio
The reception quality of the tuned radio station gradually deteriorates or the station presets are not working (no sound, 87.5 MHz is displayed, etc.).The vehicle is too far from the selected station’s transmitter, or no transmitter is present in the geographical area.► Activate the "RDS" function by means of the short-cut menu to enable the system to check whether there is a more powerful transmitter in the geographical area.The aerial is missing or has been damaged (for example while entering a car wash or underground car park).► Have the aerial checked by a dealer.The environment (hills, buildings, tunnels, basement car parks, etc.) is blocking reception, including in RDS mode.This is a perfectly normal phenomenon, and is not indicative of an audio system malfunction.I cannot find some radio stations in the list of
stations received.The name of the radio station changes.The station is no longer received or its name has changed in the list.Some radio stations send other information in place of their name (the title of the song for example).The system interprets these details as the station name.
► Press the "Update list" button in the "Radio stations” secondary menu.
Media
Playback of my USB memory stick starts only after a very long wait (around 2 to 3 minutes).Some files supplied with the memory stick may greatly slow down access to reading the memory stick (multiplication by 10 of the cataloguing time).► Delete the files supplied with the memory stick and limit the number of sub-folders in the file structure on the memory stick.There may be an extended pause after inserting a USB stick.The system reads a variety of data (folder, title, artist, etc.). This can take from a few seconds to a few minutes.This is perfectly normal.Some characters in information about the currently playing media may not be displayed correctly.The audio system is unable to process certain
types of character.► Use standard characters to name tracks and folders.Playback of streaming files does not start.The connected device does not automatically launch playback.► Start playback from the device.Track names and playing times are not displayed on the audio streaming screen.
The Bluetooth profile does not allow the transfer of this information.
Telephone
I cannot connect my Bluetooth telephone.The telephone's Bluetooth function may be switched off or the telephone may not be visible.► Check that the telephone has Bluetooth switched on.► Check in the telephone settings that it is "visible to all".► Deactivate then reactivate the telphone’s Bluetooth function.The Bluetooth telephone is not compatible with the system.► You can check that your telephone is compatible on the Brand's website (services).The volume of the telephone connected in Bluetooth mode is inaudible.The volume depends on both the system and the telephone.► Increase the volume of the audio system, to maximum if required, and increase the volume of
the telephone if necessary.Ambient noise affects the quality of the telephone call.► Reduce the ambient noise level (close windows, reduce ventilation, slow down, etc.).Some contacts are duplicated in the list.The options for synchronising contacts are: synchronise the contacts on the SIM card, the contacts on the telephone, or both. When both
Page 256 of 272
256
Rear screen, demisting 66Recharging the battery 184–185Recirculation, air 62–63Recovery 186Reduction of electrical load 157Regeneration of the particle filter 162Reinitialisation of the under-inflation detection system 11 7Reinitialising the remote control 32Reminder, key in ignition 104Reminder, lighting on 71Remote control 23–27, 29–30, 101Removing a wheel 173–175Removing the mat 49Replacing bulbs 175–176Replacing fuses 181–183Replacing the air filter 162Replacing the oil filter 162Replacing the passenger compartment filter 162Reservoir, screenwash 161Reversing camera 120, 145Reversing lamps 179
Roof bars 157Roof flap 37Running out of fuel (Diesel) 168
S
Safety, children 90, 93–94, 96–97Saturation of the particle filter (Diesel) 162Screen menu map 218
Screen, multifunction (with audio system) 199Screenwash, front 75Screenwash, rear 76SCR (Selective Catalytic Reduction) 163Seat belts 87–89, 96Seat, bench front, 2-seat 46, 48, 88Seat, rear bench 48Seats, front 42–44, 46–48Seats, front bench 46–48Seats, heated 44Seats, Multiflex ~ Extenso Cab 54Seats, rear 42, 46, 48, 94Sensors (warnings) 120Serial number, vehicle 196Service indicator 16Servicing 16, 161Settings, system 221, 247Sidelamps 70, 72, 176–177Side parking sensors 144Side repeater 177Sliding side door, electric 29, 36Snow chains 11 6, 152–153
Snow chains, link 153Socket, 12 V accessory 49–50Socket, 220 V 51Socket, auxiliary 202Socket, Jack 202Speed limiter 123–126, 133Speed limit recognition 121–122Speedometer 120Stability control (ESC) 82–86Starting a Diesel engine 150
Starting the engine 101Starting the vehicle 102, 104, 11 0–11 3Starting using another battery 184Station, radio 199, 214, 240–241Stay, bonnet 158Steering mounted controls, audio 198, 2 11, 226Steering wheel, adjustment 45Stickers, customising ~ Stickers, expressive 167Stopping the vehicle 104, 11 0–11 3Stop & Start 22, 61, 65, 11 4–11 5, 150, 158, 162, 183, 186Storage 50Stowing rings 53Sunshine sensor 60Surround Rear Vision 146Switching off the engine 101, 103Synchronising the remote control 32
T
Tables of fuses 181–183Tank, fuel 150–152Technical data 194–195Telephone 51, 204–207, 219–221, 243–246Telephone, Bluetooth with voice recognition 207Temperature, coolant 16Three flashes (direction indicators) 71Time (setting) 222, 248TMC (Traffic info) 234