2021 TOYOTA PROACE CITY service
[x] Cancel search: servicePage 33 of 272
33
Access
2
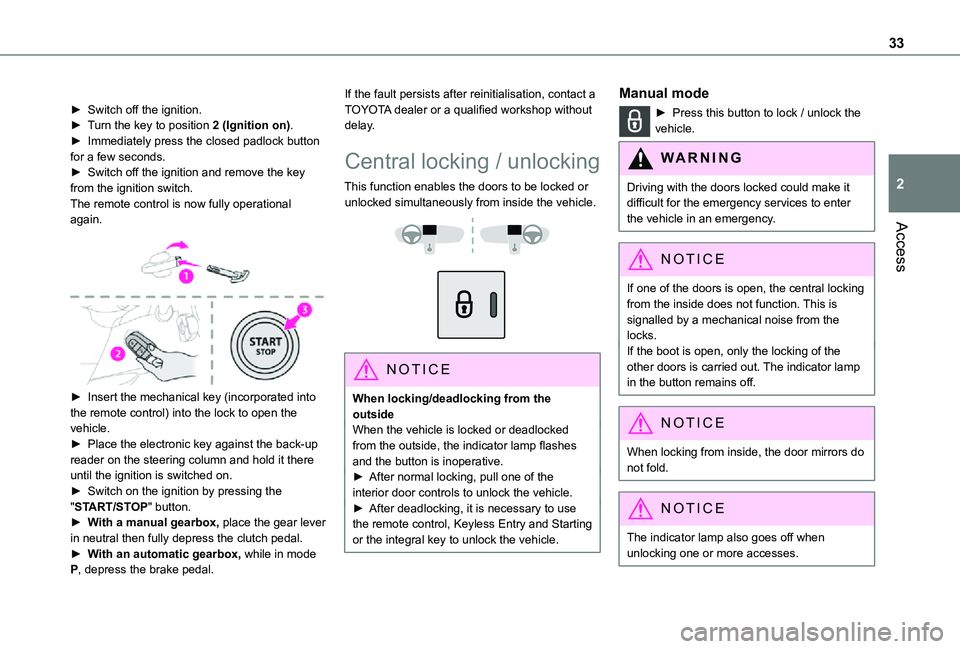
► Switch off the ignition.► Turn the key to position 2 (Ignition on).► Immediately press the closed padlock button for a few seconds.► Switch off the ignition and remove the key from the ignition switch.The remote control is now fully operational again.
► Insert the mechanical key (incorporated into the remote control) into the lock to open the vehicle.► Place the electronic key against the back-up
reader on the steering column and hold it there until the ignition is switched on.► Switch on the ignition by pressing the "START/STOP" button.► With a manual gearbox, place the gear lever in neutral then fully depress the clutch pedal.► With an automatic gearbox, while in mode P, depress the brake pedal.
If the fault persists after reinitialisation, contact a TOYOTA dealer or a qualified workshop without delay.
Central locking / unlocking
This function enables the doors to be locked or unlocked simultaneously from inside the vehicle.
NOTIC E
When locking/deadlocking from the outsideWhen the vehicle is locked or deadlocked from the outside, the indicator lamp flashes and the button is inoperative.► After normal locking, pull one of the interior door controls to unlock the vehicle.► After deadlocking, it is necessary to use the remote control, Keyless Entry and Starting or the integral key to unlock the vehicle.
Manual mode
► Press this button to lock / unlock the vehicle.
WARNI NG
Driving with the doors locked could make it difficult for the emergency services to enter the vehicle in an emergency.
NOTIC E
If one of the doors is open, the central locking from the inside does not function. This is signalled by a mechanical noise from the locks.If the boot is open, only the locking of the other doors is carried out. The indicator lamp in the button remains off.
NOTIC E
When locking from inside, the door mirrors do not fold.
NOTIC E
The indicator lamp also goes off when unlocking one or more accesses.
Page 34 of 272
34
Automatic mode
This is the automatic central locking of the vehicle when driving, also called anti-intrusion security.For more information on Anti-intrusion security, refer to the corresponding section.
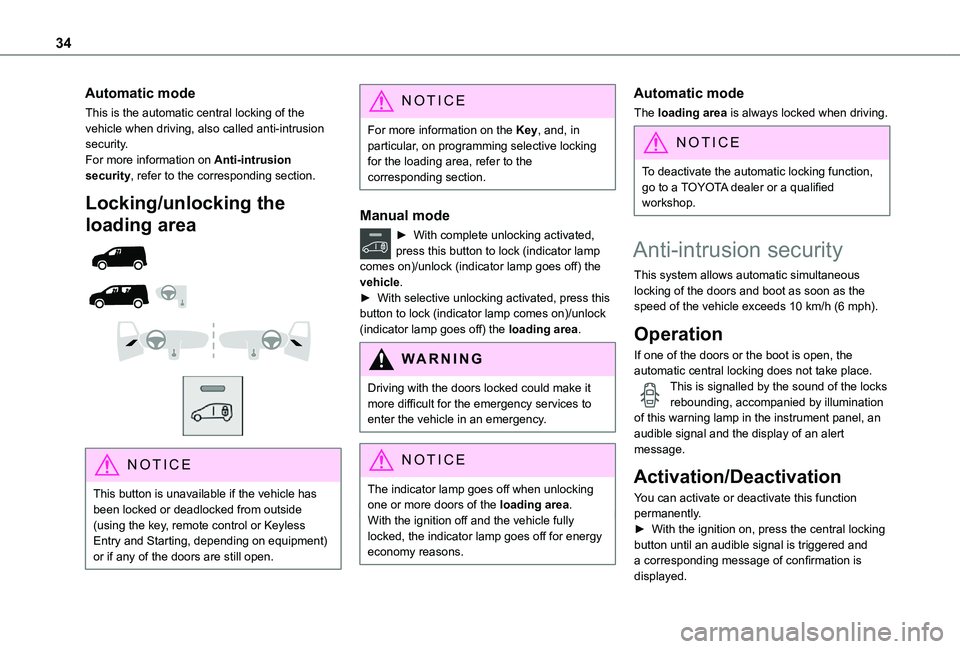
Locking/unlocking the
loading area
NOTIC E
This button is unavailable if the vehicle has been locked or deadlocked from outside (using the key, remote control or Keyless Entry and Starting, depending on equipment) or if any of the doors are still open.
NOTIC E
For more information on the Key, and, in particular, on programming selective locking for the loading area, refer to the corresponding section.
Manual mode
► With complete unlocking activated, press this button to lock (indicator lamp comes on)/unlock (indicator lamp goes off) the vehicle.► With selective unlocking activated, press this button to lock (indicator lamp comes on)/unlock (indicator lamp goes off) the loading area.
WARNI NG
Driving with the doors locked could make it more difficult for the emergency services to enter the vehicle in an emergency.
NOTIC E
The indicator lamp goes off when unlocking one or more doors of the loading area.With the ignition off and the vehicle fully locked, the indicator lamp goes off for energy
economy reasons.
Automatic mode
The loading area is always locked when driving.
NOTIC E
To deactivate the automatic locking function, go to a TOYOTA dealer or a qualified workshop.
Anti-intrusion security
This system allows automatic simultaneous locking of the doors and boot as soon as the speed of the vehicle exceeds 10 km/h (6 mph).
Operation
If one of the doors or the boot is open, the automatic central locking does not take place.This is signalled by the sound of the locks rebounding, accompanied by illumination of this warning lamp in the instrument panel, an audible signal and the display of an alert message.
Activation/Deactivation
You can activate or deactivate this function permanently.► With the ignition on, press the central locking button until an audible signal is triggered and a corresponding message of confirmation is displayed.
Page 35 of 272
35
Access
2
The state of the system stays in the memory when the ignition is switched off.
WARNI NG
Driving with the doors locked may render access by the emergency services to the interior difficult in an emergency.
NOTIC E
Carrying long or voluminous objectsIf you want to drive with the boot open, you should press the central locking button to lock the doors. Otherwise, every time the speed of the vehicle exceeds 10 km/h (6 mph), the locks will rebound and the alerts mentioned above will appear.Pressing the central locking button unlocks the vehicle.Above 10 km/h (6 mph), this unlocking is temporary.
Side-hinged doors
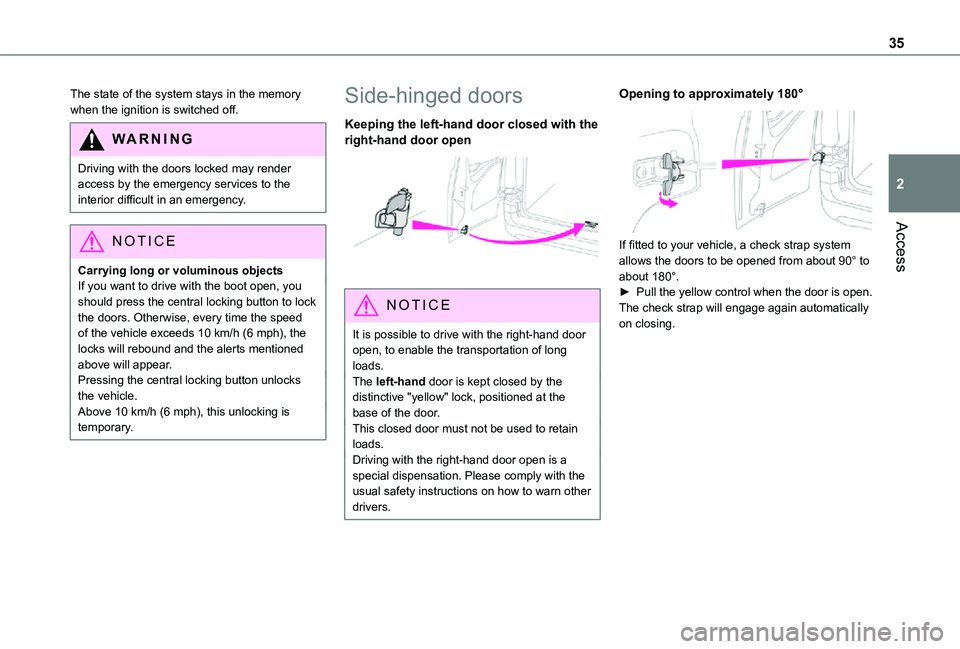
Keeping the left-hand door closed with the right-hand door open
NOTIC E
It is possible to drive with the right-hand door open, to enable the transportation of long loads.The left-hand door is kept closed by the distinctive "yellow" lock, positioned at the base of the door.This closed door must not be used to retain loads.
Driving with the right-hand door open is a special dispensation. Please comply with the usual safety instructions on how to warn other drivers.
Opening to approximately 180°
If fitted to your vehicle, a check strap system allows the doors to be opened from about 90° to about 180°.► Pull the yellow control when the door is open.The check strap will engage again automatically on closing.
Page 80 of 272
80
Emergency or assistance
call (type 1)
Localised Emergency Call
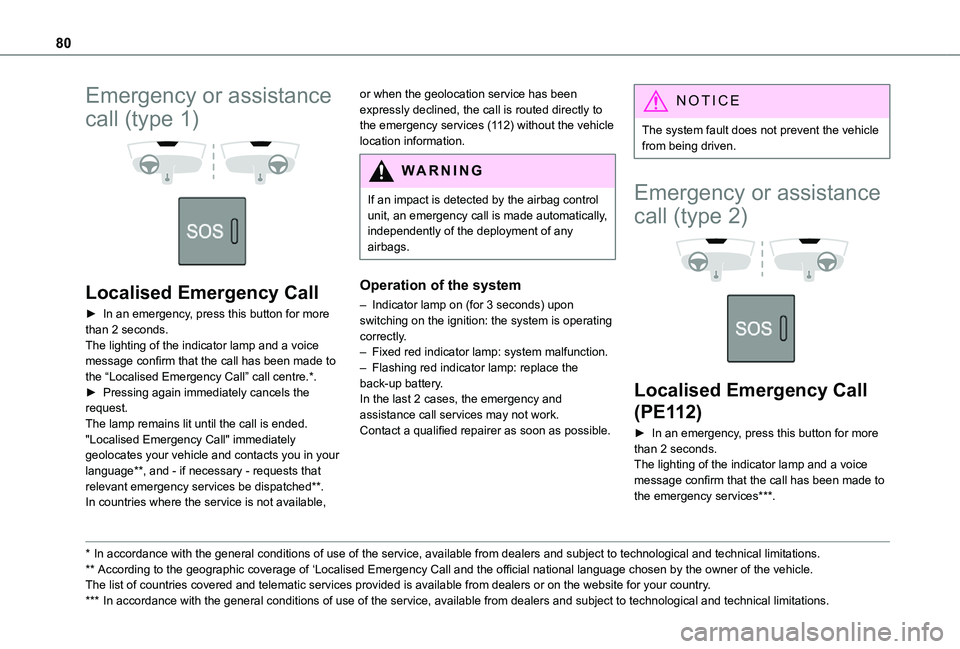
► In an emergency, press this button for more than 2 seconds.The lighting of the indicator lamp and a voice message confirm that the call has been made to the “Localised Emergency Call” call centre.*.► Pressing again immediately cancels the request.The lamp remains lit until the call is ended."Localised Emergency Call" immediately geolocates your vehicle and contacts you in your language**, and - if necessary - requests that relevant emergency services be dispatched**. In countries where the service is not available,
* In accordance with the general conditions of use of the service, available from dealers an\
d subject to technological and technical limitations.
** According to the geographic coverage of ‘Localised Emergency Call and the official national language chosen by the owner of the vehicle.The list of countries covered and telematic services provided is availab\
le from dealers or on the website for your country.
*** In accordance with the general conditions of use of the service, available from dealers\
and subject to technological and technical limitations.
or when the geolocation service has been expressly declined, the call is routed directly to the emergency services (112) without the vehicle location information.
WARNI NG
If an impact is detected by the airbag control unit, an emergency call is made automatically, independently of the deployment of any
airbags.
Operation of the system
– Indicator lamp on (for 3 seconds) upon switching on the ignition: the system is operating correctly.– Fixed red indicator lamp: system malfunction.– Flashing red indicator lamp: replace the back-up battery.In the last 2 cases, the emergency and assistance call services may not work.Contact a qualified repairer as soon as possible.
NOTIC E
The system fault does not prevent the vehicle from being driven.
Emergency or assistance
call (type 2)
Localised Emergency Call
(PE112)
► In an emergency, press this button for more than 2 seconds.The lighting of the indicator lamp and a voice message confirm that the call has been made to the emergency services***.
Page 81 of 272
81
Safety
5
‘Localised Emergency Call’ immediately locates your vehicle and puts you in contact with the appropriate emergency services*.► Pressing again immediately cancels the request.The indicator lamp flashes when the vehicle data is sent, and then remains lit when communication is established.
WARNI NG
If an impact is detected by the airbag control unit, an emergency call is made automatically, independently of the deployment of any airbags.
NOTIC E
‘Localised Emergency Call’ is a service that can be accessed free of charge.
System operation
– Upon switching on the ignition, if the indicator lamp lights up red, then green, and then goes out: the system is operating correctly.– If the indicator lamp is fixed red: system malfunction– If the indicator lamp flashes red: replace the
emergency battery.
* In areas covered by ‘Localised Emergency Call’. The list of countries covered and telematic services provided is availab\
le from dealers or on the website for your country.
In the latter two cases, emergency and assistance call services may not work.Contact a dealer or a qualified repairer as soon as possible.
N OTIC E
The system fault does not prevent the vehicle from being driven.
NOTIC E
Data processingAll processing of personal information by the "Localised Emergency Call" system (PE112) complies with the framework for protection of personal information established by Regulation 2016/679 (GDPR) and Directive 2002/58/EC of the European Parliament and the Council, and in particular, seeks to protect the vital interests of the data subject, in accordance with Article 6.1, paragraph d) of Regulation 2016/679.Personal information processing is strictly limited to the management of the "Localised Emergency Call" system used with the “112” European single emergency call number.The "Localised Emergency Call" system is able to collect and process only the following data relating to the vehicle: chassis number,
type (passenger vehicle or light commercial vehicle), fuel type or power source, most recent three locations and direction of travel, and a timestamped log file recording the automatic activation of the system.The recipients of the processed data are the emergency call handling centres designated by the relevant national authorities in the territory in which they are located, enabling priority reception and handling of calls to the “112” emergency number.
NOTIC E
Data storageData contained in the system’s memory is not accessible from outside the system until a call is made. The system is not traceable and is not continuously monitored in its normal operating mode. The data in the system's internal memory is automatically and continuously erased. Only the vehicle’s three most recent locations are stored.When an emergency call is triggered, the data log is stored for no more than 13 hours.
Page 159 of 272
159
Practical information
7
Engine compartment
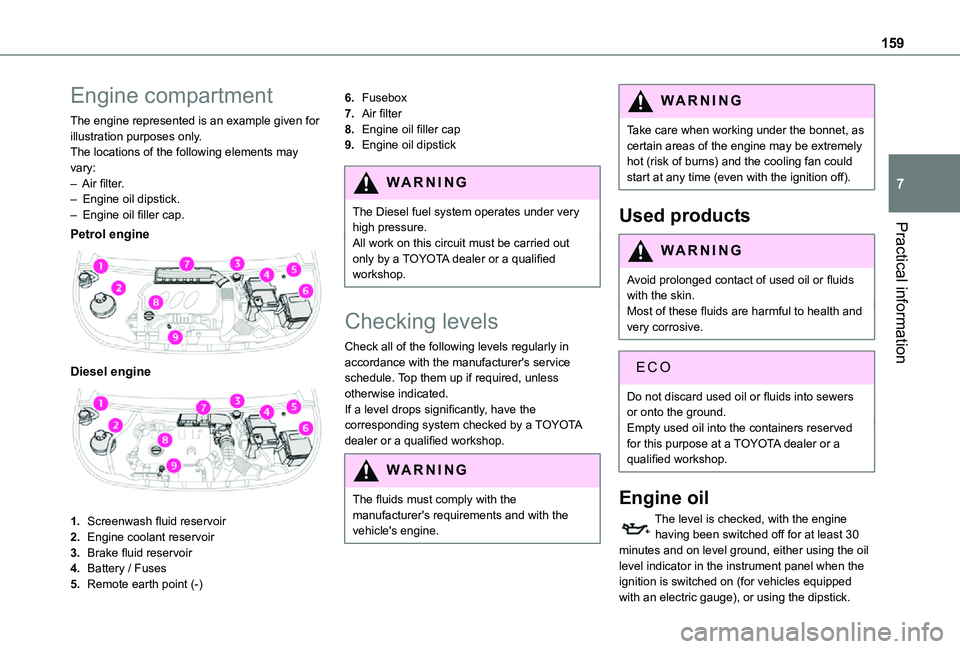
The engine represented is an example given for illustration purposes only.The locations of the following elements may vary:– Air filter.– Engine oil dipstick.– Engine oil filler cap.
Petrol engine
Diesel engine
1.Screenwash fluid reservoir
2.Engine coolant reservoir
3.Brake fluid reservoir
4.Battery / Fuses
5.Remote earth point (-)
6.Fusebox
7.Air filter
8.Engine oil filler cap
9.Engine oil dipstick
WARNI NG
The Diesel fuel system operates under very high pressure.All work on this circuit must be carried out only by a TOYOTA dealer or a qualified workshop.
Checking levels
Check all of the following levels regularly in accordance with the manufacturer's service schedule. Top them up if required, unless otherwise indicated.If a level drops significantly, have the corresponding system checked by a TOYOTA dealer or a qualified workshop.
WARNI NG
The fluids must comply with the manufacturer's requirements and with the vehicle's engine.
WARNI NG
Take care when working under the bonnet, as certain areas of the engine may be extremely hot (risk of burns) and the cooling fan could start at any time (even with the ignition off).
Used products
WARNI NG
Avoid prolonged contact of used oil or fluids with the skin.Most of these fluids are harmful to health and very corrosive.
ECO
Do not discard used oil or fluids into sewers or onto the ground.Empty used oil into the containers reserved for this purpose at a TOYOTA dealer or a qualified workshop.
Engine oil
The level is checked, with the engine having been switched off for at least 30
minutes and on level ground, either using the oil level indicator in the instrument panel when the ignition is switched on (for vehicles equipped with an electric gauge), or using the dipstick.
Page 160 of 272
160
It is normal to top up the oil level between two services (or oil changes). It is recommended that you check the level, and top up if necessary, every 5,000 km (3,000 miles).
WARNI NG
In order to maintain the reliability of the engine and emissions control system, never use additives in the engine oil.
Checking using the dipstick
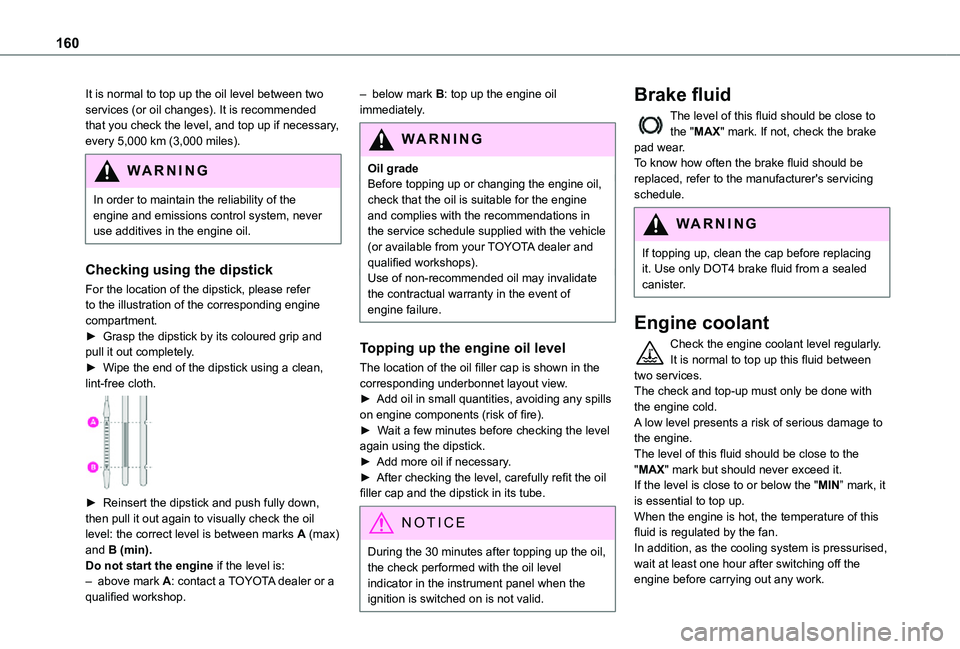
For the location of the dipstick, please refer to the illustration of the corresponding engine compartment.► Grasp the dipstick by its coloured grip and pull it out completely.► Wipe the end of the dipstick using a clean, lint-free cloth.
► Reinsert the dipstick and push fully down, then pull it out again to visually check the oil level: the correct level is between marks A (max) and B (min).Do not start the engine if the level is:– above mark A: contact a TOYOTA dealer or a qualified workshop.
– below mark B: top up the engine oil immediately.
WARNI NG
Oil gradeBefore topping up or changing the engine oil, check that the oil is suitable for the engine and complies with the recommendations in the service schedule supplied with the vehicle
(or available from your TOYOTA dealer and qualified workshops).Use of non-recommended oil may invalidate the contractual warranty in the event of engine failure.
Topping up the engine oil level
The location of the oil filler cap is shown in the corresponding underbonnet layout view.► Add oil in small quantities, avoiding any spills on engine components (risk of fire).► Wait a few minutes before checking the level again using the dipstick.► Add more oil if necessary.► After checking the level, carefully refit the oil filler cap and the dipstick in its tube.
NOTIC E
During the 30 minutes after topping up the oil, the check performed with the oil level indicator in the instrument panel when the ignition is switched on is not valid.
Brake fluid
The level of this fluid should be close to the "MAX" mark. If not, check the brake pad wear.To know how often the brake fluid should be replaced, refer to the manufacturer's servicing schedule.
WARNI NG
If topping up, clean the cap before replacing it. Use only DOT4 brake fluid from a sealed canister.
Engine coolant
Check the engine coolant level regularly.It is normal to top up this fluid between two services.The check and top-up must only be done with the engine cold.A low level presents a risk of serious damage to the engine.The level of this fluid should be close to the "MAX" mark but should never exceed it.If the level is close to or below the "MIN” mark, it is essential to top up.When the engine is hot, the temperature of this fluid is regulated by the fan.In addition, as the cooling system is pressurised, wait at least one hour after switching off the engine before carrying out any work.
Page 161 of 272
161
Practical information
7
To avoid the risk of scalding if you need to top up in an emergency, wrap a cloth around the cap and unscrew the cap by two turns to allow the pressure to drop.Once the pressure has dropped, remove the cap and top up to the required level.
Screenwash fluid
Top up to the required level when necessary.Capacity of the tank:– 5.3 litres for "very cold climate" versions.– 2.2 litres for other versions.
Fluid specification
The fluid must be topped up with a ready-to-use mixture.In winter (temperatures below zero), a liquid containing an agent to prevent freezing must be used which is appropriate for the prevailing conditions, in order to protect the elements of the system (pump, tank, ducts, jets, etc.).
WARNI NG
Filling with pure water is prohibited under all circumstances (risk of freezing, limestone deposits, etc.).
Diesel fuel additive (Diesel
with particle filter)
or On reaching the minimum level in the particle filter additive tank, this warning lamp comes on fixed, accompanied by an audible warning and a message warning that the additive level is too low.
Topping up
This additive must be topped up without delay by a TOYOTA dealer or a qualified workshop.
AdBlue (Diesel engines)
An alert is triggered when the reserve level is reached.For more information on the AdBlue range indicators, refer to the corresponding section.To avoid the vehicle being immobilised in accordance with regulations, you must top up the AdBlue tank.For more information on the Supply of AdBlue, refer to the corresponding section.
Checks
Unless otherwise indicated, check these components in accordance with the manufacturer's service schedule and according to your engine.Otherwise, have them checked by a TOYOTA dealer or a qualified workshop.
WARNI NG
Only use products recommended by TOYOTA or products of equivalent quality and specification.In order to optimise the operation of components as important as those in the braking system, TOYOTA selects and offers very specific products.
12 V battery
The battery does not require any maintenance.However, check regularly that the terminals are correctly tightened (versions without quick release terminals) and that the connections are clean.
NOTIC E
For more information on the precautions to take before any work on the 12 V battery, refer to the corresponding section.