2021 TOYOTA PROACE CITY heating
[x] Cancel search: heatingPage 2 of 272
2
■Overview
Labels 4
■Eco-driving
Eco-coaching 8
1Instruments
Instrument Panel 9Warning and indicator lamps 11Indicators 16Trip computer 21Setting the date and time 22
2Access
Electronic key with remote control function and built-in key, 23Back-up procedures 30Central locking / unlocking 33Doors 35General recommendations for
the sliding side doors 36Rear roof flap 37Alarm 38Electric windows 40Tilting rear door windows 41
3Ease of use and comfort
General recommendations for the seats 42Front seats 42
Steering wheel adjustment 45
Mirrors 452-seat front bench seat 46Rear bench seat 48Interior fittings 49Extenso cabin 54Crew cab 56Heating and Ventilation 60Heating 61Manual air conditioning 61Dual-zone automatic air conditioning 62Front demisting - defrosting 64Rear screen and/or door mirrors demisting - defrosting 66Additional heating/ventilation system 66
4Lighting and visibility
Lighting control lever 70Direction indicators 71Automatic illumination of headlamps 71Daytime running lamps / Sidelamps 72Parking lamps 72Automatic headlamp dipping 73
Headlamp beam height adjustment 74Wiper control lever 75Changing a wiper blade 77Automatic wiping 77
5Safety
General safety recommendations 79Emergency or assistance call 80Hazard warning lamps 82
Horn 82Electronic stability control (ESC) 82Advanced Grip Control 85Hill Assist Descent Control 86Seat belts 87Airbags 90Child seats 93Deactivating the front passenger airbag 95Manual child lock 98Electric child lock 98
6Driving
Driving recommendations 99Starting/switching off the engine 101Manual parking brake 105Electric parking brake 105Hill start assist 1085-speed manual gearbox 1096-speed manual gearbox 109Automatic gearbox 11 0Gear efficiency indicator 11 4Stop & Start 11 4
Under-inflation detection 11 6Head-up display 11 8Driving and manoeuvring aids - General recommendations 11 9Speed Limit Recognition and Recommendation 121Speed limiter 124Cruise control - particular recommendations 126Programmable cruise control 127
Adaptive Cruise Control 129
Page 4 of 272
4
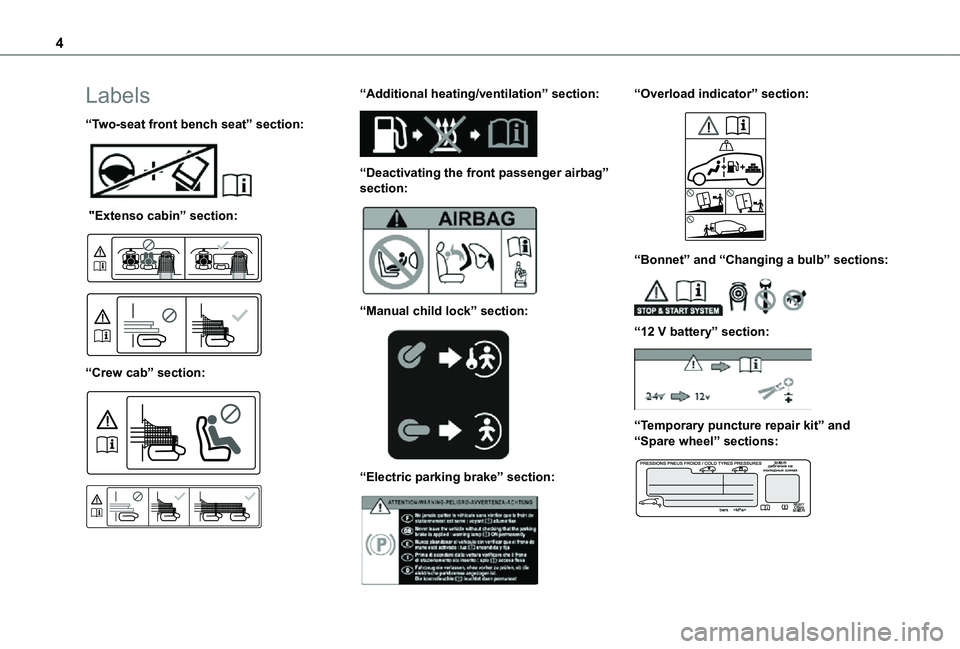
Labels
“Two-seat front bench seat” section:
"Extenso cabin” section:
“Crew cab” section:
“Additional heating/ventilation” section:
“Deactivating the front passenger airbag” section:
“Manual child lock” section:
“Electric parking brake” section:
“Overload indicator” section:
“Bonnet” and “Changing a bulb” sections:
“12 V battery” section:
“Temporary puncture repair kit” and “Spare wheel” sections:
Page 5 of 272
5
Overview
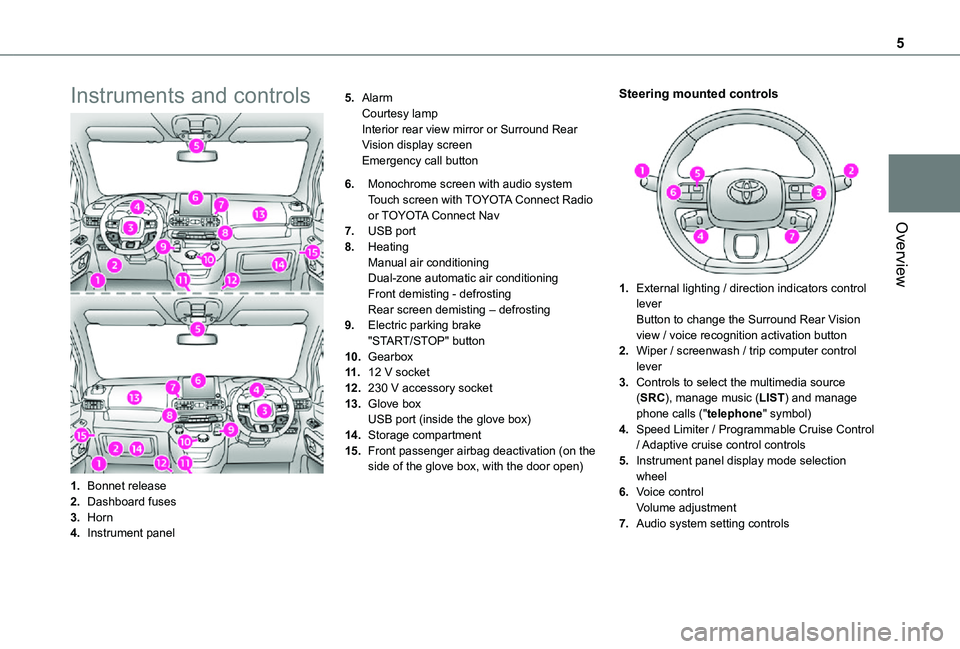
Instruments and controls
1.Bonnet release
2.Dashboard fuses
3.Horn
4.Instrument panel
5.AlarmCourtesy lampInterior rear view mirror or Surround Rear Vision display screenEmergency call button
6.Monochrome screen with audio systemTouch screen with TOYOTA Connect Radio or TOYOTA Connect Nav
7.USB port
8.HeatingManual air conditioningDual-zone automatic air conditioningFront demisting - defrostingRear screen demisting – defrosting
9.Electric parking brake"START/STOP" button
10.Gearbox
11 .12 V socket
12.230 V accessory socket
13.Glove boxUSB port (inside the glove box)
14.Storage compartment
15.Front passenger airbag deactivation (on the side of the glove box, with the door open)
Steering mounted controls
1.External lighting / direction indicators control leverButton to change the Surround Rear Vision view / voice recognition activation button
2.Wiper / screenwash / trip computer control lever
3.Controls to select the multimedia source (SRC), manage music (LIST) and manage phone calls ("telephone" symbol)
4.Speed Limiter / Programmable Cruise Control
/ Adaptive cruise control controls
5.Instrument panel display mode selection wheel
6.Voice controlVolume adjustment
7.Audio system setting controls
Page 6 of 272
6
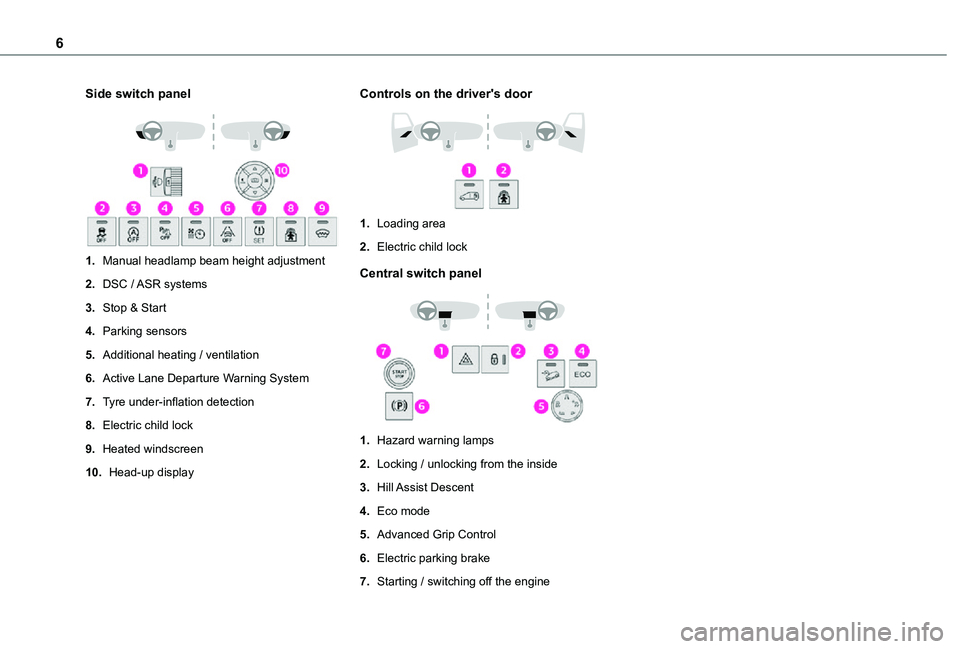
Side switch panel
1.Manual headlamp beam height adjustment
2.DSC / ASR systems
3.Stop & Start
4.Parking sensors
5.Additional heating / ventilation
6.Active Lane Departure Warning System
7.Tyre under-inflation detection
8.Electric child lock
9.Heated windscreen
10.Head-up display
Controls on the driver's door
1.Loading area
2.Electric child lock
Central switch panel
1.Hazard warning lamps
2.Locking / unlocking from the inside
3.Hill Assist Descent
4.Eco mode
5.Advanced Grip Control
6.Electric parking brake
7.Starting / switching off the engine
Page 8 of 272
8
Eco mode
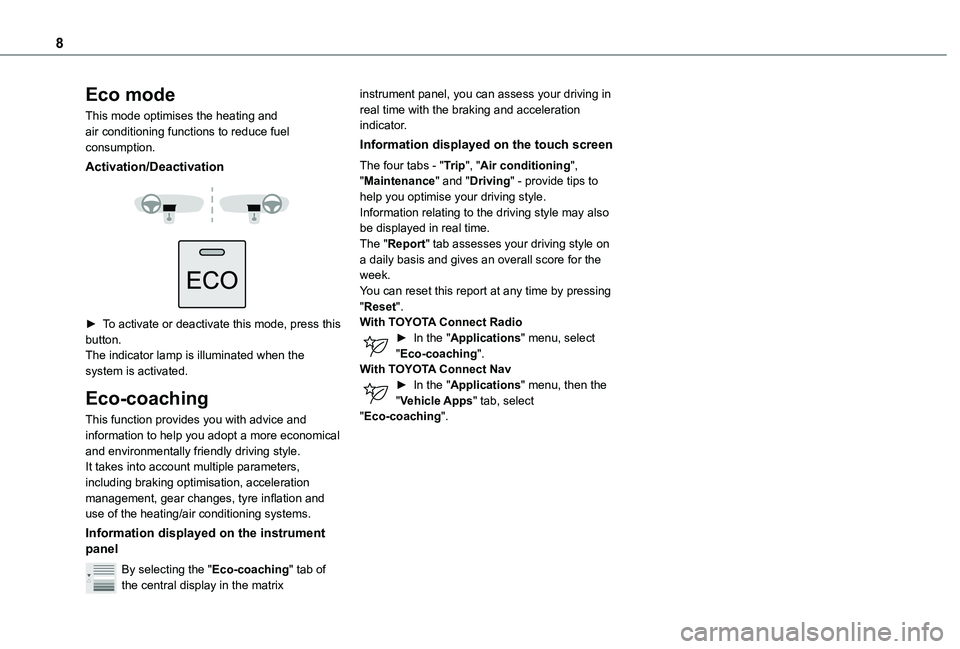
This mode optimises the heating and air conditioning functions to reduce fuel consumption.
Activation/Deactivation
► To activate or deactivate this mode, press this button.The indicator lamp is illuminated when the system is activated.
Eco-coaching
This function provides you with advice and information to help you adopt a more economical and environmentally friendly driving style.It takes into account multiple parameters, including braking optimisation, acceleration management, gear changes, tyre inflation and use of the heating/air conditioning systems.
Information displayed on the instrument panel
By selecting the "Eco-coaching" tab of the central display in the matrix
instrument panel, you can assess your driving in real time with the braking and acceleration indicator.
Information displayed on the touch screen
The four tabs - "Trip", "Air conditioning", "Maintenance" and "Driving" - provide tips to help you optimise your driving style.Information relating to the driving style may also be displayed in real time.The "Report" tab assesses your driving style on a daily basis and gives an overall score for the week.You can reset this report at any time by pressing "Reset".With TOYOTA Connect Radio► In the "Applications" menu, select "Eco-coaching".With TOYOTA Connect Nav► In the "Applications" menu, then the "Vehicle Apps" tab, select "Eco-coaching".
Page 13 of 272
13
Instruments
1
If manual application and release commands are not working, the electric parking brake control lever is faulty.The automatic functions must be used at all times and are automatically re-enabled in the event of a control lever fault.Carry out (2).
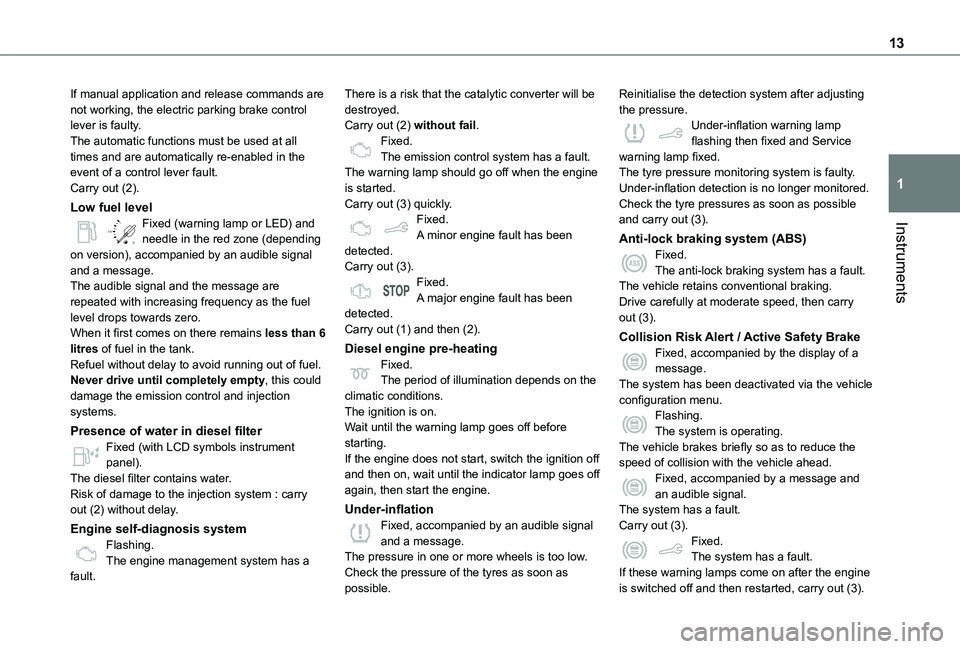
Low fuel level
/2
1 1Fixed (warning lamp or LED) and needle in the red zone (depending on version), accompanied by an audible signal and a message.The audible signal and the message are repeated with increasing frequency as the fuel level drops towards zero.When it first comes on there remains less than 6 litres of fuel in the tank.Refuel without delay to avoid running out of fuel.Never drive until completely empty, this could damage the emission control and injection systems.
Presence of water in diesel filter
Fixed (with LCD symbols instrument panel).The diesel filter contains water.Risk of damage to the injection system : carry out (2) without delay.
Engine self-diagnosis systemFlashing.The engine management system has a fault.
There is a risk that the catalytic converter will be destroyed.Carry out (2) without fail.Fixed.The emission control system has a fault.The warning lamp should go off when the engine is started.Carry out (3) quickly.Fixed.A minor engine fault has been detected.Carry out (3).Fixed.A major engine fault has been detected.Carry out (1) and then (2).
Diesel engine pre-heatingFixed.The period of illumination depends on the climatic conditions.The ignition is on.Wait until the warning lamp goes off before starting.
If the engine does not start, switch the ignition off and then on, wait until the indicator lamp goes off again, then start the engine.
Under-inflationFixed, accompanied by an audible signal and a message.The pressure in one or more wheels is too low.Check the pressure of the tyres as soon as possible.
Reinitialise the detection system after adjusting the pressure.Under-inflation warning lamp flashing then fixed and Service warning lamp fixed.The tyre pressure monitoring system is faulty.Under-inflation detection is no longer monitored.Check the tyre pressures as soon as possible and carry out (3).
Anti-lock braking system (ABS)Fixed.The anti-lock braking system has a fault.The vehicle retains conventional braking.Drive carefully at moderate speed, then carry out (3).
Collision Risk Alert / Active Safety BrakeFixed, accompanied by the display of a message.The system has been deactivated via the vehicle configuration menu.Flashing.The system is operating.
The vehicle brakes briefly so as to reduce the speed of collision with the vehicle ahead.Fixed, accompanied by a message and an audible signal.The system has a fault.Carry out (3).Fixed.The system has a fault.If these warning lamps come on after the engine is switched off and then restarted, carry out (3).
Page 38 of 272
38
WARNI NG
Never fasten a load to the roof flap.
WARNI NG
Never drive without the support bar in place.The rear doors will only lock when the support
bar is installed.When the roof flap is open, take care when driving where height is restricted.Never rest loads directly on the rear doors.Comply with the usual indications for warning other drivers.Only use the roof flap on short trips.
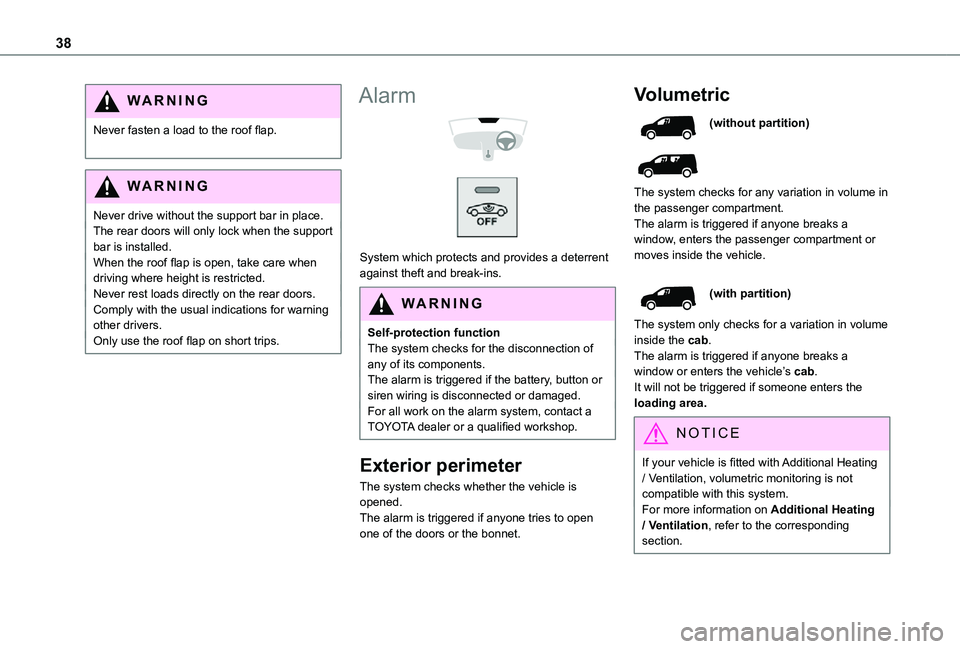
Alarm
System which protects and provides a deterrent against theft and break-ins.
WARNI NG
Self-protection functionThe system checks for the disconnection of any of its components.The alarm is triggered if the battery, button or siren wiring is disconnected or damaged.For all work on the alarm system, contact a TOYOTA dealer or a qualified workshop.
Exterior perimeter
The system checks whether the vehicle is opened.The alarm is triggered if anyone tries to open one of the doors or the bonnet.
Volumetric
(without partition)
The system checks for any variation in volume in the passenger compartment.The alarm is triggered if anyone breaks a window, enters the passenger compartment or
moves inside the vehicle.
(with partition)
The system only checks for a variation in volume inside the cab.The alarm is triggered if anyone breaks a window or enters the vehicle’s cab.It will not be triggered if someone enters the loading area.
NOTIC E
If your vehicle is fitted with Additional Heating / Ventilation, volumetric monitoring is not compatible with this system.For more information on Additional Heating / Ventilation, refer to the corresponding section.
Page 44 of 272
44
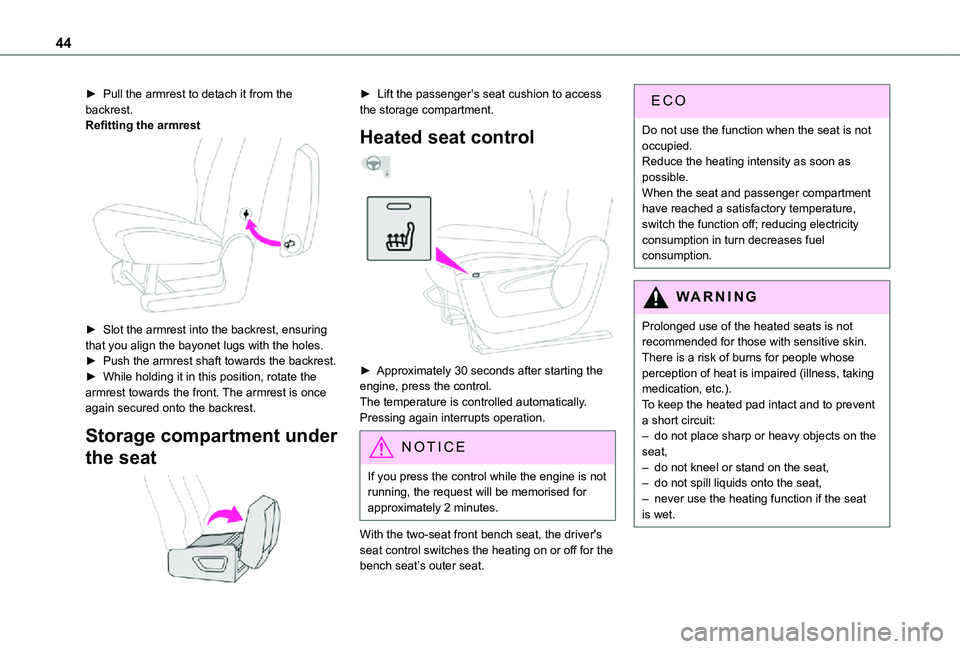
► Pull the armrest to detach it from the backrest.Refitting the armrest
► Slot the armrest into the backrest, ensuring that you align the bayonet lugs with the holes.► Push the armrest shaft towards the backrest.► While holding it in this position, rotate the armrest towards the front. The armrest is once again secured onto the backrest.
Storage compartment under
the seat
► Lift the passenger’s seat cushion to access the storage compartment.
Heated seat control
► Approximately 30 seconds after starting the engine, press the control.The temperature is controlled automatically.Pressing again interrupts operation.
NOTIC E
If you press the control while the engine is not running, the request will be memorised for approximately 2 minutes.
With the two-seat front bench seat, the driver's
seat control switches the heating on or off for the bench seat’s outer seat.
ECO
Do not use the function when the seat is not occupied.Reduce the heating intensity as soon as possible.When the seat and passenger compartment have reached a satisfactory temperature, switch the function off; reducing electricity consumption in turn decreases fuel consumption.
WARNI NG
Prolonged use of the heated seats is not recommended for those with sensitive skin.There is a risk of burns for people whose perception of heat is impaired (illness, taking medication, etc.).To keep the heated pad intact and to prevent a short circuit:– do not place sharp or heavy objects on the
seat,– do not kneel or stand on the seat,– do not spill liquids onto the seat,– never use the heating function if the seat is wet.