2021 Peugeot Landtrek Add key
[x] Cancel search: Add keyPage 3 of 176

Welcome
Thank you for choosing a Peugeot Landtrek.
This document presents the key information and recommendations required
for you to be able to explore your vehicle in complete safety. We strongly
recommend familiarising yourself with this document and the Maintenance
and Warranty Guide.
003C
00470052004600580050004800510057
country in which it was sold.
The descriptions and illustrations are for guidance only.
0024005800570052005000520045004C004F004800560003
equipment and accessories without having to update this document.
If ownership of your vehicle is transferred, please ensure this Han is
passed on to the new owner.
Key
Safety warning
Additional information
Environmental protection featureLocation of equipment/button indicated using a
black area
Key
This key allows you to identify the special features of the vehicle: Double cab
Single cab
Page 59 of 176

57
Safety
5For maximum safety, please observe the
following recommendations:
–
All children under the age of 12 or less
than 1.5 metres tall must travel in approved
child seats suited to their weight , on seats
fitted with a seat belt or ISOFIX mountings.
–
Statistically
, the safest seats in your
vehicle for carrying children are the rear
seats.
–
Children weighing less than 9 kg must
travel in the "rearward facing" position,
whether in the front or rear of the vehicle.
It is recommended that children travel
on the rear seats of the vehicle:
–
‘rearward facing’ up to the age of 3,
–
‘forward facing’ over the age of 3.
Make sure that the seat belt is correctly
positioned and tightened.
For child seats with a support leg, ensure that
the support leg is in firm and steady contact
with the floor.
Recommended child seats and
installation possibilities
For the recommended child seats and
installation possibilities in the vehicle, refer to
the seat manufacturer's instructions or contact
a PEUGEOT dealer.
Advice
An incorrectly installed child seat compromises the child's safety in the
event of an accident.
Ensure that there is no seat belt or seat belt
buckle under the child seat, as this could
destabilise it.
Remember to fasten the seat belts or the
harness of child seats, keeping the slack
relative to the child's body to a minimum,
even for short journeys.
When installing a child seat using the seat
belt, ensure that the seat belt is tightened
correctly on the child seat and that it secures
the child seat firmly on the seat of the vehicle.
If the passenger seat is adjustable, move it
forwards if necessary.
Remove the head restraint before
installing a child seat with a backrest on a
passenger seat.
Ensure that the head restraint is stored or
attached securely to prevent it from being
thrown around the vehicle in the event of
sharp braking. Refit the head restraint once
the child seat has been removed.
Installing a booster seat
The chest part of the seat belt must be
positioned on the child's shoulder without
touching the neck.
Ensure that the lap part of the seat belt
passes correctly over the child's thighs.
Use a booster seat with backrest, equipped
with a belt guide at shoulder level.
Additional protections
To prevent accidental opening of the
doors and rear windows, use the "Child lock".
Take care not to open the rear windows by
more than one third.
To protect young children from the rays of the
sun, fit side blinds on the rear windows.
As a safety precaution, do not leave:
–
a child alone and unattended in a vehicle,
–
a child or an animal in a vehicle which is
exposed to the sun, with the windows closed,
–
the keys within reach of children inside the
vehicle.
Child seat at the rear
Forward-facing or rearward-facing
► Move the vehicle's front seat forward and
straighten the backrest so that the legs of the
child in the forward-facing or rearward-facing
Page 130 of 176

128
Bluetooth® radio
Media
USB socket
Insert a USB memory stick in the USB
socket.
The system changes automatically to "USB"
source and the "USB" symbol appears at the top
left of the screen.
To protect the system, do not use a USB hub.
Any additional devices connected to the system must comply with the standard
applicable to the product and/or the standard
IEC 60950-1.
When the USB socket is used, the
portable device charges automatically.
Play mode
The play modes available are:
– Normal: the tracks are played in order,
according to the classification of the selected
files.
– Random: the tracks in an album or folder are
played in a random order.
– Random on all media : all of the tracks saved
in the media are played in random order.
– Repeat: the tracks played are only those from
the current album or folder.
Radio:
Short press: Manual step-by-step search
up/down for radio stations
Long press: automatic search of a radio station
Audio
:
Short press: go to the previous/next track
Long press: fast navigation in a track
Short press: selection of the wave ranges
(FM1/FM2/FM3/AM1/AM2)
Radio/Audio:
Short press: enter configuration mode
(time, sound environment, language settings,
etc.)
Short press on the arrows: combination of
settings.
The settings are automatically saved if no action
is taken for 5 seconds.
Steering mounted controls
Change of sound source (radio,
Bluetooth® audio streaming if phone
connected, or USB if USB key connected)”.
Volume adjustment.
Telephone: ending a call.
Radio: selection of the previous radio
station (among the memorised radio stations).
Audio: go to the previous track.
Telephone: answering a call.
Radio: selection of the next radio station (among
the memorised radio stations).
Audio: go to the next track.
Radio
Selecting a station
Press this button to select the radio.
Press consecutively to select the
waveband (FM1/FM2/FM3/AM1/AM2).
Short press: manual search up/down for
radio stations
Long press: automatic search for radio stations
Memorising a station
123456
Once the radio station has been selected, press
and hold one of these buttons to save it.
RDS
The external environment (hills, buildings, tunnels, car parks,
underground, etc.) may block reception,
including in RDS
tracking mode. This is a
normal effect of the way in which radio waves
are transmitted and does not indicate any
failure of the audio system.
RDS, if activated, allows you to continue
listening to the same station by
automatically retuning to alternative
frequencies. However, in certain conditions,
RDS station tracking may not be possible
nationwide, as radio stations do not always
cover the entire country. This can explain the
loss of reception of a station during a journey.
Procedure
Press this button several times to access
the RDS mode (AF - TA - PTY).
Press these buttons to activate/deactivate
the RDS mode (AF - TA - PTY).
AF: When the alternative frequency function
is activated, the system selects the best RDS
frequency (region code) of the station being
listened to. However, in certain conditions,
following this station is not guaranteed over the
whole country, because radio stations do not
cover 100% of the area. When the reception
is weak, the frequency switches to a regional
station.
PTY: the PTY function selects a type of
programme that radio stations broadcast. All this
information is transmitted via the RDS signal on
some radios.
Page 138 of 176

136
Peugeot Connect 10" Touchscreen
– To configure the display when the screen is
off, choose Digital, Analogue or Black.
Audio settings
Press Settings to display the main page.
Select “Audio settings” then “Treble” or
“Medium” or “Bass”.
Press Reset to restore the default settings.
BT settings
Press Settings to display the main page.
Select “BT settings”.
Activate or deactivate the Bluetooth®
search.
Activate or deactivate the synchronisation of the contacts on the paired telephone.
– Press "Local name" to change the name of
the system.
– Manage paired telephones in " Suitable
devices”.
– Press "Add device" to update the list of
detected telephones.
Customising the theme
Press Settings to display the main page.
Select "Customise".
Choose one of the themes from those offered.
Connect the USB cable. The smartphone
charges when connected by the USB
cable.
A message appears on the smartphone.
Read it and then confirm with the " Authorise"
button.
Press "CarPlay" to display the CarPlay®
interface.
MirrorLinkTM smartphone
connection
Depending on country.
The "MirrorLinkTM" function requires the
use of a compatible smartphone and
compatible
applications.
Check the compatibility of the telephone on
the Brand's website (services).
When connecting a smartphone to the
system, we recommend enabling
Bluetooth
® on the smartphone.Connect the USB cable. The smartphone
charges when connected by the USB
cable.
Press "MirrorLinkTM" to start the
application in the system.
Depending on the smartphone, it may be
necessary to activate the "MirrorLink
TM"
function.
During the procedure, several screen
pages relating to certain features are
displayed.
Accept to start and complete the connection.
Once the connection is established, a page is
displayed, showing the applications already
downloaded to the smartphone that are
compatible with MirrorLink
TM technology.
Access to the menus for the system is possible
at any time using the dedicated buttons.
There may be a pause before applications become available,
depending on the quality of the network.
Android Auto smartphone connection
Depending on country.
Install the "Android Auto" application on
the smartphone via "Google Play".
The "Android Auto" function requires the use
of a compatible smartphone and compatible
applications.
Connect the USB cable. The smartphone
charges when connected by the USB
cable.
Press "Android Auto" to start the
application in the system.
During the procedure, several screen
pages relating to certain features are
displayed.
Accept to start and complete the connection.
Access to the menus for the system is possible
at any time using the dedicated buttons.
There may be a pause before applications become available,
depending on the quality of the network.
Settings
System settings
Press Settings to display the main page.
Select "System".
–
T
o change the language, select “ Languages”.
–
T
o set the date and time automatically, choose
the time zone corresponding to the country in
which the vehicle is being driven in " Time zone".
Then choose the time display format ( 12h/24h).
–
T
o adjust the tone when touching the screen,
select "Key tone".
–
T
o adjust the volume of the touch screen and
telephone calls, move the " Automatic volume
control" and "Mobile " sliders.
Display
Press Settings to display the main page.
Select "Display".
–
T
o adjust the screen brightness, move the
"Brightness" slider.
–
Activate or deactivate video playback while
driving.
Page 142 of 176

140
Alphabetical index
H
Hazard warning lamps 48, 104
headlamp adjustment
44
Headlamp adjustment
44
Headlamp beam height
44
Headlamps, automatic illumination
44
Headlamps, dipped beam
11 0 – 111
Headlamps, halogen
11 0 – 111
Headlamps, main beam
11 0 – 111
Head restraints, front
25
Head restraints, rear
27, 29–30
Heating
31–33, 35
Hill Assist Descent Control (HADC)
51
Hill start assist
72–73
Hooks
38
Horn
49
I
Ignition 66
Ignition on
66
Ignition switch
63–64
Immobiliser, electronic
63
Indicator, coolant temperature
11
Indicators, direction
43, 111
Inflating tyres
95, 126
Infrared camera
75
Instrument panel
7, 12, 75
ISOFIX mountings
59
J
Jack 106–107
Jump starting
11 7
K
Key 16–17, 20
Key, electronic
18–19
Keyless Entry and Starting
18, 65
Key not recognised
66
Key with remote control
16–17, 63
Kit, hands-free
129–130, 134
L
Labels, identification 125
Lamps, parking
44
Lamps, rear
11 2
Lams with Full LED technology
43
Lane Departure Warning System
(LDWS)
78, 80
Leather (care)
103
LEDs - Light-emitting diodes
43, 110, 112
Level, brake fluid
93
Level, Diesel additive
95
Level, engine coolant
11, 93
Level, engine oil
92
Level, power steering fluid
93
Levels and checks
91–94
Level, screenwash fluid 46, 94
Light-emitting diodes - LEDs
43, 110, 112
Lighting
40
Lighting, cornering
43
Lighting dimmer
12
Lighting, exterior
42
Lighting, guide-me home
45
Lighting, interior
38
Lighting, mood
12
Lighting, welcome
45
Loading
40, 90
Load restraint
40
Locating your vehicle
17
Locking
17–18
Locking from the inside
19
Locking the doors
19
Low fuel level
88
M
Maintenance 96
Maintenance (advice)
102
Maintenance, routine
75, 94, 96
Manoeuvring aids (recommendations)
74
Map reading lamps
38
Markings, identification
125
Mat
37, 75
Mirror, rear view
28
Mirrors, door
28, 35
Mirror, vanity
36
Mode, driving
71
Page 166 of 176
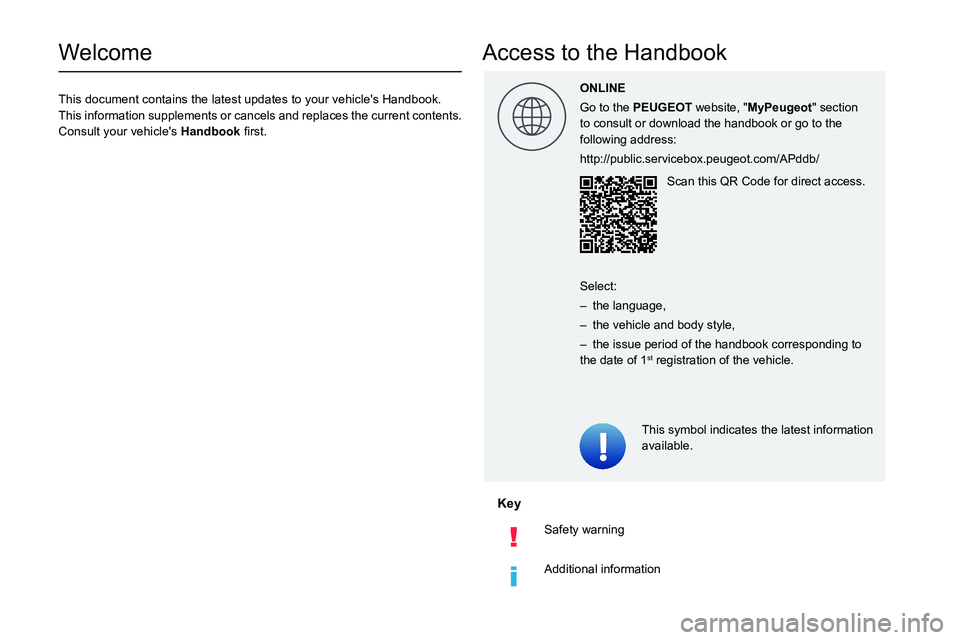
Welcome
This document contains the latest updates to your vehicle's Handbook.
This information supplements or cancels and replaces the current contents.
Consult your vehicle's Han0003
Key
Safety warning
Additional information
Access to the Handbook
This symbol indicates the latest information
available.
ONLINE
Go to the PEUGEOT
website, "MyPeugeot" section
to consult or download the handbook or go to the
following address:
http://public.servicebox.peugeot.com/APddb/
Scan this QR Code for direct access.
Select:
– the language,
– the vehicle and body style,
– the issue period of the handbook corresponding to the date of 1st registration of the vehicle.