2021 NISSAN FRONTIER automatic transmission
[x] Cancel search: automatic transmissionPage 124 of 492
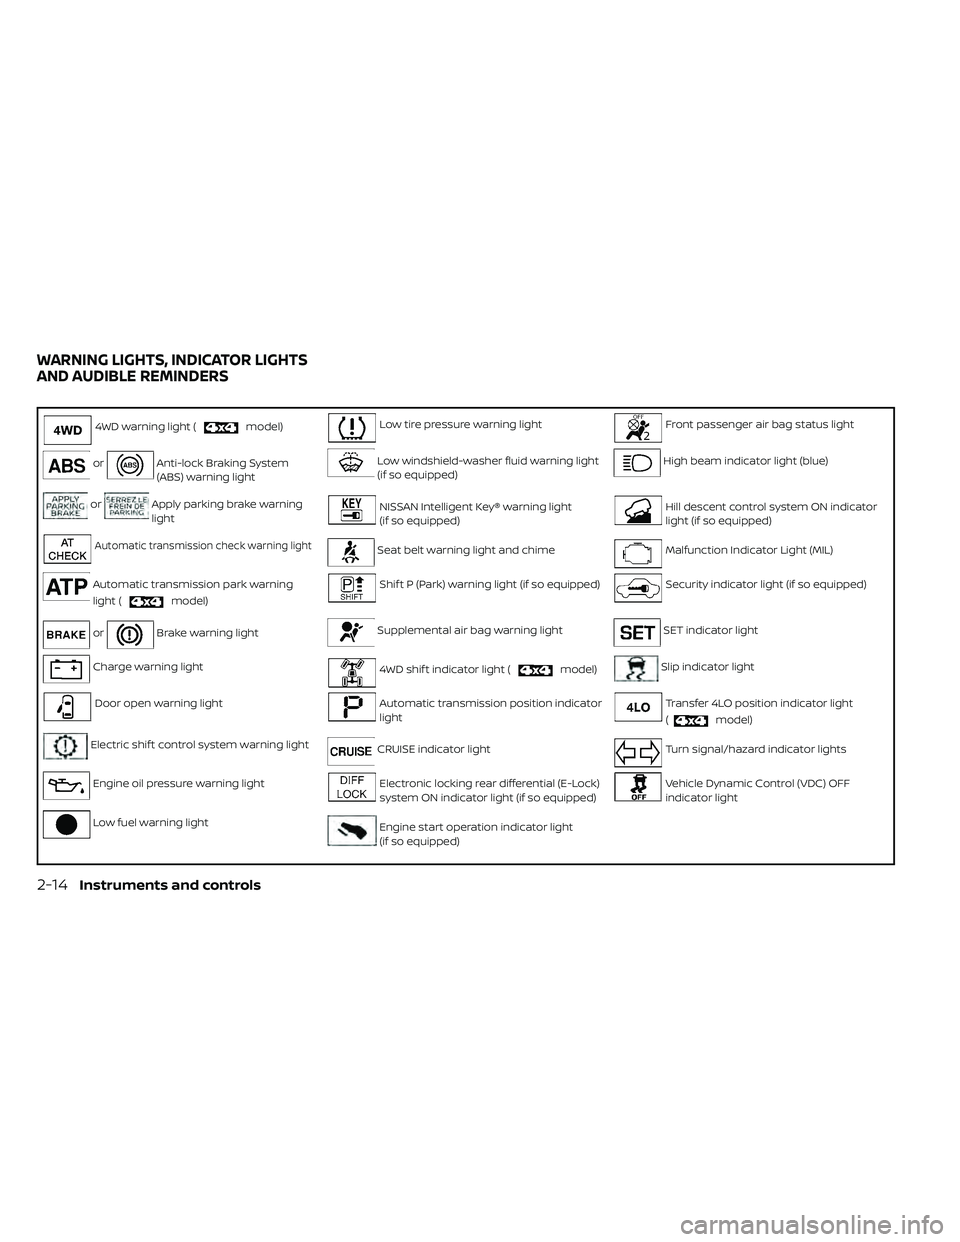
4WD warning light (model)Low tire pressure warning lightFront passenger air bag status light
orAnti-lock Braking System
(ABS) warning lightLow windshield-washer fluid warning light
(if so equipped)High beam indicator light (blue)
orApply parking brake warning
lightNISSAN Intelligent Key® warning light
(if so equipped)Hill descent control system ON indicator
light (if so equipped)
Automatic transmission check warning lightSeat belt warning light and chimeMalfunction Indicator Light (MIL)
Automatic transmission park warning
light (
model)
Shif t P (Park) warning light (if so equipped)Security indicator light (if so equipped)
orBrake warning lightSupplemental air bag warning lightSET indicator light
Charge warning light4WD shif t indicator light (model)Slip indicator light
Door open warning lightAutomatic transmission position indicator
lightTransfer 4LO position indicator light
(
model)
Electric shif t control system warning lightCRUISE indicator lightTurn signal/hazard indicator lights
Engine oil pressure warning lightElectronic locking rear differential (E-Lock)
system ON indicator light (if so equipped)Vehicle Dynamic Control (VDC) OFF
indicator light
Low fuel warning lightEngine start operation indicator light
(if so equipped)
WARNING LIGHTS, INDICATOR LIGHTS
AND AUDIBLE REMINDERS
2-14Instruments and controls
Page 126 of 492
If an ABS malfunction occurs, the anti-lock
function is turned off. The brake system
then operates normally but without anti-
lock assistance. For additional information,
refer to “Brake system” in the “Starting and
driving” section of this manual.
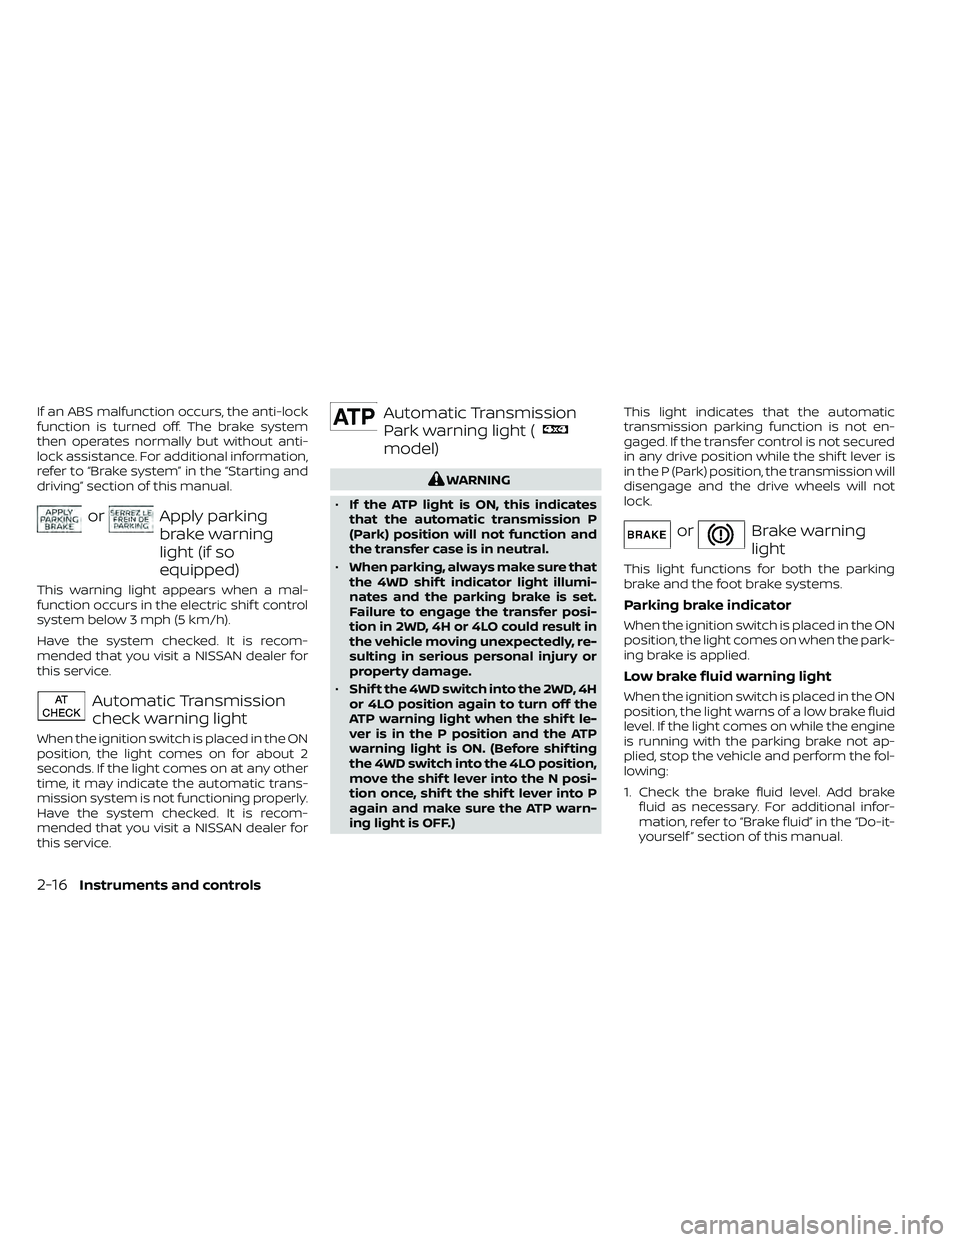
orApply parking
brake warning
light (if so
equipped)
This warning light appears when a mal-
function occurs in the electric shif t control
system below 3 mph (5 km/h).
Have the system checked. It is recom-
mended that you visit a NISSAN dealer for
this service.
Automatic Transmission
check warning light
When the ignition switch is placed in the ON
position, the light comes on for about 2
seconds. If the light comes on at any other
time, it may indicate the automatic trans-
mission system is not functioning properly.
Have the system checked. It is recom-
mended that you visit a NISSAN dealer for
this service.
Automatic Transmission
Park warning light (
model)
orBrake warning
light
This light functions for both the parking
brake and the foot brake systems.
Parking brake indicator
When the ignition switch is placed in the ON
position, the light comes on when the park-
ing brake is applied.
Low brake fluid warning light
When the ignition switch is placed in the ON
position, the light warns of a low brake fluid
level. If the light comes on while the engine
is running with the parking brake not ap-
plied, stop the vehicle and perform the fol-
lowing:
1. Check the brake fluid level. Add brakefluid as necessary. For additional infor-
mation, refer to “Brake fluid” in the “Do-it-
yourself ” section of this manual.
2-16Instruments and controls
Page 168 of 492
NOTE:
Once the button is pressed, you have ap-
proximately 30 seconds to initiate the
next step.
6. Return to the vehicle and firmly pressand hold the trained HomeLink® button
for 2 seconds and release. Repeat the
“press/hold/release” sequence up to
three times to complete the training
process. HomeLink® should now acti-
vate your rolling code equipped device.
7. If you have any questions or are having difficulty programming your HomeLink®
buttons, refer to the HomeLink® web site
at: www.homelink.com or call
1-800-355-3515.
PROGRAMMING HOMELINK® FOR
CANADIAN CUSTOMERS AND GATE
OPENERS
Canadian radio-frequency laws require
transmitter signals to “time-out” (or quit)
af ter several seconds of transmission –
which may not be long enough for
HomeLink® to pick up the signal during
training. Similar to this Canadian law, some
U.S. gate operators are designed to “tim-
eout” in the same manner. If you live in Canada or you are having diffi-
culties training a gate operator
orgarage
door opener by using the “Training” proce-
dures, replace “Programming HomeLink®”
step 2 with the following:
NOTE:
When programming a garage door
opener, etc., unplug the device during
the “cycling” process to prevent possible
damage to the garage door opener
components.
1. For additional information, refer to “Pro-
gramming HomeLink®” step 1 in this
section.
2. Using both hands, simultaneously press and hold the desired HomeLink® button
and the hand-held transmitter button.
During training, your hand-held trans-
mitter may automatically stop transmit-
ting. Continue to press and hold the de-
sired HomeLink® button while you press
and re-press (“cycle”) your hand-held
transmitter every 2 seconds until the
frequency signal has been learned. The
HomeLink® indicator light will flash
slowly and then rapidly af ter several
seconds upon successful training. DO
NOT release until the HomeLink® indica-
tor light flashes slowly and then rapidly. When the indicator light flashes rapidly,
both buttons may be released. The rapid
flashing indicates successful training.
Proceed with “Programming
HomeLink®” step 3 to complete.
If the device was unplugged during the
programming procedure, remember to
plug it back in when programming is
completed.
OPERATING THE HOMELINK®
UNIVERSAL TRANSCEIVER
The HomeLink® Universal Transceiver, af ter
it is programmed, can be used to activate
the programmed device. To operate, sim-
ply press and release the appropriate pro-
grammed HomeLink® Universal Trans-
ceiver button. The amber indicator light will
illuminate while the signal is being trans-
mitted.
For convenience, the hand-held transmit-
ter of the device may also be used at any
time.
2-58Instruments and controls
Page 177 of 492
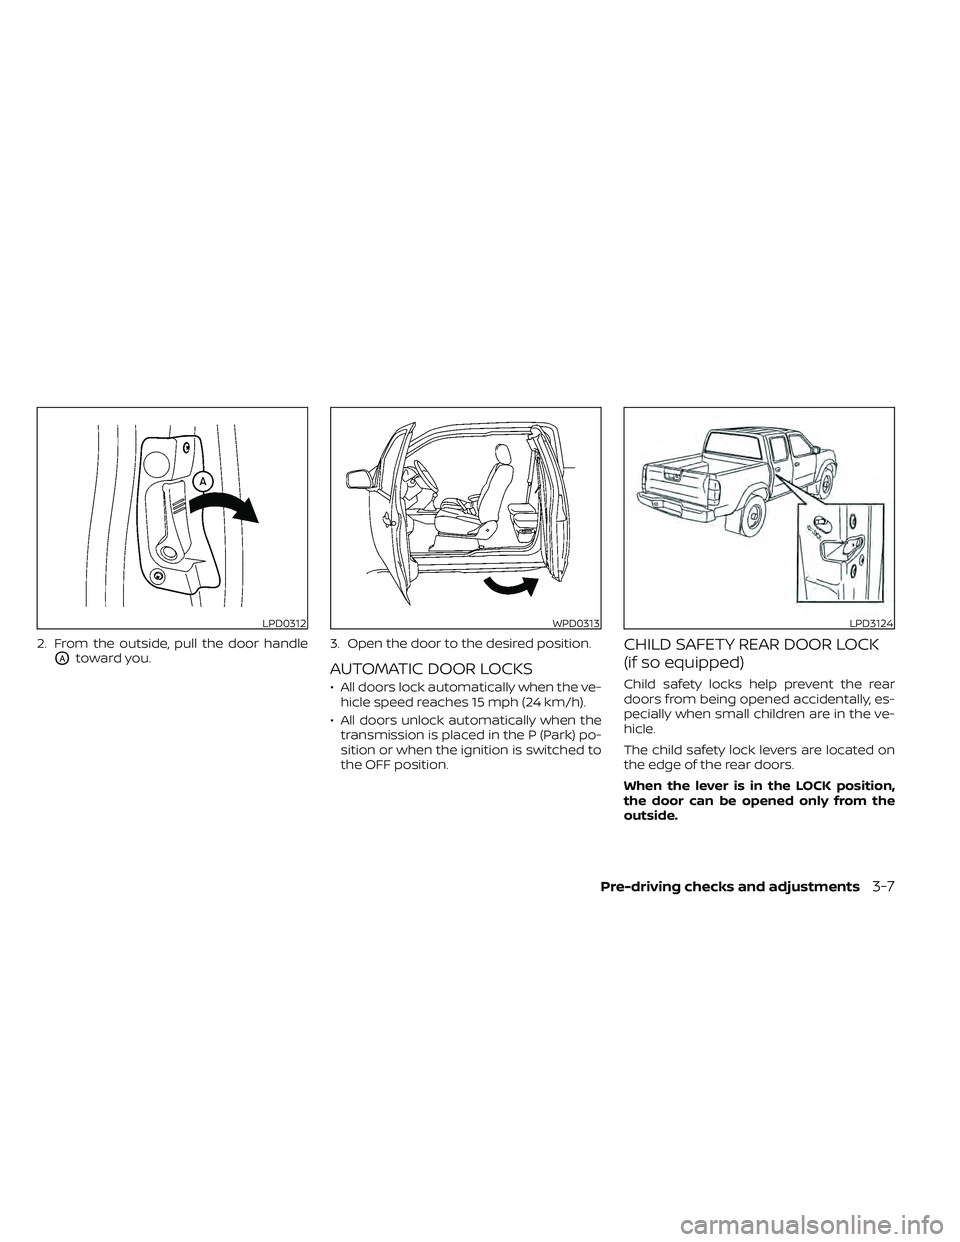
2. From the outside, pull the door handle
OAtoward you.3. Open the door to the desired position.AUTOMATIC DOOR LOCKS
• All doors lock automatically when the ve-
hicle speed reaches 15 mph (24 km/h).
• All doors unlock automatically when the transmission is placed in the P (Park) po-
sition or when the ignition is switched to
the OFF position.
CHILD SAFETY REAR DOOR LOCK
(if so equipped)
Child safety locks help prevent the rear
doors from being opened accidentally, es-
pecially when small children are in the ve-
hicle.
The child safety lock levers are located on
the edge of the rear doors.
When the lever is in the LOCK position,
the door can be opened only from the
outside.
WPD0313LPD3124
Page 308 of 492
5 Starting and driving
Precautions when starting and driving..........5-2
Exhaust gas (carbon monoxide) ..............5-2
Three-way catalyst ...........................5-3
Tire Pressure Monitoring System
(TPMS) .......................................5-3
On-pavement and off-road driving
precautions ..................................5-6
Avoiding collision and rollover ................5-6
Off-roadrecovery ............................5-7
Rapid air pressure loss .......................5-7
Drinking alcohol/drugs and driving ...........5-8
Driving safety precautions ....................5-8
Push-button ignition switch ....................5-10
Operating range ............................. 5-11
Push-button ignition switch positions ........5-11
Emergency engine shut off ..................5-12
NISSAN Intelligent Key® battery
discharge ................................... 5-12
NISSAN Vehicle Immobilizer System .........5-13
Before starting the engine .....................5-13
Starting the engine ............................. 5-13
Driving the vehicle .............................. 5-14
Automatic transmission (A/T) ...............5-14
Parking brake .................................. 5-19
Cruise control .................................. 5-19
Precautions on cruise control ...............5-19Cruise control operations
...................5-20
Break-in schedule .............................. 5-21
Fuel efficient driving tips ........................5-21
Increasing fuel economy .......................5-23
Using 4–Wheel Drive (4WD)
(if so equipped) ................................. 5-23
Transfer case shif ting procedures ...........5-24
Electronic locking rear differential (E-Lock)
system (if so equipped) ......................... 5-29
Parking/parking on hills ........................5-31
Power steering ................................. 5-32
Brake system .................................. 5-32
Brake precautions ........................... 5-32
Anti-lock Braking System (ABS) ..............5-33
Active Brake Limited Slip (ABLS) system ........5-34
Vehicle Dynamic Control (VDC) system .........5-35
Brake force distribution .....................5-36
Hill descent control system (if so equipped) ....5-37
Hill start assist system (if so equipped) .........5-38
Rear Sonar System (RSS) (if so equipped) .......5-39
Cold weather driving ........................... 5-40
Freeing a frozen door lock ...................5-40
Antifreeze ................................... 5-40
Battery...................................... 5-40
Draining of coolant water ...................5-40
Page 323 of 492
CAUTION
• To avoid possible damage to your ve-
hicle, when stopping the vehicle on
an uphill grade, do not hold the ve-
hicle by depressing the accelerator
pedal. The foot brake should be used
for this purpose.
The A/T in your vehicle is electronically con-
trolled to produce maximum power and
smooth operation.
The recommended operating procedures
for this transmission are shown on the fol-
lowing pages. Follow these procedures for
maximum vehicle performance and driv-
ing enjoyment.
Starting the vehicle
1. Af ter starting the engine, fully depress the foot brake pedal before moving the
shif t lever out of the P (Park) position.
2. Keep the foot brake pedal depressed and move the shif t lever into a driving
gear.
3. Release the foot brake, then gradually start the vehicle in motion. The automatic transmission is designed
so the foot brake pedal MUST be de-
pressed before shif ting from P (Park) to
any drive position while the ignition
switch is in the ON position.
The shif t lever cannot be moved out of
the P (Park) position and into any of the
other gear positions if the ignition
switch is placed in the LOCK or OFF posi-
tion.
The shif t lever may not be moved out of
the P (Park) position and into any of the
other gear positions if the ignition
switch is placed in the ON position, but
the engine is not running and the out-
side temperature is extremely low.
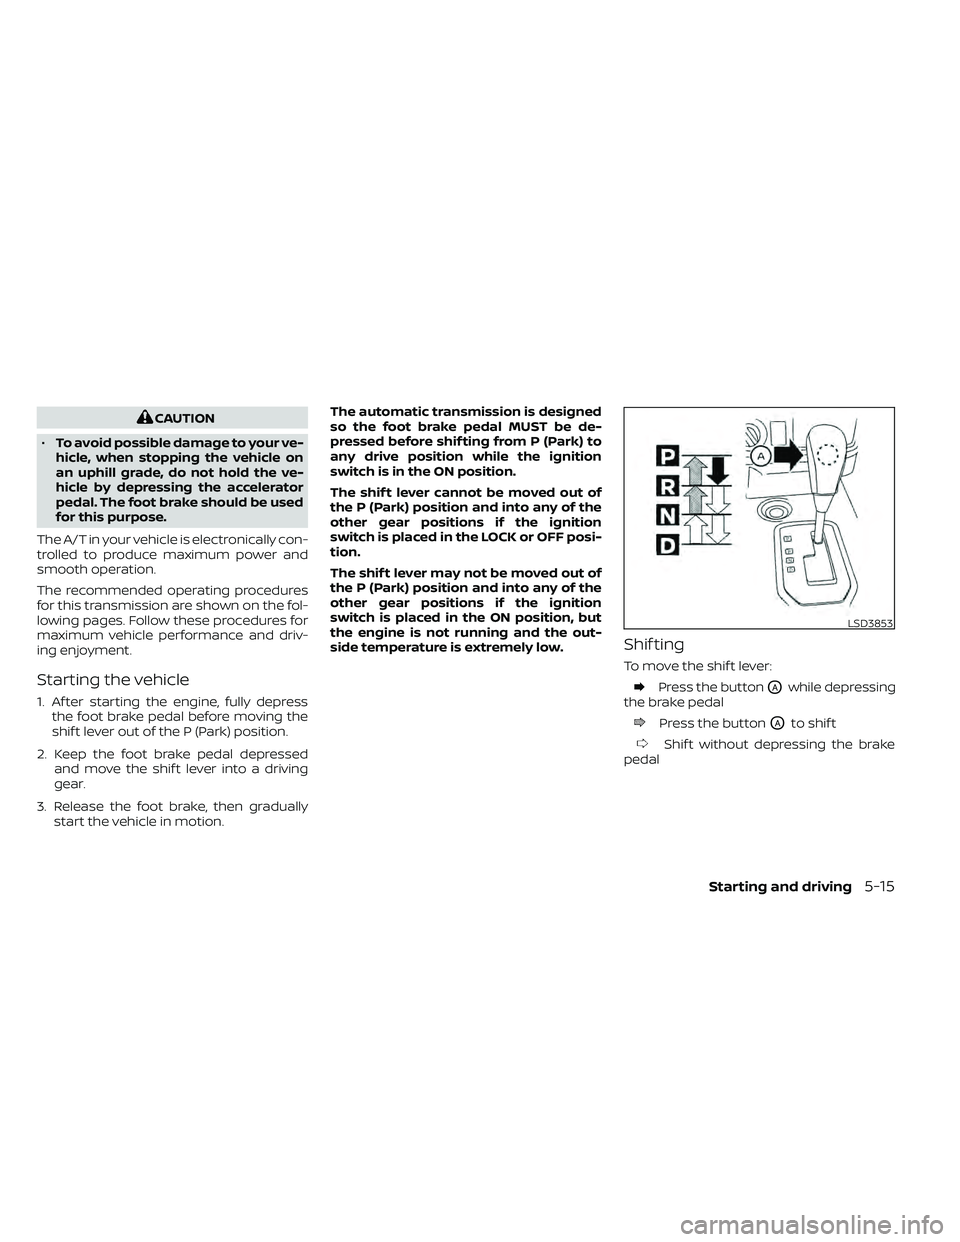
Shif ting
To move the shif t lever:
Press the buttonOAwhile depressing
the brake pedal
Press the buttonOAto shif t
Shif t without depressing the brake
pedal
LSD3853
Page 324 of 492
Shif ting
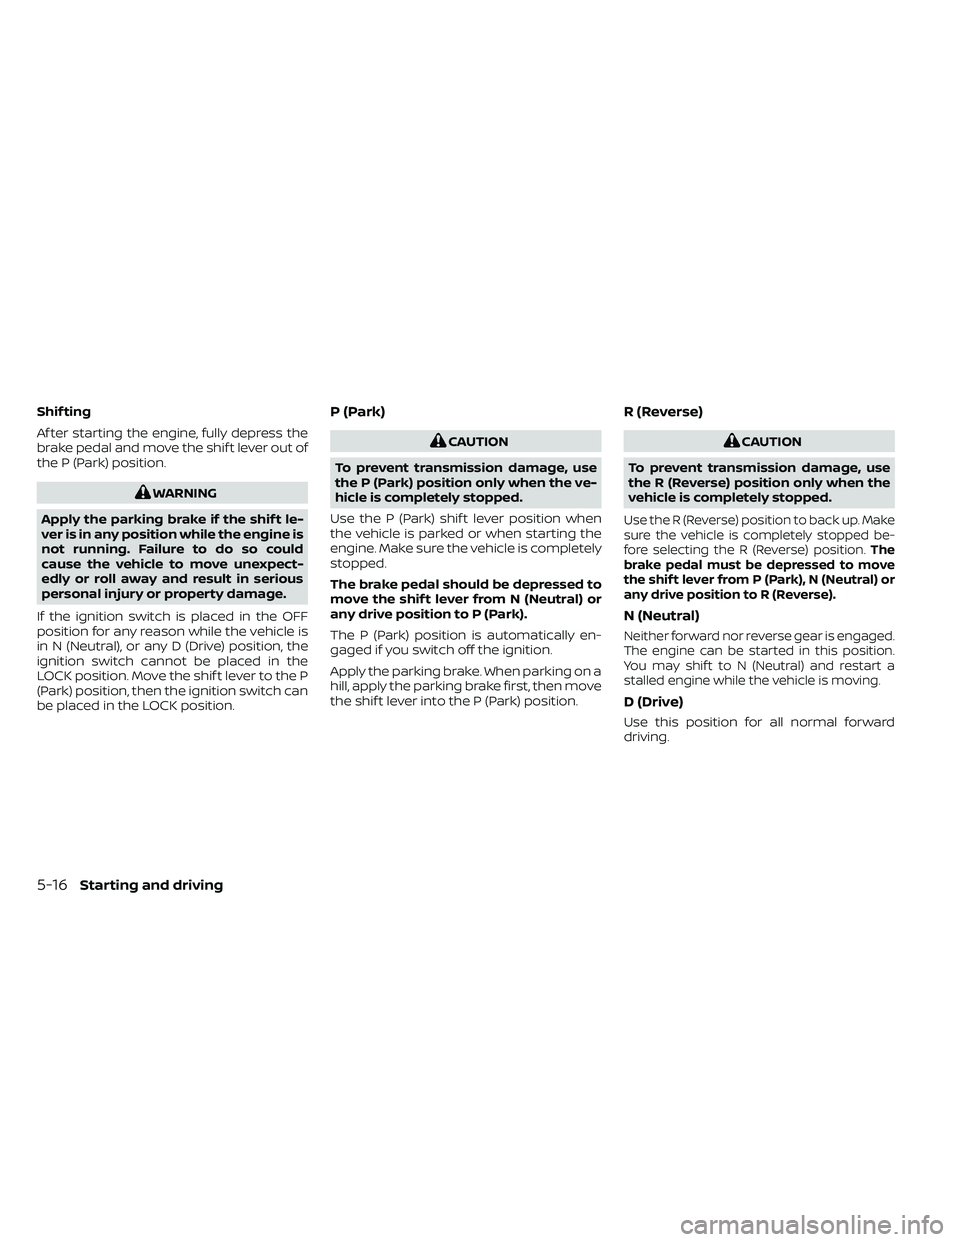
Af ter starting the engine, fully depress the
brake pedal and move the shif t lever out of
the P (Park) position.
CAUTION
To prevent transmission damage, use
the P (Park) position only when the ve-
hicle is completely stopped.
Use the P (Park) shif t lever position when
the vehicle is parked or when starting the
engine. Make sure the vehicle is completely
stopped.
The brake pedal should be depressed to
move the shif t lever from N (Neutral) or
any drive position to P (Park).
The P (Park) position is automatically en-
gaged if you switch off the ignition.
Apply the parking brake. When parking on a
hill, apply the parking brake first, then move
the shif t lever into the P (Park) position.
R (Reverse)
CAUTION
To prevent transmission damage, use
the R (Reverse) position only when the
vehicle is completely stopped.
Use the R (Reverse) position to back up. Make
sure the vehicle is completely stopped be-
fore selecting the R (Reverse) position. The
brake pedal must be depressed to move
the shif t lever from P (Park), N (Neutral) or
any drive position to R (Reverse).
N (Neutral)
Neither forward nor reverse gear is engaged.
The engine can be started in this position.
You may shif t to N (Neutral) and restart a
stalled engine while the vehicle is moving.
D (Drive)
Use this position for all normal forward
driving.
5-16Starting and driving
Page 326 of 492
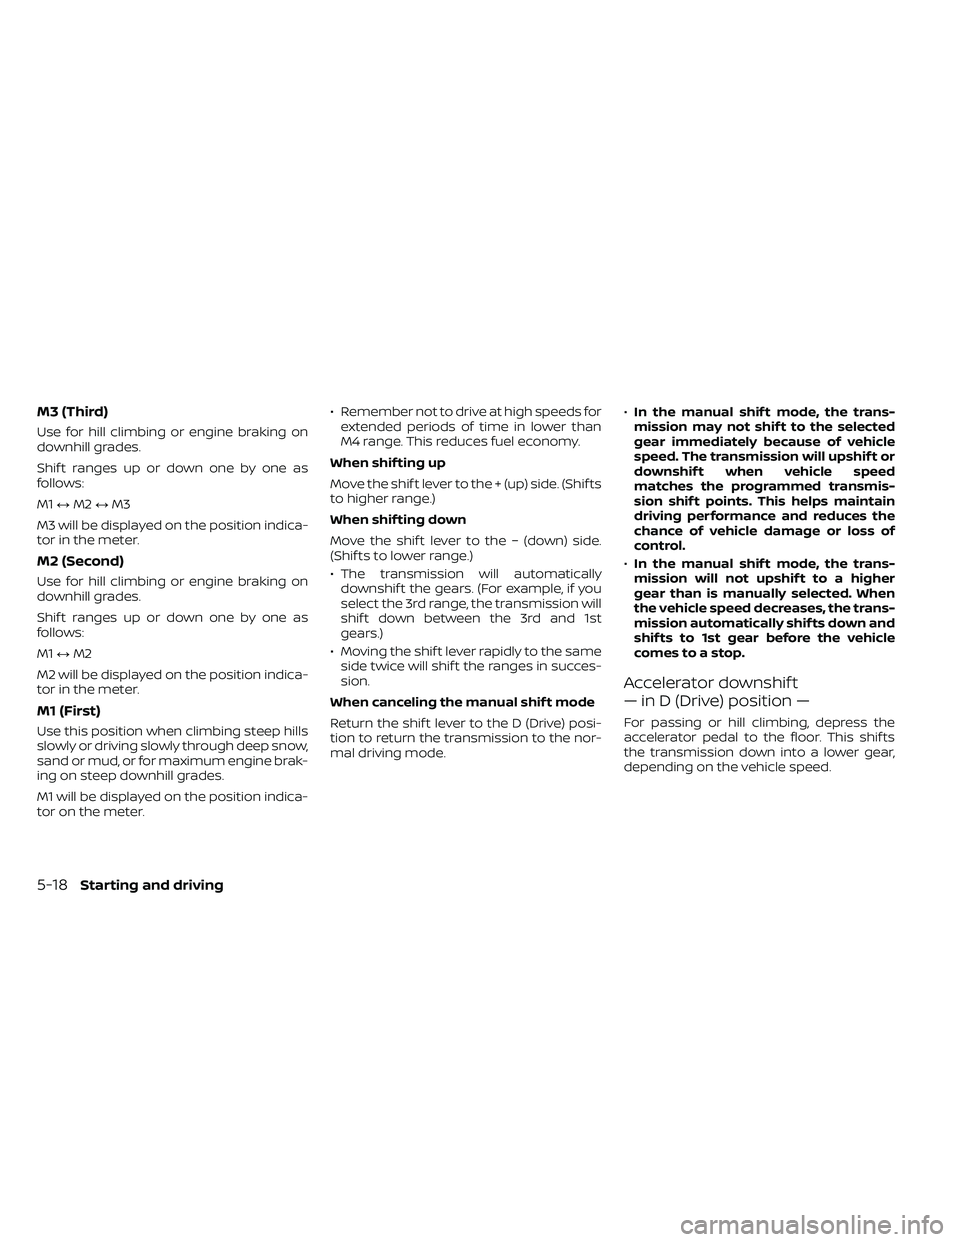
M3 (Third)
Use for hill climbing or engine braking on
downhill grades.
Shif t ranges up or down one by one as
follows:
M1↔M2 ↔M3
M3 will be displayed on the position indica-
tor in the meter.
M2 (Second)
Use for hill climbing or engine braking on
downhill grades.
Shif t ranges up or down one by one as
follows:
M1 ↔M2
M2 will be displayed on the position indica-
tor in the meter.
M1 (First)
Use this position when climbing steep hills
slowly or driving slowly through deep snow,
sand or mud, or for maximum engine brak-
ing on steep downhill grades.
M1 will be displayed on the position indica-
tor on the meter. • Remember not to drive at high speeds for
extended periods of time in lower than
M4 range. This reduces fuel economy.
When shif ting up
Move the shif t lever to the + (up) side. (Shif ts
to higher range.)
When shif ting down
Move the shif t lever to the − (down) side.
(Shif ts to lower range.)
• The transmission will automatically downshif t the gears. (For example, if you
select the 3rd range, the transmission will
shif t down between the 3rd and 1st
gears.)
• Moving the shif t lever rapidly to the same side twice will shif t the ranges in succes-
sion.
When canceling the manual shif t mode
Return the shif t lever to the D (Drive) posi-
tion to return the transmission to the nor-
mal driving mode. •
In the manual shif t mode, the trans-
mission may not shif t to the selected
gear immediately because of vehicle
speed. The transmission will upshif t or
downshif t when vehicle speed
matches the programmed transmis-
sion shif t points. This helps maintain
driving performance and reduces the
chance of vehicle damage or loss of
control.
• In the manual shif t mode, the trans-
mission will not upshif t to a higher
gear than is manually selected. When
the vehicle speed decreases, the trans-
mission automatically shif ts down and
shif ts to 1st gear before the vehicle
comes to a stop.
Accelerator downshif t
— in D (Drive) position —
For passing or hill climbing, depress the
accelerator pedal to the floor. This shif ts
the transmission down into a lower gear,
depending on the vehicle speed.
5-18Starting and driving