2021 HYUNDAI TUCSON HYBRID warning light
[x] Cancel search: warning lightPage 242 of 630

05
5-85
hIgh Beam assIsT (hBa)
ODN8059206
High Beam Assist will automatically
adjust the headlamp range (switches
between high beam and low beam)
depending on the brightness of detected
vehicles and certain road conditions.
Detecting sensor (Front view
camera)
ONX4070075[1] : Front view camera
The front view camera is used as a
detecting sensor to detect ambient light
and brightness while driving.
Refer to the picture above for the
detailed location of the detecting sensor.
NOTICE
Always keep the front view camera in
good condition to maintain optimal
performance of High Beam Assist.
For more details on the precautions
of the front view camera, refer to
“Forward Collision-Avoidance Assist
(FCA)” section in chapter 7.
System settings
With the engine on, select ‘Lights → High Beam Assist (or HBA (High Beam Assist))’
from the Settings menu to turn on High
Beam Assist and deselect to turn off the
system.
WARNING
For your safety, change the Settings
after parking the vehicle at a safe
location.
Page 243 of 630

Convenient features
5-86
System operation
Display and control
• After selecting ‘High Beam Assist’
in the Settings menu, High Beam
Assist will operate by following the
procedure below.
- Place the headlamp swit
ch in
the AUTO position and push
the headlamp lever towards the
instrument cluster. The High Beam
Assist (
) indicator light will
illuminate on the cluster and the
system will be enabled.
- When the sy
stem is enabled, high
beam will turn on when vehicle
speed is above 25 mph (40 km/h).
When vehicle speed is below 15
mph (25 km/h), high beam will not
turn on.
- The High Beam () indicator light
will illuminate on the cluster when
high beam is on.
• When High Beam Assist is operating, if
the headlamp lever or switch is used,
the system operates as follow:
- If the headlamp lev
er is pulled
towards you when the high beam
is off, the high beam will turn on
without High Beam Assist canceled.
When you let go of the headlamp
lever, the lever will move to the
middle and the high beam will turn
off.
- If the headlamp lev
er is pulled
towards you when the high beam is
on by High Beam Assist, low beam
will be on and the system will turn
off.
- If the headlamp swit
ch is placed
from AUTO to another position
(headlamp/position/off), High
Beam Assist will turn off and the
corresponding lamp will turn on. •
When High Beam Assist is operating,
high beam switches to low beam if
any of the following conditions occur:
- When the headlamp of an
oncoming v
ehicle is detected.
- When the tail lamp of a v
ehicle in
front is detected.
- When the headlamp or tail lamp of a mo
torcycle or a bicycle is detected.
- When the surrounding ambien
t light
is bright enough that high beams
are not required.
- When str
eetlights or other lights are
detected.
System malfunction and
limitations
System malfunction
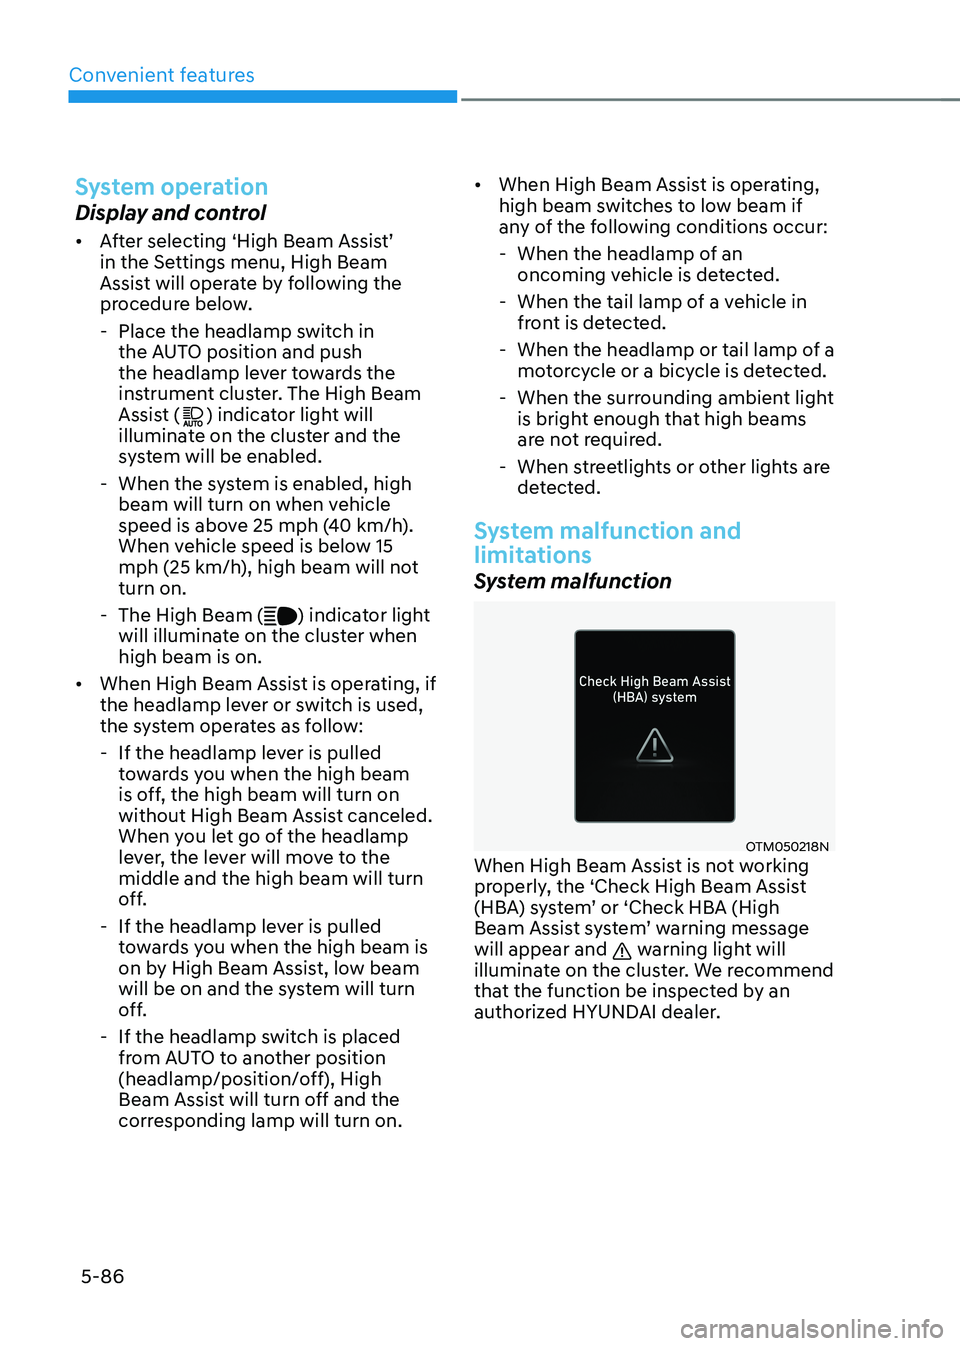
OTM050218NWhen High Beam Assist is not working
properly, the ‘Check High Beam Assist
(HBA) system’ or ‘Check HBA (High
Beam Assist system’ warning message
will appear and
warning light will
illuminate on the cluster. We recommend
that the function be inspected by an
authorized HYUNDAI dealer.
Page 244 of 630

05
5-87
Limitations of the system
High Beam Assist may not work properly
in the following situations:
• Light from a vehicle is not detected
because of lamp damage, or because
it is hidden from sight, etc.
• Headlamp of a vehicle is covered with
dust, snow or water.
• A vehicle’s headlamps are off but the
fog lamps are on and etc.
• There is a lamp that has a similar
shape as a vehicle’s lamp.
• Headlamps have been damaged or
not repaired properly.
• Headlamps are not aimed properly.
• Driving on a narrow curved road,
rough road, uphill or downhill.
• Vehicle in front is partially visible on a
crossroad or curved road.
• There is a traffic light, reflecting sign,
flashing sign or mirror ahead.
• There is a temporary reflector or flash
ahead (construction area).
• The road conditions are bad such as
being wet, iced or covered with snow.
• A vehicle suddenly appears from a
curve.
• The vehicle is tilted from a flat tire or
is being towed.
• Light from a vehicle is not detected
because of exhaust fume, smoke, fog,
snow, etc.
For more details on the limitations
of the front view camera, refer to
“Forward Collision-Avoidance Assist
(FCA)” section in chapter 7. WARNING
• At times, High Beam Assist may not
work properly. It is the responsibility
of the driver for safe driving
practices and always check the road
conditions for your safety.
• When High Beam Assist does
not operate normally, change
the headlamp position manually
between high beam and low beam.
Page 245 of 630

Convenient features
5-88
interior lights
WARNING
Do not use the interior lights when
driving in the dark. The interior lights
may obscure your view and cause an
accident.
NOTICE
Do not use the interior lights for
extended periods when the vehicle is
turned off or the battery will discharge.
Interior Lamp AUTO OFF
The interior lamps will automatically go
off approximately 10 minutes after the
vehicle is turned off and the doors are
closed. If a door is opened, the lamp
will go off 40 minutes after the vehicle
is turned off. If the doors are locked by
the smart key and the vehicle enters the
armed stage of the theft alarm system,
the lamps will go off five seconds later.
Front lamps
ONX4H050006N
Front room lamp (1) :
Press the button to turn ON the room
lamp for the front/rear seats.
Front Door Lamp (2) (
):
The front or rear room lamps come on
when the front or rear doors are opened
if the engine is running or not. When
doors are unlocked by the remote key or
smart key, the front and rear lamps come
on for approximately 30 seconds as long
as any door is not opened. The front and
rear room lamps go out gradually after
approximately 30 seconds when the door
is closed. However, if the ignition switch
is in the ON position or all doors are
locked, the front and rear lamps will turn
off. If a door is opened with the ignition
switch in the ACC position or the OFF
position, the front and rear lamps stay on
for about 20 minutes.
Front Map Lamp (3):
Press either lenses to turn the map lamp
on or off. This light produces a spot
beam for convenient use as a map lamp
at night or as a personal lamp for the
driver and the front passenger.
Page 250 of 630

05
5-93
AUTO Wiper Control (if equipped)
ONX4EH050002
The rain sensor located on the upper
end of the windshield glass senses
the amount of rainfall and controls the
wiping cycle for the proper interval.
The wiper operation time will be
automatically controlled depends on
rainfall.
When the rain stops, the wiper stops.
To vary the sensitivity setting, turn the
sensitivity control knob.
If the wiper switch is set in AUTO mode
when the Engine Start/Stop button is in
the ON position, the wiper will operate
once to perform a self-check of the
system. Set the wiper to the OFF position
when the wiper is not in use.
WARNING
To avoid personal injury from the
windshield wipers, when the engine
is running and the windshield wiper
switch is placed in the AUTO mode:
• Do not touch the upper end of the
windshield glass facing the rain
sensor.
• Do not wipe the upper end of the
windshield glass with a damp or wet
cloth.
• Do not put pressure on the
windshield glass.
NOTICE
• When washing the vehicle, set the
wiper switch in the OFF position to
stop the auto wiper operation. The
wiper may operate and be damaged
if the switch is set in the AUTO mode
while washing the vehicle.
• Do not remove the sensor cover
located on the upper end of the
passenger side windshield glass.
Damage to system components
could occur and may not be covered
by your vehicle warranty.
• Because of using a photo sensor,
temporary malfunction could occur
according to sudden ambient light
change made by stone and dust
while driving.
Page 273 of 630

Convenient features5-116
sTorage ComParTmenT
WARNING
Never store cigarette lighters, propane
cylinders, or other flammable/explosive
materials in the vehicle. These items
may catch fire and/or explode if the
vehicle is exposed to hot temperatures
for extended periods.
WARNING
ALWAYS keep the storage compartment
covers closed securely while driving.
Items inside your vehicle are moving as
fast as the vehicle. If you have to stop
or turn quickly, or if there is a crash, the
items may fly out of the compartment
and may cause an injury if they strike
the driver or a passenger.
NOTICE
To avoid possible theft, do not leave
valuables in the storage compartments.
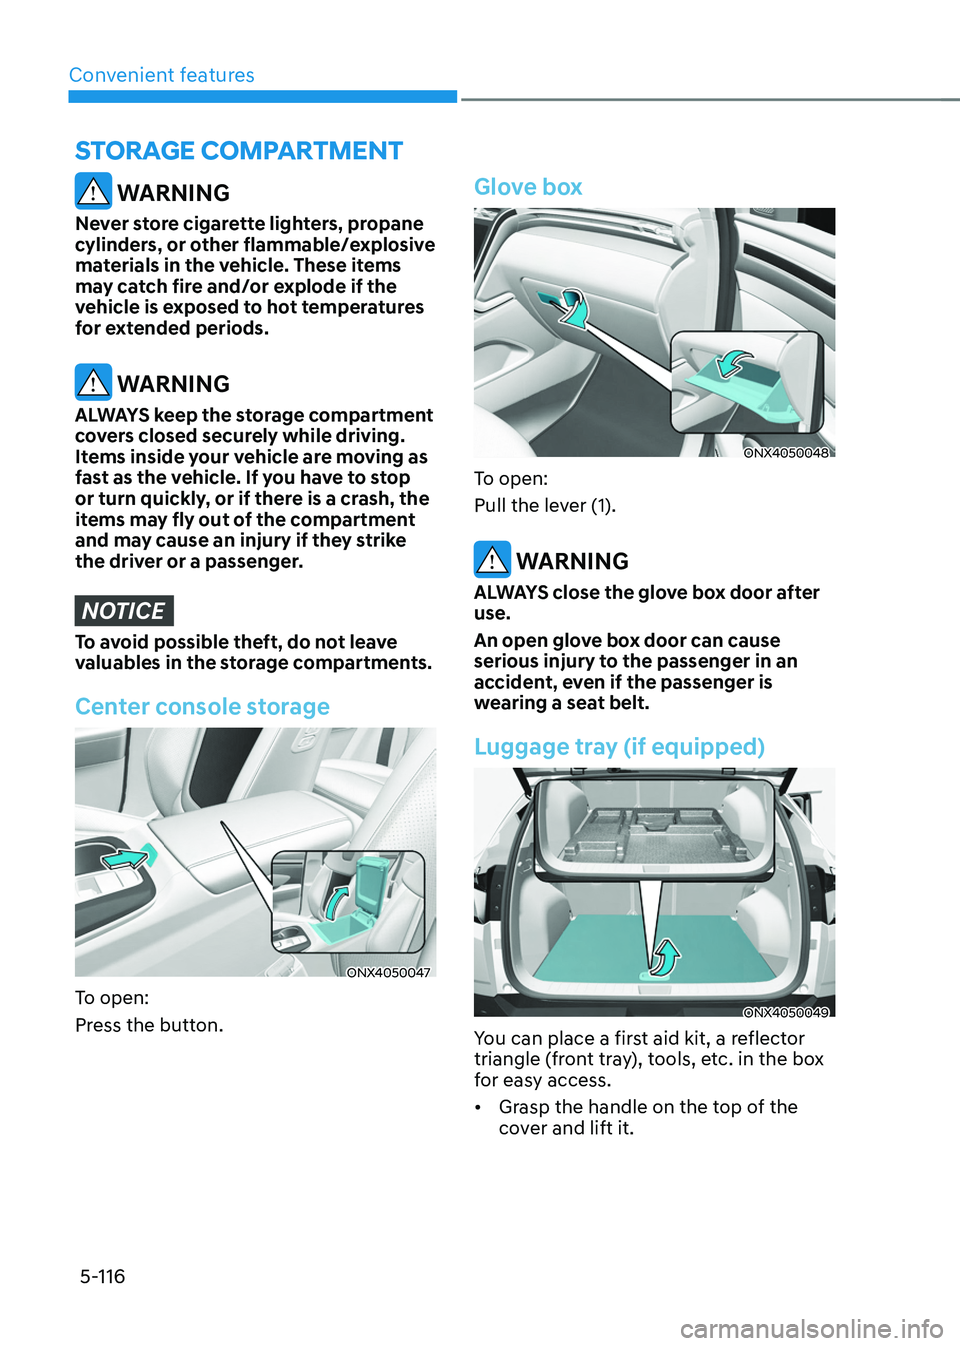
Center console storage
ONX4050047
To open:
Press the button.
Glove box
ONX4050048
To open:
Pull the lever (1).
WARNING
ALWAYS close the glove box door after
use.
An open glove box door can cause
serious injury to the passenger in an
accident, even if the passenger is
wearing a seat belt.
Luggage tray (if equipped)
ONX4050049
You can place a first aid kit, a reflector
triangle (front tray), tools, etc. in the box
for easy access.
• Grasp the handle on the top of the
cover and lift it.
Page 274 of 630
![HYUNDAI TUCSON HYBRID 2021 Owners Manual 05
5-117
interior feAtures
Cup holder
„„Front
ONX4050050
„„Second row
ONX4050051
[A] : Press
Cups or small beverages cups may be
placed in the cup holders.
WARNING
• Avoid abru HYUNDAI TUCSON HYBRID 2021 Owners Manual 05
5-117
interior feAtures
Cup holder
„„Front
ONX4050050
„„Second row
ONX4050051
[A] : Press
Cups or small beverages cups may be
placed in the cup holders.
WARNING
• Avoid abru](/manual-img/35/56199/w960_56199-273.png)
05
5-117
interior feAtures
Cup holder
„„Front
ONX4050050
„„Second row
ONX4050051
[A] : Press
Cups or small beverages cups may be
placed in the cup holders.
WARNING
• Avoid abrupt starting and braking
when the cup holder is in use to
prevent spilling your drink. If hot
liquid spills, you could be burned.
Such a burn to the driver could cause
loss of vehicle control resulting in an
accident.
• Do not place uncovered or unsecured
cups, bottles, cans, etc., in the cup
holder containing hot liquid while
the vehicle is in motion. Injuries may
result in the event of a sudden stop
or collision.
• Only use soft cups in the cup holders.
Hard objects can injure you in an
accident.
WARNING
Keep cans or bottles out of direct sun
light and do not put them in a hot
vehicle. It may explode.
NOTICE
• Keep your drinks sealed while
driving to prevent spilling your drink.
If liquid spills, it may get into the
vehicle’s electrical/electronic system
and damage electrical/electronic
parts.
• When cleaning spilled liquids do not
use hot air to blow out or dry the cup
holder. This may damage the interior.
Page 281 of 630

Convenient features
5-124
Floor mat anchor(s)
ALWAYS use the Floor Mat Anchors to
attach the front floor mats to the vehicle.
The anchors on the front floor carpet
keep the floor mats from sliding forward.
WARNING
Do not overlay additional mats or liners
over the floor mats. If using All Weather
mats, remove the carpeted floor mats
before installing them. Only use floor
mats designed to connect to the
anchors.
WARNING
The following must be observed when
installing ANY floor mat to the vehicle.
• Ensure to remove a protective
film attached on the carpet
before attaching a floor mat on
the front floor carpet. Otherwise,
the floor mat may move freely on
the protective film and it could
result in unintentional braking or
accelerating.
• Ensure that the floor mats are
securely attached to the vehicle’s
floor mat anchor(s) before driving
the vehicle.
• Do not use ANY floor mat that cannot
be firmly attached to the vehicle’s
floor mat anchors.
• Do not stack floor mats on top of one
another (e.g. all-weather rubber mat
on top of a carpeted floor mat). Only
a single floor mat should be installed
in each position.
IMPORTANT - Your vehicle was
manufactured with driver’s side floor
mat anchors that are designed to
securely hold the floor mat in place.
To avoid any interference with pedal
operation, HYUNDAI recommends that
the HYUNDAI floor mat designed for use
in your vehicle be installed.
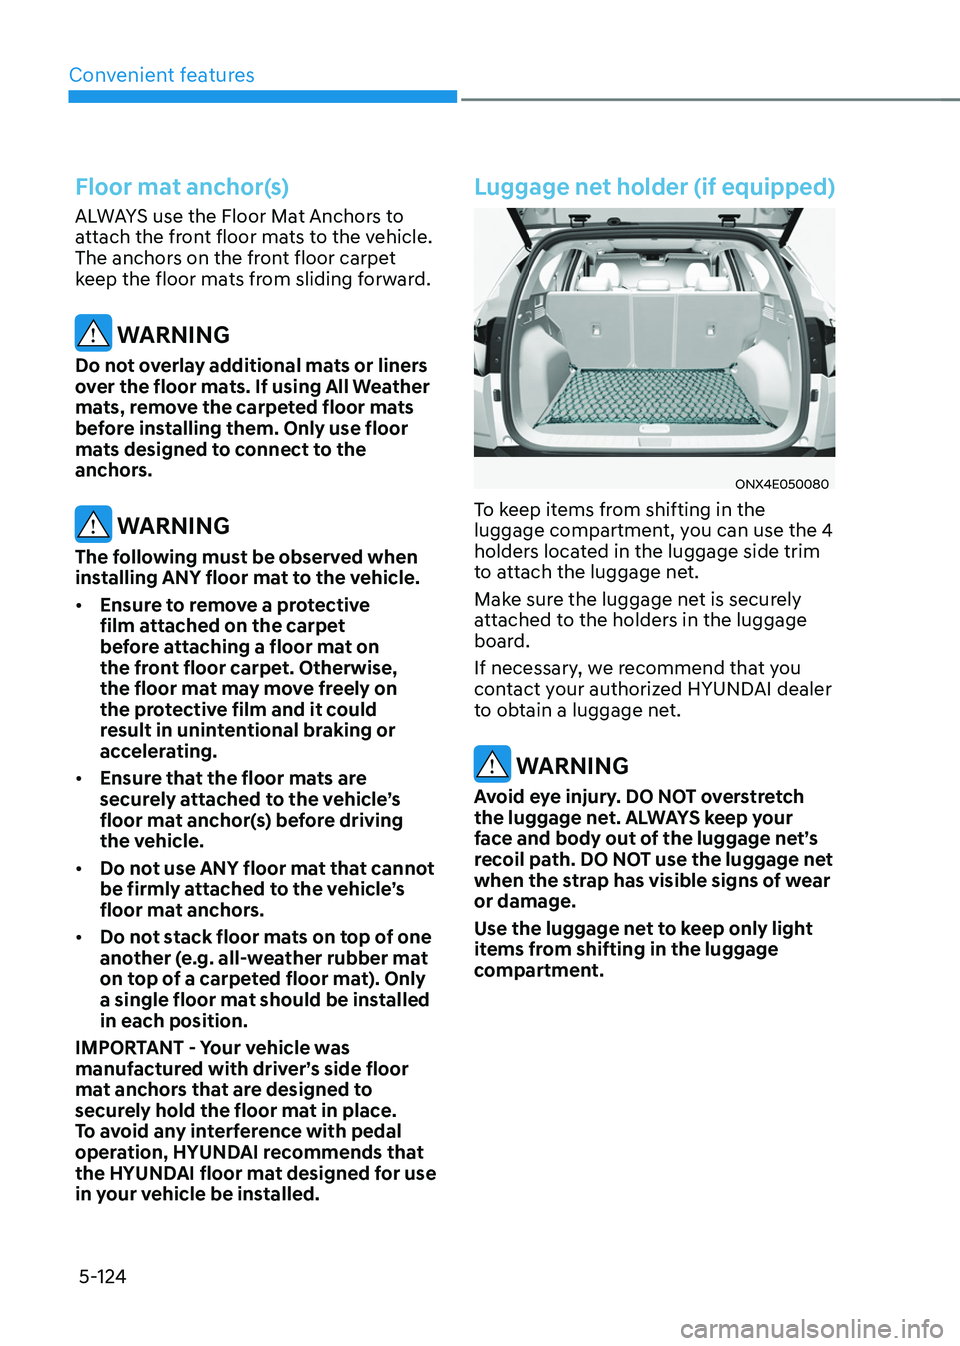
Luggage net holder (if equipped)
ONX4E050080
To keep items from shifting in the
luggage compartment, you can use the 4
holders located in the luggage side trim
to attach the luggage net.
Make sure the luggage net is securely
attached to the holders in the luggage
board.
If necessary, we recommend that you
contact your authorized HYUNDAI dealer
to obtain a luggage net.
WARNING
Avoid eye injury. DO NOT overstretch
the luggage net. ALWAYS keep your
face and body out of the luggage net’s
recoil path. DO NOT use the luggage net
when the strap has visible signs of wear
or damage.
Use the luggage net to keep only light
items from shifting in the luggage
compartment.