2021 HYUNDAI SANTA FE CALLIGRAPHY mirror
[x] Cancel search: mirrorPage 183 of 636
05
5-39
OTM050087
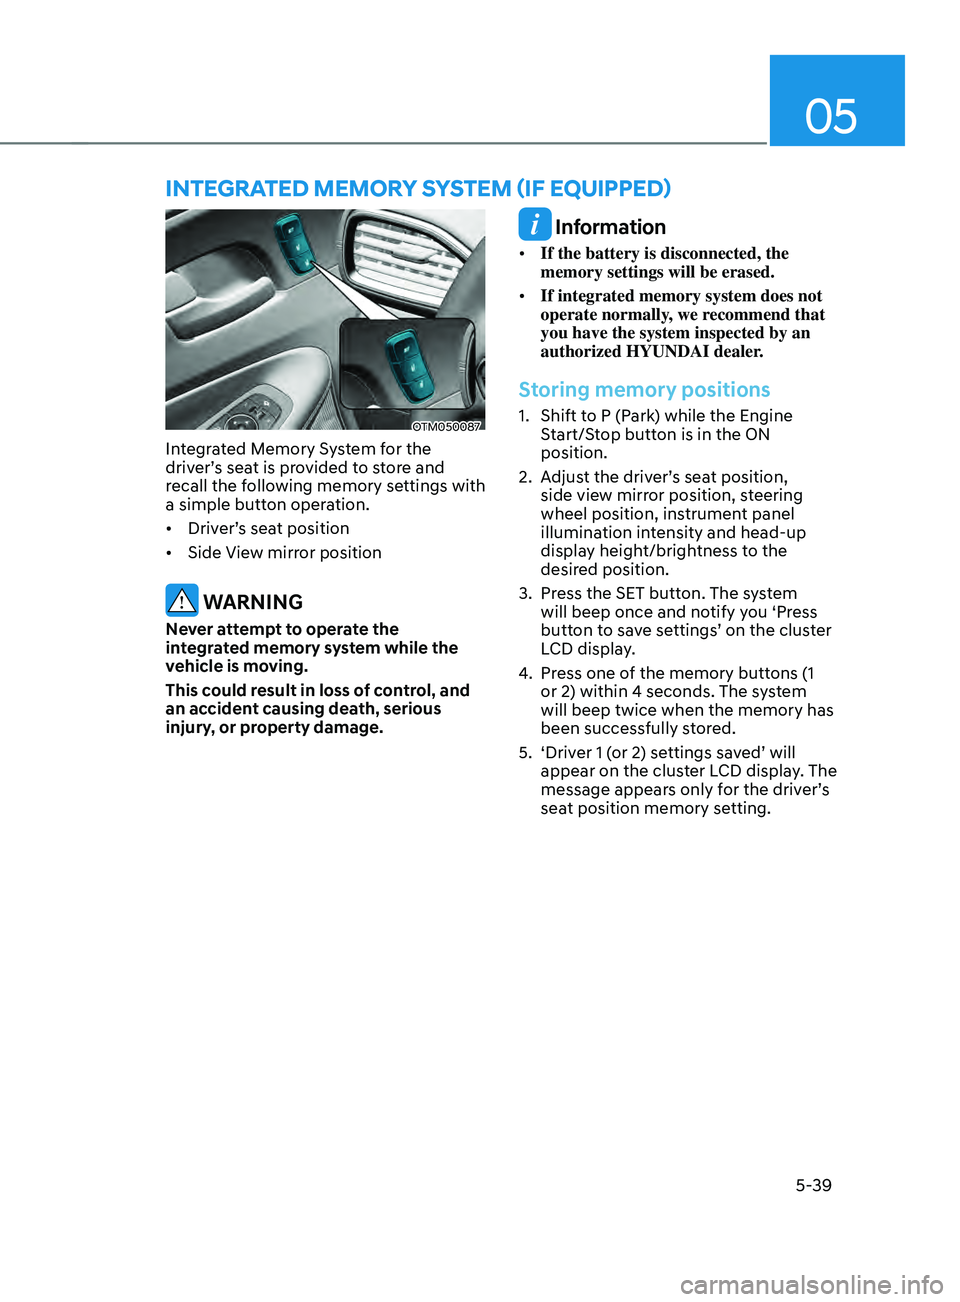
Integrated Memory System for the
driver’s seat is provided to store and
recall the following memory settings with
a simple button operation.
• Driver’s seat position
• Side View mirror position
WARNING
Never attempt to operate the
integrated memory system while the
vehicle is moving.
This could result in loss of control, and
an accident causing death, serious
injury, or property damage.
Information
• If the battery is disconnected, the
memory settings will be erased.
• If integrated memory system does not
operate normally, we recommend that
you have the system inspected by an
authorized HYUNDAI dealer.
Storing memory positions
1. Shift to P (Park) while the Engine
S
tart/Stop button is in the ON
position.
2.
Adjus
t the driver’s seat position,
side view mirror position, steering
wheel position, instrument panel
illumination intensity and head-up
display height/brightness to the
desired position.
3.
Press the SET butt
on. The system
will beep once and notify you ‘Press
button to save settings’ on the cluster
LCD display.
4.
Press one o
f the memory buttons (1
or 2) within 4 seconds. The system
will beep twice when the memory has
been successfully stored.
5.
‘Driver 1 (
or 2) settings saved’ will
appear on the cluster LCD display. The
message appears only for the driver’s
seat position memory setting.
InTEgRATED mEmOR Y sYsTEm (IF E QUIppED)
Page 184 of 636
Convenient features
5-40
Recalling memory positions
1. Shift to P (Park) while the Engine
Start/Stop button is in the ON
position.
2.
Press the desir
ed memory button (1
or 2). The system will beep once, and
then the driver’s seat position, side
view mirror position, steering wheel
position, instrument panel illumination
intensity and head-up display height/
brightness will automatically adjust to
the stored positions.
3.
‘Driver 1 (
or 2) settings applied’ will
appear on the cluster LCD display.
Information
• If you press the SET button or the
corresponding button which the
setting is being recalled, the setting will
temporarily deactivate. If you press the
other buttons, the setting of the pressed
button will activate.
For example, if you press the SET
button or number 1 button with the
number 1 setting in operation, the
setting will temporarily deactivate. If
you press the number 2 button, the
number 2 setting will activate.
• If you adjust the seat, rearview mirror,
steering wheel, instrument panel
illumination or head-up display while
recalling the stored positions, the pre-
set settings will become ineffective.
Resetting the system
Take the following procedures to reset
integrated memory system, when it does
not operate properly.
Resetting integrated memory
system
1. Stop the vehicle and open the driver’s
door with the E
ngine Start/Stop
button in the ON position and the
vehicle shifted to P (Park).
2.
Adjus
t the driver’s seat and seatback
to the foremost position.
3.
Press the SET butt
on and push
forward the driver’s seat movement
switch over 2 seconds simultaneously.
While resetting integrated memory
system
1. Resetting starts with a notification
sound.
2.
The driver’
s seat and seatback is
adjusted to the rearward position with
the notification sound.
3.
The driver’
s seat and seatback is
re-adjusted to the default position
(central position) with the notification
sound.
However, in the following cases, the
resetting procedure and the notification
sound may stop.
• The memory button is pressed.
• The seat control switch is operated.
• The gear is shifted out of P (Park).
• The driving speed exceeds
2 mph (3km/h).
• The driver’s door is closed.
Page 189 of 636
05
5-45
Inside rearview mirror
Before driving your vehicle, check to
see that your inside rearview mirror is
properly positioned. Adjust the rearview
mirror so that the view through the rear
window is properly centered.
WARNING
Make sure your line of sight is not
obstructed. Do not place objects in the
rear seat, cargo area, or behind the rear
headrests which could interfere with
your vision through the rear window.
WARNING
To prevent serious injury during an
accident or deployment of the air bag,
do not modify the rearview mirror and
do not install a wide mirror.
WARNING
NEVER adjust the mirror while driving.
This may cause loss of vehicle control
resulting in an accident.
NOTICE
When cleaning the mirror, use a paper
towel or similar material dampened
with glass cleaner. Do not spray glass
cleaner directly on the mirror as this
may cause the liquid cleaner to enter
the mirror housing.
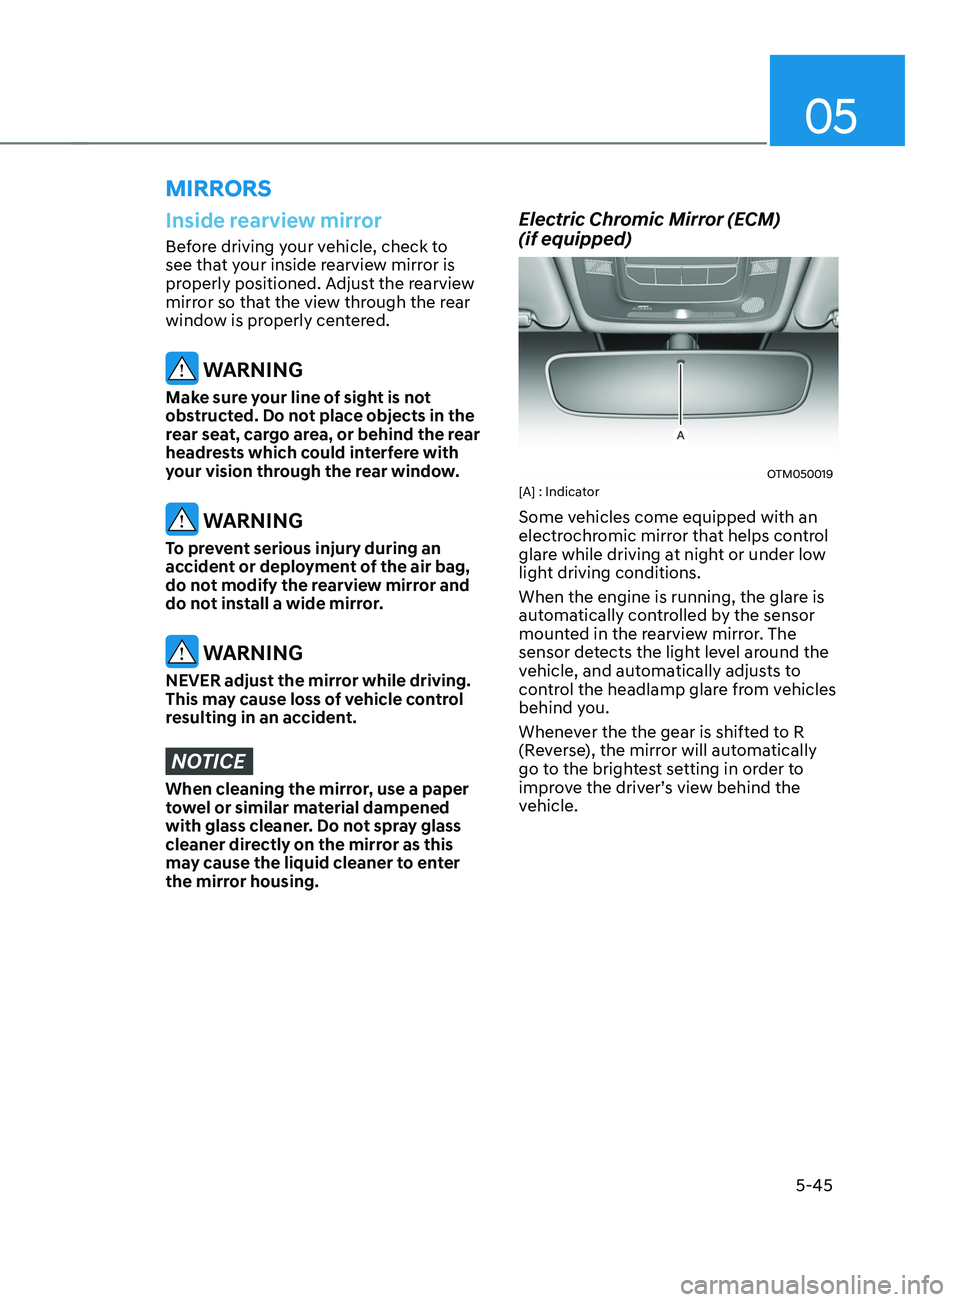
Electric Chromic Mirror (ECM)
(if equipped)
OTM050019[A] : Indicator
Some vehicles come equipped with an
electrochromic mirror that helps control
glare while driving at night or under low
light driving conditions.
When the engine is running, the glare is
automatically controlled by the sensor
mounted in the rearview mirror. The
sensor detects the light level around the
vehicle, and automatically adjusts to
control the headlamp glare from vehicles
behind you.
Whenever the the gear is shifted to R
(Reverse), the mirror will automatically
go to the brightest setting in order to
improve the driver’s view behind the
vehicle.
MIRRORS
Page 190 of 636
![HYUNDAI SANTA FE CALLIGRAPHY 2021 Owners Manual Convenient features
5-46
Day/night rearview mirror
(if equipped)
OTM050018[A]: Day, [B]: Night
Make this adjustment before you start
driving and while the day/night lever is in
the day position.
P HYUNDAI SANTA FE CALLIGRAPHY 2021 Owners Manual Convenient features
5-46
Day/night rearview mirror
(if equipped)
OTM050018[A]: Day, [B]: Night
Make this adjustment before you start
driving and while the day/night lever is in
the day position.
P](/manual-img/35/56181/w960_56181-189.png)
Convenient features
5-46
Day/night rearview mirror
(if equipped)
OTM050018[A]: Day, [B]: Night
Make this adjustment before you start
driving and while the day/night lever is in
the day position.
Pull the day/night lever towards you to
reduce glare from the headlamps of the
vehicles behind you during night driving.
Remember that you lose some rearview
clarity in the night position.
Electrochromic mirror (ECM) with
HomeLink® system (if equipped)
Your vehicle may be equipped with
a Gentex Automatic-Dimming Mirror
with an Integrated HomeLink® Wireless
Control System.
During nighttime driving, this feature
will automatically detect and reduce
rearview mirror glare. The HomeLink®
Universal Transceiver allows you to
activate your garage door(s), electric
gate, home lighting, etc.
OTMA050002
(1) HomeLink Channel 1
(2)
HomeLink Channel 2
(3
)
HomeLink Channel 3
(4
)
Garage Door Opener S
tatus Indicator:
Closing or Closed
(5)
HomeLink Oper
ation Indicator
(6)
Garage Door Opener S
tatus Indicator:
Opening or Opened
(7)
HomeLink U
ser Interface Indicator
Automatic-Dimming Night Vision Safety™
(NVS
®) Mirror (if equipped)
The NVS® Mirror automatically reduces
glare by monitoring light levels in the
front and the rear of the vehicle. Any
object that obstructs either light sensor
will degrade the automatic dimming
control feature.
For more information regarding NVS®
mirrors and other applications, please
refer to the Gentex website:
www.gentex.com
Your mirror will automatically dim
upon detecting glare from the vehicles
traveling behind you.
The mirror defaults to the ON position
each time the vehicle is started.
Page 193 of 636
05
5-49
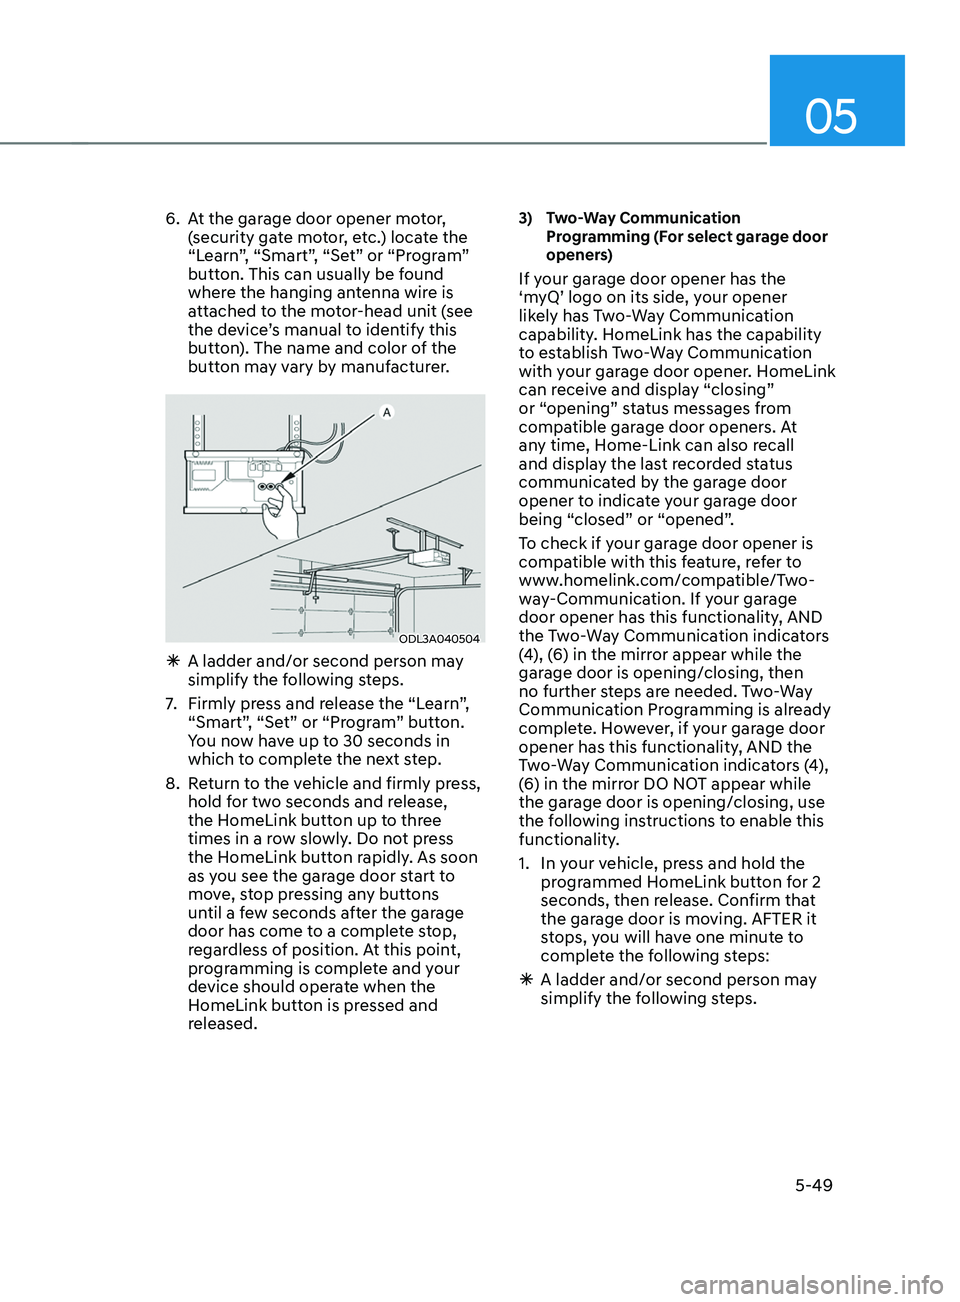
6. At the garage door opener motor,
(security gate motor, etc.) locate the
“Learn”, “Smart”, “Set” or “Program”
button. This can usually be found
where the hanging antenna wire is
attached to the motor-head unit (see
the device’s manual to identify this
button). The name and color of the
button may vary by manufacturer.
ODL3A040504
à A ladder and/or second person ma y
simplify the following steps.
7.
Firmly press and r
elease the “Learn”,
“Smart”, “Set” or “Program” button.
You now have up to 30 seconds in
which to complete the next step.
8.
Re
turn to the vehicle and firmly press,
hold for two seconds and release,
the HomeLink button up to three
times in a row slowly. Do not press
the HomeLink button rapidly. As soon
as you see the garage door start to
move, stop pressing any buttons
until a few seconds after the garage
door has come to a complete stop,
regardless of position. At this point,
programming is complete and your
device should operate when the
HomeLink button is pressed and
released.
3) Two-Way Communication
Pr
ogramming (For select garage door
openers)
If your garage door opener has the
‘myQ’ logo on its side, your opener
likely has Two-Way Communication
capability. HomeLink has the capability
to establish Two-Way Communication
with your garage door opener. HomeLink
can receive and display “closing”
or “opening” status messages from
compatible garage door openers. At
any time, Home-Link can also recall
and display the last recorded status
communicated by the garage door
opener to indicate your garage door
being “closed” or “opened”.
To check if your garage door opener is
compatible with this feature, refer to
www.homelink.com/compatible/Two-
way-Communication. If your garage
door opener has this functionality, AND
the Two-Way Communication indicators
(4), (6) in the mirror appear while the
garage door is opening/closing, then
no further steps are needed. Two-Way
Communication Programming is already
complete. However, if your garage door
opener has this functionality, AND the
Two-Way Communication indicators (4),
(6) in the mirror DO NOT appear while
the garage door is opening/closing, use
the following instructions to enable this
functionality.
1.
In your v
ehicle, press and hold the
programmed HomeLink button for 2
seconds, then release. Confirm that
the garage door is moving. AFTER it
stops, you will have one minute to
complete the following steps:
à A ladder and/or second person ma
y
simplify the following steps.
Page 195 of 636
05
5-51
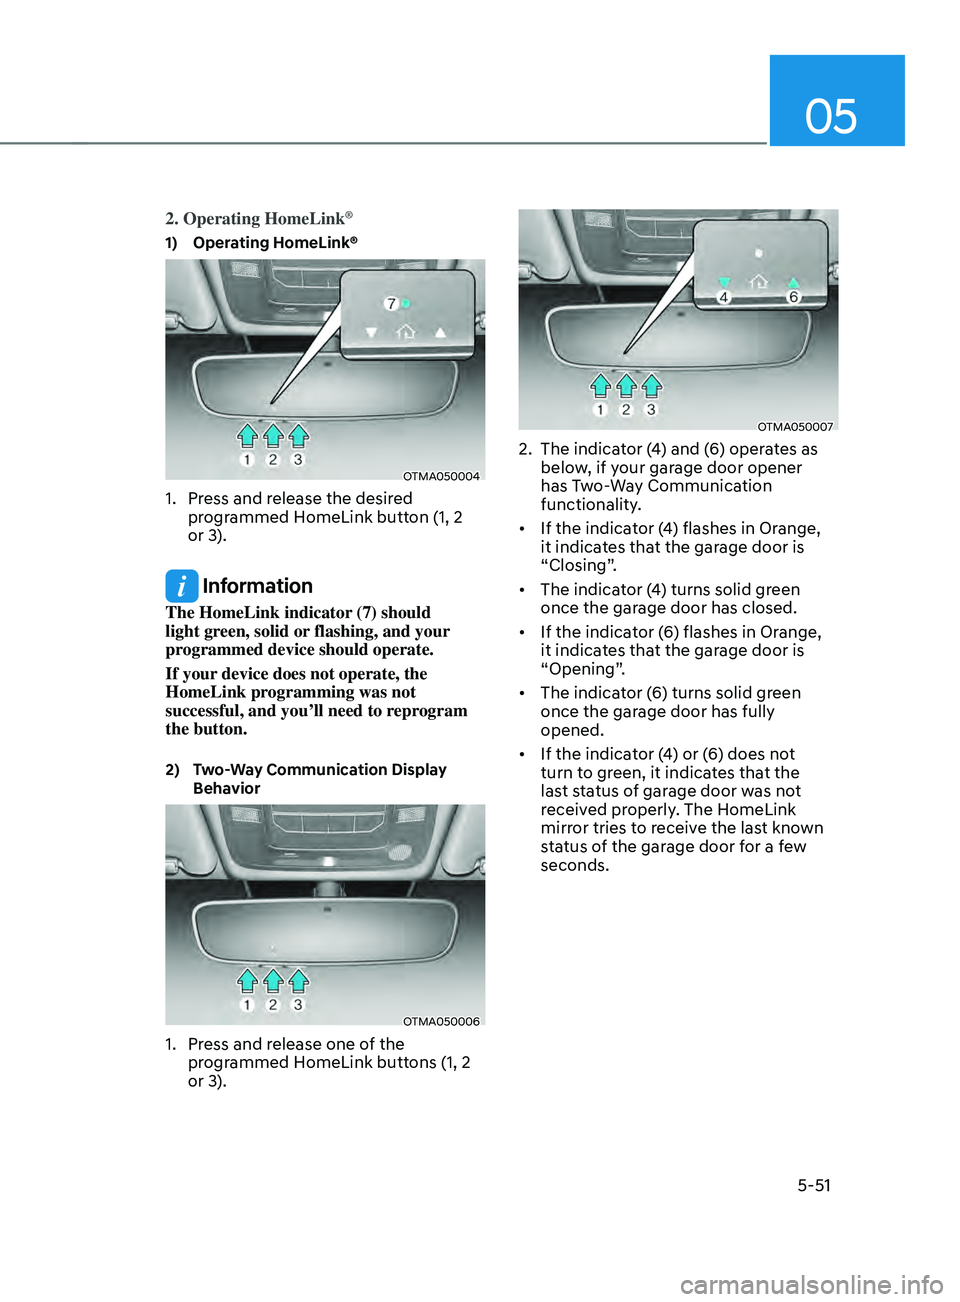
2. Operating HomeLink®
1) Operating HomeLink®
OTMA050004
1. Press and release the desired
programmed HomeLink button (1, 2
or 3).
Information
The HomeLink indicator (7) should
light green, solid or flashing, and your
programmed device should operate.
If your device does not operate, the
HomeLink programming was not
successful, and you’ll need to reprogram
the button.
2) Two-Way Communication Display
Beha
vior
OTMA050006
1. Press and release one of the
programmed HomeLink buttons (1, 2
or 3).
OTMA050007
2. The indicat or (4) and (6) operates as
below, if your garage door opener
has Two-Way Communication
functionality.
• If the indicator (4) flashes in Orange,
it indicates that the garage door is
“Closing”.
• The indicator (4) turns solid green
once the garage door has closed.
• If the indicator (6) flashes in Orange,
it indicates that the garage door is
“Opening”.
• The indicator (6) turns solid green
once the garage door has fully
opened.
• If the indicator (4) or (6) does not
turn to green, it indicates that the
last status of garage door was not
received properly. The HomeLink
mirror tries to receive the last known
status of the garage door for a few
seconds.
Page 196 of 636
Convenient features
5-52
3) Recalling Garage Door Status
HomeLink mirror with Two-Way
Communication provides a way to view
the last stored message from the garage
door opener. In order to recall the last
known status of the last activated device,
press the buttons “1 and 2” OR “2 and 3”
simultaneously.
• If the indicator (4) appears solid
Green, it indicates that the last
activated device was “closed”
properly.
• If the indicator (6) appears solid
Green, it indicates that the last
activated device was “open” properly.
3. Erasing HomeLink® Buttons
1) Erasing and Reprogramming a Single
H omeLink® Button:
1. Press and hold the desired HomeLink
butt on you want to re-program. DO
NOT release the button.
2.
The HomeLink indica
tor light (7) will
illuminate solid green. Release the
button as soon as the HomeLink
indicator light (7) begins to flash
orange, usually about 20 seconds.
3.
Proceed with the s
teps in the
“Programming a New HomeLink
Button” section.
Information
If you do not complete the re-
programming of a new device to the
button, it will revert to the previously
stored programming.
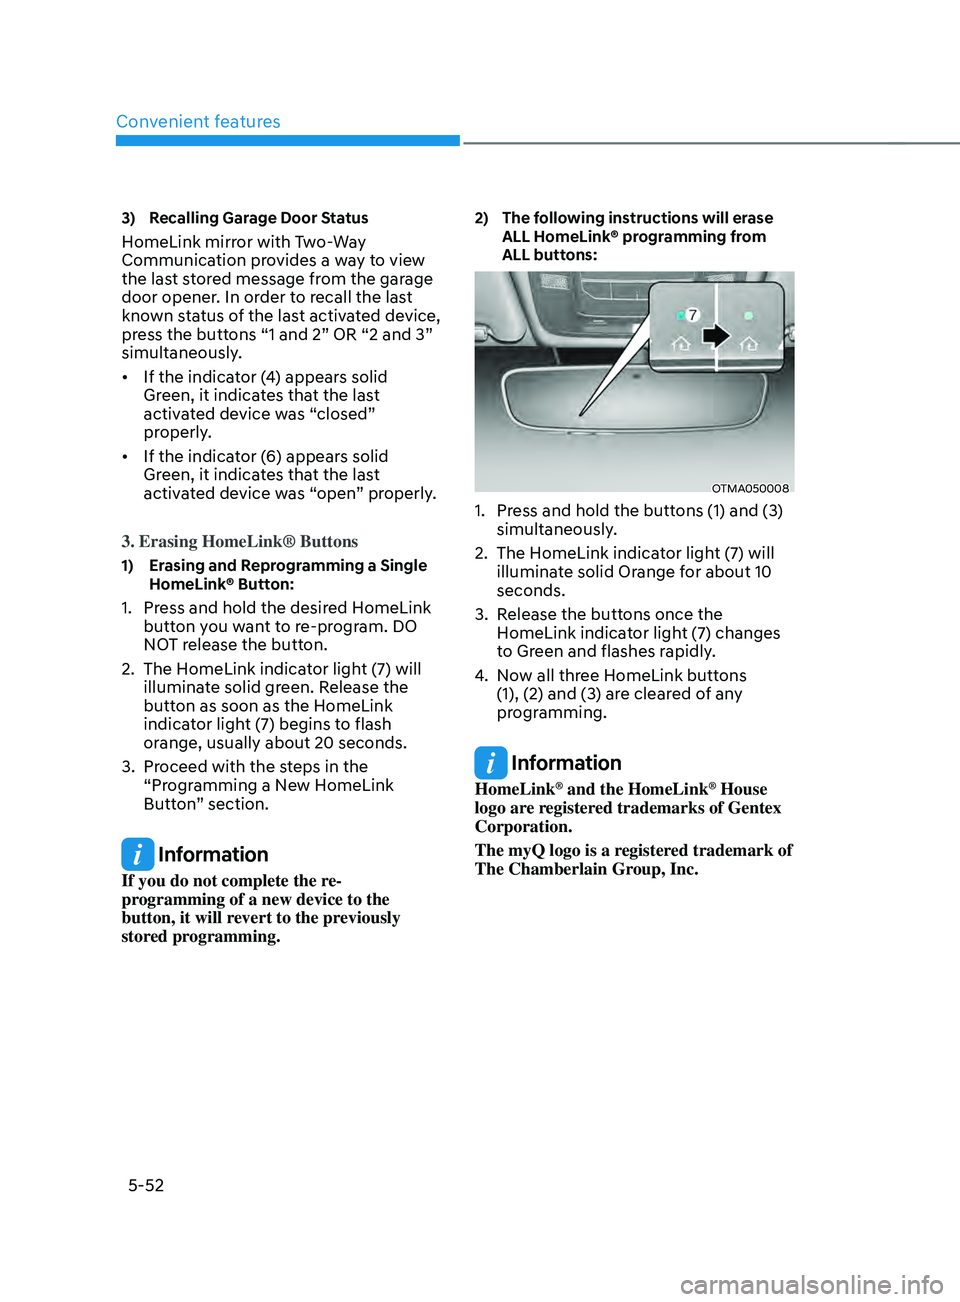
2) The following instructions will erase
ALL H
omeLink® programming from
ALL buttons:
OTMA050008
1. Press and hold the buttons (1) and (3)
simultaneously .
2.
The HomeLink indica
tor light (7) will
illuminate solid Orange for about 10
seconds.
3.
Release the butt
ons once the
HomeLink indicator light (7) changes
to Green and flashes rapidly.
4.
No
w all three HomeLink buttons
(1), (2) and (3) are cleared of any
programming.
Information
HomeLink® and the HomeLink® House
logo are registered trademarks of Gentex
Corporation.
The myQ logo is a registered trademark of
The Chamberlain Group, Inc.
Page 199 of 636
05
5-55
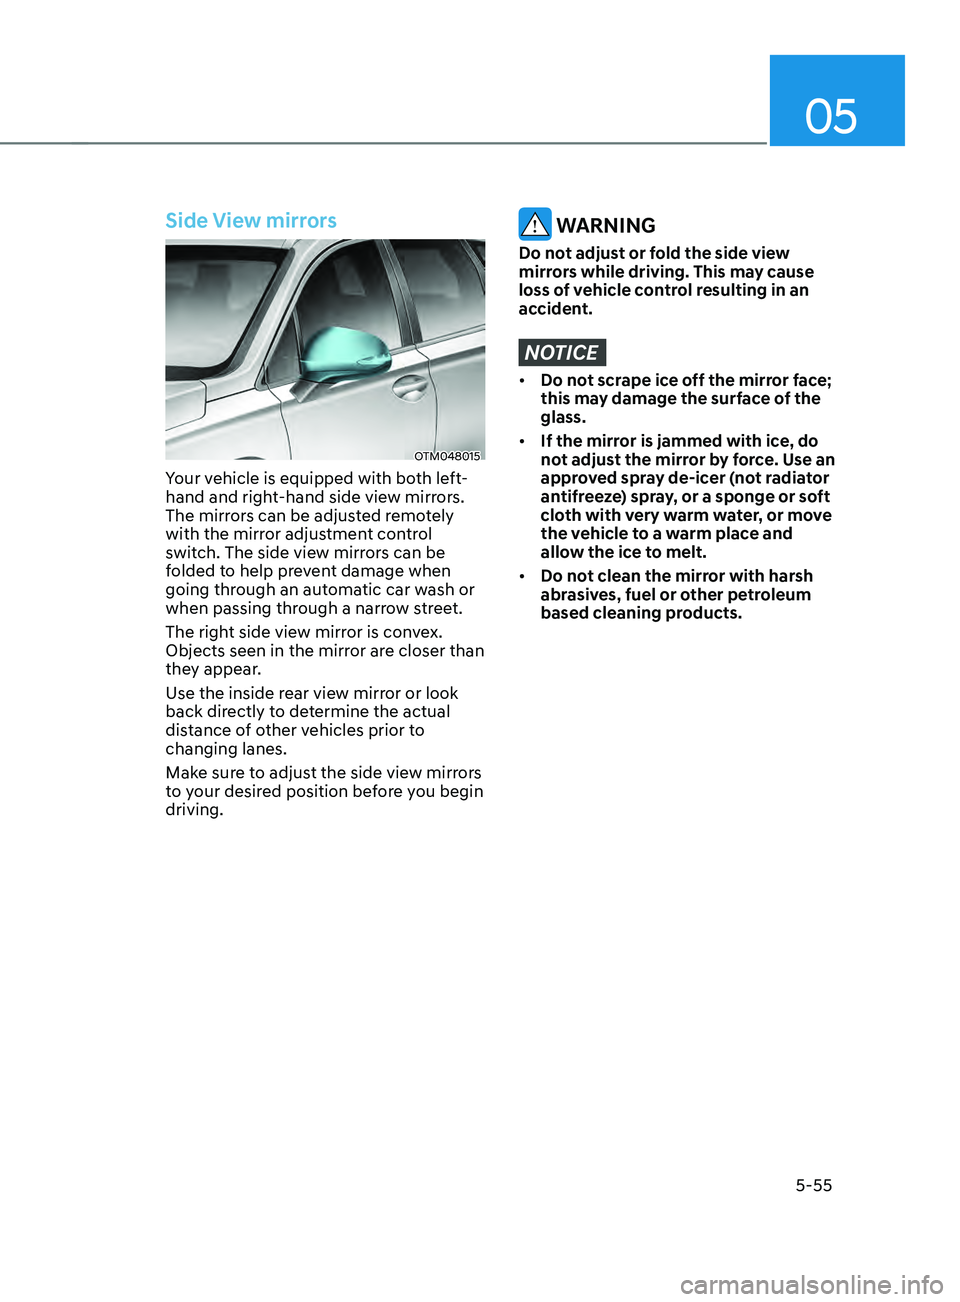
Side View mirrors
OTM048015
Your vehicle is equipped with both left-
hand and right-hand side view mirrors.
The mirrors can be adjusted remotely
with the mirror adjustment control
switch. The side view mirrors can be
folded to help prevent damage when
going through an automatic car wash or
when passing through a narrow street.
The right side view mirror is convex.
Objects seen in the mirror are closer than
they appear.
Use the inside rear view mirror or look
back directly to determine the actual
distance of other vehicles prior to
changing lanes.
Make sure to adjust the side view mirrors
to your desired position before you begin
driving.
WARNING
Do not adjust or fold the side view
mirrors while driving. This may cause
loss of vehicle control resulting in an
accident.
NOTICE
• Do not scrape ice off the mirror face;
this may damage the surface of the
glass.
• If the mirror is jammed with ice, do
not adjust the mirror by force. Use an
approved spray de-icer (not radiator
antifreeze) spray, or a sponge or soft
cloth with very warm water, or move
the vehicle to a warm place and
allow the ice to melt.
• Do not clean the mirror with harsh
abrasives, fuel or other petroleum
based cleaning products.