2021 HYUNDAI SANTA FE CALLIGRAPHY mirror
[x] Cancel search: mirrorPage 200 of 636
Convenient features
5-56
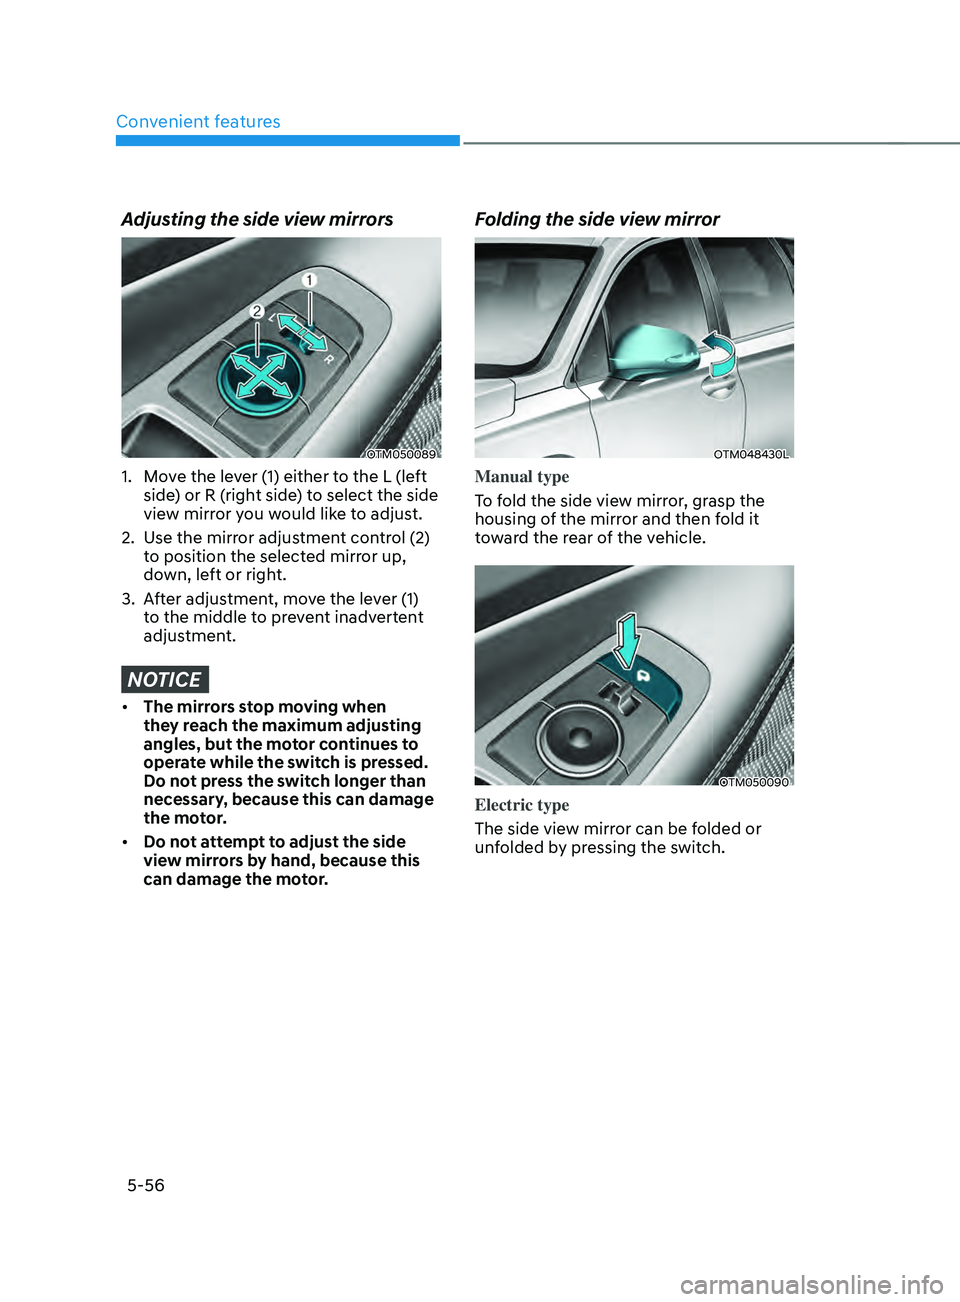
Adjusting the side view mirrors
OTM050089
1. Move the lever (1) either to the L (left
side) or R (right side) to select the side
view mirror you would like to adjust.
2.
Use the mirr
or adjustment control (2)
to position the selected mirror up,
down, left or right.
3.
Aft
er adjustment, move the lever (1)
to the middle to prevent inadvertent
adjustment.
NOTICE
• The mirrors stop moving when
they reach the maximum adjusting
angles, but the motor continues to
operate while the switch is pressed.
Do not press the switch longer than
necessary, because this can damage
the motor.
• Do not attempt to adjust the side
view mirrors by hand, because this
can damage the motor.
Folding the side view mirror
OTM048430L
Manual type
To fold the side view mirror, grasp the
housing of the mirror and then fold it
toward the rear of the vehicle.
OTM050090
Electric type
The side view mirror can be folded or
unfolded by pressing the switch.
Page 201 of 636
05
5-57
• If ‘Convenience → Welcome mirr or/
light → On door unlock’ is select ed in the User Se
ttings mode on the LCD
display, the outside mirror will fold or
unfold automatically as follows:
- The mirror will f
old or unfold when
the door is locked or unlocked by
the smart key.
- The mirror will f
old or unfold when
the door is locked or unlocked by
the button on the outside door
handle.
• If
‘Con
venience
→ W
elcome
mirror/ligh
t
→ On door unlock’ and ‘Conv
enience
→ W
elcome
mirr
or/light
→ On driv
er
appr
oach’
is select
ed
in the User Se
ttings mode on the LCD
display, the outside mirror will unfold
automatically when you approach the
vehicle (all doors closed and locked)
with a smart key in possession.
NOTICE
The electric type side view mirror
operates even though the ignition
switch is in the OFF position. However,
to prevent unnecessary battery
discharge, do not adjust the mirrors
longer than necessary while the engine
is not running.
NOTICE
Do not fold the electric type side view
mirror by hand. It could cause motor
failure.
Reverse parking aid (if equipped)
OTM050020
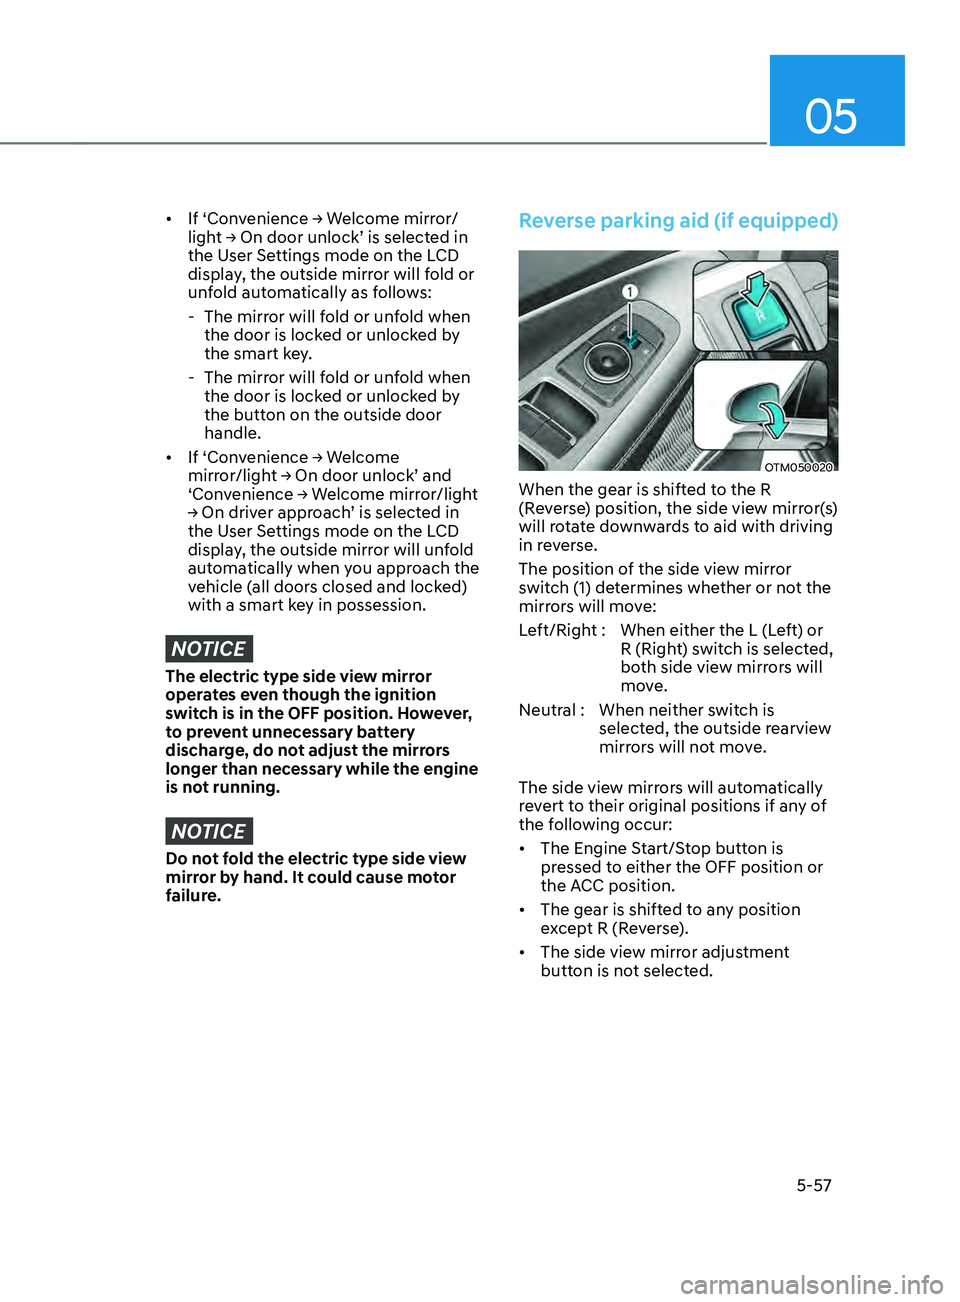
When the gear is shifted to the R
(Reverse) position, the side view mirror(s)
will rotate downwards to aid with driving
in reverse.
The position of the side view mirror
switch (1) determines whether or not the
mirrors will move:
Left/Right : When either the L (Left) or R (Right) switch is selected,
both side view mirrors will
move.
Neutral : When neither switch is selected, the outside rearview
mirrors will not move.
The side view mirrors will automatically
revert to their original positions if any of
the following occur:
• The Engine Start/Stop button is
pressed to either the OFF position or
the ACC position.
• The gear is shifted to any position
except R (Reverse).
• The side view mirror adjustment
button is not selected.
Page 232 of 636
Convenient features
5-88
Limitations of the system
High Beam Assist may not work properly
in the following situations:
• Light from a vehicle is not detected
because of lamp damage, or because
it is hidden from sight, etc.
• Headlamp of a vehicle is covered with
dust, snow or water.
• A vehicle’s headlamps are off but the
fog lamps are on and etc.
• There is a lamp that has a similar
shape as a vehicle’s lamp.
• Headlamps have been damaged or
not repaired properly.
• Headlamps are not aimed properly.
• Driving on a narrow curved road,
rough road, uphill or downhill.
• Vehicle in front is partially visible on a
crossroad or curved road.
• There is a traffic light, reflecting sign,
flashing sign or mirror ahead.
• There is a temporary reflector or flash
ahead (construction area).
• The road conditions are bad such as
being wet, iced or covered with snow.
• A vehicle suddenly appears from a
curve.
• The vehicle is tilted from a flat tire or
is being towed.
• Light from a vehicle is not detected
because of exhaust fume, smoke, fog,
snow, etc.
For more details on the limitations
of the front view camera, refer to
“Forward Collision-Avoidance Assist
(FCA)” section in chapter 7. WARNING
• At times, High Beam Assist may not
work properly. It is the responsibility
of the driver for safe driving
practices and always check the road
conditions for your safety.
• When High Beam Assist does
not operate normally, change
the headlamp position manually
between high beam and low beam.
Page 234 of 636
Convenient features
5-90
Rear lamps
„„Type A
OTM048076
„„Type B
OTM048409
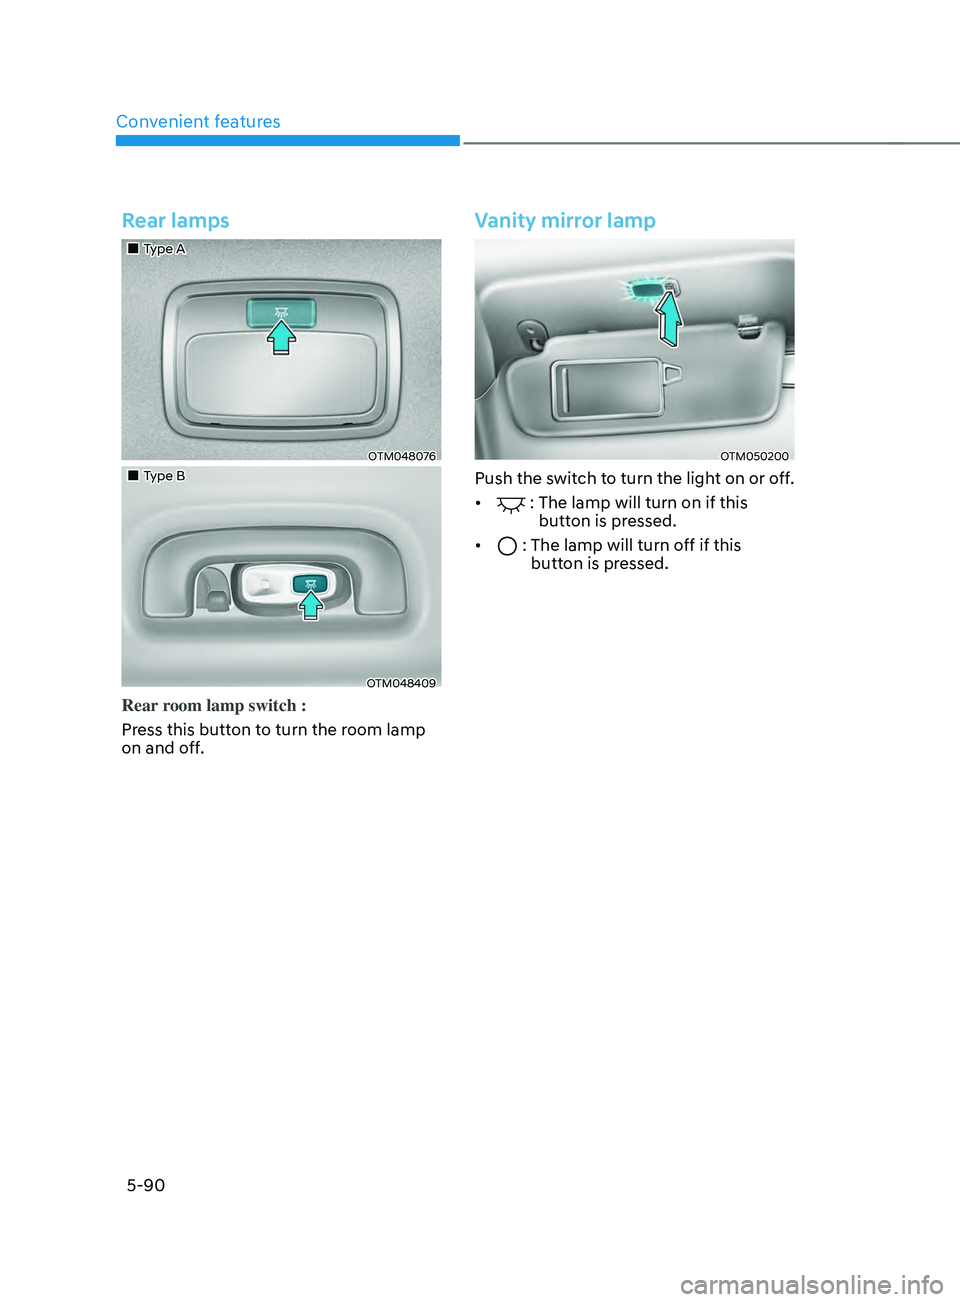
Rear room lamp switch :
Press this button to turn the room lamp
on and off.
Vanity mirror lamp
OTM050200
Push the switch to turn the light on or off.
•
: The lamp will turn on if this
button is pressed.
•
: The lamp will turn off if this
butt on is pressed.
Page 236 of 636
Convenient features
5-92
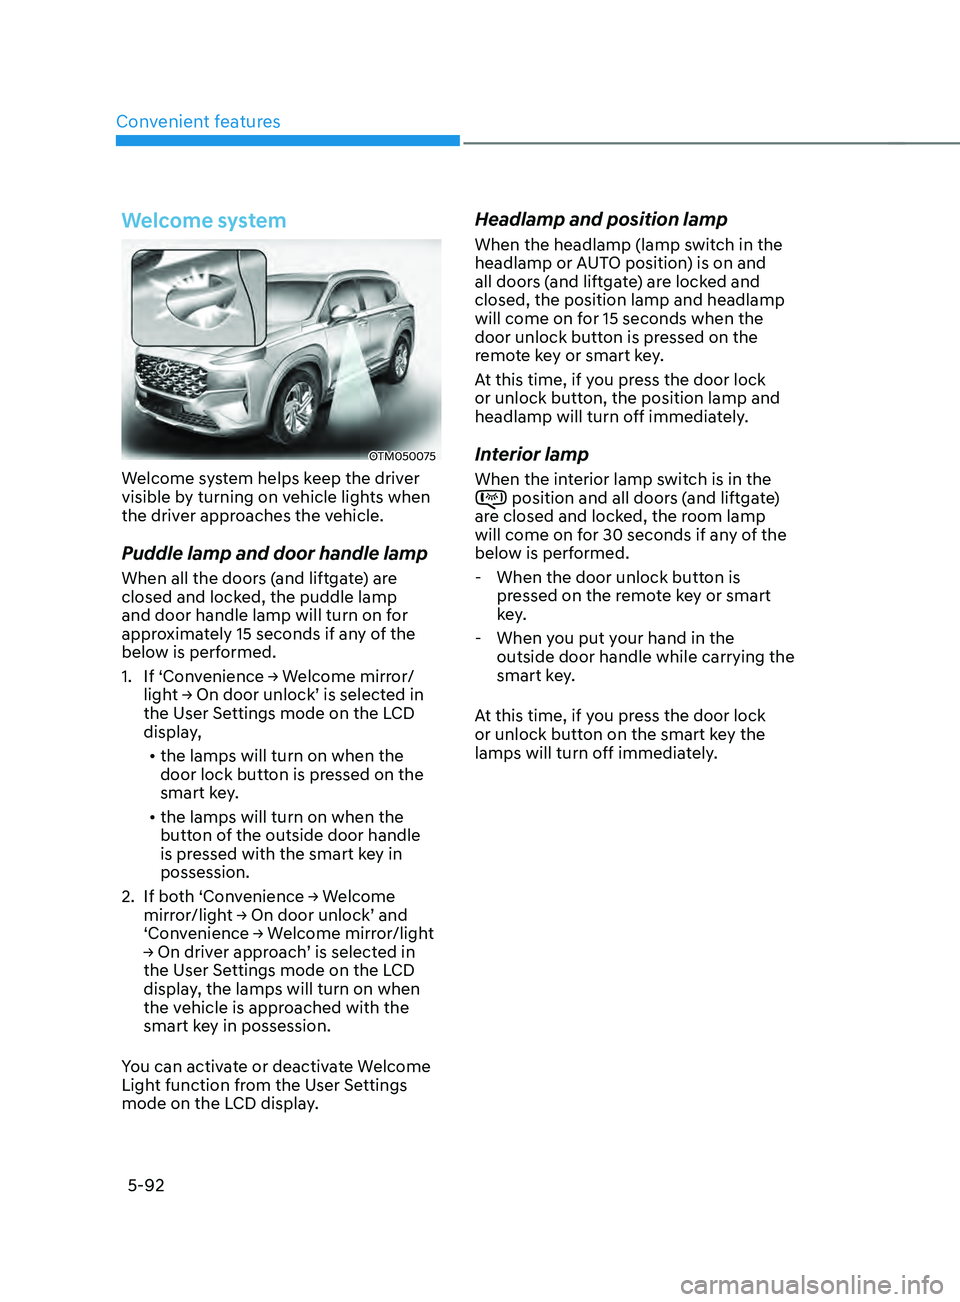
Welcome system
OTM050075
Welcome system helps keep the driver
visible by turning on vehicle lights when
the driver approaches the vehicle.
Puddle lamp and door handle lamp
When all the doors (and liftgate) are
closed and locked, the puddle lamp
and door handle lamp will turn on for
approximately 15 seconds if any of the
below is performed.
1.
If ‘Con
venience
→ W
elcome
mirr
or/
light
→ On door unlock’ is select
ed
in the User Se
ttings mode on the LCD
display,
• the lamps will turn on when the
door lock button is pressed on the
smart key.
• the lamps will turn on when the
button of the outside door handle
is pressed with the smart key in
possession.
2.
If bo
th
‘Con
venience
→ W
elcome
mirror/ligh
t
→ On door unlock’ and ‘Conv
enience
→ W
elcome
mirr
or/light
→ On driv
er
appr
oach’
is select
ed
in the User Se
ttings mode on the LCD
display, the lamps will turn on when
the vehicle is approached with the
smart key in possession.
You can activate or deactivate Welcome
Light function from the User Settings
mode on the LCD display.
Headlamp and position lamp
When the headlamp (lamp switch in the
headlamp or AUTO position) is on and
all doors (and liftgate) are locked and
closed, the position lamp and headlamp
will come on for 15 seconds when the
door unlock button is pressed on the
remote key or smart key.
At this time, if you press the door lock
or unlock button, the position lamp and
headlamp will turn off immediately.
Interior lamp
When the interior lamp switch is in the position and all doors (and liftgate)
are closed and locked, the room lamp
will come on for 30 seconds if any of the
below is performed.
- When the door unlock button is pr
essed on the remote key or smart
key.
- When you put y
our hand in the
outside door handle while carrying the
smart key.
At this time, if you press the door lock
or unlock button on the smart key the
lamps will turn off immediately.
Page 259 of 636
05
5-115
WINDSHIELD DEFROSTING AND DEFOGGING
WARNING
Windshield heating
Do not use the
position during
cooling operation in extremely humid
weather. The difference between the
temperature of the outside air and that
of the windshield could cause the outer
surface of the windshield to fog up,
causing loss of visibility could cause
an accident resulting in serious injury
or death. In this case, set the mode
selection button to the
position
and fan speed control knob to a lower
speed.
• For maximum defrost performance,
set the temperature control to the
highest temperature setting and
the fan speed control to the highest
setting.
• If warm air to the floor is desired while
defrosting or defogging, set the mode
to the floor-defrost position.
• Before driving, clear all snow and ice
from the windshield, rear window,
side view mirrors, and all side
windows.
• Clear all snow and ice from the
hood and air inlet in the cowl grill
to improve heater and defroster
efficiency and to reduce the
probability of fogging up the inside of
the windshield.
NOTICE
If the engine temperature is still cold
after starting, then a brief engine warm
up period may be required for the
vented air flow to become warm or hot.
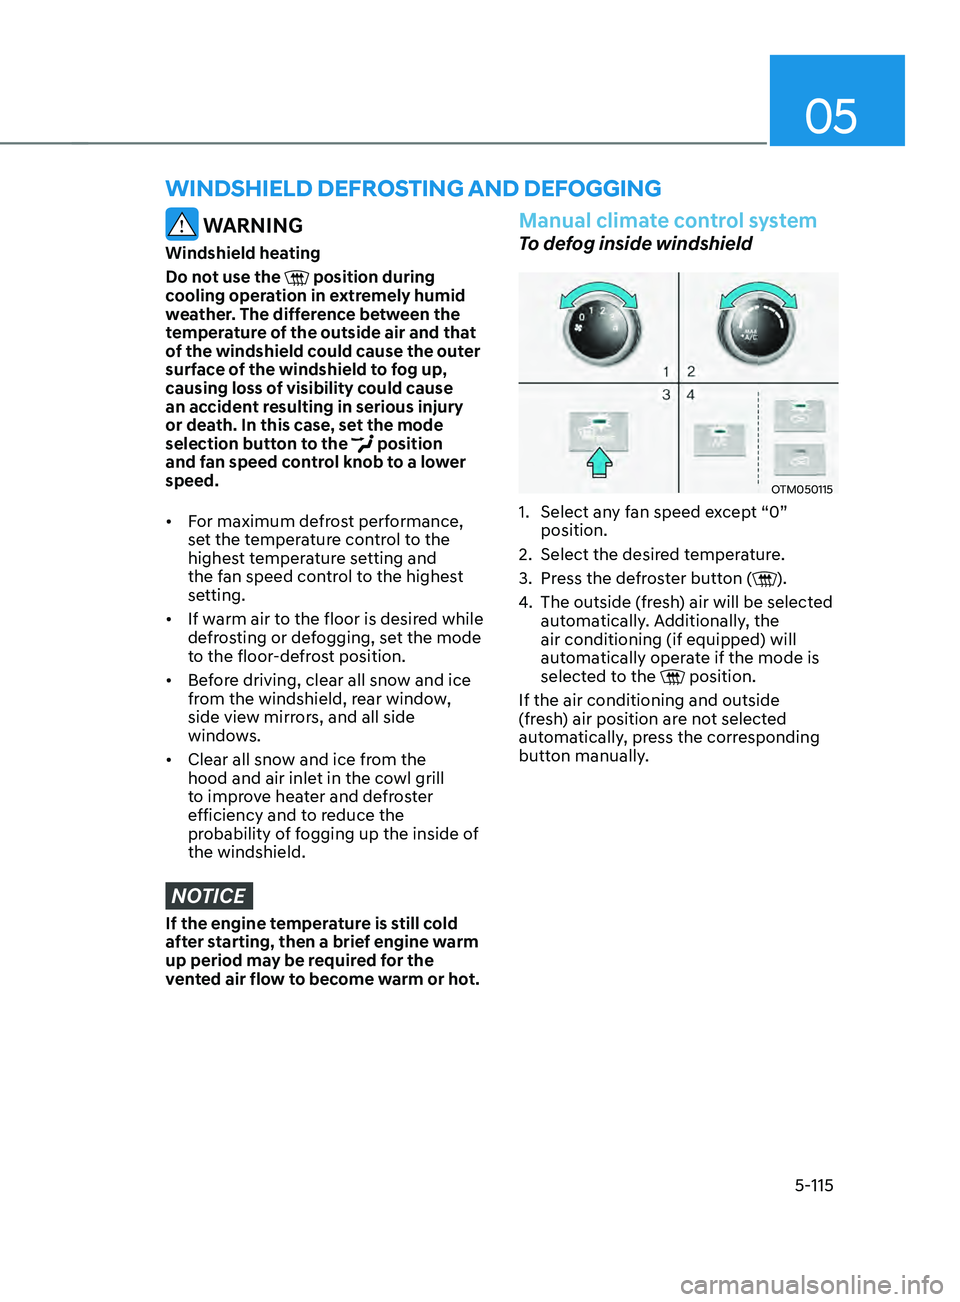
Manual climate control system
To defog inside windshield
OTM050115
1. Select any f an speed except “0”
position.
2.
Select the desired t
emperature.
3.
Press the de
froster button (
).
4.
The outside (fr
esh) air will be selected
automatically. Additionally, the
air conditioning (if equipped) will
automatically operate if the mode is
selected to the
position.
If the air conditioning and outside
(fresh) air position are not selected
automatically, press the corresponding
button manually.
Page 262 of 636
Convenient features5-118
Rear window defrosterNOTICE
To prevent damage to the rear window
defroster conducting elements bonded
to the inside surface of the rear window,
never use sharp instruments or window
cleaners containing abrasives to clean
the window.
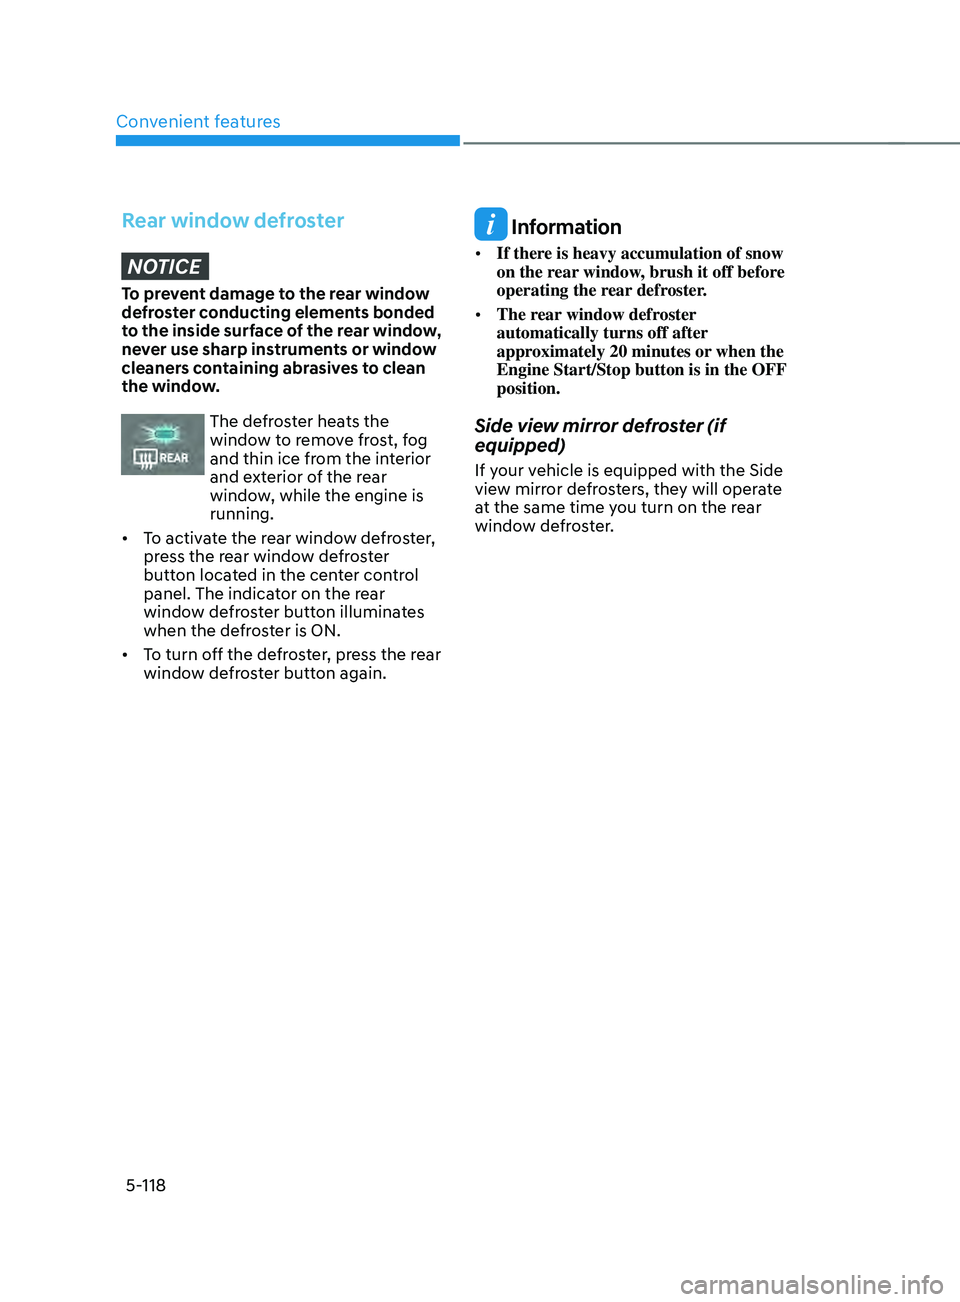
The defroster heats the
window to remove frost, fog
and thin ice from the interior
and exterior of the rear
window, while the engine is
running.
• To activate the rear window defroster,
press the rear window defroster
button located in the center control
panel. The indicator on the rear
window defroster button illuminates
when the defroster is ON.
• To turn off the defroster, press the rear
window defroster button again.
Information
• If there is heavy accumulation of snow
on the rear window, brush it off before
operating the rear defroster.
• The rear window defroster
automatically turns off after
approximately 20 minutes or when the
Engine Start/Stop button is in the OFF
position.
Side view mirror defroster (if
equipped)
If your vehicle is equipped with the Side
view mirror defrosters, they will operate
at the same time you turn on the rear
window defroster.
Page 269 of 636
05
5-125
Ashtray (if equipped)
OPDE046419
To use the ashtray, open the cover.
To clean the ashtray:
The plastic receptacle should be
removed by lifting the plastic ashtray
receptacle upward after turning the
cover counterclockwise and pulling it
out.
WARNING
Putting lit cigarettes or matches in
an ashtray with other combustible
materials may cause a fire.
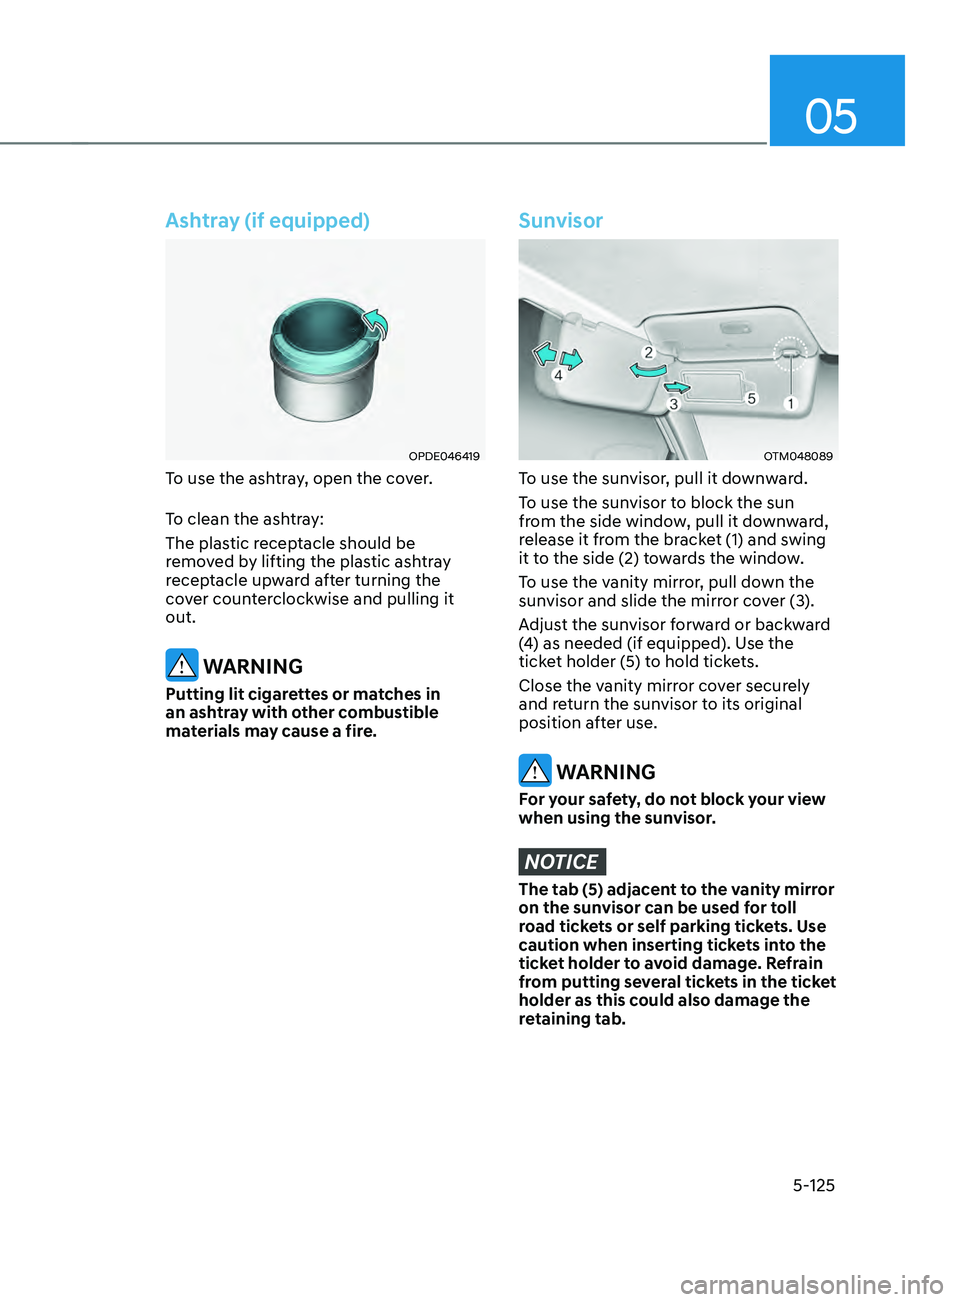
Sunvisor
OTM048089
To use the sunvisor, pull it downward.
To use the sunvisor to block the sun
from the side window, pull it downward,
release it from the bracket (1) and swing
it to the side (2) towards the window.
To use the vanity mirror, pull down the
sunvisor and slide the mirror cover (3).
Adjust the sunvisor forward or backward
(4) as needed (if equipped). Use the
ticket holder (5) to hold tickets.
Close the vanity mirror cover securely
and return the sunvisor to its original
position after use.
WARNING
For your safety, do not block your view
when using the sunvisor.
NOTICE
The tab (5) adjacent to the vanity mirror
on the sunvisor can be used for toll
road tickets or self parking tickets. Use
caution when inserting tickets into the
ticket holder to avoid damage. Refrain
from putting several tickets in the ticket
holder as this could also damage the
retaining tab.