2021 FORD EXPLORER center console
[x] Cancel search: center consolePage 52 of 577
The indicators are on the overhead
console.
Note:
The indicators illuminate briefly when
you first switch the ignition on to confirm
they are functional.
The front passenger sensing system is
designed to disable (will not inflate) the
front passenger frontal airbag when the
front passenger seat is unoccupied, or a
rear facing infant seat, a forward-facing
child restraint, or a booster seat is
detected. Even with this technology,
parents are strongly encouraged to
always properly restrain children in the rear
seat.
• When the front passenger sensing
system disables (will not inflate) the
front passenger frontal airbag, the
airbag off indicator illuminates and
stays lit to remind you that the front
passenger frontal airbag is disabled.
• If you have installed the child restraint
and the airbag on indicator illuminates,
switch the vehicle off, remove the child
restraint from the vehicle and reinstall
the restraint according to the child
restraint manufacturer's instructions. The front passenger sensing system is
designed to enable (may inflate) the front
passenger frontal airbag anytime the
system senses that a person of adult size
is sitting properly in the front passenger
seat.
•
When the front passenger sensing
system enables the front passenger
frontal airbag (may inflate), the airbag
on indicator illuminates and remains
illuminated.
If a person of adult size is sitting in the front
passenger seat, but the airbag off indicator
is lit, it is possible that the person is not
sitting properly in the seat. If this happens:
• Switch the vehicle off and ask the
person to place the seat backrest in an
upright position.
• Have the person sit upright in the seat,
centered on the seat cushion, with the
person ’s legs comfortably extended.
• Restart the vehicle and have the person
remain in this position for about two
minutes. This allows the system to
detect that person and enables the
passenger frontal airbag.
• If the airbag off indicator remains lit
even after this, advise the person to
ride in the rear seat. Passenger Airbag
Passenger Airbag Status
Indicator
Occupant
Disabled
OFF: Lit
Empty
ON: Unlit Disabled
OFF: Lit
Child
ON: Unlit Enabled
OFF: Unlit
Adult
ON: Lit
49
Explorer (CTW), enUSA, Edition date: 202007, Second-Printing Supplementary Restraints System
Page 162 of 577
Press the heated seat symbol to cycle
through the various heat settings and off.
More indicator lights indicate warmer
settings.
Note:
The heated seats switch on during a
remote start if they are enabled.
Note: The heated seats may switch on
when you start your vehicle if they were on
when you previously switched your vehicle
off.
Automatic Climate Controlled
Seats (If Equipped)
When you switch on the auto setting, the
seats switch between the heated seats
and ventilated seats to match your climate
control setting.
Second Row Heated Seats
The heated seat controls are on the rear
of the center console.
VENTILATED SEATS
(IF EQUIPPED)
Do not do the following:
• Spill liquid on the front seats. This may
cause the air vent holes to become
blocked and not work properly.
• Place cargo or objects under the seats.
They may block the air intake causing
the air vents to not work properly.
The engine must be running to use this
feature. Press this symbol to cycle through the
various ventilation settings and off. More
indicator lights indicate higher fan speeds.
Note:
The ventilated seats switch on during
a remote start if they are enabled.
Note: The ventilated seats may switch on
when you start your vehicle if they were on
when you previously switched your vehicle
off.
If the engine falls below 350 RPM when
the ventilated seats are on, the system
turns off. You need to switch it back on.
Note: To improve comfort, use the
ventilated seats along with the vehicle ’s air
conditioning system.
Automatic Climate Controlled
Seats
(If Equipped)
When you switch on the auto setting, the
seats switch between the heated seats
and ventilated seats to match your climate
control setting.
159
Explorer (CTW), enUSA, Edition date: 202007, Second-Printing SeatsE146322 E224689
Page 170 of 577

12 Volt DC Power Point
WARNING: Do not plug optional
electrical accessories into the cigar
lighter socket. Incorrect use of the cigar
lighter can cause damage not covered
by the vehicle warranty, and can result
in fire or serious injury.
Note: When you switch the ignition on, you
can use the socket to power 12 volt
appliances with a maximum current rating
of 15 amps.
Note: If the power supply does not work
after you switch the ignition off, switch the
ignition on.
Note: Do not hang any accessory from the
accessory plug.
Note: Do not use the power point over the
vehicle capacity of 12 volt DC 180 watts or
a fuse may blow.
Note: Always keep the power point caps
closed when not in use.
Do not insert objects other than an
accessory plug into the power point. This
damages the power point and may blow
the fuse.
Run the vehicle for full capacity use of the
power point.
To prevent the battery from running out of
charge:
• Do not use the power point longer than
necessary when the vehicle is not
running.
• Do not leave devices plugged in
overnight or when you park your vehicle
for extended periods. USB Port and Power Point
Locations
USB Ports and Power Points may be in the
following locations:
•
On the lower instrument panel.
• Inside the center console.
• On the front of the center console.
• On the rear of the center console.
• In the cargo area.
• On the passenger side floor panel.
• 3rd row on the quarter trim panels.
Note: Some of the USB ports may not have
data transfer capabilities.
Note: Incorrect use of the USB ports can
cause damage not covered by the vehicle
warranty.
110 Volt AC Power Point
(If Equipped) WARNING:
Do not keep electrical
devices plugged in the power point
whenever the device is not in use. Do not
use any extension cord with the 110 volt
AC power point, since it will defeat the
safety protection design. Doing so may
cause the power point to overload due
to powering multiple devices that can
reach beyond the 150 watt load limit and
could result in fire or serious injury.
Note: The power point turns off when you
switch off the ignition, when the vehicle is
not in accessory mode or when the battery
voltage drops below 11 volts.
You can use the power point for electric
devices that require up to 150 watts. It is
on the rear of the center console.
167
Explorer (CTW), enUSA, Edition date: 202007, Second-Printing Auxiliary Power Points
Page 172 of 577
Note:
This device controls the rate of
charge, or charging power. During charging,
the device and the charger may heat up, this
is normal. If the battery gets hotter than
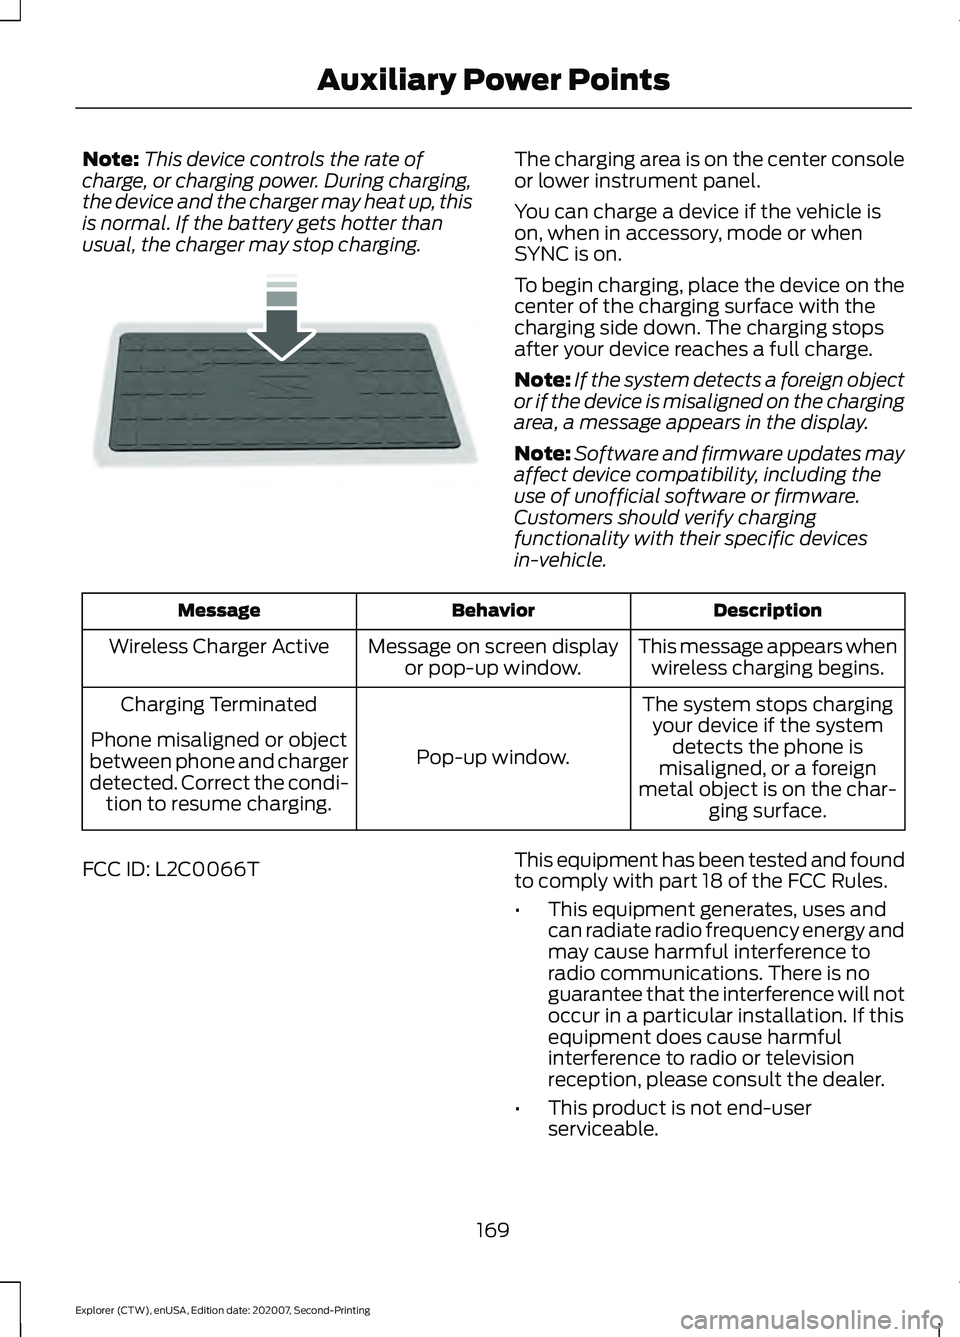
usual, the charger may stop charging. The charging area is on the center console
or lower instrument panel.
You can charge a device if the vehicle is
on, when in accessory, mode or when
SYNC is on.
To begin charging, place the device on the
center of the charging surface with the
charging side down. The charging stops
after your device reaches a full charge.
Note:
If the system detects a foreign object
or if the device is misaligned on the charging
area, a message appears in the display.
Note: Software and firmware updates may
affect device compatibility, including the
use of unofficial software or firmware.
Customers should verify charging
functionality with their specific devices
in-vehicle. Description
Behavior
Message
This message appears whenwireless charging begins.
Message on screen display
or pop-up window.
Wireless Charger Active
The system stops chargingyour device if the system detects the phone is
misaligned, or a foreign
metal object is on the char- ging surface.
Pop-up window.
Charging Terminated
Phone misaligned or object
between phone and charger
detected. Correct the condi- tion to resume charging.
FCC ID: L2C0066T This equipment has been tested and found
to comply with part 18 of the FCC Rules.
•
This equipment generates, uses and
can radiate radio frequency energy and
may cause harmful interference to
radio communications. There is no
guarantee that the interference will not
occur in a particular installation. If this
equipment does cause harmful
interference to radio or television
reception, please consult the dealer.
• This product is not end-user
serviceable.
169
Explorer (CTW), enUSA, Edition date: 202007, Second-Printing Auxiliary Power PointsE250812
Page 184 of 577
Note:
Note when in Sport mode it can be
enabled by pressing the Auto-Start-Stop
button. The green Auto-Start-Stop
indicator light on the instrument
cluster will illuminate to indicate
when the automatic engine stop occurs. If the instrument cluster is
equipped with a grey
Auto-Start-Stop indicator light,
it illuminates when automatic engine stop
is not available due to one of the above
noted conditions not being met.
Automatic Engine Restart
Any of the following conditions will result
in an automatic restart of the engine:
• You have removed your foot from the
brake pedal.
• You press the accelerator pedal.
• You press the accelerator and the
brake pedal at the same time.
• The driver safety belt becomes
unfastened or the driver door is ajar.
• Your vehicle is moving.
• The interior compartment does not
meet customer comfort when air
conditioning or heat is on.
• Fogging of the windows could occur
and the air conditioning is on.
• The battery is not within optimal
operating conditions.
• You have exceeded the maximum
engine off time.
• When you press the Auto-Start-Stop
button with the engine automatically
stopped.
• The front defroster is turned to the Max
setting.
• When you shift into park (P), the engine
will restart. Any of the following conditions may result
in an automatic restart of the engine:
•
You have increased the blower fan
speed or changed the climate control
temperature.
• You have an electrical accessory
turned on or plugged in.
Note: You may notice that the climate seat
fan fluctuates during an automatic restart.
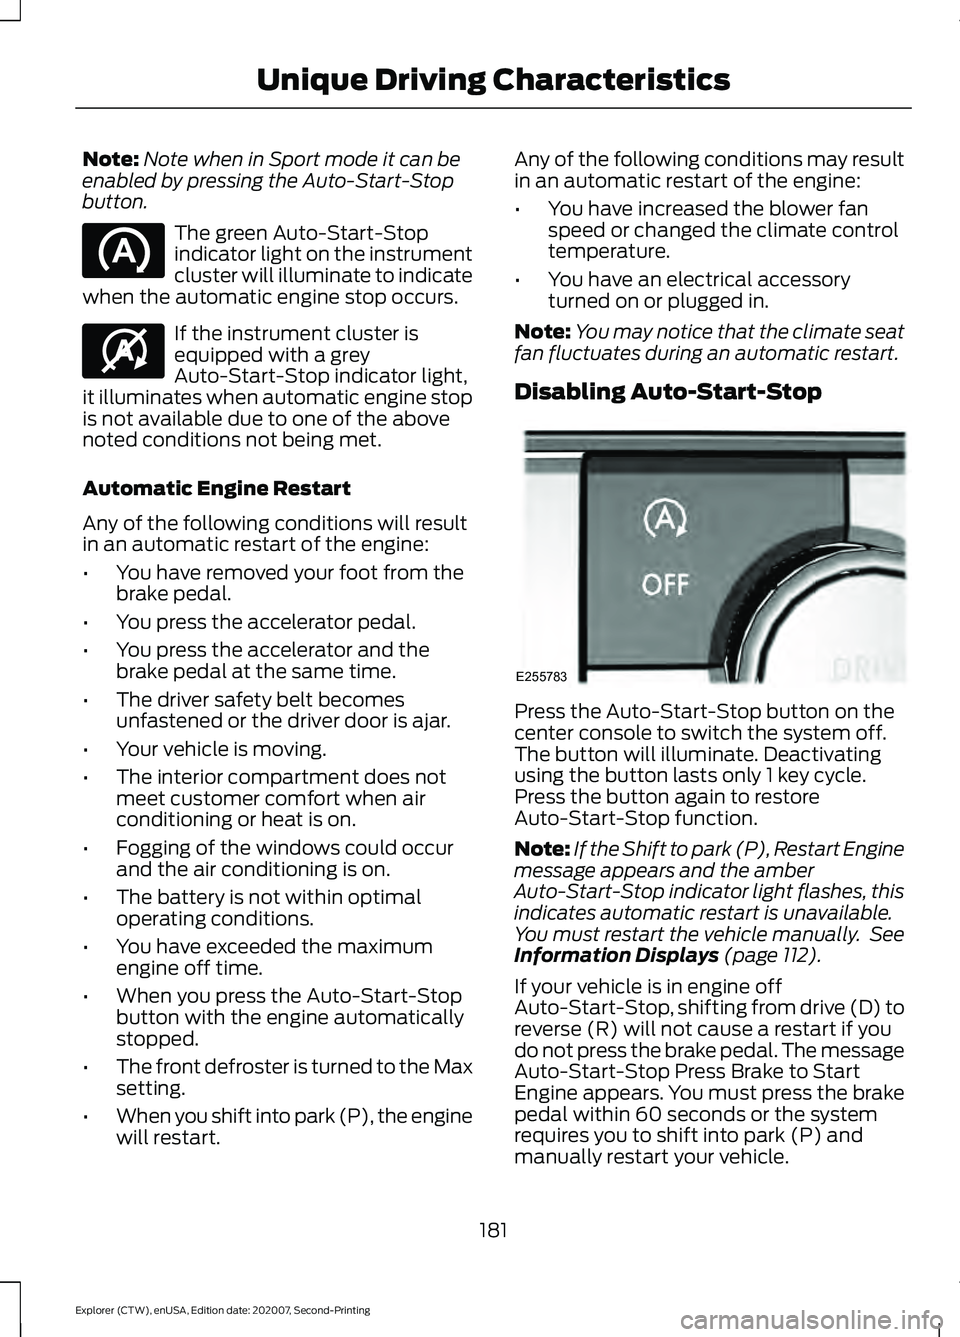
Disabling Auto-Start-Stop Press the Auto-Start-Stop button on the
center console to switch the system off.
The button will illuminate. Deactivating
using the button lasts only 1 key cycle.
Press the button again to restore
Auto-Start-Stop function.
Note:
If the Shift to park (P), Restart Engine
message appears and the amber
Auto-Start-Stop indicator light flashes, this
indicates automatic restart is unavailable.
You must restart the vehicle manually. See
Information Displays (page 112).
If your vehicle is in engine off
Auto-Start-Stop, shifting from drive (D) to
reverse (R) will not cause a restart if you
do not press the brake pedal. The message
Auto-Start-Stop Press Brake to Start
Engine appears. You must press the brake
pedal within 60 seconds or the system
requires you to shift into park (P) and
manually restart your vehicle.
181
Explorer (CTW), enUSA, Edition date: 202007, Second-Printing Unique Driving Characteristics E146361 E255783
Page 204 of 577
AUTOMATIC TRANSMISSION
WARNING: Always fully apply the
parking brake and make sure you shift
into park (P). Failure to follow this
instruction could result in personal injury
or death. WARNING:
Do not apply the brake
pedal and accelerator pedal
simultaneously. Applying both pedals
simultaneously for more than a few
seconds will limit engine performance,
which may result in difficulty maintaining
speed in traffic and could lead to serious
injury.
Note: You may not be able to shift out of
park (P) unless the intelligent access key is
inside your vehicle.
Understanding Your Transmission
Selector Positions
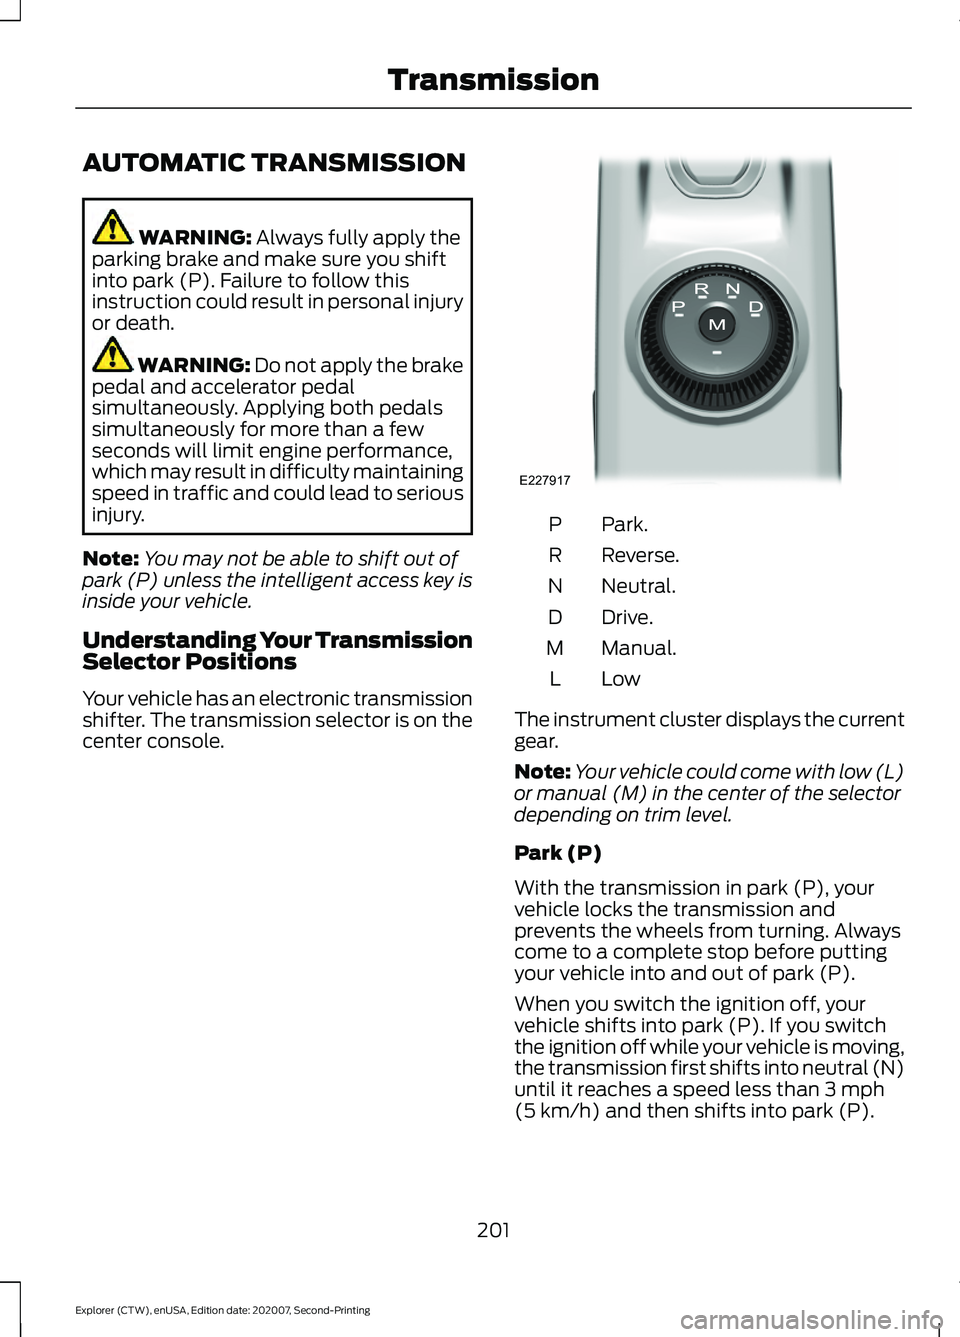
Your vehicle has an electronic transmission
shifter. The transmission selector is on the
center console. Park.
P
Reverse.
R
Neutral.
N
Drive.
D
Manual.
M
LowL
The instrument cluster displays the current
gear.
Note: Your vehicle could come with low (L)
or manual (M) in the center of the selector
depending on trim level.
Park (P)
With the transmission in park (P), your
vehicle locks the transmission and
prevents the wheels from turning. Always
come to a complete stop before putting
your vehicle into and out of park (P).
When you switch the ignition off, your
vehicle shifts into park (P). If you switch
the ignition off while your vehicle is moving,
the transmission first shifts into neutral (N)
until it reaches a speed less than
3 mph
(5 km/h) and then shifts into park (P).
201
Explorer (CTW), enUSA, Edition date: 202007, Second-Printing TransmissionE227917
Page 206 of 577
Note:
This feature may not work properly
if the door ajar switch is malfunctioning. If
your door ajar indicator does not illuminate
when you open the driver door, or the
indicator illuminates with the driver door
closed, or Transmission not in Park cluster
message still displays when the shifter has
already selected reverse (R), neutral (N), or
drive (D) and driver door remains closed,
see your authorized dealer.
Stay in Neutral Mode
Note: Stay in neutral mode is a temporary
vehicle state that works with the engine
being in the running or OFF state. Once in
this mode, sufficient battery voltage must
be maintained or your vehicle returns to park
if the feature is left active for extended time
when engine is OFF.
Failure to follow this instruction could
result in vehicle damage not covered by
the vehicle Warranty.
Note: When entering an automatic car
wash, always enter the Stay in Neutral
Mode. Stay in Neutral Mode must be
enabled, if you are exiting the vehicle before
the car wash.
Extended usage of Stay in Neutral mode
may result in a battery voltage reduction
to level where the vehicle may no longer
start.
Do not tow your vehicle in this mode.
With the transmission selector in Stay in
Neutral Mode, you can start your vehicle
and it is free to roll.
To enter Stay in Neutral mode, do the
following:
1. Bring your vehicle to a complete stop.
2. Shift into neutral (N).
3. Press the manual (M) or low (L) button
within five seconds after shifting to
neutral (N). Note:
Stay in Neutral Mode confirmation
message appears in the information display
when your vehicle has entered Stay in
Neutral mode and the neutral (N) button
on the transmission selector slowly blinks.
To exit Stay in Neutral mode, press the
brake pedal and shift to park (P) or start
the engine and apply brakes to shift to
another driving range, for example drive
(D) or reverse (R).
Tow Mode (If Equipped) To activate tow mode, use the
drive mode switch on the center
console.
See Selecting a Drive
Mode (page 278).
The indicator light illuminates and a
message displays in the instrument cluster
when the system becomes active. Select
a different mode to turn the system off.
The Tow Mode Feature:
• Moves upshifts to higher engine speeds
to reduce the frequency of
transmission shifting.
• Provides engine braking in all forward
gears, which slows your vehicle and
assist you in controlling your vehicle
when descending a grade.
• Depending on driving conditions and
load conditions, it may downshift the
transmission, slow your vehicle and
control your vehicle speed when
descending a hill, without pressing the
accelerator pedal. The amount of
downshift braking provided varies
based upon the amount you press the
brake pedal.
The tow mode feature improves
transmission operation when towing a
trailer or a heavy load. All transmission
gear ranges are available when using tow
mode.
203
Explorer (CTW), enUSA, Edition date: 202007, Second-Printing TransmissionE161509
Page 218 of 577
spun as a generator to create electrical
current. This recharges the battery and
slows the vehicle. In effect, once the
accelerator pedal is released, the motor
changes from an energy user to an energy
producer.
When you release the accelerator pedal or
press the brake pedal, the brake controller
automatically detects the amount of
deceleration requested and optimizes how
much of the deceleration will be produced
by regenerative braking. The remaining
portion is generated by standard friction
braking. When the battery is almost fully
charged, the amount of regenerative
braking is limited to avoid overcharging,
and the requested deceleration is
produced by standard friction braking
alone.
Regenerative braking does not take the
place of the standard friction brakes; it only
assists them. Regenerative braking has
also been designed to interact with the
anti-lock brake system. Regenerative
braking is disabled when the anti-lock
brake system is activated or the battery is
fully charged.
HINTS ON DRIVING WITH
ANTI-LOCK BRAKES
The anti-lock braking system does not
eliminate the risks when:
•
You drive too closely to the vehicle in
front of you.
• Your vehicle is hydroplaning.
• You take corners too fast.
• The road surface is poor.
Note: If the system activates, the brake
pedal may pulse and may travel further.
Maintain pressure on the brake pedal. You
may also hear a noise from the system. This
is normal. ELECTRIC PARKING BRAKE WARNING: Always fully apply the
parking brake and make sure you shift
into park (P). Failure to follow this
instruction could result in personal injury
or death. WARNING:
If you drive extended
distances with the parking brake applied,
you could cause damage to the brake
system. WARNING:
The electric parking
brake does not operate if the vehicle
battery is running out of charge.
Your vehicle has an electric parking brake.
You operate it with a switch instead of a
lever. The switch is on the center console
or to the left-hand side of the steering
wheel, on the lower part of the instrument
panel.
Note: The electric parking brake makes
noises during operation. This is normal.
Applying the Electric Parking
Brake Pull the switch upward.
The red warning lamp flashes
during operation and illuminates
when the parking brake is
applied. Note:
It remains illuminated for a short
period of time after you switch the ignition
off.
215
Explorer (CTW), enUSA, Edition date: 202007, Second-Printing BrakesE267156 E270480