2021 FORD EXPLORER ad blue
[x] Cancel search: ad bluePage 58 of 577
WHAT IS 911 ASSIST
911 Assist is a SYNC system feature that
can call for help if you’re in an accident. If
a crash deploys an airbag (excluding knee
airbags and rear inflatable seatbelts [if
equipped]) or activates the fuel pump
shut-off, your SYNC-equipped vehicle may
be able to contact emergency services by
dialing 911 through a paired and connected
Bluetooth-enabled phone. You can learn
more about the 911 Assist feature, by
visiting:
Website
www.owner.ford.com
www.syncmyride.ca
www.syncmaroute.ca
Not all crashes will deploy an airbag or
activate the fuel pump shut-off (the
triggers for 911 Assist). If a connected cell
phone sustains damage or loses its
connection to SYNC during a crash, SYNC
will search for and try to connect to a
previously paired cell phone; SYNC will
then attempt to call the emergency
services.
Before making the call:
• SYNC provides a short window of time
(about 10 seconds) to cancel the call.
If you fail to cancel the call, SYNC
attempts to dial 911.
• SYNC says the following, or a similar
message: "SYNC will attempt to call
911, to cancel the call, press Cancel on
your screen or press and hold the
phone button on your steering wheel." If you do not cancel the call, and SYNC
makes a successful call, a pre-recorded
message plays for the 911 operator, and
then the occupant(s) in your vehicle is able
to talk with the operator. Be prepared to
provide your name, phone number and
location immediately, because not all 911
systems are capable of receiving this
information electronically.
During an emergency call, the system
transmits vehicle data to the emergency
service. See Data Privacy (page 15).
EMERGENCY CALL
REQUIREMENTS WARNING:
Do not wait for 911
Assist to make an emergency call if you
can do it yourself. Dial emergency
services immediately to avoid delayed
response time which could increase the
risk of serious injury or death after a
crash. If you do not hear 911 Assist within
five seconds of the crash, the system or
phone may be damaged or
non-functional. WARNING:
Always place your
phone in a secure location in your vehicle
so it does not become a projectile or get
damaged in a crash. Failure to do so may
cause serious injury to someone or
damage the phone which could prevent
911 Assist from working properly. WARNING:
Unless the 911 Assist
setting is set on before a crash, the
system will not dial for help which could
delay response time, potentially
increasing the risk of serious injury or
death after a crash.
55
Explorer (CTW), enUSA, Edition date: 202007, Second-Printing 911 Assist
Page 59 of 577
•
SYNC must be powered and working
properly at the time of the incident and
throughout feature activation and use.
• The 911 Assist feature must be set on
before the incident.
• You must pair and connect a Bluetooth
enabled and compatible cell phone to
SYNC.
• A connected Bluetooth enabled phone
must have the ability to make and
maintain an outgoing call at the time
of the incident.
• A connected Bluetooth enabled phone
must have adequate network coverage,
battery power and signal strength.
• The vehicle must have battery power
and be located in the U.S., Canada or
in a territory in which 911 is the
emergency number.
Note: If any user sets 911 Assist to on or off,
that setting applies for all paired phones. If
911 Assist is switched off and the phone is
connected to SYNC, an icon displays on the
status bar.
Note: Every phone operates differently.
While SYNC 911 Assist works with most
cellular phones, some may have trouble
using this feature.
EMERGENCY CALL
LIMITATIONS
The SYNC 911 Assist feature only operates
in the U.S., Canada or in a territory in which
911 is the emergency number.
• Your cellular phone or 911 Assist
hardware sustains damage in a crash.
• The vehicle's battery or the SYNC
system has no power.
• The phone(s) thrown from your vehicle
are the ones paired and connected to
the system.
56
Explorer (CTW), enUSA, Edition date: 202007, Second-Printing 911 Assist
Page 124 of 577
Hybrid Information (If Equipped)
This Trip
Provides trip timer, trip average fuel
economy, total trip distance traveled, and
distance traveled on electric power only
with the engine off. If the gasoline engine
has not turned on during the trip then trip
average fuel economy is not shown. This
Trip automatically resets each time you
start your vehicle.
EV Coach
EV Coach can help you to get the most out
of your vehicle ’s electric driving and
regenerative braking capabilities.
When you are accelerating or maintaining
speed you will see a blue or white solid bar
indicating vehicle power. You may also see
a blue rectangular box which shows the
power level at which the engine will turn
on.
• When your power level is within the box
the color of the bar will be blue. This
means you are in Electric operation and
the engine is off.
• When your power level is outside of the
box the color of the bar will be white.
This means you are in Hybrid operation
with a combination of the electric
motor and the engine providing vehicle
power.
When you are decelerating with either your
foot off the accelerator pedal or on the
brake pedal you will see a green or white
solid bar indicating the power being used
to slow down the vehicle. You may also
see a green rectangular box which shows
the amount of power that can be
recaptured by the regenerative braking
system and returned to the high voltage
battery. •
When your power level is completely
within the box the color of the bar will
be all green. This means that the
regenerative braking system is being
used to efficiently slow the vehicle
down and return the maximum
percentage of energy to the high
voltage battery.
• When your power level is outside of the
green box then the bar will be white.
This means that both the regenerative
braking system and conventional
braking system are being used.
INFORMATION MESSAGES
Note: Depending on your vehicle options
and instrument cluster type, not all of the
messages display or are available. Certain
messages may be abbreviated or shortened
depending upon which cluster type you
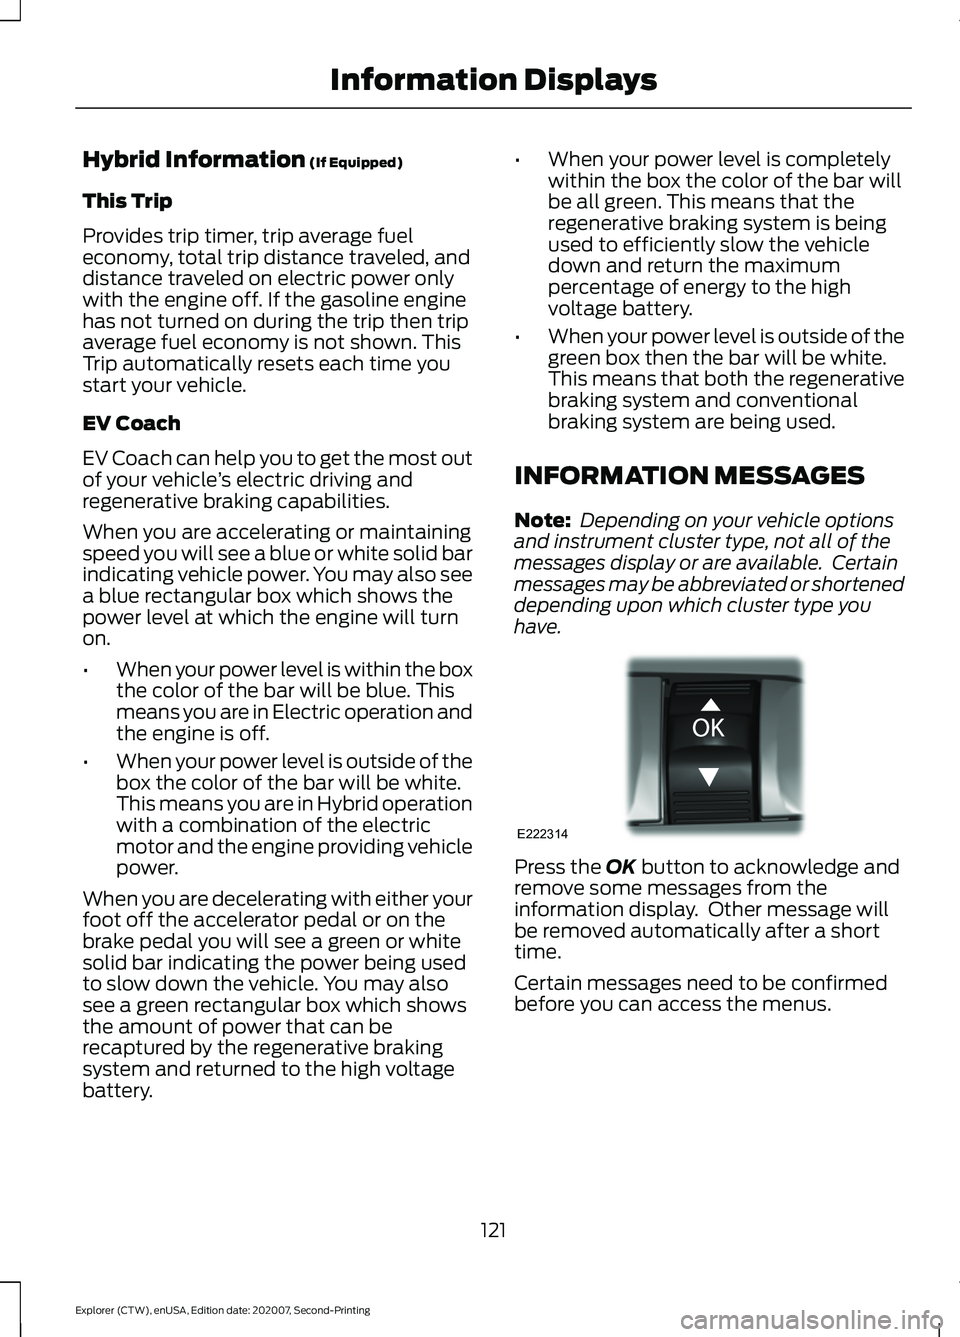
have. Press the
OK button to acknowledge and
remove some messages from the
information display. Other message will
be removed automatically after a short
time.
Certain messages need to be confirmed
before you can access the menus.
121
Explorer (CTW), enUSA, Edition date: 202007, Second-Printing Information DisplaysE222314
Page 168 of 577
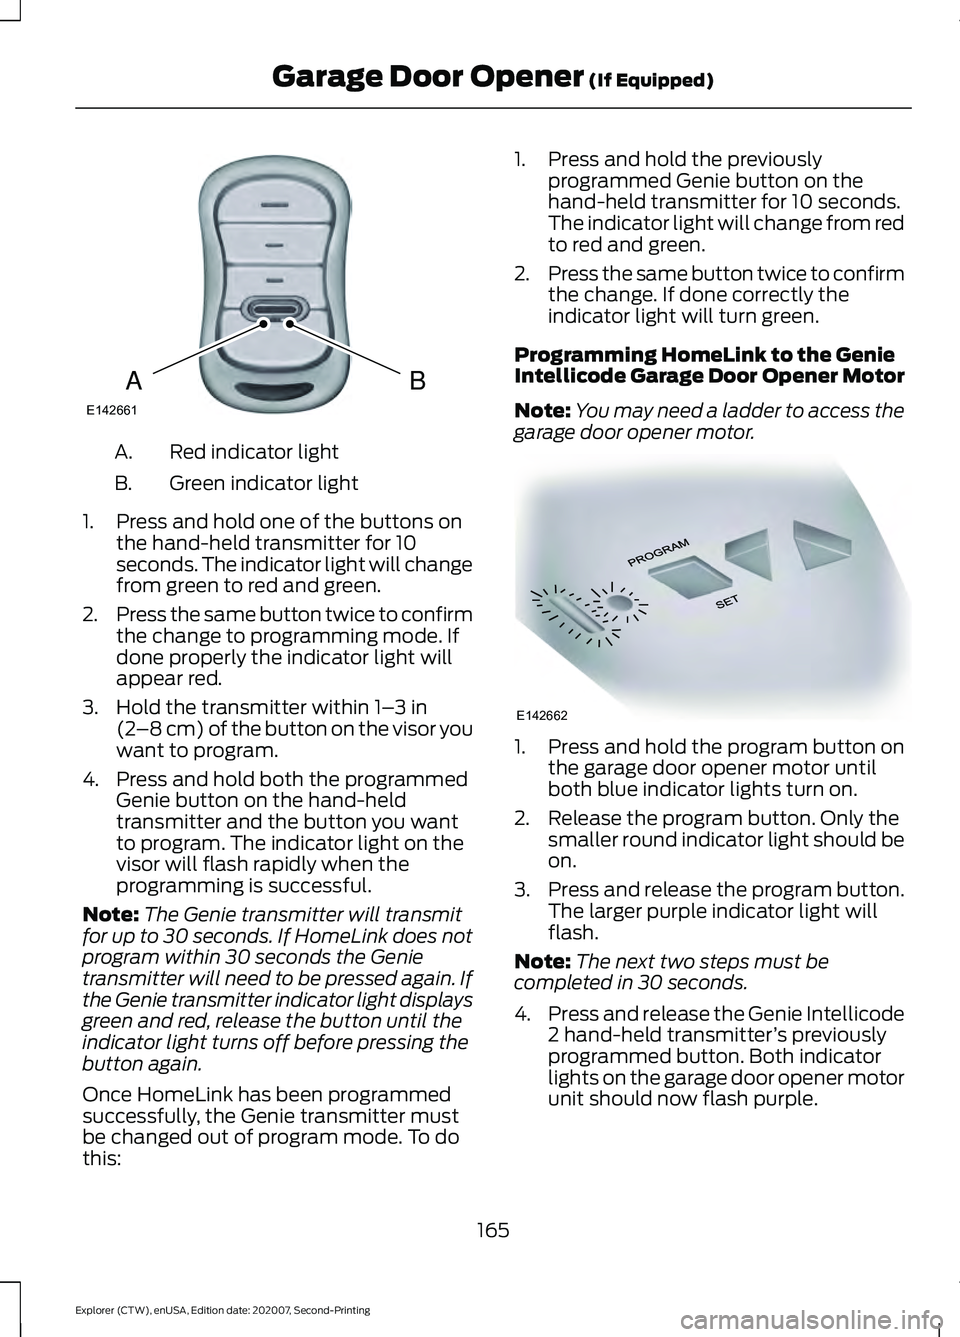
Red indicator light
A.
Green indicator light
B.
1. Press and hold one of the buttons on the hand-held transmitter for 10
seconds. The indicator light will change
from green to red and green.
2. Press the same button twice to confirm
the change to programming mode. If
done properly the indicator light will
appear red.
3. Hold the transmitter within 1– 3 in
(2 –8 cm) of the button on the visor you
want to program.
4. Press and hold both the programmed Genie button on the hand-held
transmitter and the button you want
to program. The indicator light on the
visor will flash rapidly when the
programming is successful.
Note: The Genie transmitter will transmit
for up to 30 seconds. If HomeLink does not
program within 30 seconds the Genie
transmitter will need to be pressed again. If
the Genie transmitter indicator light displays
green and red, release the button until the
indicator light turns off before pressing the
button again.
Once HomeLink has been programmed
successfully, the Genie transmitter must
be changed out of program mode. To do
this: 1. Press and hold the previously
programmed Genie button on the
hand-held transmitter for 10 seconds.
The indicator light will change from red
to red and green.
2. Press the same button twice to confirm
the change. If done correctly the
indicator light will turn green.
Programming HomeLink to the Genie
Intellicode Garage Door Opener Motor
Note: You may need a ladder to access the
garage door opener motor. 1. Press and hold the program button on
the garage door opener motor until
both blue indicator lights turn on.
2. Release the program button. Only the smaller round indicator light should be
on.
3. Press and release the program button.
The larger purple indicator light will
flash.
Note: The next two steps must be
completed in 30 seconds.
4. Press and release the Genie Intellicode
2 hand-held transmitter ’s previously
programmed button. Both indicator
lights on the garage door opener motor
unit should now flash purple.
165
Explorer (CTW), enUSA, Edition date: 202007, Second-Printing Garage Door Opener
(If Equipped)BAE142661 E142662
Page 347 of 577
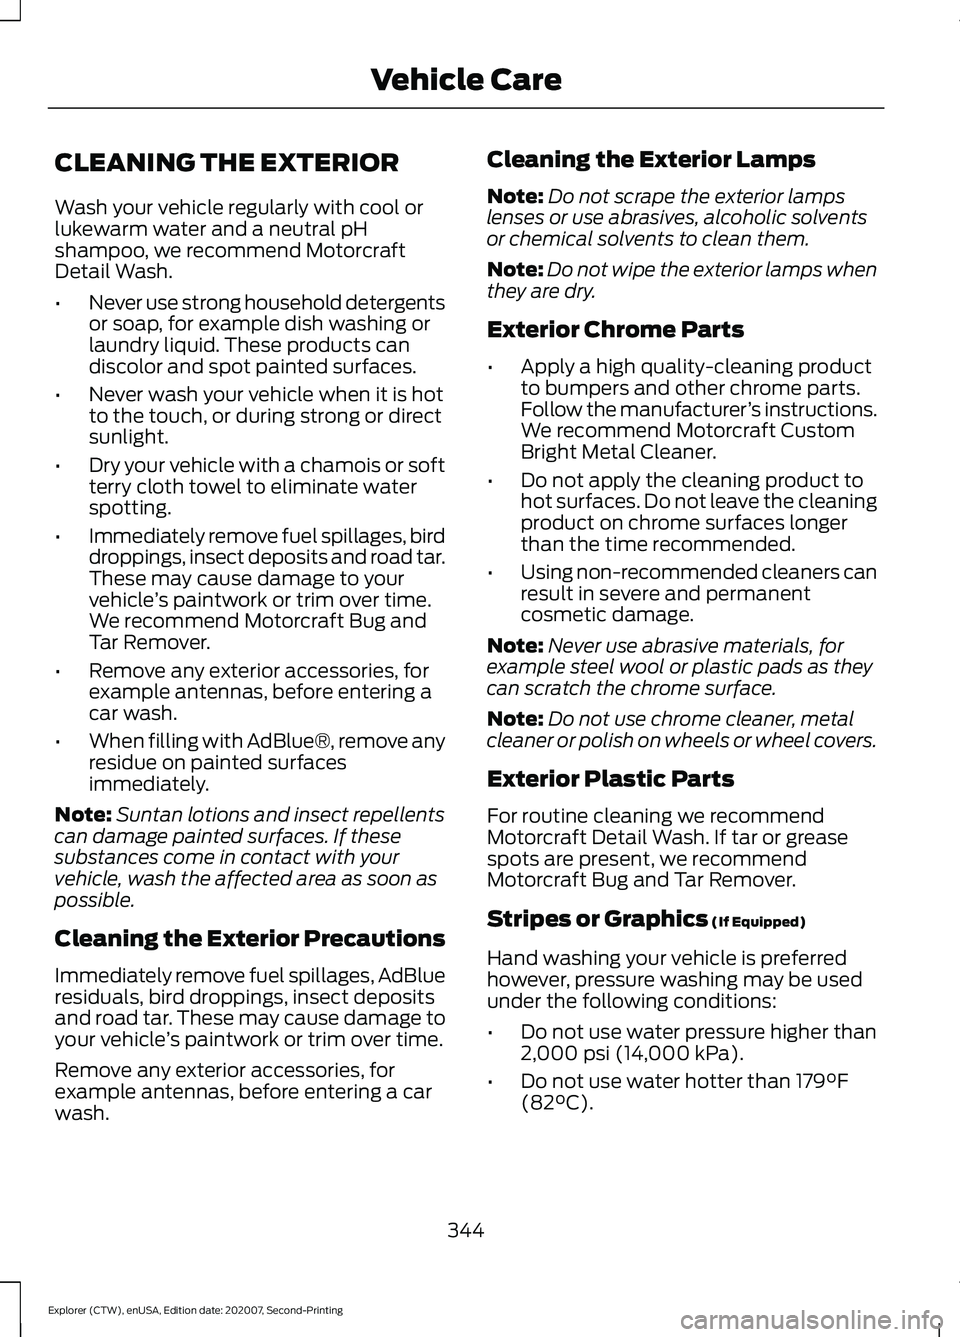
CLEANING THE EXTERIOR
Wash your vehicle regularly with cool or
lukewarm water and a neutral pH
shampoo, we recommend Motorcraft
Detail Wash.
•
Never use strong household detergents
or soap, for example dish washing or
laundry liquid. These products can
discolor and spot painted surfaces.
• Never wash your vehicle when it is hot
to the touch, or during strong or direct
sunlight.
• Dry your vehicle with a chamois or soft
terry cloth towel to eliminate water
spotting.
• Immediately remove fuel spillages, bird
droppings, insect deposits and road tar.
These may cause damage to your
vehicle ’s paintwork or trim over time.
We recommend Motorcraft Bug and
Tar Remover.
• Remove any exterior accessories, for
example antennas, before entering a
car wash.
• When filling with AdBlue®, remove any
residue on painted surfaces
immediately.
Note: Suntan lotions and insect repellents
can damage painted surfaces. If these
substances come in contact with your
vehicle, wash the affected area as soon as
possible.
Cleaning the Exterior Precautions
Immediately remove fuel spillages, AdBlue
residuals, bird droppings, insect deposits
and road tar. These may cause damage to
your vehicle ’s paintwork or trim over time.
Remove any exterior accessories, for
example antennas, before entering a car
wash. Cleaning the Exterior Lamps
Note:
Do not scrape the exterior lamps
lenses or use abrasives, alcoholic solvents
or chemical solvents to clean them.
Note: Do not wipe the exterior lamps when
they are dry.
Exterior Chrome Parts
• Apply a high quality-cleaning product
to bumpers and other chrome parts.
Follow the manufacturer ’s instructions.
We recommend Motorcraft Custom
Bright Metal Cleaner.
• Do not apply the cleaning product to
hot surfaces. Do not leave the cleaning
product on chrome surfaces longer
than the time recommended.
• Using non-recommended cleaners can
result in severe and permanent
cosmetic damage.
Note: Never use abrasive materials, for
example steel wool or plastic pads as they
can scratch the chrome surface.
Note: Do not use chrome cleaner, metal
cleaner or polish on wheels or wheel covers.
Exterior Plastic Parts
For routine cleaning we recommend
Motorcraft Detail Wash. If tar or grease
spots are present, we recommend
Motorcraft Bug and Tar Remover.
Stripes or Graphics (If Equipped)
Hand washing your vehicle is preferred
however, pressure washing may be used
under the following conditions:
• Do not use water pressure higher than
2,000 psi (14,000 kPa)
.
• Do not use water hotter than
179°F
(82°C).
344
Explorer (CTW), enUSA, Edition date: 202007, Second-Printing Vehicle Care
Page 437 of 577
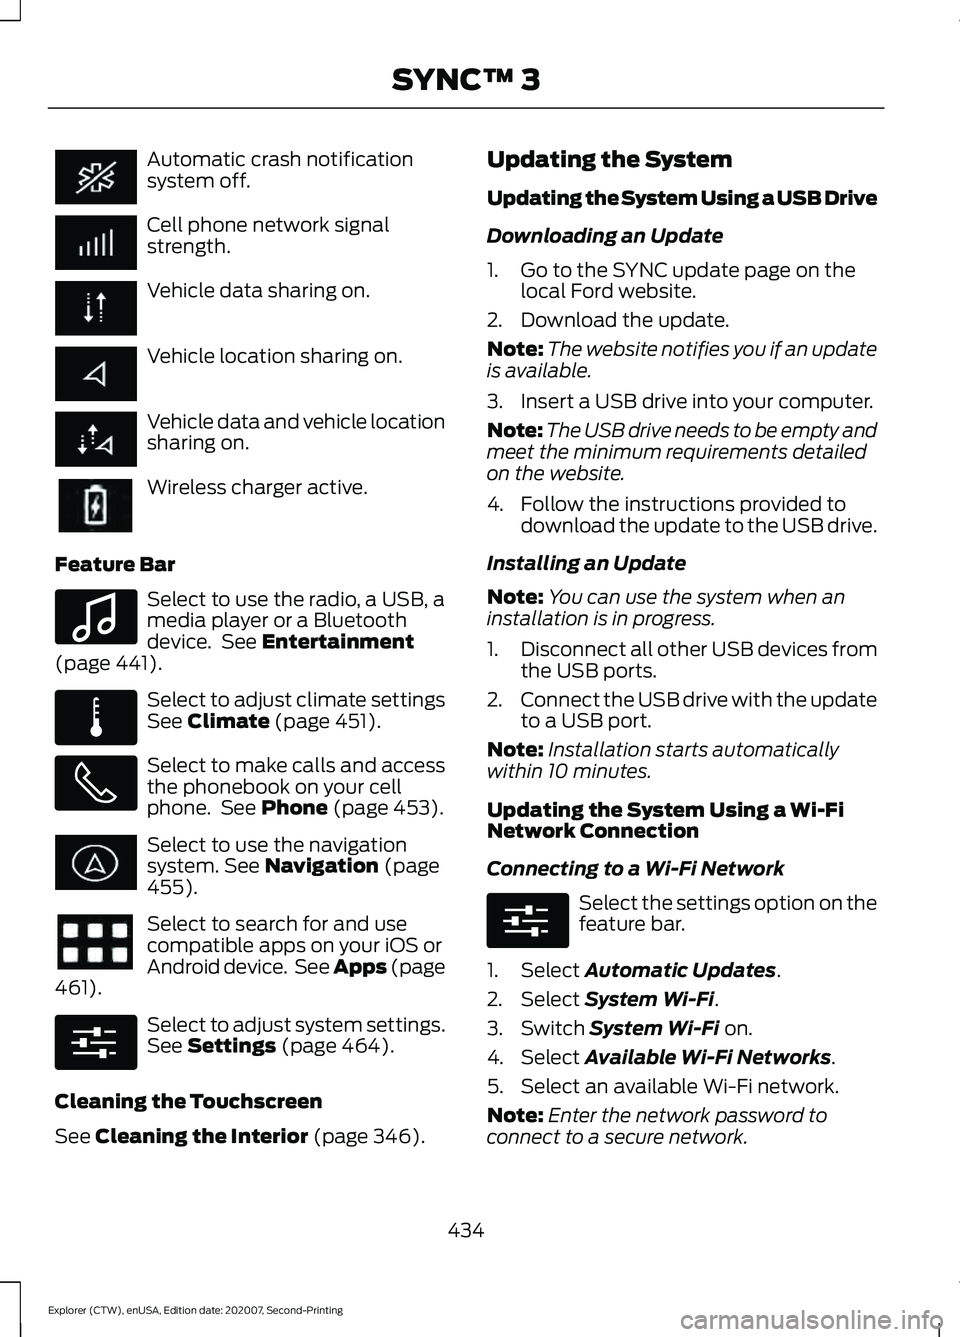
Automatic crash notification
system off.
Cell phone network signal
strength.
Vehicle data sharing on.
Vehicle location sharing on.
Vehicle data and vehicle location
sharing on.
Wireless charger active.
Feature Bar Select to use the radio, a USB, a
media player or a Bluetooth
device. See Entertainment
(page 441). Select to adjust climate settings
See
Climate (page 451).
Select to make calls and access
the phonebook on your cell
phone. See
Phone (page 453).
Select to use the navigation
system.
See Navigation (page
455). Select to search for and use
compatible apps on your iOS or
Android device. See Apps (page
461
). Select to adjust system settings.
See
Settings (page 464).
Cleaning the Touchscreen
See
Cleaning the Interior (page 346). Updating the System
Updating the System Using a USB Drive
Downloading an Update
1. Go to the SYNC update page on the
local Ford website.
2. Download the update.
Note: The website notifies you if an update
is available.
3. Insert a USB drive into your computer.
Note: The USB drive needs to be empty and
meet the minimum requirements detailed
on the website.
4. Follow the instructions provided to download the update to the USB drive.
Installing an Update
Note: You can use the system when an
installation is in progress.
1. Disconnect all other USB devices from
the USB ports.
2. Connect the USB drive with the update
to a USB port.
Note: Installation starts automatically
within 10 minutes.
Updating the System Using a Wi-Fi
Network Connection
Connecting to a Wi-Fi Network Select the settings option on the
feature bar.
1. Select
Automatic Updates.
2. Select
System Wi-Fi.
3. Switch
System Wi-Fi on.
4. Select
Available Wi-Fi Networks.
5. Select an available Wi-Fi network.
Note: Enter the network password to
connect to a secure network.
434
Explorer (CTW), enUSA, Edition date: 202007, Second-Printing SYNC™ 3 E100027 E283811 E280315 E280315
Page 439 of 577
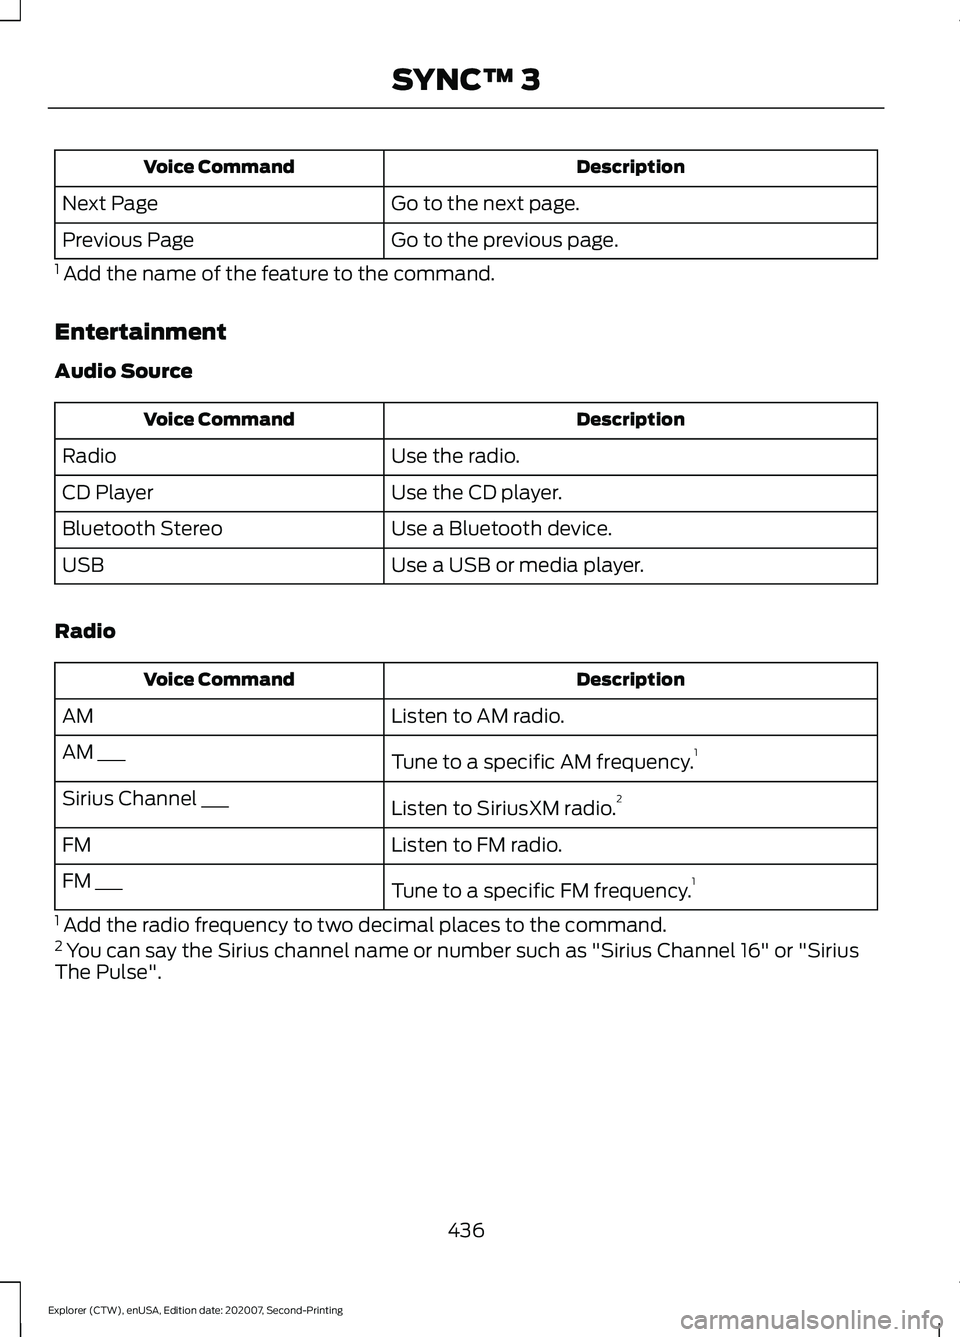
Description
Voice Command
Go to the next page.
Next Page
Go to the previous page.
Previous Page
1 Add the name of the feature to the command.
Entertainment
Audio Source Description
Voice Command
Use the radio.
Radio
Use the CD player.
CD Player
Use a Bluetooth device.
Bluetooth Stereo
Use a USB or media player.
USB
Radio Description
Voice Command
Listen to AM radio.
AM
Tune to a specific AM frequency.1
AM ___
Listen to SiriusXM radio.2
Sirius Channel ___
Listen to FM radio.
FM
Tune to a specific FM frequency.1
FM ___
1 Add the radio frequency to two decimal places to the command.
2 You can say the Sirius channel name or number such as "Sirius Channel 16" or "Sirius
The Pulse".
436
Explorer (CTW), enUSA, Edition date: 202007, Second-Printing SYNC™ 3
Page 441 of 577
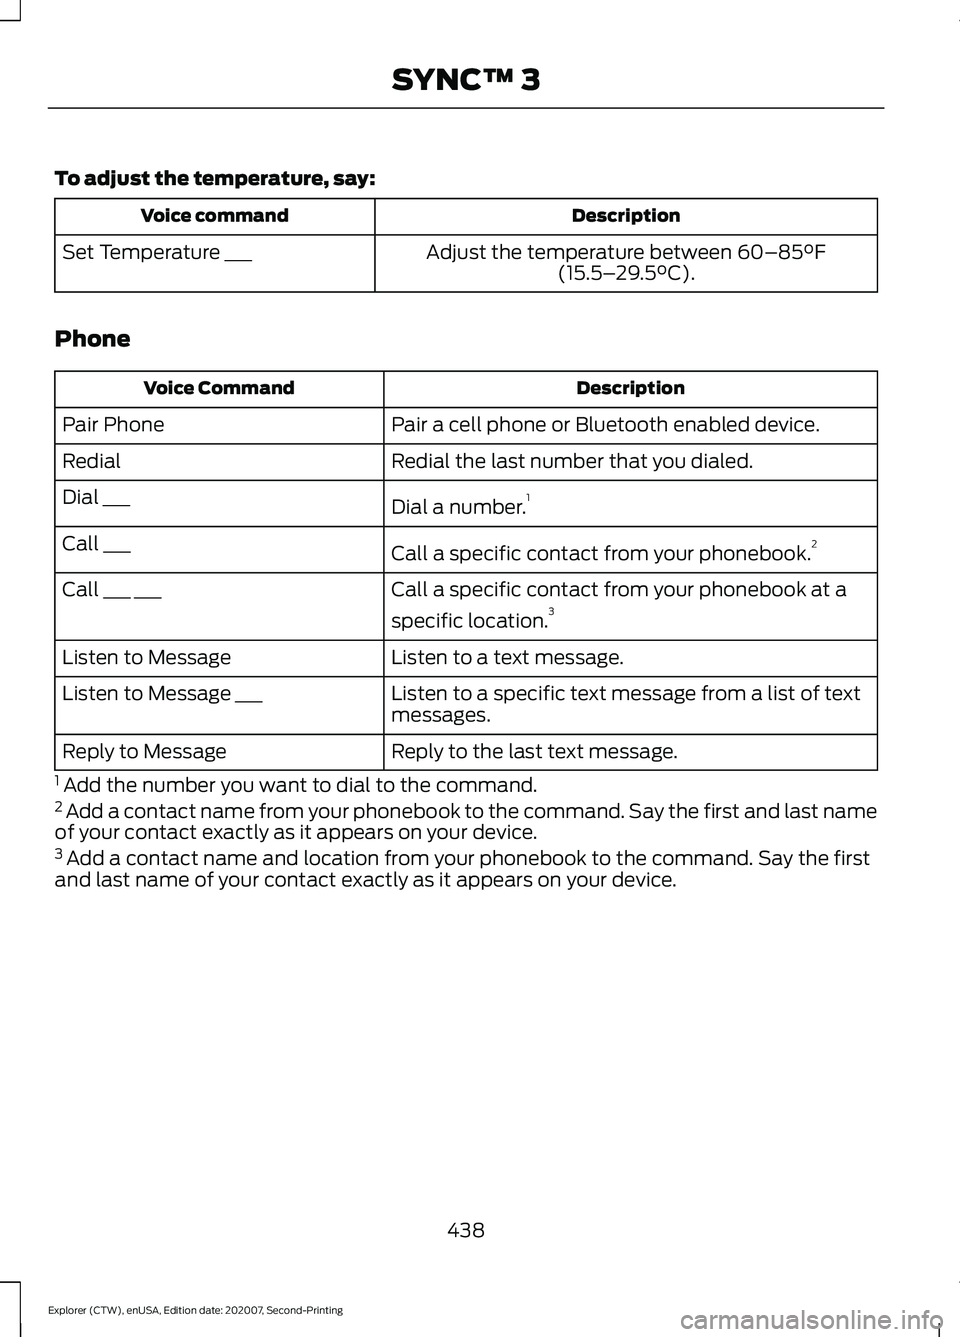
To adjust the temperature, say:
Description
Voice command
Adjust the temperature between 60–85°F
(15.5– 29.5°C).
Set Temperature ___
Phone Description
Voice Command
Pair a cell phone or Bluetooth enabled device.
Pair Phone
Redial the last number that you dialed.
Redial
Dial a number.1
Dial ___
Call a specific contact from your phonebook. 2
Call ___
Call a specific contact from your phonebook at a
specific location.3
Call ___ ___
Listen to a text message.
Listen to Message
Listen to a specific text message from a list of text
messages.
Listen to Message ___
Reply to the last text message.
Reply to Message
1 Add the number you want to dial to the command.
2 Add a contact name from your phonebook to the command. Say the first and last name
of your contact exactly as it appears on your device.
3 Add a contact name and location from your phonebook to the command. Say the first
and last name of your contact exactly as it appears on your device.
438
Explorer (CTW), enUSA, Edition date: 202007, Second-Printing SYNC™ 3