2021 ALFA ROMEO STELVIO ESP
[x] Cancel search: ESPPage 125 of 280
123
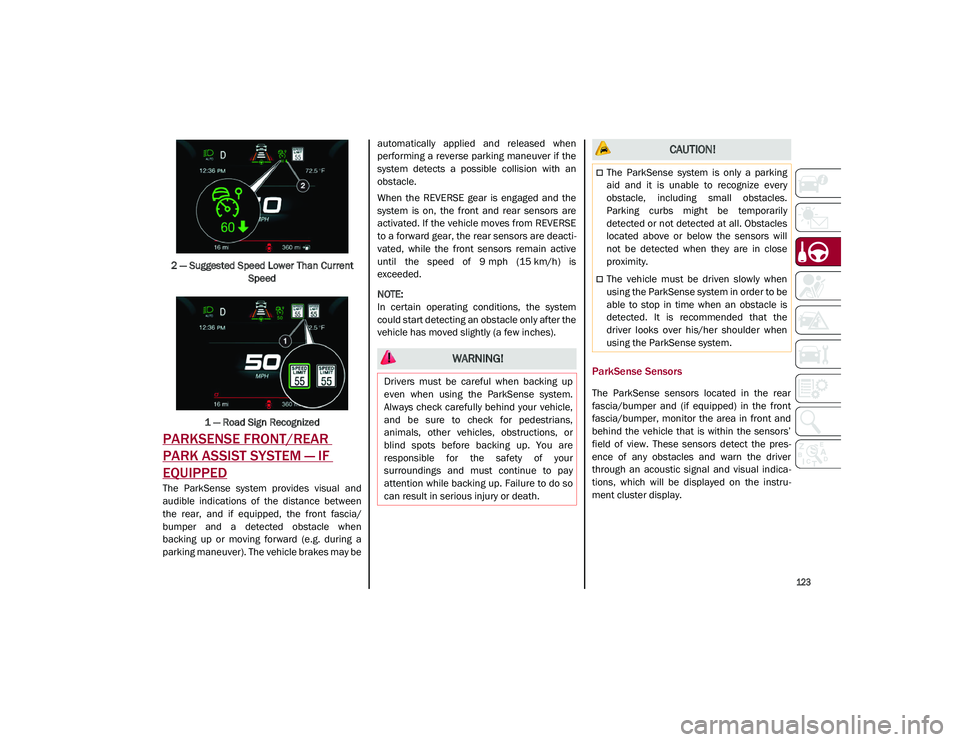
2 — Suggested Speed Lower Than Current Speed
1 — Road Sign Recognized
PARKSENSE FRONT/REAR
PARK ASSIST SYSTEM — IF
EQUIPPED
The ParkSense system provides visual and
audible indications of the distance between
the rear, and if equipped, the front fascia/
bumper and a detected obstacle when
backing up or moving forward (e.g. during a
parking maneuver). The vehicle brakes may be automatically applied and released when
performing a reverse parking maneuver if the
system detects a possible collision with an
obstacle.
When the REVERSE gear is engaged and the
system is on, the front and rear sensors are
activated. If the vehicle moves from REVERSE
to a forward gear, the rear sensors are deacti
-
vated, while the front sensors remain active
until the speed of 9 mph (15 km/h) is exceeded.
NOTE:
In certain operating conditions, the system
could start detecting an obstacle only after the
vehicle has moved slightly (a few inches).
ParkSense Sensors
The ParkSense sensors located in the rear
fascia/bumper and (if equipped) in the front
fascia/bumper, monitor the area in front and
behind the vehicle that is within the sensors’
field of view. These sensors detect the pres -
ence of any obstacles and warn the driver
through an acoustic signal and visual indica -
tions, which will be displayed on the instru -
ment cluster display.
WARNING!
Drivers must be careful when backing up
even when using the ParkSense system.
Always check carefully behind your vehicle,
and be sure to check for pedestrians,
animals, other vehicles, obstructions, or
blind spots before backing up. You are
responsible for the safety of your
surroundings and must continue to pay
attention while backing up. Failure to do so
can result in serious injury or death.
CAUTION!
The ParkSense system is only a parking
aid and it is unable to recognize every
obstacle, including small obstacles.
Parking curbs might be temporarily
detected or not detected at all. Obstacles
located above or below the sensors will
not be detected when they are in close
proximity.
The vehicle must be driven slowly when
using the ParkSense system in order to be
able to stop in time when an obstacle is
detected. It is recommended that the
driver looks over his/her shoulder when
using the ParkSense system.
21_GU_OM_EN_USC_t.book Page 123
Page 126 of 280
STARTING AND OPERATING
124
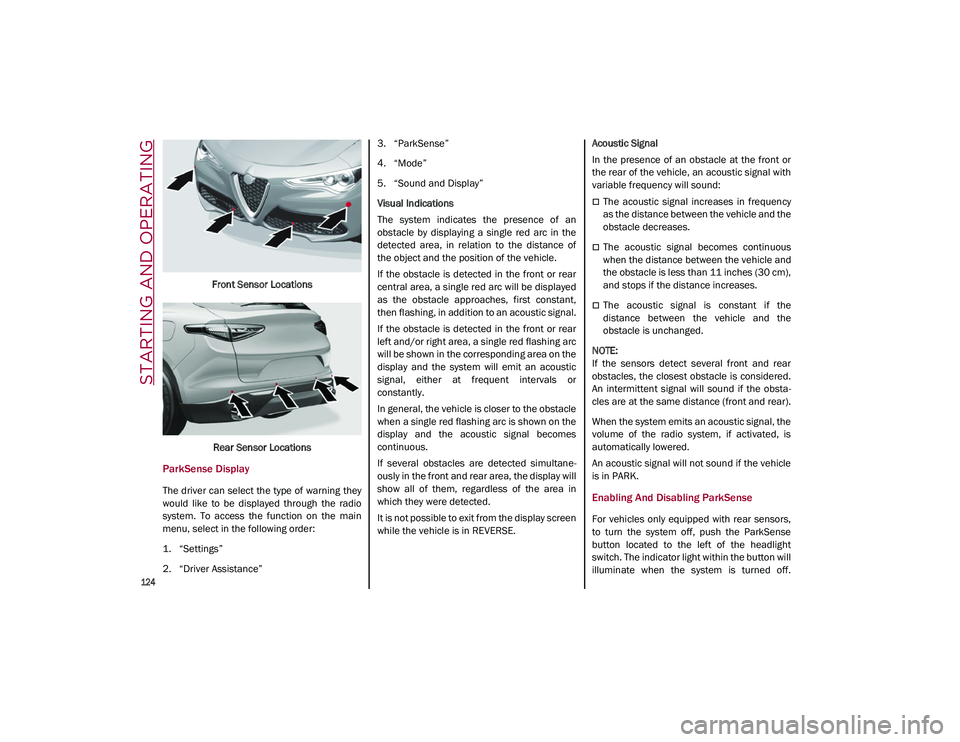
Front Sensor LocationsRear Sensor Locations
ParkSense Display
The driver can select the type of warning they
would like to be displayed through the radio
system. To access the function on the main
menu, select in the following order:
1. “Settings”
2. “Driver Assistance” 3. “ParkSense”
4. “Mode”
5. “Sound and Display”
Visual Indications
The system indicates the presence of an
obstacle by displaying a single red arc in the
detected area, in relation to the distance of
the object and the position of the vehicle.
If the obstacle is detected in the front or rear
central area, a single red arc will be displayed
as the obstacle approaches, first constant,
then flashing, in addition to an acoustic signal.
If the obstacle is detected in the front or rear
left and/or right area, a single red flashing arc
will be shown in the corresponding area on the
display and the system will emit an acoustic
signal, either at frequent intervals or
constantly.
In general, the vehicle is closer to the obstacle
when a single red flashing arc is shown on the
display and the acoustic signal becomes
continuous.
If several obstacles are detected simultane
-
ously in the front and rear area, the display will
show all of them, regardless of the area in
which they were detected.
It is not possible to exit from the display screen
while the vehicle is in REVERSE. Acoustic Signal
In the presence of an obstacle at the front or
the rear of the vehicle, an acoustic signal with
variable frequency will sound:
The acoustic signal increases in frequency
as the distance between the vehicle and the
obstacle decreases.
The acoustic signal becomes continuous
when the distance between the vehicle and
the obstacle is less than 11 inches (30 cm),
and stops if the distance increases.
The acoustic signal is constant if the
distance between the vehicle and the
obstacle is unchanged.
NOTE:
If the sensors detect several front and rear
obstacles, the closest obstacle is considered.
An intermittent signal will sound if the obsta -
cles are at the same distance (front and rear).
When the system emits an acoustic signal, the
volume of the radio system, if activated, is
automatically lowered.
An acoustic signal will not sound if the vehicle
is in PARK.
Enabling And Disabling ParkSense
For vehicles only equipped with rear sensors,
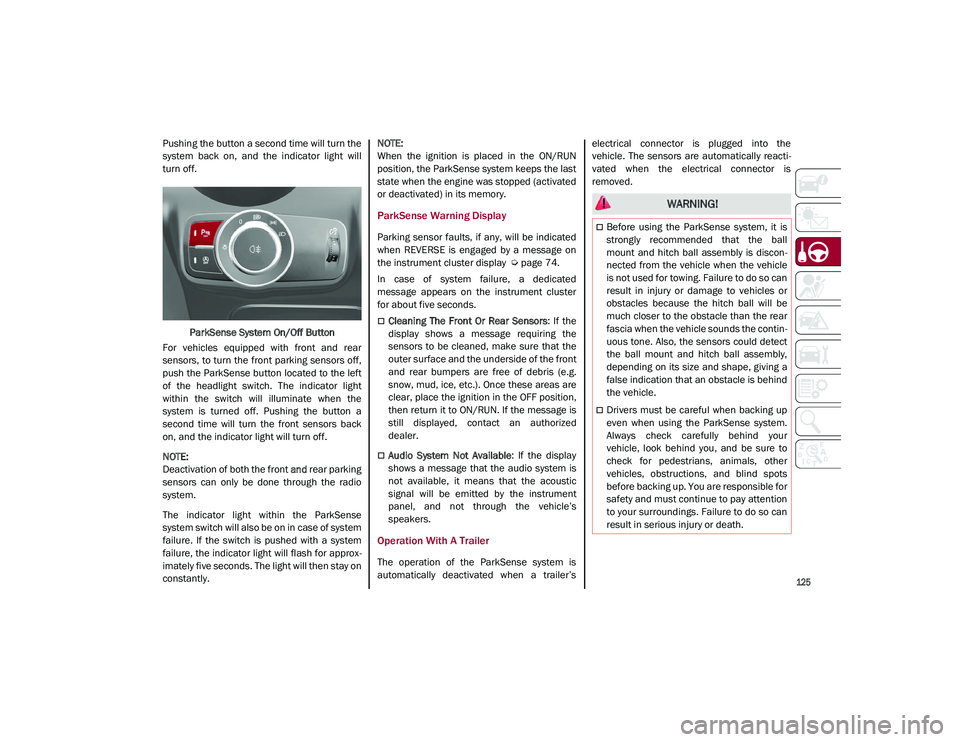
to turn the system off, push the ParkSense
button located to the left of the headlight
switch. The indicator light within the button will
illuminate when the system is turned off.
21_GU_OM_EN_USC_t.book Page 124
Page 127 of 280
125
Pushing the button a second time will turn the
system back on, and the indicator light will
turn off.ParkSense System On/Off Button
For vehicles equipped with front and rear
sensors, to turn the front parking sensors off,
push the ParkSense button located to the left
of the headlight switch. The indicator light
within the switch will illuminate when the
system is turned off. Pushing the button a
second time will turn the front sensors back
on, and the indicator light will turn off.
NOTE:
Deactivation of both the front and rear parking
sensors can only be done through the radio
system.
The indicator light within the ParkSense
system switch will also be on in case of system
failure. If the switch is pushed with a system
failure, the indicator light will flash for approx -
imately five seconds. The light will then stay on
constantly.
NOTE:
When the ignition is placed in the ON/RUN
position, the ParkSense system keeps the last
state when the engine was stopped (activated
or deactivated) in its memory.
ParkSense Warning Display
Parking sensor faults, if any, will be indicated
when REVERSE is engaged by a message on
the instrument cluster display
Ú
page 74.
In case of system failure, a dedicated
message appears on the instrument cluster
for about five seconds.
Cleaning The Front Or Rear Sensors : If the
display shows a message requiring the
sensors to be cleaned, make sure that the
outer surface and the underside of the front
and rear bumpers are free of debris (e.g.
snow, mud, ice, etc.). Once these areas are
clear, place the ignition in the OFF position,
then return it to ON/RUN. If the message is
still displayed, contact an authorized
dealer.
Audio System Not Available : If the display
shows a message that the audio system is
not available, it means that the acoustic
signal will be emitted by the instrument
panel, and not through the vehicle’s
speakers.
Operation With A Trailer
The operation of the ParkSense system is
automatically deactivated when a trailer’s electrical connector is plugged into the
vehicle. The sensors are automatically reacti
-
vated when the electrical connector is
removed.
WARNING!
Before using the ParkSense system, it is
strongly recommended that the ball
mount and hitch ball assembly is discon -
nected from the vehicle when the vehicle
is not used for towing. Failure to do so can
result in injury or damage to vehicles or
obstacles because the hitch ball will be
much closer to the obstacle than the rear
fascia when the vehicle sounds the contin -
uous tone. Also, the sensors could detect
the ball mount and hitch ball assembly,
depending on its size and shape, giving a
false indication that an obstacle is behind
the vehicle.
Drivers must be careful when backing up
even when using the ParkSense system.
Always check carefully behind your
vehicle, look behind you, and be sure to
check for pedestrians, animals, other
vehicles, obstructions, and blind spots
before backing up. You are responsible for
safety and must continue to pay attention
to your surroundings. Failure to do so can
result in serious injury or death.
21_GU_OM_EN_USC_t.book Page 125
Page 135 of 280
133
REFUELING THE VEHICLE
Refueling The Vehicle
Before refueling, make sure that the fuel type
is correct.
Also, stop the engine before refueling.
NOTE:
An inefficient catalytic converter leads to
harmful exhaust emissions, thus contributing
to air pollution.
Refueling Capacity
To ensure that you fill the tank completely, top
off twice after the first click of the fuel nozzle.
Further top-off could cause faults in the fuel
feeding system.
Refueling Procedure
The fuel filler door is unlocked when the
central door locking system is unlocked. It is
automatically locked when the central locking
system is applied.
Opening The Fuel Filler Door
To refuel proceed as follows:
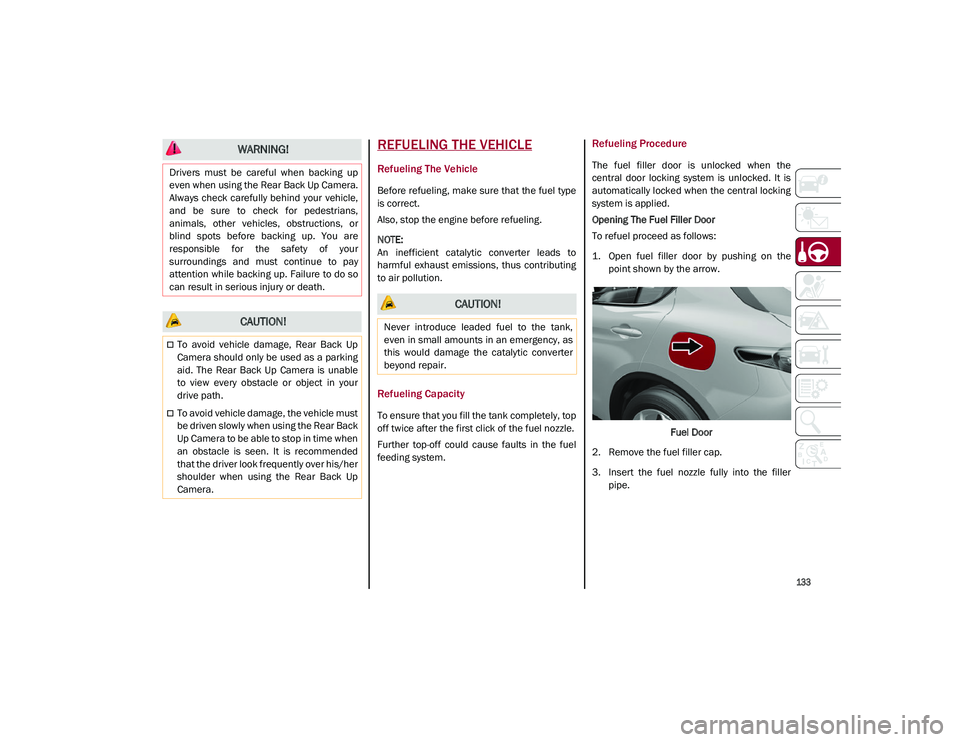
1. Open fuel filler door by pushing on thepoint shown by the arrow.
Fuel Door
2. Remove the fuel filler cap.
3. Insert the fuel nozzle fully into the filler pipe.
WARNING!
Drivers must be careful when backing up
even when using the Rear Back Up Camera.
Always check carefully behind your vehicle,
and be sure to check for pedestrians,
animals, other vehicles, obstructions, or
blind spots before backing up. You are
responsible for the safety of your
surroundings and must continue to pay
attention while backing up. Failure to do so
can result in serious injury or death.
CAUTION!
To avoid vehicle damage, Rear Back Up
Camera should only be used as a parking
aid. The Rear Back Up Camera is unable
to view every obstacle or object in your
drive path.
To avoid vehicle damage, the vehicle must
be driven slowly when using the Rear Back
Up Camera to be able to stop in time when
an obstacle is seen. It is recommended
that the driver look frequently over his/her
shoulder when using the Rear Back Up
Camera.
CAUTION!
Never introduce leaded fuel to the tank,
even in small amounts in an emergency, as
this would damage the catalytic converter
beyond repair.
21_GU_OM_EN_USC_t.book Page 133
Page 148 of 280
SAFETY
146
Given that, in a turn, the external wheels of the
car travel more than the internal ones and
therefore turn faster, sending a higher thrust
to the external rear wheel allows for the car to
be more stable and to not suffer an "under-
steer" condition. Understeer occurs when the
vehicle is turning less than appropriate for the
steering wheel position.
Dynamic Steering Torque (DST) System
DST uses the integration of the Electronic
Stability Control (ESC) system with the electric
power steering to increase the safety level of
the whole vehicle.
In critical situations (e.g. braking on surfaces
with different grip conditions), the ESC system
influences the steering through the DST func -
tion to implement an additional torque contri -
bution on the steering wheel in order to
suggest the most correct maneuver to the
driver.
The coordinated action of the brakes and
steering increases the safety and control of
the vehicle.
NOTE:
The DST feature is only meant to help the
driver realize the correct course of action
through small torques on the steering wheel,
which means the effectiveness of the DST
feature is highly dependent on the driver’s
sensitivity and overall reaction to the applied
torque. It is very important to realize that this feature will not steer the vehicle, meaning the
driver is still responsible for steering the
vehicle.
Drive Train Control (DTC) System
Some models of this vehicle are equipped with
an All-Wheel Drive (AWD) system, which offers
an optimal drive for countless driving condi
-
tions and road surfaces. The system reduces
tire slipping to a minimum, automatically
redistributing the torque to the front and rear
wheels as needed.
To maximize fuel savings, the vehicle with
AWD automatically passes to Rear-Wheel
Drive (RWD) when the road and environmental
conditions are such that they wouldn't cause
the tires to slip. When the road and environ -
mental conditions require better traction, the
vehicle automatically switches to AWD mode.
NOTE:
There may be a brief delay in shifting to
AWD mode after a tire slipping event occurs.
If the system failure symbol switches on,
after starting the engine or while driving, it
means that the AWD system is not working
properly. If the warning message activates
frequently, it is recommended to carry out
the maintenance operations.
Electronic Stability Control (ESC) System
The ESC system improves the directional
control and stability of the vehicle in various
driving conditions.
The ESC system corrects the vehicle’s under -
steer and oversteer, distributing the brake
force on the appropriate wheels. The torque
supplied by the engine can also be reduced in
order to maintain control of the vehicle.
The ESC system uses sensors installed on the
vehicle to determine the path that the driver
intends to follow and compares it with the
vehicle’s effective path. When the real path
deviates from the desired path, the ESC
system intervenes to counter the vehicle’s
oversteer or understeer.
Oversteer occurs when the vehicle is
turning more than it should according to the
angle of the steering wheel.
Understeer occurs when the vehicle is
turning less than it should according to the
angle of the steering wheel.
System Intervention
The intervention of the system is indicated by
the flashing of the ESC warning light on the
instrument panel, to inform the driver that the
vehicle stability and grip are critical.
21_GU_OM_EN_USC_t.book Page 146
Page 150 of 280
SAFETY
148
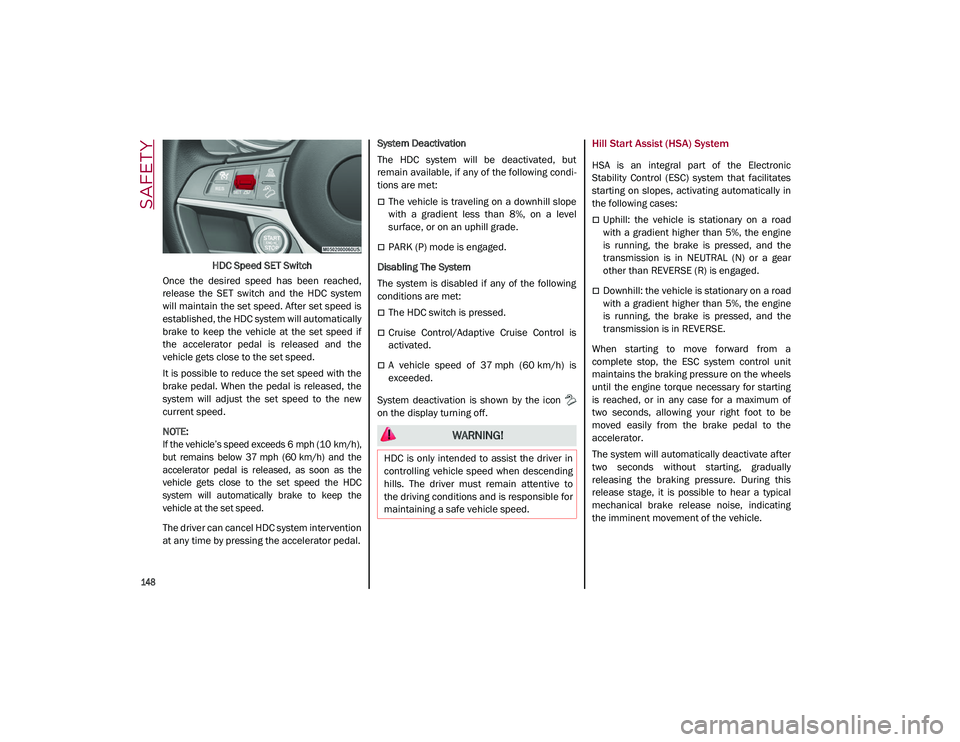
HDC Speed SET Switch
Once the desired speed has been reached,
release the SET switch and the HDC system
will maintain the set speed. After set speed is
established, the HDC system will automatically
brake to keep the vehicle at the set speed if
the accelerator pedal is released and the
vehicle gets close to the set speed.
It is possible to reduce the set speed with the
brake pedal. When the pedal is released, the
system will adjust the set speed to the new
current speed.
NOTE:
If the vehicle’s speed exceeds 6 mph (10 km/h),
but remains below 37 mph (60 km/h) and the
accelerator pedal is released, as soon as the
vehicle gets close to the set speed the HDC
system will automatically brake to keep the
vehicle at the set speed.
The driver can cancel HDC system intervention
at any time by pressing the accelerator pedal. System Deactivation
The HDC system will be deactivated, but
remain available, if any of the following condi
-
tions are met:
The vehicle is traveling on a downhill slope
with a gradient less than 8%, on a level
surface, or on an uphill grade.
PARK (P) mode is engaged.
Disabling The System
The system is disabled if any of the following
conditions are met:
The HDC switch is pressed.
Cruise Control/Adaptive Cruise Control is
activated.
A vehicle speed of 37 mph (60 km/h) is
exceeded.
System deactivation is shown by the icon
on the display turning off.
Hill Start Assist (HSA) System
HSA is an integral part of the Electronic
Stability Control (ESC) system that facilitates
starting on slopes, activating automatically in
the following cases:
Uphill: the vehicle is stationary on a road
with a gradient higher than 5%, the engine
is running, the brake is pressed, and the
transmission is in NEUTRAL (N) or a gear
other than REVERSE (R) is engaged.
Downhill: the vehicle is stationary on a road
with a gradient higher than 5%, the engine
is running, the brake is pressed, and the
transmission is in REVERSE.
When starting to move forward from a
complete stop, the ESC system control unit
maintains the braking pressure on the wheels
until the engine torque necessary for starting
is reached, or in any case for a maximum of
two seconds, allowing your right foot to be
moved easily from the brake pedal to the
accelerator.
The system will automatically deactivate after
two seconds without starting, gradually
releasing the braking pressure. During this
release stage, it is possible to hear a typical
mechanical brake release noise, indicating
the imminent movement of the vehicle.
WARNING!
HDC is only intended to assist the driver in
controlling vehicle speed when descending
hills. The driver must remain attentive to
the driving conditions and is responsible for
maintaining a safe vehicle speed.
21_GU_OM_EN_USC_t.book Page 148
Page 151 of 280
149
Panic Brake Assist (PBA) System
The PBA system is designed to improve the
vehicle’s braking capacity during emergency
braking.
The system detects emergency braking by
monitoring the speed and force with which the
brake pedal is pressed, and consequently
applies the optimal brake pressure. This can
reduce the braking distance: the PBA system
therefore complements the ABS.
Maximum assistance from the PBA system is
obtained by pressing the brake pedal very
quickly. In addition, the brake pedal should be
pressed continuously during braking, avoiding
intermittent presses, to get the most out of thesystem. Do not reduce pressure on the brake
pedal until braking is no longer necessary.
The PBA system is deactivated when the brake
pedal is released.Traction Control System (TCS)
The TCS automatically operates in the event of
slipping, loss of grip on wet roads (hydro
-
planing), and acceleration on one or both drive
wheels on roads that are slippery, snowy, icy,
etc. Depending on the slipping conditions, two
different control systems are activated:
If the slipping involves both drive wheels,
the system intervenes, reducing the power
transmitted by the engine.
If the slipping only involves one of the drive
wheels, the Brake Limited Differential (BLD)
function is activated, automatically braking the wheel which is slipping (the behavior of
a self-locking differential is simulated). This
will increase the engine torque transferred
to the wheel which isn't slipping.
System Intervention
The intervention of the system is indicated by
the flashing of the ESC warning light on the
instrument panel, to inform the driver that the
vehicle stability and grip are critical.
AUXILIARY DRIVING SYSTEMS
The following auxiliary driving systems are
available in this vehicle:
Blind Spot Monitoring (BSM) — if equipped
Active Blind Spot Assist (ABSA) — if
equipped
Forward Collision Warning Plus (FCW+)
Tire Pressure Monitoring System (TPMS)
The vehicle may also be fitted with the
following driving assistance systems:
Driver Attention Assist (DAA)
Lane Departure Warning (LDW)
Lane Keeping Assist (LKA)
Highway Assist System (HAS)
Traffic Jam Assist (TJA)
Adaptive Cruise Control (ACC)
Intelligent Speed Control (ISC)
Traffic Sign Recognition (TSR)
WARNING!
There may be situations where the Hill Start
Assist (HSA) will not activate and slight
rolling may occur, such as on minor hills or
with a loaded vehicle, or while pulling a
trailer. HSA is not a substitute for active
driving involvement. It is always the driver’s
responsibility to be attentive to distance to
other vehicles, people, and objects, and
most importantly brake operation to ensure
safe operation of the vehicle under all road
conditions. Your complete attention is
always required while driving to maintain
safe control of your vehicle. Failure to follow
these warnings can result in a collision or
serious personal injury.
WARNING!
The Panic Brake Assist (PBA) cannot
prevent the natural laws of physics from
acting on the vehicle, nor can it increase
the traction afforded by prevailing road
conditions. PBA cannot prevent collisions,
including those resulting from excessive
speed in turns, driving on very slippery
surfaces, or hydroplaning. The capabilities
of a PBA-equipped vehicle must never be
exploited in a reckless or dangerous
manner, which could jeopardize the user's
safety or the safety of others.
21_GU_OM_EN_USC_t.book Page 149
Page 154 of 280
SAFETY
152
Operating Mode
The system may be activated/deactivated via
the radio system. To access the function,
select the following items on the main menu in
sequence:
1. “Driving Assistance”
2. “Blind Spot Alert”
“Blind Spot Alert”, “Visual” Mode
When the system is enabled, the warning light
within the door mirror on the side of the
detected object illuminates.
The visual warning on the mirror will blink if the
driver activates the turn signals, indicating a
lane change.
The warning light will be constant if the driver
stays in the same lane.
“Blind Spot Alert” Function Deactivation
When the system is deactivated (“Blind Spot
Alert” mode off), the BSM or RCP systems will
not emit an audible or a visual warning.
The BSM system will store the operating mode
that was active when the engine was stopped.
Each time the engine is started, the operating
mode stored previously will be recalled and
used
Ú
page 268.
Active Blind Spot Assist (ABSA) System — If
Equipped
The ABSA system is to help avoid/limit lateral
collisions with cars coming from adjacent lanes changing the vehicle’s trajectory in order
to try to keep it in the detected lane.
The system warns the driver about the pres
-
ence of other vehicles in the detection area by
illuminating the warning light located within
the door mirror on the side in which the other
vehicle was detected and by means of an
acoustic signal and/or vibration on the
steering wheel and/or counter-steering torque
on the steering wheel (if the respective item on
the “Driver Assistance” menu is set up and
then “Safety” is selected on the radio system).
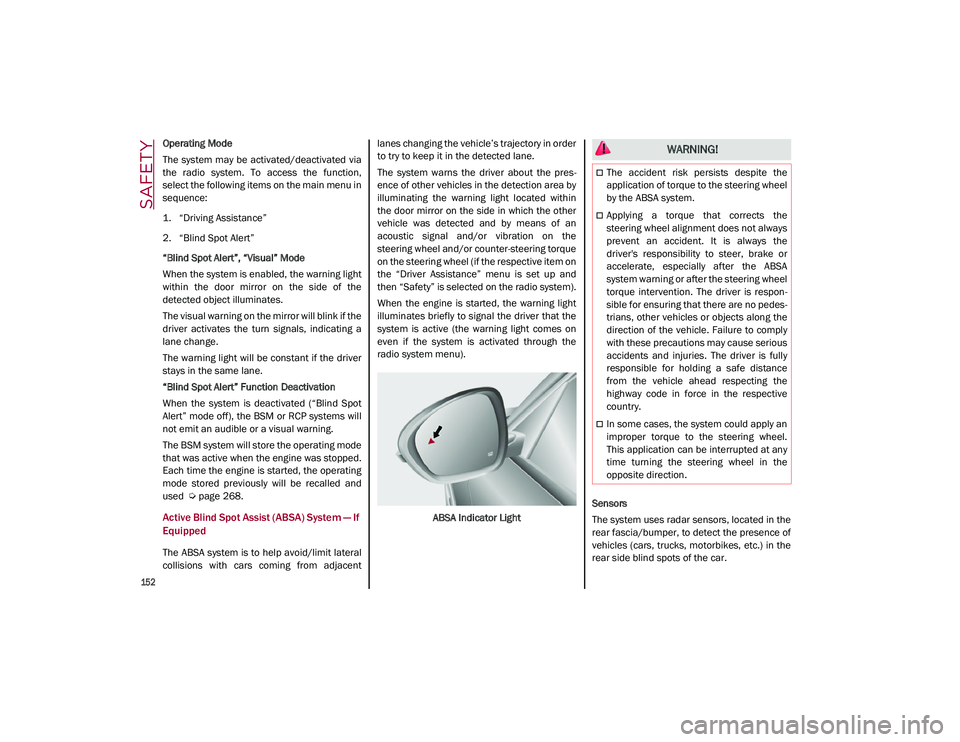
When the engine is started, the warning light
illuminates briefly to signal the driver that the
system is active (the warning light comes on
even if the system is activated through the
radio system menu).
ABSA Indicator Light Sensors
The system uses radar sensors, located in the
rear fascia/bumper, to detect the presence of
vehicles (cars, trucks, motorbikes, etc.) in the
rear side blind spots of the car.
WARNING!
The accident risk persists despite the
application of torque to the steering wheel
by the ABSA system.
Applying a torque that corrects the
steering wheel alignment does not always
prevent an accident. It is always the
driver's responsibility to steer, brake or
accelerate, especially after the ABSA
system warning or after the steering wheel
torque intervention. The driver is respon
-
sible for ensuring that there are no pedes -
trians, other vehicles or objects along the
direction of the vehicle. Failure to comply
with these precautions may cause serious
accidents and injuries. The driver is fully
responsible for holding a safe distance
from the vehicle ahead respecting the
highway code in force in the respective
country.
In some cases, the system could apply an
improper torque to the steering wheel.
This application can be interrupted at any
time turning the steering wheel in the
opposite direction.
21_GU_OM_EN_USC_t.book Page 152