Page 201 of 288
201
1. BASIC OPERATION
NAVIGATION SYSTEM
8
MIRAI_Navi_USA_OM62074U_20MY
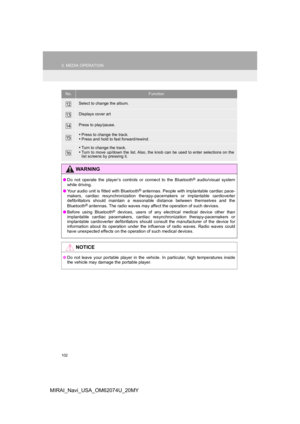
1Select on the map screen.
(P.192)
2Select “Route Trace”.
The route trace starts.
3Check that the traveled line is dis-
played.
1Select on the map screen.
(P.192)
2Select “Route Trace” again.
3A confirmation screen will be dis-
played.
“Yes”: Select to keep the recorded
route trace.
“No” : Select to erase the recorded
route trace.
ROUTE TRACE
The traveled route can be stored and
retraced on the map screen. This fea-
ture is available when the map scale is
30 miles (50 km) or less.
STOP RECORDING THE
ROUTE TRACE
INFORMATION
● The traveled route can be stored up to
124 miles (200 km).
Page 202 of 288
202
1. BASIC OPERATION
MIRAI_Navi_USA_OM62074U_20MY
4. TRAFFIC INFORMATION*
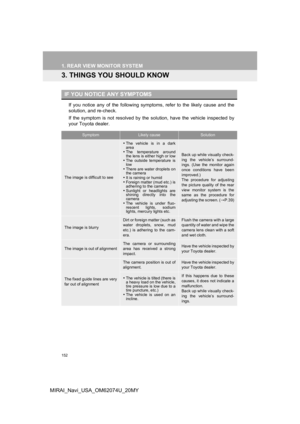
1Press the “MENU” button.
2Select “Info”.
3Select “Traffic incidents” .
4Select the desired item.
When the route ha s not been set
When the route has been set
Traffic data can be received via HD
Radio broadcast or DCM (Data Com-
munication Module) to display traffic
information on the map screen.
No.FunctionPage
Select to display traffic in-
formation for the current
road.203
Select to display nearby
traffic information.203
Select to display a map
with predictive traffic data.204
Select to display traffic
along the saved routes.204
Select to display traffic in-
formation for the set route.203
*: This function is not available in some countries and areas.
Page 203 of 288

203
1. BASIC OPERATION
NAVIGATION SYSTEM
8
MIRAI_Navi_USA_OM62074U_20MY
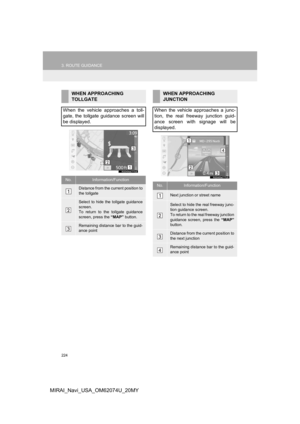
1Display the traffic incidents screen.
(P.202)
2Select “Traffic Events on Current
Road” , “Traffic Events on Current
Route” or “Traffic Events Nearby” .
3Select the desired traffic information.
When “Traffic Events Nearby” is se-
lected, depending on whether the traffic
flow information is enabled/disabled, the
following will be displayed:
When enabled: Traffic event and conges-
tion information
When disabled: Traffic event information
only
4Check that the traffic information is dis-
played.
“Detail” : Select to display detailed traffic
information.
INFORMATION
● If a large amount of information is being
received, it may take longer than normal
for the information to be displayed on
the screen.
● If traffic information cannot be received
because the vehicle is outside of HD
Radio coverage area, it may still be able
to be received using DCM. ( P.142)
DISPLAYING TRAFFIC
INFORMATION
A list of current traffic information can
be displayed along with information on
the location of each incident.
Page 204 of 288

204
1. BASIC OPERATION
MIRAI_Navi_USA_OM62074U_20MY
1Display the traffic incidents screen.
(P.202)
2Select “Predictive Traffic Map” .
3Scroll the map to the desired point and
set the time of predictive traffic infor-
mation.
The time of the predictive traffic informa-
tion can be changed in 15-minute intervals
up to +45 minutes.
“<”: Moves the time forward 15 minutes.
“
>”: Moves the time back 15 minutes.
1Display the traffic incidents screen.
( P.202)
2Select “My Traffic Routes” .
If map data has been updated, a confirma-
tion screen will be displayed. Select “OK”
or “Do Not Tell Me Again” .
3Select the desired route.
“Options”: Select to add, edit or delete
personal routes.( P.245)
If routes have not been registered yet, a
confirmation screen will be displayed.
Select “Yes” to register the route.
4Select the desired traffic information.
5Check that the traffic information is dis-
played.
“Detail” : Select to display detailed traffic
information.
DISPLAYING PREDICTIVE
TRAFFIC INFORMATION
A map with predictive traffic data can
be displayed.MY TRAFFIC ROUTES
Traffic information along the saved
routes can be displayed. To use this
function, it is necessary to register a
route. ( P.245)
Page 205 of 288
205
1. BASIC OPERATION
NAVIGATION SYSTEM
8
MIRAI_Navi_USA_OM62074U_20MY
1Select on the map screen.
2Select “Traffic Information”.
3Check that the traffic information is dis-
played.
DISPLAYING TRAFFIC
INFORMATION ON THE MAP
INFORMATION
●The icons indicate traffic incidents such
as construction, accidents, etc. Select
an icon to hear more detail by voice.
● The arrows indicate the flow of traffic.
The color changes depending on the
speed.
Page 206 of 288
206
MIRAI_Navi_USA_OM62074U_20MY
2. DESTINATION SEARCH
1. DESTINATION SEARCH OPERATION
The destination screen enables to search for a destination. The destination screen
can be reached by the following methods:
From the “MENU” button
Press the “MENU” button, and then select “Destination”.
From the “MAP” button
Press the “MAP” button, and then select .
To hide the destination screen, touch any part of the map scree n.
Page 207 of 288
207
2. DESTINATION SEARCH
NAVIGATION SYSTEM
8
MIRAI_Navi_USA_OM62074U_20MY
No.FunctionPage
Select to set a destination by home.208
Select to search for a destination by entering keywords.208
Select to search for a destination from a registered entry in “ Favorites”.209
*Select to search for a destination via the Toyota response center.209
Select to search for a destination from recent set destinations.209
Select to search for a destinatio n from emergency service points.210
Select to search for a destination from contact data which had been
transferred to the system from a registered cellular phone.210
Select to search for a destination by address. 210
Select to search for a destination by point of interest. 211
*: This function is not availabl e in some countries and areas.
Page 208 of 288

208
2. DESTINATION SEARCH
MIRAI_Navi_USA_OM62074U_20MY
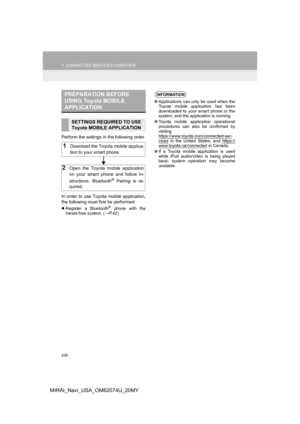
1Display the destination screen.
(P.206)
2Select “Address” or “Point of Inter-
est” .
3Select х“Select State/Province” or
“Change State/Province” .
If a state (province) has not been selected
yet, “Select State/Province” is dis-
played.
4Select the desired state (province).
To change countries, select “United
States” , “Canada” or “Mexico”.
1Display the destination screen.
(P.206)
2Select .
The navigation system performs a search
for the route and the route overview is dis-
played. ( P.217)
1Display the destination screen.
( P.206)
2Select “Search” .
3Enter characters on the keyboard.
4Select “Search” .
When there is mor e than 1 result
5Select the desired item from the list.
: Select to display updated informa-
tion about the selected entry. (vehicles
with DCM)
SELECTING SEARCH AREA
The selected state (province) can be
changed to set a destination from a
different state (province) by using
“Address” or “Point of Interest” .
SETTING HOME AS
DESTINATION
To use this function, it is necessary to
register a home location. ( P.233)
SEARCHING BY KEYWORD
The destination can be searched by
entering various keywords.
INFORMATION
●To search for a facility name using multi-
ple search words, put a space between
each word.
● Search results may differ depending on
the connected services subscription sta-
tus and communication status.