Page 26 of 350

GETTING TO KNOW YOUR VEHICLE 23
Push and release the lock button on the key fob to lock all doors.
The turn signal lights will flash to acknowledge the signal.
Horn activation settings after a Radio Frequency (RF) lock
command can be adjusted manually Refer to “Uconnect
Settings” in “Multimedia” for further information.
Locking With The Key BladeKey Blade Released
Push the Key Blade Release Button to expose the key blade,
insert the key blade into the doors exterior lock cylinder and
turn the key clockwise to lock the front door. Unlock The Doors From The Outside
Follow the below methods to unlock the vehicle from the
outside:
Unlocking With A Key Fob For All Passenger Vans And
U.S. Cargo Vans — If Equipped
To unlock all the doors, push and release the unlock button
on the key fob. The turn signal lights will flash to acknowl
-
edge the unlock signal. Push and release the Cargo unlock
button to unlock the rear cargo doors only.
Unlocking With A Key Fob For Canadian Cargo Vans — If
Equipped
Push and release the unlock button to unlock the front doors.
Push and release the Cargo unlock button to unlock the side
sliding doors and the rear cargo doors.
Unlocking With The Key Blade
Push the Key Blade Release Button to expose the key blade,
insert the key blade into the driver door exterior lock
cylinder and turn the key counterclockwise to unlock all
doors.
2
2020_RAM_PROMASTER_CITY_OM_USA=GUID-7B6A7FCA-79B0-423F-95C5-ED2A949C3D13=1=en=.book Page 23
Page 28 of 350

GETTING TO KNOW YOUR VEHICLE 25
Unlocking With The Key Blade In Passenger Vehicle
Push the Key Blade Release Button to expose the key blade,
insert the key blade into the driver door exterior lock
cylinder and turn the key counterclockwise to unlock all
doors.
Unlocking With The Key Blade In Cargo Vehicle
Push the Key Blade Release Button to expose the key blade,
insert the key blade into the driver door exterior lock
cylinder and turn the key counterclockwise to unlock the
front doors. Push the Key Blade Release Button to expose the
key blade, insert the key blade into the rear door exterior lock
cylinder and turn the key counterclockwise to unlock the
rear doors.
Closing/Locking With A Key Fob
Push and release the lock button on the key fob to lock all
doors, including the cargo area (side lateral sliding doors
and rear doors). The turn signal lights will flash to acknowl-
edge the lock signal.
Horn activation settings after a Radio Frequency (RF) lock
command can be adjusted manually. Refer to “Uconnect
Settings” in “Multimedia” for further information. Locking With The Key Blade In Passenger Vehicle
Push the Key Blade Release button to expose the key blade,
insert the key blade into the driver door exterior lock
cylinder and turn the key clockwise to lock all doors.
Locking With The Key Blade In Cargo Vehicle
Push the Key Blade Release button to expose the key blade,
insert the key blade into the driver door exterior lock
cylinder and turn the key clockwise to lock the front doors.
Push the Key Blade Release button to expose the key blade,
insert the key blade into the rear door exterior lock cylinder
and turn the key clockwise to lock the rear doors.
Closing And Locking From Outside
Grab the side door handle and push towards the front of the
vehicle. Once the side door is secured in the full closed posi
-
tion, use one of the locking methods above to lock the sliding
side doors.
2
2020_RAM_PROMASTER_CITY_OM_USA=GUID-7B6A7FCA-79B0-423F-95C5-ED2A949C3D13=1=en=.book Page 25
Page 310 of 350

MULTIMEDIA 307
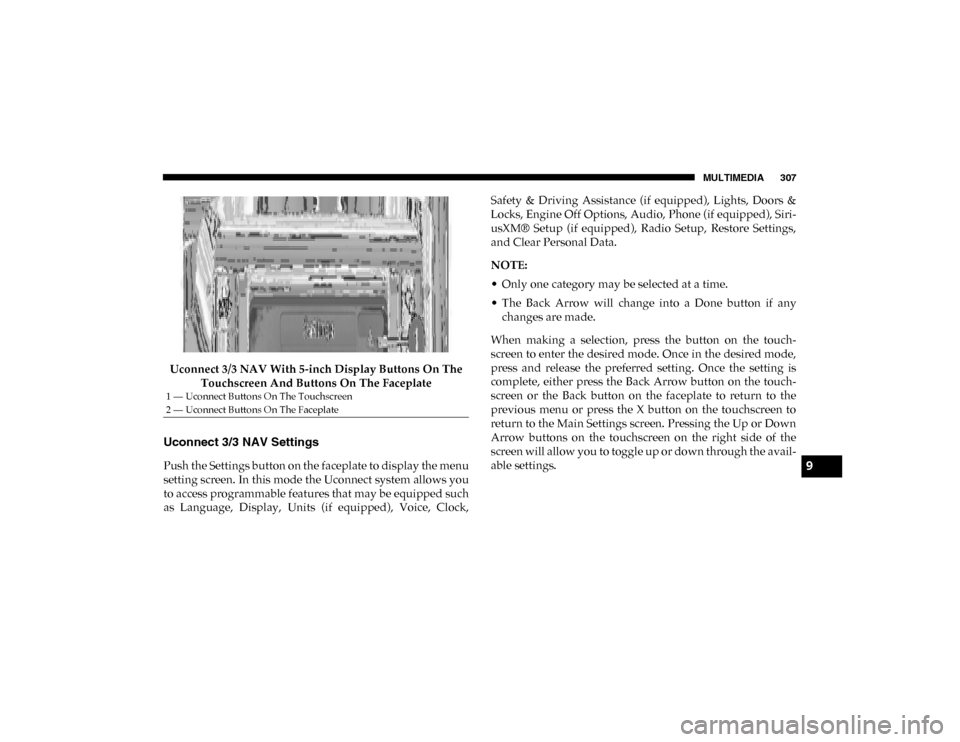
Uconnect 3/3 NAV With 5-inch Display Buttons On The Touchscreen And Buttons On The Faceplate
Uconnect 3/3 NAV Settings
Push the Settings button on the faceplate to display the menu
setting screen. In this mode the Uconnect system allows you
to access programmable features that may be equipped such
as Language, Display, Units (if equipped), Voice, Clock, Safety & Driving Assistance (if equipped), Lights, Doors &
Locks, Engine Off Options, Audio, Phone (if equipped), Siri
-
usXM® Setup (if equipped), Radio Setup, Restore Settings,
and Clear Personal Data.
NOTE:
• Only one category may be selected at a time.
• The Back Arrow will change into a Done button if any changes are made.
When making a selection, press the button on the touch -
screen to enter the desired mode. Once in the desired mode,
press and release the preferred setting. Once the setting is
complete, either press the Back Arrow button on the touch -
screen or the Back button on the faceplate to return to the
previous menu or press the X button on the touchscreen to
return to the Main Settings screen. Pressing the Up or Down
Arrow buttons on the touchscreen on the right side of the
screen will allow you to toggle up or down through the avail -
able settings.
1 — Uconnect Buttons On The Touchscreen
2 — Uconnect Buttons On The Faceplate
9
2020_RAM_PROMASTER_CITY_OM_USA=GUID-7B6A7FCA-79B0-423F-95C5-ED2A949C3D13=1=en=.book Page 307
Page 313 of 350
310 MULTIMEDIA
Clock & Date
After pressing the Clock & Date button on the touchscreen, the following settings will be available:Setting Name Selectable Options
Set Time And Format — If Equipped 12 hrs
24 hrs AMPM
Show Time Status — If Equipped On
Off
Set Date DayMonth Year
NOTE:
By selecting this setting, the day, month, and year can be updated. The selectable days range from 1–31 (depending on
month). The selectable months consist of Jan/Feb/March/April/May/June/July/Aug/Sept/Oct/Nov/Dec. You can also
set the hours and minutes on the clock. Sync Time — If Equipped On
Off
NOTE:
When this setting is selected, the time will set automatically based upon GPS location.
2020_RAM_PROMASTER_CITY_OM_USA=GUID-7B6A7FCA-79B0-423F-95C5-ED2A949C3D13=1=en=.book Page 310
Page 319 of 350
316 MULTIMEDIA
Restore Settings — If Equipped
After pressing the Restore Settings button on the touchscreen, the following settings will be available:
Clear Personal Data
After pressing the Clear Personal Data button on the touchscreen, the following settings will be available:Setting Name
Selectable Options
Restore Settings YesNo
NOTE:
When this feature is selected, it will reset the Display, Clock, Audio, and Radio Settings to their default settings. Once the
settings are restored, a pop-up appears stating "settings reset to default." Press the okay button on the touchscreen to exit.
Setting Name Selectable Options
Clear Personal Data YesNo
NOTE:
When this feature is selected, it will remove personal data including Bluetooth® devices and presets.
2020_RAM_PROMASTER_CITY_OM_USA=GUID-7B6A7FCA-79B0-423F-95C5-ED2A949C3D13=1=en=.book Page 316