2020 PEUGEOT 5008 spare wheel
[x] Cancel search: spare wheelPage 145 of 308
143
Driving
6Malfunction
If the cruise control malfunctions,
dashes are displayed instead of
the cruise control speed setting.
If this warning lamp comes on,
accompanied by an alert message and an
audible signal, this confirms the malfunction.
Have the system checked by a PEUGEOT
dealer or a qualified workshop.
Lane positioning assist
Refer to the General recommendations on the
use of driving and manoeuvring aids .
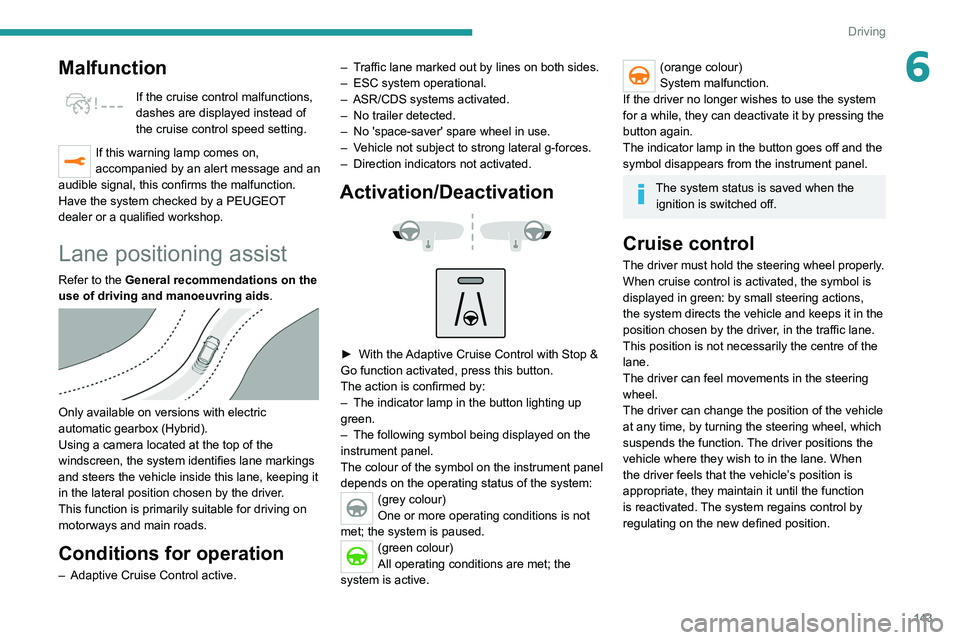
Only available on versions with electric
automatic gearbox (Hybrid).
Using a camera located at the top of the
windscreen, the system identifies lane markings
and steers the vehicle inside this lane, keeping it
in the lateral position chosen by the driver.
This function is primarily suitable for driving on
motorways and main roads.
Conditions for operation
– Adaptive Cruise Control active. –
T
raffic lane marked out by lines on both sides.
–
ESC system operational.
–
ASR/CDS systems activated.
–
No trailer detected.
–
No 'space-saver' spare wheel in use.
–
V
ehicle not subject to strong lateral g-forces.
–
Direction indicators not activated.
Activation/Deactivation
► With the Adaptive Cruise Control with Stop &
Go function activated, press this button.
The action is confirmed by:
–
The indicator lamp in the button lighting up
green.
–
The following symbol being displayed on the
instrument panel.
The colour of the symbol on the instrument panel
depends on the operating status of the system:
(grey colour)
One or more operating conditions is not
met; the system is paused.
(green colour)
All operating conditions are met; the
system is active.
(orange colour)
System malfunction.
If the driver no longer wishes to use the system
for a while, they can deactivate it by pressing the
button again.
The indicator lamp in the button goes off and the
symbol disappears from the instrument panel.
The system status is saved when the ignition is switched off.
Cruise control
The driver must hold the steering wheel properly.
When cruise control is activated, the symbol is
displayed in green: by small steering actions,
the system directs the vehicle and keeps it in the
position chosen by the driver, in the traffic lane.
This position is not necessarily the centre of the
lane.
The driver can feel movements in the steering
wheel.
The driver can change the position of the vehicle
at any time, by turning the steering wheel, which
suspends the function. The driver positions the
vehicle where they wish to in the lane. When
the driver feels that the vehicle’s position is
appropriate, they maintain it until the function
is reactivated. The system regains control by
regulating on the new defined position.
Page 148 of 308
146
Driving
The vehicle has a camera located at the top of
the windscreen and, depending on version, a
radar located in the front bumper.
This system does not avoid the need for vigilance on the part of the driver.
This system is designed to assist the driver
and improve road safety.
It is the driver's responsibility to continuously
monitor the state of the traffic, observing the
driving regulations.
As soon as the system detects a potential obstacle, it prepares the braking
circuit in case automatic braking is needed.
This may cause a slight noise and a slight
sensation of deceleration.
Deactivation / Activation
By default, the system is automatically activated
at every engine start.
Messages Driving situations
"Hold the steering wheel" Actual or imminent loss of lane positioning
assist.
"Retake control" Simultaneous loss of cruise control and lane positioning
assist.
Operating limits
The Lane Keeping Assist system may issue an alert when the vehicle is
travelling in a long straight lane on a smooth
road surface even if the driver is holding the
steering wheel properly.
The system may fail to operate or may produce
unsuitable corrections to the steering in the
following situations:
–
Poor visibility (insufficient road lighting,
snowfall, rain, fog).
–
Dazzle (headlamps of an oncoming vehicle,
low sun, reflections on a wet road surface,
leaving a tunnel, alternating light and shade).
–
Windscreen area in front of the camera being
dirty
, misted up, frost-covered, snow-covered,
damaged or masked by a sticker.
–
Lane markings eroded, partially hidden (snow
,
mud) or multiple (roadworks, surface joints).
–
T
ravelling in a tight bend.
–
Winding roads.
–
Presence of a tarmac joint on the road.
The system must not be activated in the following situations:
–
Driving with a "space-saver" type spare
wheel.
–
When towing, especially with an
unconnected or unapproved trailer
.
–
Poor weather conditions.
–
Driving on slippery road surfaces (risk of
aquaplaning, snow
, ice).
–
Driving on racing circuits.
–
Driving on a rolling road.
Malfunction
A system malfunction is indicated by the Service warning lamp
coming on and this (orange) symbol,
accompanied by an alert message and an
audible signal.
Have the system checked by a PEUGEOT
dealer or a qualified workshop.
Active Safety Brake with Distance Alert and
Intelligent emergency
braking assistance
Refer to the General recommendations on the
use of driving and manoeuvring aids .
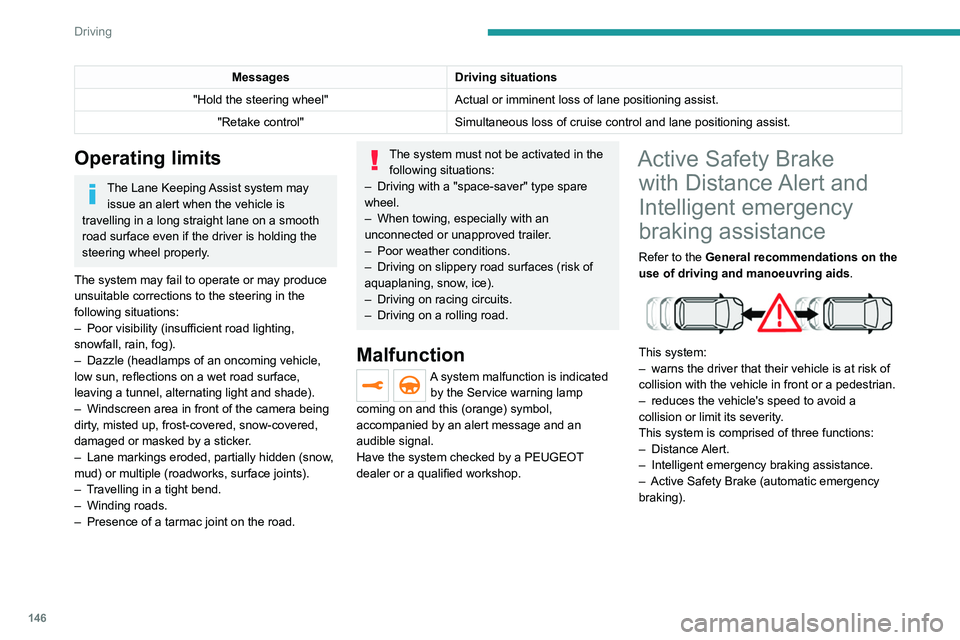
This system:
–
warns the driver that their vehicle is at risk of
collision with the vehicle in front or a pedestrian.
–
reduces the vehicle's speed to avoid a
collision or limit its severity
.
This system is comprised of three functions:
–
Distance Alert.
–
Intelligent emergency braking assistance.
–
Active Safety Brake (automatic emergency
braking).
Page 149 of 308
147
Driving
6
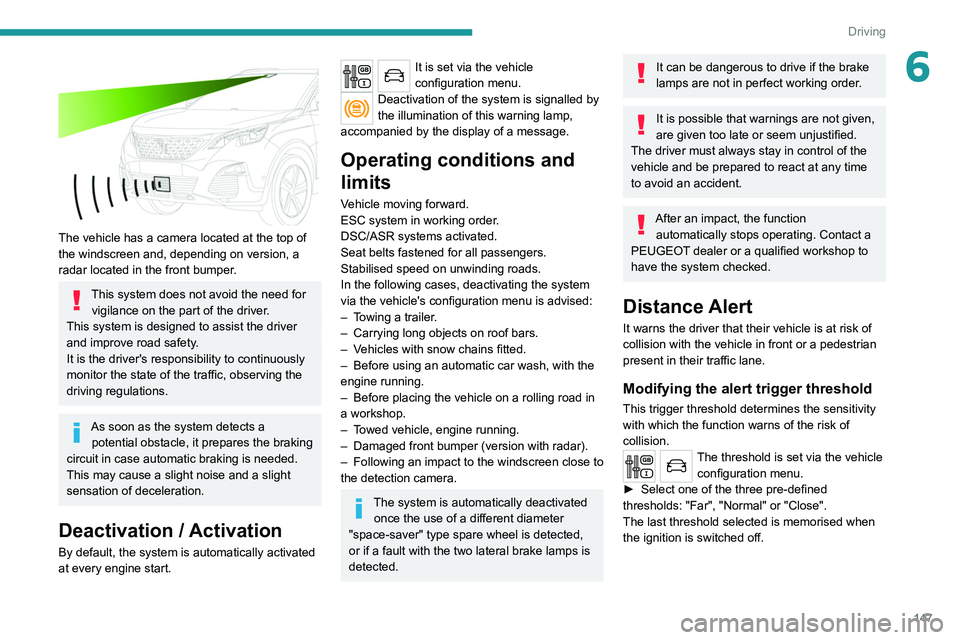
The vehicle has a camera located at the top of
the windscreen and, depending on version, a
radar located in the front bumper.
This system does not avoid the need for vigilance on the part of the driver.
This system is designed to assist the driver
and improve road safety.
It is the driver's responsibility to continuously
monitor the state of the traffic, observing the
driving regulations.
As soon as the system detects a potential obstacle, it prepares the braking
circuit in case automatic braking is needed.
This may cause a slight noise and a slight
sensation of deceleration.
Deactivation / Activation
By default, the system is automatically activated
at every engine start.
It is set via the vehicle
configuration menu.
Deactivation of the system is signalled by
the illumination of this warning lamp,
accompanied by the display of a message.
Operating conditions and
limits
Vehicle moving forward.
ESC system in working order.
DSC/ASR systems activated.
Seat belts fastened for all passengers.
Stabilised speed on unwinding roads.
In the following cases, deactivating the system
via the vehicle's configuration menu is advised:
–
T
owing a trailer.
–
Carrying long objects on roof bars.
–
V
ehicles with snow chains fitted.
–
Before using an automatic car wash, with the
engine running.
–
Before placing the vehicle on a rolling road in
a workshop.
–
T
owed vehicle, engine running.
–
Damaged front bumper (version with radar).
–
Following
an impact to the windscreen close to
the detection camera.
The system is automatically deactivated once the use of a different diameter
"space-saver" type spare wheel is detected,
or if a fault with the two lateral brake lamps is
detected.
It can be dangerous to drive if the brake
lamps are not in perfect working order.
It is possible that warnings are not given,
are given too late or seem unjustified.
The driver must always stay in control of the
vehicle and be prepared to react at any time
to avoid an accident.
After an impact, the function automatically stops operating. Contact a
PEUGEOT dealer or a qualified workshop to
have the system checked.
Distance Alert
It warns the driver that their vehicle is at risk of
collision with the vehicle in front or a pedestrian
present in their traffic lane.
Modifying the alert trigger threshold
This trigger threshold determines the sensitivity
with which the function warns of the risk of
collision.
The threshold is set via the vehicle configuration menu.
►
Select one of the three pre-defined
thresholds: "Far", "Normal" or "Close".
The last threshold selected is memorised when
the ignition is switched off.
Page 154 of 308
152
Driving
Operating limits
The system goes into standby automatically in
the following cases:
– ESC deactivated or operation triggered.
– Speed below 43 mph (70 km/h) or greater
than 112 mph (180 km/h),
– Electrical connection of a trailer.
– Use of a"space-saver" spare wheel detected
(as detection is not immediate, deactivation of
the system is recommended).
– Dynamic driving style detected, pressure on
the brake or accelerator pedal.
– Driving where there are no lane markings.
– Activation of the direction indicators.
Function status Indicator lamp Display and/or associated
messageComments
ON
(grey) System active, conditions not met:
–
speed below 43 mph (70
km/h),
–
no lane marking recognised,
–
ASR/DSC systems deactivated or operation of ESC
system triggered,
–
"sport" driving.
ON
(grey)
Automatic deactivation/standby of the function (for
example, due to detection of a trailer or use of the "space-
saver" spare wheel provided with the vehicle).
ON
(green) Lane marking detection.
Speed above 43 mph (70
km/h).
ON
(orange)/(green)
The system corrects the trajectory on the side where the
risk of unintentional crossing is detected (orange line).
Page 155 of 308
153
Driving
6Function statusIndicator lamp Display and/or associated
messageComments
ON
(orange)/(green)
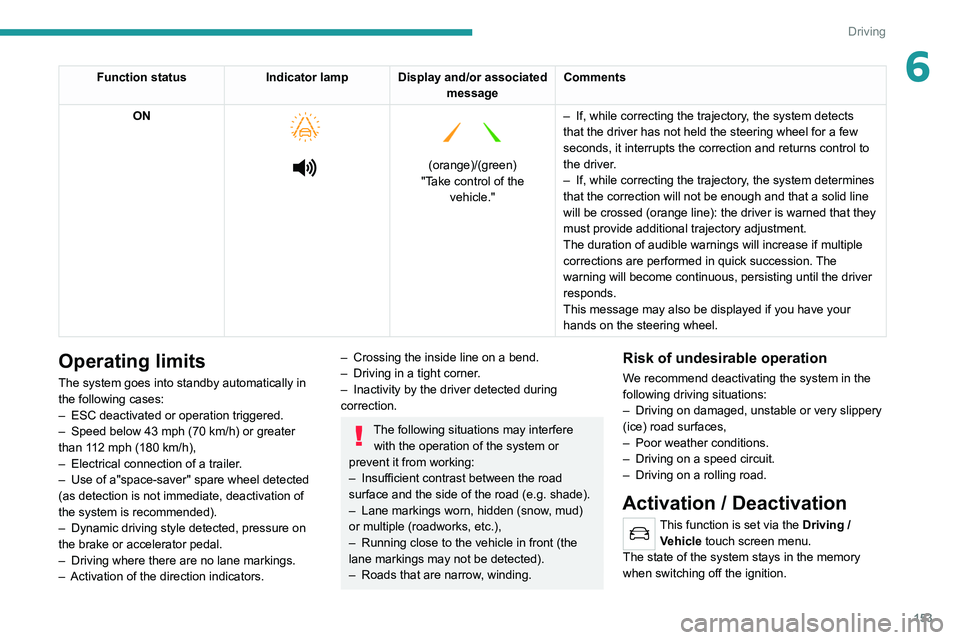
"Take control of the vehicle." –
If, while correcting the trajectory
, the system detects
that the driver has not held the steering wheel for a few
seconds, it interrupts the correction and returns control to
the driver.
– If, while correcting the trajectory , the system determines
that the correction will not be enough and that a solid line
will be crossed (orange line): the driver is warned that they
must provide additional trajectory adjustment.
The duration of audible warnings will increase if multiple
corrections are performed in quick succession. The
warning will become continuous, persisting until the driver
responds.
This message may also be displayed if you have your
hands on the steering wheel.
Operating limits
The system goes into standby automatically in
the following cases:
–
ESC deactivated or operation triggered.
–
Speed below 43 mph (70
km/h) or greater
than 112 mph (180
km/h),
–
Electrical connection of a trailer
.
–
Use of a"space-saver" spare wheel detected
(as detection is not immediate, deactivation of
the system is recommended).
–
Dynamic driving style detected, pressure on
the brake or accelerator pedal.
–
Driving where there are no lane markings.
–
Activation of the direction indicators.
– Crossing the inside line on a bend.
– Driving in a tight corner .
–
Inactivity by the driver detected during
correction.
The following situations may interfere with the operation of the system or
prevent it from working:
–
Insufficient contrast between the road
surface and the side of the road (e.g. shade).
–
Lane markings worn, hidden (snow
, mud)
or multiple (roadworks, etc.),
–
Running close to the vehicle in front (the
lane markings may not be detected).
–
Roads that are narrow
, winding.
Risk of undesirable operation
We recommend deactivating the system in the
following driving situations:
–
Driving on damaged, unstable or very slippery
(ice) road surfaces,
–
Poor weather conditions.
–
Driving on a speed circuit.
–
Driving on a rolling road.
Activation / Deactivation
This function is set via the Driving /
V ehicle touch screen menu.
The state of the system stays in the memory
when switching off the ignition.
Page 179 of 308
177
Practical information
7Fitting directly to the roof
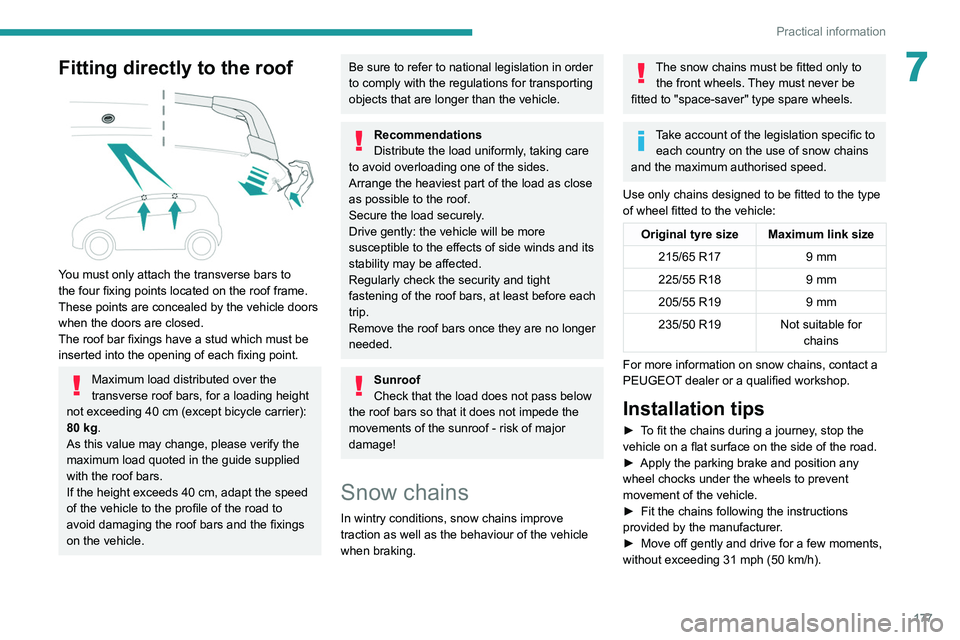
You must only attach the transverse bars to
the four fixing points located on the roof frame.
These points are concealed by the vehicle doors
when the doors are closed.
The roof bar fixings have a stud which must be
inserted into the opening of each fixing point.
Maximum load distributed over the
transverse roof bars, for a loading height
not exceeding 40 cm (except bicycle carrier):
80 kg.
As this value may change, please verify the
maximum load quoted in the guide supplied
with the roof bars.
If the height exceeds 40 cm, adapt the speed
of the vehicle to the profile of the road to
avoid damaging the roof bars and the fixings
on the vehicle.
Be sure to refer to national legislation in order
to comply with the regulations for transporting
objects that are longer than the vehicle.
Recommendations
Distribute the load uniformly, taking care
to avoid overloading one of the sides.
Arrange the heaviest part of the load as close
as possible to the roof.
Secure the load securely.
Drive gently: the vehicle will be more
susceptible to the effects of side winds and its
stability may be affected.
Regularly check the security and tight
fastening of the roof bars, at least before each
trip.
Remove the roof bars once they are no longer
needed.
Sunroof
Check that the load does not pass below
the roof bars so that it does not impede the
movements of the sunroof - risk of major
damage!
Snow chains
In wintry conditions, snow chains improve
traction as well as the behaviour of the vehicle
when braking.
The snow chains must be fitted only to the front wheels. They must never be
fitted to "space-saver" type spare wheels.
Take account of the legislation specific to each country on the use of snow chains
and the maximum authorised speed.
Use only chains designed to be fitted to the type
of wheel fitted to the vehicle:
Original tyre size Maximum link size 215/65 R17 9 mm
225/55 R18 9 mm
205/55 R19 9 mm
235/50 R19 Not suitable for
chains
For more information on snow chains, contact a
PEUGEOT dealer or a qualified workshop.
Installation tips
► To fit the chains during a journey, stop the
vehicle on a flat surface on the side of the road.
►
Apply the parking brake and position any
wheel chocks under the wheels to prevent
movement of the vehicle.
►
Fit the chains following the instructions
provided by the manufacturer
.
►
Move off gently and drive for a few moments,
without exceeding 31
mph (50 km/h).
Page 186 of 308
184
Practical information
AdBlue® (BlueHDi)
To respect the environment and ensure
compliance with the Euro 6 standard, without
adversely affecting the performance or fuel
consumption of its Diesel engines, PEUGEOT
has taken the decision to equip its vehicles
with a system that associates SCR (Selective
Catalytic Reduction) with a Diesel Particle Filter
(DPF) for the treatment of exhaust gases.
SCR system
Using a liquid called AdBlue® that contains urea,
a catalytic converter turns up to 85% of nitrogen
oxides (NOx) into nitrogen and water, which are
harmless to health and the environment.
The AdBlue® is contained in a special
tank holding about 17 litres.
Its capacity allows a driving range of
approximately 5,600 miles (9,000 km), highly
dependent on your driving style.
An alert system is triggered automatically once
the reserve level is reached: you can then drive
Manual gearbox
The gearbox does not require any maintenance (no oil change).
Automatic gearbox
The gearbox does not require any maintenance (no oil change).
Electric parking brake
This system does not require any routine servicing. However, in the event of a
problem, do not hesitate to have the system
checked by a PEUGEOT dealer or a qualified
workshop.
For more information on the Electric
parking brake, refer to the
corresponding section.
Brake pads
Brake wear depends on the style of
driving, particularly in the case of vehicles
used in town, over short distances. It may be
necessary to have the condition of the brakes
checked, even between vehicle services.
Unless there is a leak in the circuit, a drop in the
brake fluid level indicates that the brake pads
are worn.
After washing the vehicle, moisture, or in wintry conditions, ice can form on the
brake discs and pads: braking efficiency may
be reduced. Gently dab the brakes to dry and
defrost them.
Brake disc wear
For information on checking brake disc
wear, contact a PEUGEOT dealer or a
qualified workshop.
Wheels and tyres
The inflation pressure of all tyres, including the spare wheel, must be
checked on "cold” tyres.
The pressures indicated on the tyre pressure
label are valid for "cold" tyres. If you have driven
for more than 10 minutes or more than 6 miles
(10 kilometres) at over 31 mph (50
km/h), add
0.3 bar (30 kPa) to the values indicated on the
label.
Under-inflation increases fuel
consumption. Non-compliant tyre
pressure causes premature wear on tyres and
has an adverse effect on the vehicle's road
holding - risk of an accident!
Driving with worn or damaged tyres reduces the
braking and road holding performance of the
vehicle. It is recommended to regularly check the
condition of the tyres (tread and sidewalls) and
wheel rims as well as the presence of the valves.
When the wear indicators no longer appear set
back from the tread, the depth of the grooves is less than 1.6 mm; it is imperative to replace the
tyres.
Using different size wheels and tyres from those
specified can affect the lifetime of tyres, wheel
rotation, ground clearance, the speedometer
reading and have an adverse effect on road
holding.
Fitting different tyres on the front and rear axles
can cause the ESC to mistime.
Shock absorbers
It is not easy for drivers to detect when
shock absorbers are worn. Nevertheless,
the shock absorbers have a major impact on
road-holding and braking performance.
For your safety and driving comfort, it is
important to have them regularly checked by a
PEUGEOT dealer or a qualified workshop.
Timing and accessory kits
Timing and accessory kits are used from
the time the engine is started until it is
switched off. It is normal for them to wear over
time.
A
faulty timing or accessory kit can damage
the engine, rendering it unusable. Observe the
recommended replacement frequency, stated in
distance travelled or time elapsed, whichever is
reached first.
Page 192 of 308
190
In the event of a breakdown
Warning triangle
As a safety precaution, before leaving your
vehicle to set up and install the triangle, switch
on the hazard warning lamps and put on your
high visibility vest.
Storage compartment
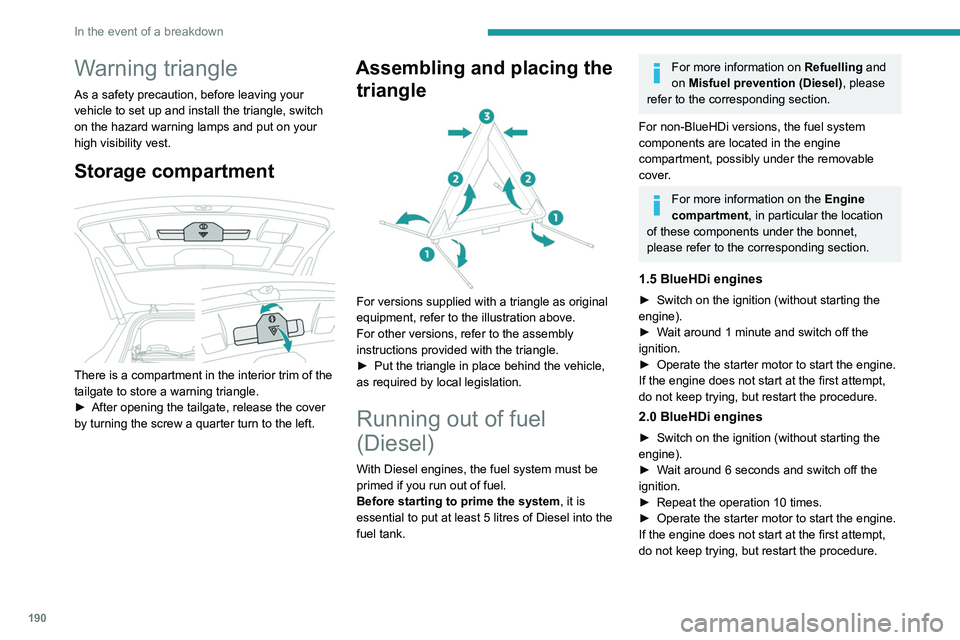
There is a compartment in the interior trim of the
tailgate to store a warning triangle.
►
After opening the tailgate, release the cover
by turning the screw a quarter turn to the left.
Assembling and placing the triangle
For versions supplied with a triangle as original
equipment, refer to the illustration above.
For other versions, refer to the assembly
instructions provided with the triangle.
►
Put the triangle in place behind the vehicle,
as required by local legislation.
Running out of fuel
(Diesel)
With Diesel engines, the fuel system must be
primed if you run out of fuel.
Before starting to prime the system, it is
essential to put at least 5 litres of Diesel into the
fuel tank.
For more information on Refuelling and
on Misfuel prevention (Diesel), please
refer to the corresponding section.
For non-BlueHDi versions, the fuel system
components are located in the engine
compartment, possibly under the removable
cover.
For more information on the Engine
compartment, in particular the location
of these components under the bonnet,
please refer to the corresponding section.
1.5 BlueHDi engines
► Switch on the ignition (without starting the
engine).
►
W
ait around 1 minute and switch off the
ignition.
►
Operate the starter motor to start the engine.
If the engine does not start at the first attempt,
do not keep trying, but restart the procedure.
2.0 BlueHDi engines
► Switch on the ignition (without starting the
engine).
►
W
ait around 6 seconds and switch off the
ignition.
►
Repeat the operation 10
times.
►
Operate the starter motor to start the engine.
If the engine does not start at the first attempt,
do not keep trying, but restart the procedure.
2.0 HDi engines
► Open the bonnet and then, if necessary,
unclip the cover to access the priming pump.
► Loosen the degassing bolt.
► Operate the priming pump until fuel
appears in the transparent tube.
► Retighten the degassing bolt.
► Operate the starter motor until the engine
starts (if the engine does not start at the first
attempt, wait around 15 seconds before trying
again).
► If the engine does not start after a few
attempts, operate the priming pump again, then
the starter motor.
► Put the cover back in place and clip it in, then
close the bonnet.
Tool kit
Set of tools supplied with the vehicle.
Its content depends on your vehicle's equipment:
– Temporary puncture repair kit.
– Spare wheel.
Accessing the tools