2020 MERCEDES-BENZ SPRINTER clock
[x] Cancel search: clockPage 140 of 416

#
Turn DEF filler cap 1coun ter-clockwise and
re mo veit.
Opening the DEF filler cap on loc kable filler
caps #
Open the hood. #
Take tool 4 for unlocking DEF filler cap 1
from theve hicle tool kit. #
Pull co ver3 on DEF filler cap 1up, turn
90° and release. #
Insert tool 4 in holes 2of DEF filler cap
1. #
Turn DEF filler cap 1coun ter-clockwise and
re mo veit. Preparing
the DEF refill canis ter Va
riant 1 Va
riant 2 #
Unscr ewthe cap on DEF refill canis ter1. #
Screw disposable hose 2onto the opening
of DEF refill canis ter1 until hand-tight. 13 8
Driving and pa rking
Page 141 of 416

Re
filling DEF Va
riant 1 Va
riant 2 #
Screw disposable hose 2onto thefiller neck
of theve hicle until hand-tight. #
Lift up and tip DEF refill canis ter1.
The filling process stops when the DEF tank is
comple tely full.
DEF refill canis ter1 can be remo ved when it
has been only partially em ptied. #
Unscr ewdisposable hose 2and close DEF
and refill canis ter1 inreve rse order. #
Switch on the ignition for at least 60 seconds. #
Start theve hicle.
% Av
oid storing DEF containers permanent lyin
th eve hicle.
DEF refill bottle
Only scr ewthe DEF refill bottle hand-tight onto
th efiller opening in the engine compartment. It
may otherwise be damaged. DEF
refill bottles 1can be obtained at many gas
st ations or at a qualified specialist workshop.
Re fill bottles without a thre aded cap of fer no
ove rfill pr otection. DEF may leak out as a result
of ove rfilling. Mercedes-Benz of fers special refill
bottles with a thre aded cap. You can obtain this
from an authorized Mercedes-Benz Center. #
Unscr ewthe pr otective cap from DEF refill
bottle 1. #
Place DEF refill bottle 1as shown on filler
opening 2and scr ewit on clockwise until
hand-tight. #
Press DEF refill bottle 1towa rdsfiller open‐
ing 2.
The DEF tank is filled. This could take up to
one minute.
% When
the DEF refill bottle is no longer
pressed down, filling stops. The bottle can be
re mo ved when it has been only partially emp‐
tied. #
Let go of DEF refill bottle 1. Driving and parking
13 9
Page 142 of 416

#
Turn DEF refill bottle 1coun ter-clockwise
and remo veit. #
Screw the pr otective cap onto DEF refill bot‐
tle 1 again.
Fi lling procedure with the pu mpnozzle of an
DEF filling pump #
Insert the pump nozzle into thefiller neck and
add DE F.When doing so, do not overfill the
DEF tank. You can also use an DEF filling
pump for truc ks.
Closing the DEF filler cap on filler caps that
are not loc kable #
Afterfilling the DEF tank, place DEF filler cap
1 onthefiller neck and tigh ten it clo ckwise. #
Turn the DEF filler cap until the lettering is
legible and horizontal.
The filler neck is only loc ked cor rectly when
th is is the case. #
Close the hood. Closing
the DEF filler cap on loc kable filler
caps #
Afterfilling the DEF tank, place DEF filler cap
1 onthefiller neck and tigh ten it clo ckwise. #
Remo vetool 4 from DEF filler cap 1and
st ore it in theve hicle tool kit. #
Pull co ver3 on DEF filler cap 1upover
holes 2of DEF filler cap 1, turn and
re lease. #
Turn DEF filler cap 1.
If DEF filler cap 1turns freel y,the DEF tank
is closed. Park
ing Pa
rking theve hicle &
WARNING Risk offire caused byhot
ex haust sy stem parts
Flammable material such as lea ves, grass or
twigs may ignite if they come into contact
wi th hot parts of theex haust sy stem or
ex haust gasflow. #
Park theve hicle so that no flammable
material can come into con tact wi thhot
ve hicle components. 14 0
Driving and pa rking
Page 197 of 416

Information about Mercedes PRO (Mercedes
me)
Mercedes-Benz Vans vehicles support thefo llow‐
ing telematics solutions depending on what is
selec ted:
R Mercedes PRO
R Mercedes me
When you log in with a user account tothe
Mercedes PRO por tal or Mercedes me Portal,
th en services and of fers from Mercedes-Benz
Va ns will be available toyou.
Av ailability is countr y-dependent. You can check
th eav ailability of Mercedes PRO in your country
at thefo llowing page: http://www.me rcedes.pro
Yo u can check theav ailability of Mercedes me in
yo ur country at thefo llowing page: http://
www.me rcedes.me
Fo r more information on Mercedes PRO or
Mercedes me contact an authorized Mercedes-
Benz Center or visit the Mercedes PRO Portal or
Mercedes me Portal. Information about Mercedes PRO connect
(Mercedes me connect)
Among stothers, Mercedes PRO connect or
Mercedes me connect pr ovide thefo llowing serv‐
ices:
R Accident and breakdown mana gement
(breakdown assi stance call button or auto‐
matic accident or breakd own de tection) as a
supplement tothe emer gency call sy stem
Use the breakdown assis tance call button in
th eov erhead cont rol panel tomake a call to
th e Mercedes-Benz Cus tomer Center
(/ page 196).
Yo u can also select a menu ent ryinthe multi‐
media sy stem (/ page195).
R Emergency Call Sy stem
Use the0053 button (SOS button) in the
ove rhead cont rol panel tomake a call tothe
Mercedes-Benz emergency call center
(/ page 196).
The Me rcedes-Benz Cus tomer Center and the
Mercedes-Benz emergency call center are availa‐
ble foryo u around the clock forth e use of the
services.
Please no tethat Mercedes PRO connect, or
Mercedes me connect, is a Mercedes-Benz service. In emer
gencies, al ways call the national
emer gency services firs t using thest andard
national emer gency service phone numbers. In
eme rgencies, you can also use the Emer gency
Call Sy stem (/ page 292). Obser vethe legal
re qu irements forth e count ryin which you are
st ay ing.
The following conditions must be met touse
Mercedes PRO connect or Mercedes me connect
services in theve hicle:
R You ha veaccess toa GSM network
R The contract partner's GSM network co ver‐
age is available in there spective region
R The ignition is switched on, so that vehicle
data can be transfer red automatically Calling
the Mercedes-Benz Cus tomer Center
using the multimedia sy stem
Multimedia sy stem:
4 © 5
Phone 5
g #
Call Mercedes PRO connect orMercedes me
connect.
Then, you can select a service and be connec ted
to a specialist at the Mercedes-Benz Cus tomer
Center.
Yo u can find information on thefo llowing topics:
R Activation of Mercedes PRO connect or
Mercedes me connect
R Ope rating theve hicle
R Nearest authorized Mercedes-Benz Center
R Other products and services from Mercedes-
Benz Mercedes PRO
19 5
Page 202 of 416

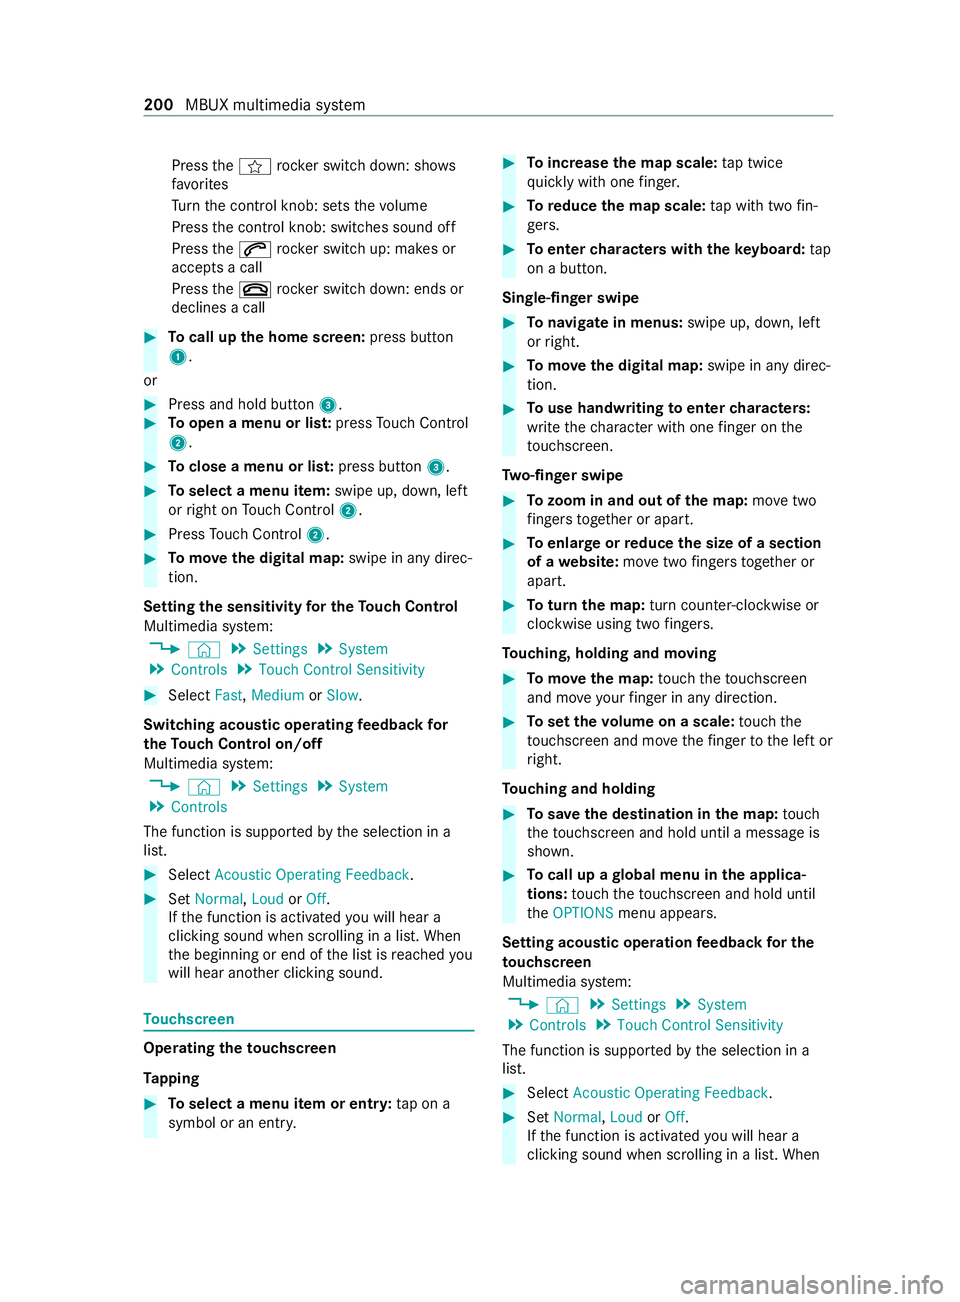
Press
thef rocker switch down: sho ws
fa vo rites
Tu rn the cont rol knob: sets thevo lume
Press the cont rol knob: switches sound off
Press the0061 rocker switch up: makes or
accepts a call
Press the0076 rocker switch down: ends or
declines a call #
Tocall up the home screen: press button
1.
or #
Press and hold button 3.#
Toopen a menu or lis t:press Touch Control
2. #
Toclose a menu or lis t:press button 3. #
Toselect a menu item: swipe up, down, left
or right on Touch Control 2. #
Press Touch Control 2. #
Tomo vethe digital map: swipe in any direc‐
tion.
Setting the sensitivity for the Touch Control
Multimedia sy stem:
4 © 5
Settings 5
System
5 Controls 5
Touch Control Sensitivity #
Select Fast,Medium orSlow .
Switching acoustic operating feedba ckfor
th eTo uch Control on/off
Multimedia sy stem:
4 © 5
Settings 5
System
5 Controls
The function is suppor tedby the selection in a
list. #
Select Acoustic Operating Feedback .#
Set Normal, LoudorOff.
If th e function is activated you will hear a
clicking sound when sc rolling in a list. When
th e beginning or end of the list is reached you
will hear ano ther clicking sound. To
uchscreen Operating
theto uchscreen
Ta pping #
Toselect a menu item or entr y:tap on a
symbol or an ent ry. #
Toincrease the map scale: tap twice
qu ickly with one finger. #
Toreduce the map scale: tap with two fin‐
ge rs. #
Toenter characters with theke yboard: tap
on a button.
Single-finger swipe #
Tonavigate in menus: swipe up, down, left
or right. #
Tomo vethe digital map: swipe in any direc‐
tion. #
Touse handwriting toenter characters:
write thech aracter with one finger on the
to uchsc reen.
Tw o-finger swipe #
Tozoom in and out of the map: movetwo
fi ngers toget her or apart. #
Toenlar georreduce the size of a section
of a website: movetwo fingers toget her or
apart. #
Toturn the map: turn counter-clo ckwise or
clockwise using two fingers.
To uching, holding and moving #
Tomo vethe map: touch theto uchsc reen
and mo veyour finger in any di rection. #
Toset thevo lume on a scale: touch the
to uchsc reen and mo vethefinger tothe left or
ri ght.
To uching and holding #
Tosave the destination in the map: touch
th eto uchsc reen and hold until a message is
shown. #
Tocall up a global menu in the applica‐
tions: touch theto uchsc reen and hold until
th eOPTIONS menu appears.
Setting acoustic operation feedba ckfor the
to uchscreen
Multimedia sy stem:
4 © 5
Settings 5
System
5 Controls 5
Touch Control Sensitivity
The function is suppor tedby the selection in a
list. #
Select Acoustic Operating Feedback . #
Set Normal, LoudorOff.
If th e function is activated you will hear a
clicking sound when sc rolling in a list. When 200
MBUX multimedia sy stem
Page 238 of 416

#
Select Report Traffic Incident.
A prom ptis shown. #
Select Yes.
The Thank You for Supporting Accident Pre-
vention message appears. Map and compass
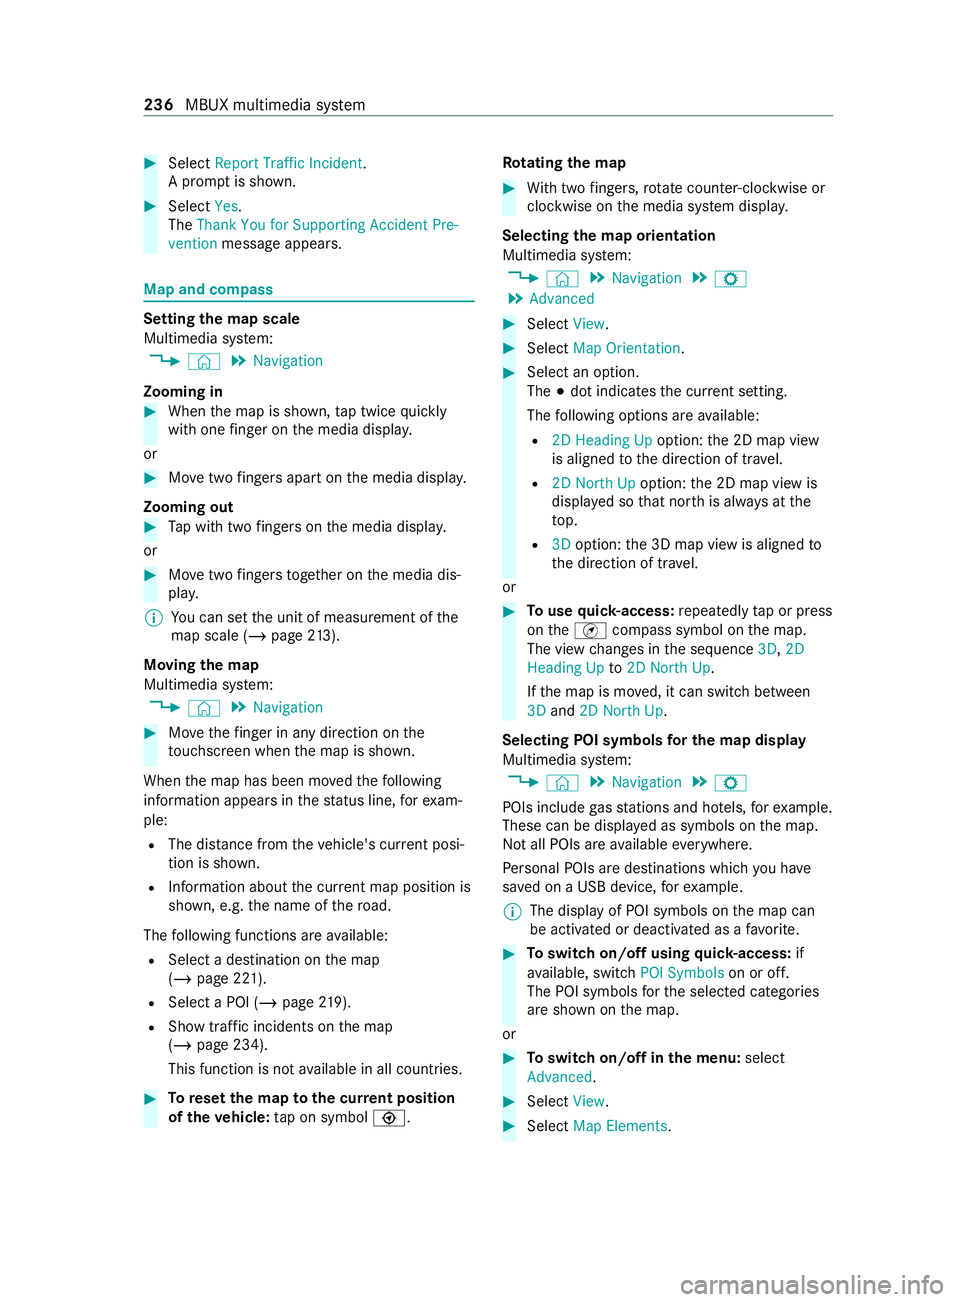
Setting
the map scale
Multimedia sy stem:
4 © 5
Navigation
Zooming in #
When the map is shown, tap twice quickly
with one finger on the media displa y.
or #
Movetwo fingers apart on the media displa y.
Zooming out #
Tap with two fingers on the media displa y.
or #
Movetwo fingers toge ther on the media dis‐
pla y.
% Yo
u can set the unit of measurement of the
map scale (/ page213).
Moving the map
Multimedia sy stem:
4 © 5
Navigation #
Movethefinger in any di rection on the
to uchsc reen when the map is shown.
When the map has been mo vedth efo llowing
information appears in thest atus line, forex am‐
ple:
R The dis tance from theve hicle's cur rent posi‐
tion is shown.
R Information about the cur rent map position is
shown, e.g. the name of thero ad.
The following functions are available:
R Select a destination on the map
(/ page 221).
R Select a POI (/ page219).
R Show traf fic incidents on the map
(/ page 234).
This function is not available in all countries. #
Toreset the map tothe cur rent position
of theve hicle: tap on symbol \. Ro
tating the map #
With two fingers, rotat e counter-clockwise or
clockwise on the media sy stem displa y.
Selecting the map orientation
Multimedia sy stem:
4 © 5
Navigation 5
Z
5 Advanced #
Select View. #
Select Map Orientation. #
Select an option.
The 003Bdot indicates the cur rent setting.
The following options are available:
R 2D Heading Up option:the 2D map view
is aligned tothe direction of tr avel.
R 2D North Up option:the 2D map view is
displa yed so that nor this alw ays at the
to p.
R 3Doption: the 3D map view is aligned to
th e direction of tr avel.
or #
Touse quick- access: repeatedly tap or press
on theÄ compass symbol on the map.
The view changes in the sequence 3D,2D
Heading Up to2D North Up .
If th e map is mo ved, it can switch between
3D and 2D North Up.
Selecting POI symbols for the map display
Multimedia sy stem:
4 © 5
Navigation 5
Z
POIs include gasst ations and ho tels, forex ample.
These can be displa yed as symbols on the map.
Not all POIs are available everywhere.
Pe rsonal POIs are destinations which you ha ve
sa ve d on a USB device, forex ample.
% The display of POI symbols on
the map can
be activated or deactivated as a favo rite. #
Toswitch on/off using quick- access: if
av ailable, swit chPOI Symbols on or off.
The POI symbols forth e selected categories
are shown on the map.
or #
Toswitch on/off in the menu: select
Advanced. #
Select View. #
Select Map Elements. 236
MBUX multimedia sy stem
Page 269 of 416

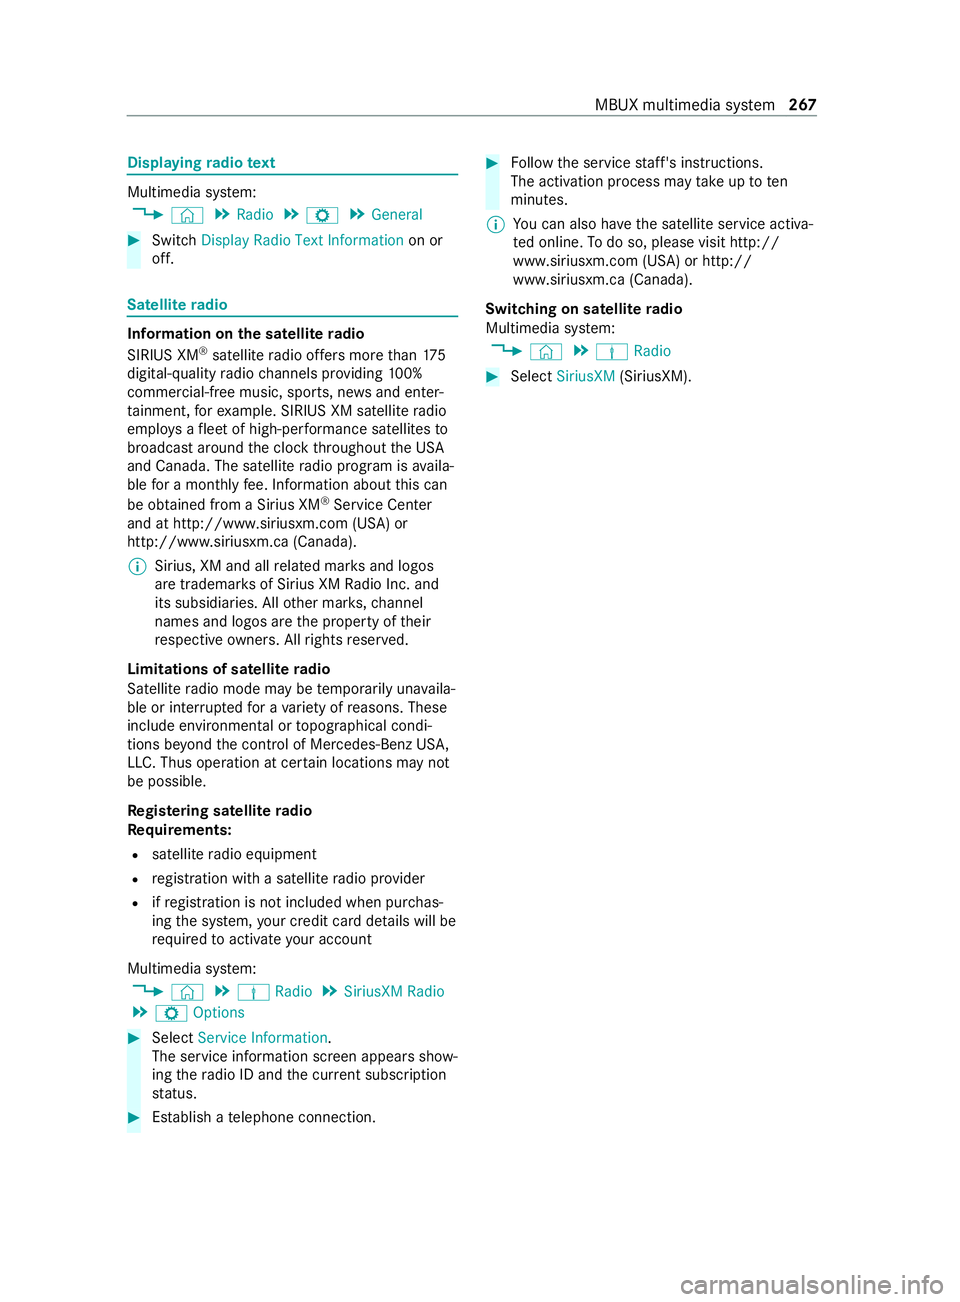
Displaying
radio text Multimedia sy
stem:
4 © 5
Radio 5
Z 5
General #
Switch Display Radio Text Information on or
off. Satellite
radio In
fo rm ation on the satellite radio
SIRIUS XM ®
satellite radio of fers more than 175
digital-quality radio channels pr oviding 100%
commercial-free music, sports, ne wsand enter‐
ta inment, forex ample. SIRIUS XM satellite radio
emplo ysafleet of high-per form ance satellites to
broadcast around the clock thro ughout the USA
and Canada. The satellite radio program is availa‐
ble for a monthly fee. Information about this can
be obtained from a Sirius XM ®
Service Center
and at http://www.siriusxm.com (USA) or
http://www.siriusxm.ca (Canada).
% Sirius, XM and all
related mar ksand logos
are trademar ksof Sirius XM Radio Inc. and
its subsidiaries. All other mar ks,ch annel
names and logos are the property of their
re spective owners. All rights reser ved.
Limitations of satellite radio
Satellite radio mode may be temp orarily una vaila‐
ble or inter rupte dfo r a variet y of reasons. These
include environmental or topog raphical condi‐
tions be yond the cont rol of Mercedes-Benz US A,
LLC. Thus operation at cer tain locations may not
be possible.
Re gis tering satellite radio
Re quirements:
R satellite radio equipment
R registration with a satellite radio pr ovider
R ifre gistration is not included when pur chas‐
ing the sy stem, your credit card de tails will be
re qu ired toactivate your account
Multimedia sy stem:
4 © 5
Þ Radio 5
SiriusXM Radio
5 Z Options #
Select Service Information.
The service information screen appears show‐
ing thera dio ID and the cur rent subscription
st atus. #
Establish a telephone connection. #
Follow the service staff's instructions.
The activation process may take up toten
minutes.
% Yo
u can also ha vethe satellite service activa‐
te d online. Todo so, please visit http://
www.siriusxm.com (USA) or http://
www.siriusxm.ca (Canada).
Switching on satellite radio
Multimedia sy stem:
4 © 5
Þ Radio #
Select SiriusXM (SiriusXM). MBUX multimedia sy
stem 267
Page 278 of 416

#
Tomo vetherack ra ils:unsc rew star knobs
7 coun ter-clockwise until they are slightly
loose. #
Slide rack rail2 along roof rail1 tothe
desired position. #
Screw star knobs 7tight clo ckwise. #
Check that thera ck rail is seated securely.
Moving the sliders &
WARNING Risk of inju rydue toinade‐
qu ately secured loads
If th e slider of the interior roof rack system is
not engaged proper ly,th e load may come
loose, fall down and injure people, for
ins tance when they enter or load and unload
th e cargo compartment. #
Always engage the slider properly. %
Ring
8of slider 4must alw ays be at an
angle of 90° torack rail2, so that slider 4
is engaged proper ly. #
When thering of the slider is at an angle
of 90° totherack ra il:pull ring 8 of slider
4 down and simul taneously mo veslider 4
to the desired position. #
Release ring 8 atthe desired position. #
Moveslider 4slightly fur ther along on rack
ra il2 until slider 4engages automaticall y. #
When thering of the slider is pa rallel to
th erack ra il:mo veslider 4tothe desired
position. #
Position ring 8 of slider 4at an angle of
90° torack rail2.
Slider 4is engaged. Ad
justing the belt strap #
Press and hold the locking mechanism on
slider 9. #
Pull or release belt stra p5. #
Release the locking mechanism on slider 9.
% When securing or loosening a load, be sure
to not stand under the load.
Securing and loosening the load #
Tosecure the load: placethe load in the belt
st ra ps of thera ck rails. #
Fasten the load flush with the partition. #
Secure belt stra p5. #
Check that the load is seated securel y. #
Toloosen the load: press and hold the lock‐
ing mechanism on slider 9. #
Pull ring 8 ofthe slider down and simultane‐
ously mo vethe slider away from the load. #
Loosen belt stra p5 and at the same time
make sure that the load does not fall out of
th e belt stra ps. #
Remo vethe load from the belt stra ps.
Installing cargo tie down rings 276
Transporting