2020 MERCEDES-BENZ GLE COUPE reset
[x] Cancel search: resetPage 383 of 757
#
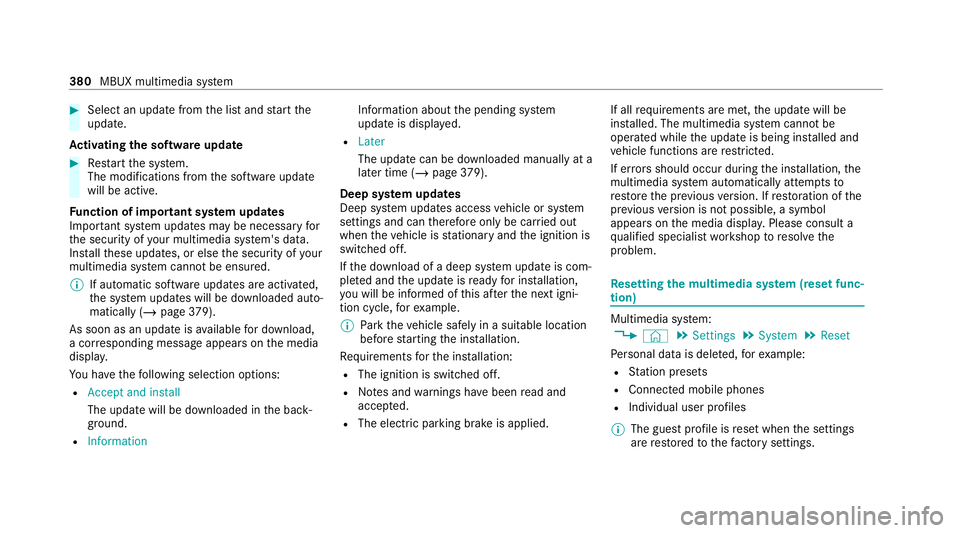
Select an upda tefrom the list and start the
update.
Ac tivating the so ftwa reupdate #
Restart the sy stem.
The modifications from the software update
will be active.
Fu nction of important sy stem upda tes
Impor tant sy stem updates may be necessary for
th e security of your multimedia sy stem's data.
Ins tallth ese updates, or else the security of your
multimedia sy stem cann otbe ensured.
% If automatic software updates are activated,
th e sy stem updates will be downloaded auto‐
matically (/ page379).
As soon as an update is available for download,
a cor responding message appears onthe media
displa y.
Yo u ha vethefo llowing selection options:
R Accept and install
The update will be downloaded in the back‐
ground.
R Information Information about
the pending sy stem
update is displa yed.
R Later
The update can be downloaded manually at a
later time (/ page379).
Dee p sy stem upda tes
Deep sy stem updates access vehicle or sy stem
settings and can therefore only be car ried out
when theve hicle is stationary and the ignition is
switched off.
If th e download of a deep sy stem update is com‐
ple ted and the update is ready for ins tallation,
yo u will be informed of this af terth e next igni‐
tion cycle, forex ample.
% Park theve hicle safely in a suitable location
before starting the ins tallation.
Re quirements forth e ins tallation:
R The ignition is switched off.
R Notes and warnings ha vebeen read and
accep ted.
R The elect ric pa rking brake is applied. If all
requirements are met, the update will be
ins talled. The multimedia sy stem cann otbe
operated while the update is being ins talled and
ve hicle functions are restricted.
If er rors should occur during the ins tallation, the
multimedia sy stem automatically attem ptsto
re store the pr evious version. If restoration of the
pr ev ious version is not possible, a symbol
appears on the media displa y.Please consult a
qu alified specialist workshop toresol vethe
problem. Re
setting the multimedia sy stem (reset func‐
tion) Multimedia sy
stem:
4 © 5
Settings 5
System 5
Reset
Pe rsonal data is dele ted, forex ample:
R Station presets
R Connec ted mobile phones
R Individual user profiles
% The guest profile is reset when the settings
are restored tothefa ctory settings. 380
MBUX multimedia sy stem
Page 384 of 757
A prom
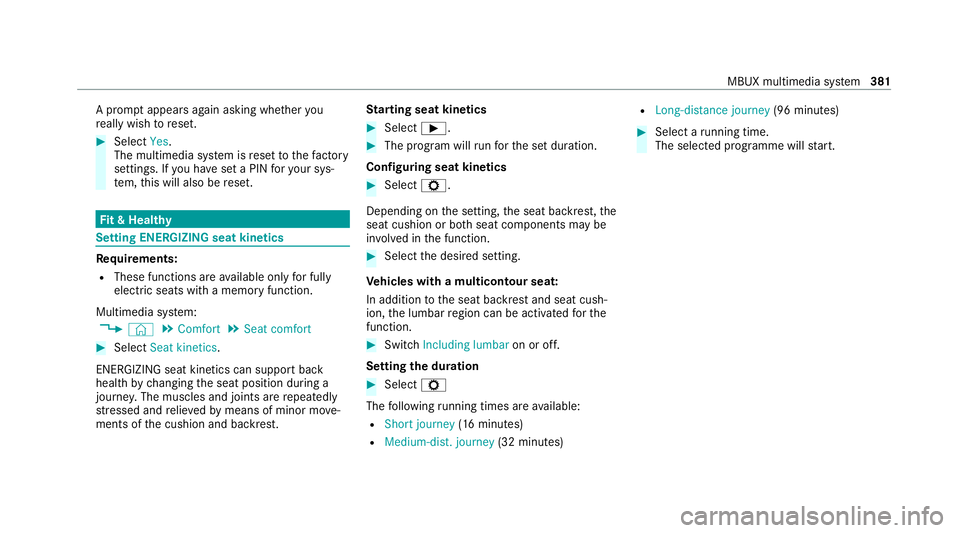
ptappears again asking whe ther you
re ally wish toreset. #
Select Yes.
The multimedia sy stem is reset tothefa ctory
settings. If you ha veset a PIN foryo ur sys‐
te m, this will also be reset. Fi
t & Healthy Setting ENE
RGIZING seat kinetics Re
quirements:
R These functions are available on lyfor fully
electric seats with a memory function.
Multimedia sy stem:
4 © 5
Comfort 5
Seat comfort #
Select Seat kinetics .
ENERG IZING seat kinetics can support back
health bychanging the seat position during a
journe y.The muscles and joints are repeatedly
st re ssed and relie vedby means of minor mo ve‐
ments of the cushion and backrest. St
arting seat kinetics #
Select 00D0. #
The program will runfo rth e set duration.
Configuring seat kinetics #
Select Z.
Depending on the setting, the seat backrest, the
seat cushion or bo thseat components may be
in vo lved in the function. #
Select the desired setting.
Ve hicles with a multicontour seat:
In addition tothe seat backrest and seat cush‐
ion, the lumbar region can be activated forthe
function. #
Switch Including lumbar on or off.
Setting the du ration #
Select Z
The following running times are available:
R Short journey (16 minutes)
R Medium-dist. journey (32 minutes) R
Long-distance journey (96 minutes) #
Select a running time.
The selected programme will start. MBUX multimedia sy
stem 381
Page 423 of 757
Map and compass
Setting
the map scale
Multimedia sy stem:
4 © 5
Navigation
Zooming in #
When the map is shown, tap twice quickly
with one finger on the media display or the
to uchpad.
or #
Movetwo fingers apart on the media display
or on theto uchpad.
Zooming out #
Tap with two fingers on the media display or
th eto uchpad.
or #
Movetwo fingers toge ther on the media dis‐
play or on theto uchpad.
% You can set the unit of measurement of the
map scale (/ page377). Moving
the map
Multimedia sy stem:
4 © 5
Navigation #
On theto uchscreen: movethefinger in any
di re ction when the map is shown. #
On theto uchpad: call upthe navigation
menu bypressing. #
Swipe your finger up. #
Press theto uchpad.
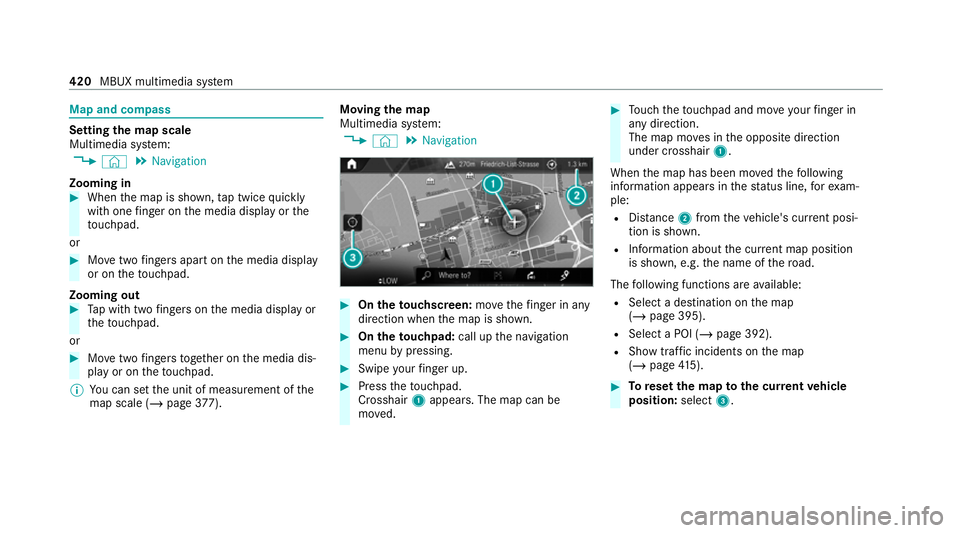
Crosshair 1appears. The map can be
mo ved. #
Touch theto uchpad and mo veyour finger in
any di rection.
The map mo ves in the opposite direction
under crosshair 1.
When the map has been mo vedth efo llowing
information appears in thest atus line, forex am‐
ple:
R Distance 2from theve hicle's cur rent posi‐
tion is shown.
R Information about the cur rent map position
is shown, e.g. the name of thero ad.
The following functions are available:
R Select a destination on the map
(/ page 395).
R Select a POI (/ page 392).
R Show tra ffic incidents on the map
(/ page 415). #
Toreset the map tothe cur rent vehicle
position: select3. 420
MBUX multimedia sy stem
Page 425 of 757
Selecting personal POI categories
#
Select 0048inthePOI SYMBOLS Personal
POIs menu. #
Select a category 0048.#
Switch Display on the map on or off.
When the display is switched on and the
ve hicle approaches a personal POI in this
categor y,a visual and audible notification
can be issued. #
Toset a notification when appro aching:
select a category or a personal POI V.#
Switch Visual warning andAcoustic notifica-
tion on or off.
Switching display of catego ries forqu ick-
access on/off #
Switch a category on or off in thePOI SYM-
BOLS menu.
Re setting the POI symbol display #
Select POI SYMBOLS Reset POIs inthe
menu.
The settings are reset tothest andard set‐
tings. Selecting
the display of text information in
th e map
Multimedia sy stem:
4 © 5
Navigation 5
Z
5 Advanced #
Select View. #
Select Text information. #
Select an option in theFOOTER category.
The 003Bdot indicates the cur rent setting.
The following options are available:
R Current street option
The stre et you are cur rently on is shown in
th e bottom bar.
When the map is mo ved, thest re et name,
th e POI name or the area name appears
under the crosshair.
R The Geo-coordinates option showsthefo l‐
lowing information in the bottom bar:
- longitude and latitude
- elevation
The el evation shown may deviate from
th e actual ele vation. R
None option
The media display sho wsnotext information
in the bottom bar.
Switching mo torw ay information on/off
Multimedia sy stem:
4 © 5
Navigation 5
Z #
Using quick- access: switchMotorway infor-
mation on or off.
The display button is activated or off.
or #
Using the menu: selectAdvanced. #
Select View. #
Select Text information. #
Swit chMotorway information on or off.
When the display button is switched on, addi‐
tional information about the mo torw ay facili‐
ties ahead appea rsduring the mo torw ay
jou rney . These include car pa rks, service sta‐
tions and mo torw ay ex its,forex ample.
Displ aying the next intersecting stre et
Re quirements:
R Route guidance is not active. 422
MBUX multimedia sy stem
Page 429 of 757
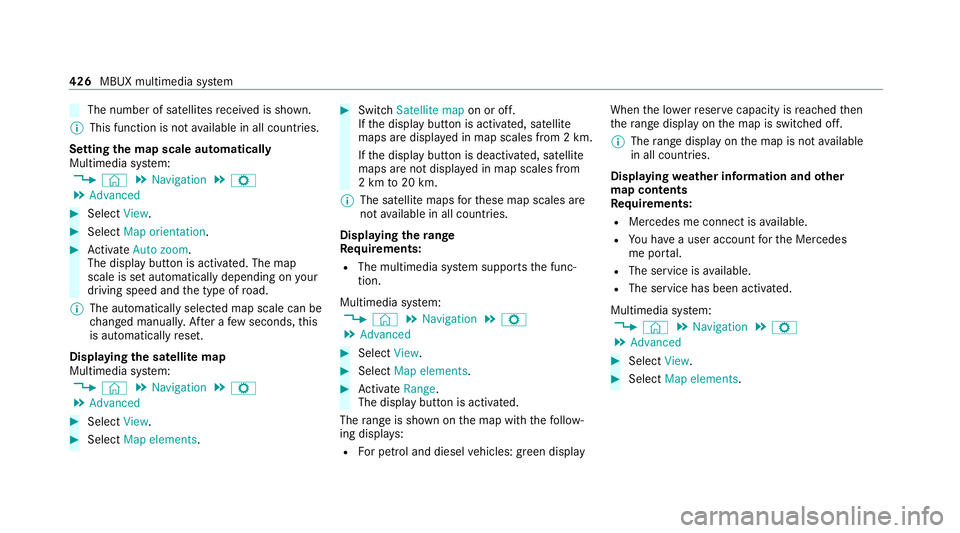
The number of satellites
recei ved is shown.
% This function is not available in all countries.
Setting the map scale automatically
Multimedia sy stem:
4 © 5
Navigation 5
Z
5 Advanced #
Select View. #
Select Map orientation. #
Activate Auto zoom.
The display button is acti vated. The map
scale is set automatically depending on your
driving speed and the type of road.
% The automatically selec ted map scale can be
ch anged manuall y.After a few seconds, this
is automatically reset.
Displaying the satellite map
Multimedia sy stem:
4 © 5
Navigation 5
Z
5 Advanced #
Select View. #
Select Map elements. #
Switch Satellite map on or off.
If th e display button is activated, satellite
maps are displa yed in map scales from 2 km.
If th e display button is deactivated, satellite
maps are not displa yed in map scales from
2 km to20 km.
% The satellite maps forth ese map scales are
not available in all countries.
Displ aying thera nge
Re quirements:
R The multimedia sy stem supports the func‐
tion.
Multimedia sy stem:
4 © 5
Navigation 5
Z
5 Advanced #
Select View. #
Select Map elements. #
Activate Range.
The display button is acti vated.
The range is shown on the map with thefo llow‐
ing displa ys:
R For petrol and diesel vehicles: green display When
the lo werre ser vecapacity is reached then
th era nge displ ayon the map is switched off.
% The range displ ayon the map is not available
in all countries.
Displ aying weather information and other
map contents
Re quirements:
R Mercedes me connect is available.
R You ha vea user account forth e Mercedes
me por tal.
R The service is available.
R The service has been activated.
Multimedia sy stem:
4 © 5
Navigation 5
Z
5 Advanced #
Select View. #
Select Map elements. 426
MBUX multimedia sy stem
Page 462 of 757
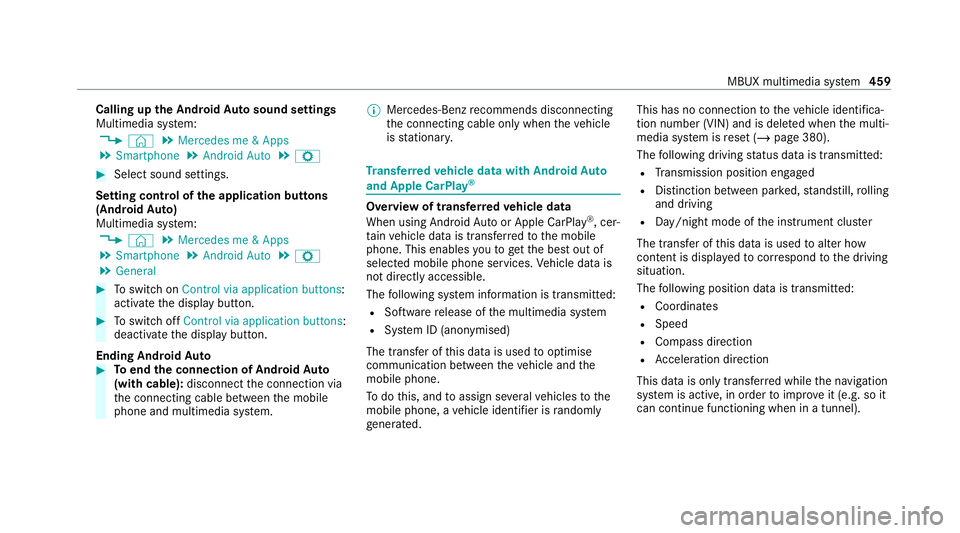
Calling up
the Android Autosound settings
Multimedia sy stem:
4 © 5
Mercedes me & Apps
5 Smartphone 5
Android Auto 5
Z #
Select sound settings.
Setting control of the application but tons
(Android Auto)
Multimedia sy stem:
4 © 5
Mercedes me & Apps
5 Smartphone 5
Android Auto 5
Z
5 General #
Toswitch on Control via application buttons :
activate the display button. #
Toswitch off Control via application buttons :
deactivate the display button.
Ending Android Auto #
Toend the connection of Android Auto
(with cable): disconnectthe connection via
th e connecting cable between the mobile
phone and multimedia sy stem. %
Mercedes-Benz recommends disconnecting
th e connecting cable only when theve hicle
is stationar y. Tr
ansfer redve hicle data with Android Auto
and Apple CarPlay ® Overview of transfer
redve hicle data
When using Android Autoor Apple CarPlay ®
, cer‐
ta in vehicle data is transfer redto the mobile
phone. This enables youto getth e best out of
selected mobile phone services. Vehicle data is
not directly accessible.
The following sy stem information is transmit ted:
R Software release of the multimedia sy stem
R System ID (anonymised)
The transfer of this data is used tooptimise
communication between theve hicle and the
mobile phone.
To do this, and toassign se veralve hicles tothe
mobile phone, a vehicle identifier is randomly
ge nerated. This has no connection
totheve hicle identifica‐
tion number (VIN) and is dele ted when the multi‐
media sy stem is reset (/ page 380).
The following driving status data is transmit ted:
R Transmission position engaged
R Distinction between par ked, standstill, rolling
and driving
R Day/night mode of the instrument clus ter
The transfer of this data is used toalter how
con tent is displ ayed tocor respond tothe driving
situation.
The following position data is transmitte d:
R Coordinates
R Speed
R Compass direction
R Acceleration di rection
This da tais only transfer red while the navigation
sy stem is active, in order toimpr oveit (e.g. so it
can continue functioning when in a tunnel). MBUX multimedia sy
stem 459
Page 498 of 757
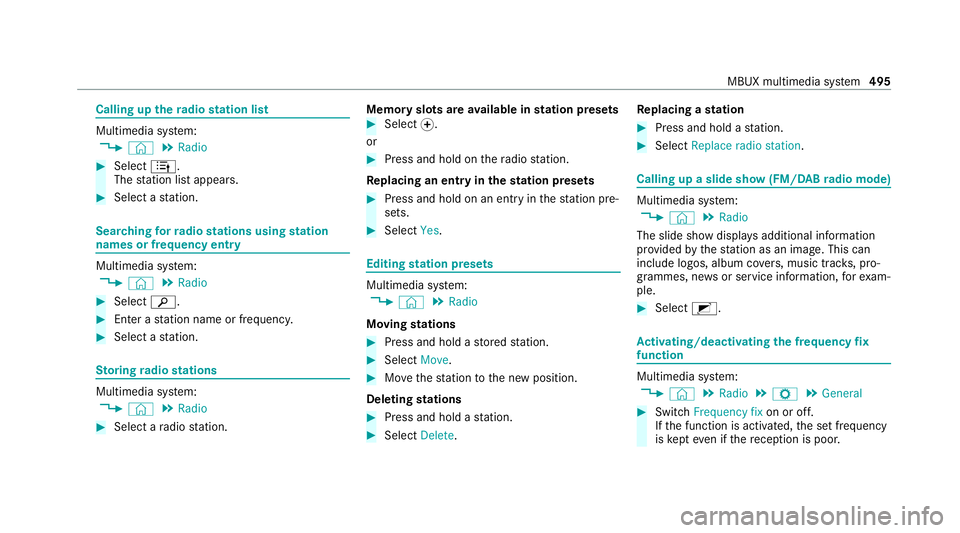
Calling up
thera dio station list Multimedia sy
stem:
4 © 5
Radio #
Select 4.
The station list appears. #
Select a station. Sear
ching forra dio stations using station
names or frequency entry Multimedia sy
stem:
4 © 5
Radio #
Select 00D3. #
Ente r astation name or frequenc y.#
Select a station. St
oring radio stations Multimedia sy
stem:
4 © 5
Radio #
Select a radio station. Memory slots are
available in station presets #
Select 0074.
or #
Press and hold on thera dio station.
Re placing an entry in the station presets #
Press and hold on an entry in thest ation pre‐
sets. #
Select Yes. Editing
station presets Multimedia sy
stem:
4 © 5
Radio
Moving stations #
Press and hold a stored station. #
Select Move. #
Movethest ation tothe new position.
Deleting stations #
Press and hold a station. #
Select Delete. Re
placing a station #
Press and hold a station. #
Select Replace radio station . Calling up a slide show (FM/DAB
radio mode) Multimedia sy
stem:
4 © 5
Radio
The slide show displa ysadditional information
pr ov ided bythest ation as an image. This can
include logos, album co vers, music trac ks, pro‐
gr ammes, ne wsor service information, forex am‐
ple. #
Select 2. Ac
tivating/deactivating the frequency fix
function Multimedia sy
stem:
4 © 5
Radio 5
Z 5
General #
Switch Frequency fix on or off.
If th e function is activated, the set frequency
is ke pt eve n ifthere ception is poo r. MBUX multimedia sy
stem 495
Page 502 of 757
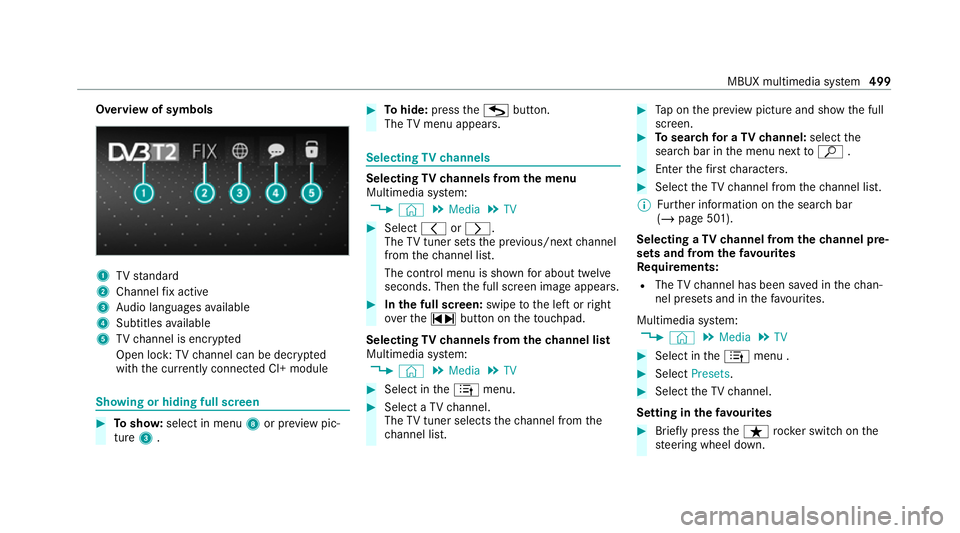
Overview of symbols
1
TVstandard
2 Channel fix acti ve
3 Audio languages available
4 Subtitles available
5 TVchannel is enc rypted
Open lock: TVchannel can be dec rypted
with the cur rently connected CI+ module Showing or hiding full sc
reen #
Tosho w:select in menu 8or pr eview pic‐
ture 3. #
Tohide: press theG button.
The TVmenu appears. Selecting
TVchannels Selecting
TVchannels from the menu
Multimedia sy stem:
4 © 5
Media 5
TV #
Select 0047or0048.
The TVtuner sets the pr evious/n extch annel
from thech annel list.
The control menu is shown for about twel ve
seconds. Then the full screen image appears. #
Inthe full screen: swipetothe left or right
ove rth e~ button on theto uchpad.
Selecting TVchannels from thech annel list
Multimedia sy stem:
4 © 5
Media 5
TV #
Select in the4 menu. #
Select a TVchannel.
The TVtuner selects thech annel from the
ch annel list. #
Tap on the pr eview picture and show the full
screen. #
Tosear chfor a TVchannel: selectthe
sear chbar in the menu next toª . #
Enter thefirs tch aracters. #
Select theTV channel from thech annel list.
% Further information on the sear chbar
(/ page 501).
Selecting a TVchannel from thech annel pre‐
sets and from thefa vo urites
Re quirements:
R The TVchannel has been sa ved in thech an‐
nel presets and in thefa vo urites.
Multimedia sy stem:
4 © 5
Media 5
TV #
Select in the4 menu . #
Select Presets. #
Select theTV channel.
Setting in thefa vo urites #
Brief lypress theß rocker switch on the
st eering wheel down. MBUX multimedia sy
stem 499