Page 329 of 378

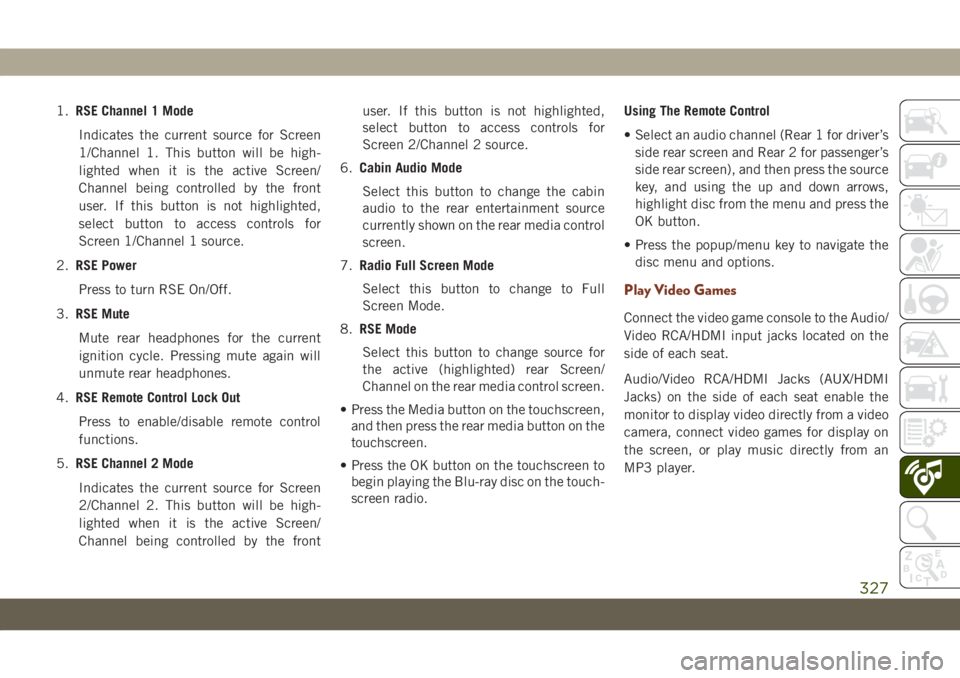
1.RSE Channel 1 Mode
Indicates the current source for Screen
1/Channel 1. This button will be high-
lighted when it is the active Screen/
Channel being controlled by the front
user. If this button is not highlighted,
select button to access controls for
Screen 1/Channel 1 source.
2.RSE Power
Press to turn RSE On/Off.
3.RSE Mute
Mute rear headphones for the current
ignition cycle. Pressing mute again will
unmute rear headphones.
4.RSE Remote Control Lock Out
Press to enable/disable remote control
functions.
5.RSE Channel 2 Mode
Indicates the current source for Screen
2/Channel 2. This button will be high-
lighted when it is the active Screen/
Channel being controlled by the frontuser. If this button is not highlighted,
select button to access controls for
Screen 2/Channel 2 source.
6.Cabin Audio Mode
Select this button to change the cabin
audio to the rear entertainment source
currently shown on the rear media control
screen.
7.Radio Full Screen Mode
Select this button to change to Full
Screen Mode.
8.RSE Mode
Select this button to change source for
the active (highlighted) rear Screen/
Channel on the rear media control screen.
• Press the Media button on the touchscreen,
and then press the rear media button on the
touchscreen.
• Press the OK button on the touchscreen to
begin playing the Blu-ray disc on the touch-
screen radio.Using The Remote Control
• Select an audio channel (Rear 1 for driver’s
side rear screen and Rear 2 for passenger’s
side rear screen), and then press the source
key, and using the up and down arrows,
highlight disc from the menu and press the
OK button.
• Press the popup/menu key to navigate the
disc menu and options.
Play Video Games
Connect the video game console to the Audio/
Video RCA/HDMI input jacks located on the
side of each seat.
Audio/Video RCA/HDMI Jacks (AUX/HDMI
Jacks) on the side of each seat enable the
monitor to display video directly from a video
camera, connect video games for display on
the screen, or play music directly from an
MP3 player.
327
Page 330 of 378
When connecting an external source to the
AUX/HDMI input, ensure to follow the stan-
dard color coding for the audio/video jacks:
1. HDMI Input.
2. Right audio in (red).
3. Left audio in (white).
4. Video in (yellow).NOTE:
Certain high-end video games consoles may
exceed the power limit of the vehicle's Power
Inverter.
NAVIGATION — IF
EQUIPPED
• The information in the section below is only
applicable if you have the Uconnect 4C
NAV With 8.4–inch Display system.
Press the “Nav” button on the touchscreen in
the menu bar to access the Navigation
system.
Changing The Navigation Voice Prompt
Volume
Changing The Navigation Voice Prompt Volume
1. Press the “Settings” button on the touch-
screen in the lower right area of the
screen.
2. In the Settings menu, press the “Guid-
ance” button on the touchscreen.
3. In the Guidance menu, adjust the Nav
Volume by pressing the “+” or “–” buttons
on the touchscreen.
Audio/Video RCA/HDMI Input Jacks
MULTIMEDIA
328
Page 331 of 378
Uconnect 4C NAV With 8.4–inch Display Navigation
1 — Search For A Destination In All Categories
2 — Find A Destination
3 — View Map
4 — Navigate To Saved Home Destination5 — Navigate To Saved Work Destination
6 — Navigation Settings
7 — Emergency
8 — Information
329
Page 332 of 378

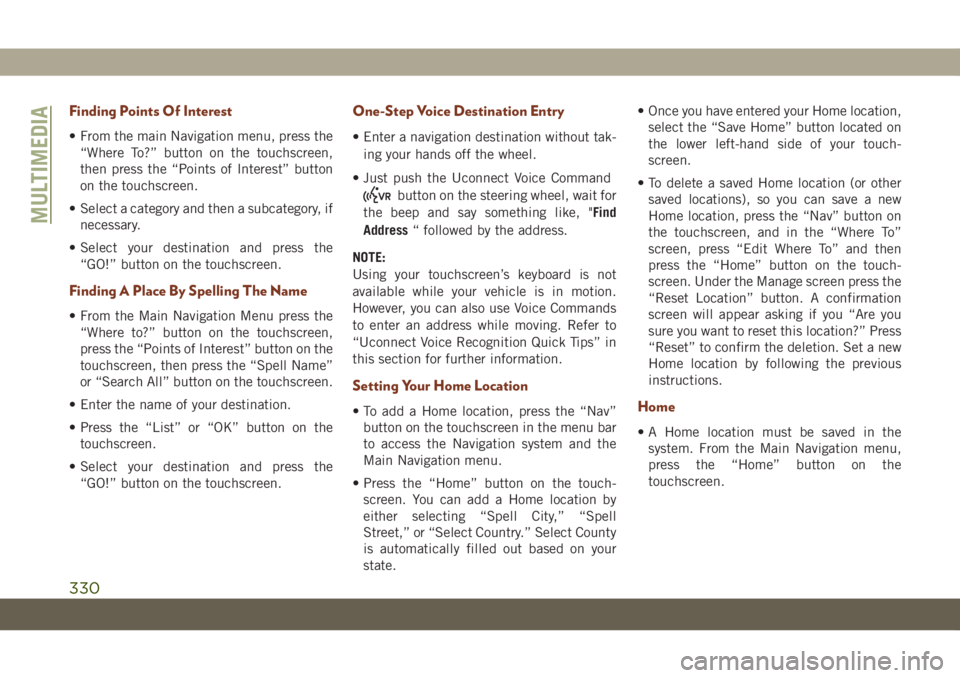
Finding Points Of Interest
• From the main Navigation menu, press the
“Where To?” button on the touchscreen,
then press the “Points of Interest” button
on the touchscreen.
• Select a category and then a subcategory, if
necessary.
• Select your destination and press the
“GO!” button on the touchscreen.
Finding A Place By Spelling The Name
• From the Main Navigation Menu press the
“Where to?” button on the touchscreen,
press the “Points of Interest” button on the
touchscreen, then press the “Spell Name”
or “Search All” button on the touchscreen.
• Enter the name of your destination.
• Press the “List” or “OK” button on the
touchscreen.
• Select your destination and press the
“GO!” button on the touchscreen.
One-Step Voice Destination Entry
• Enter a navigation destination without tak-
ing your hands off the wheel.
• Just push the Uconnect Voice Command
button on the steering wheel, wait for
the beep and say something like, "Find
Address“ followed by the address.
NOTE:
Using your touchscreen’s keyboard is not
available while your vehicle is in motion.
However, you can also use Voice Commands
to enter an address while moving. Refer to
“Uconnect Voice Recognition Quick Tips” in
this section for further information.
Setting Your Home Location
• To add a Home location, press the “Nav”
button on the touchscreen in the menu bar
to access the Navigation system and the
Main Navigation menu.
• Press the “Home” button on the touch-
screen. You can add a Home location by
either selecting “Spell City,” “Spell
Street,” or “Select Country.” Select County
is automatically filled out based on your
state.• Once you have entered your Home location,
select the “Save Home” button located on
the lower left-hand side of your touch-
screen.
• To delete a saved Home location (or other
saved locations), so you can save a new
Home location, press the “Nav” button on
the touchscreen, and in the “Where To”
screen, press “Edit Where To” and then
press the “Home” button on the touch-
screen. Under the Manage screen press the
“Reset Location” button. A confirmation
screen will appear asking if you “Are you
sure you want to reset this location?” Press
“Reset” to confirm the deletion. Set a new
Home location by following the previous
instructions.Home
• A Home location must be saved in the
system. From the Main Navigation menu,
press the “Home” button on the
touchscreen.
MULTIMEDIA
330
Page 333 of 378
Uconnect 4C NAV With 8.4–inch Display Map
1 — Distance To Next Turn
2 — Next Turn Street
3 — Estimated Time Of Arrival
4 — Zoom In And Out5 — Your Location On The Map
6 — Navigation Main Menu
7 — Current Street Location
8 — Navigation Routing Options
331
Page 334 of 378

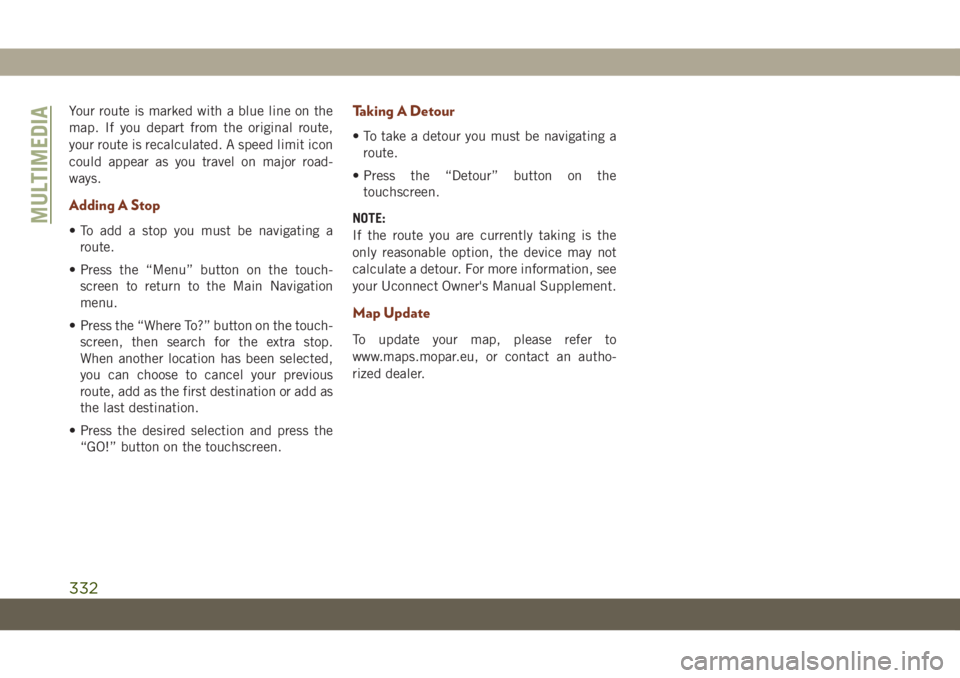
Your route is marked with a blue line on the
map. If you depart from the original route,
your route is recalculated. A speed limit icon
could appear as you travel on major road-
ways.
Adding A Stop
• To add a stop you must be navigating a
route.
• Press the “Menu” button on the touch-
screen to return to the Main Navigation
menu.
• Press the “Where To?” button on the touch-
screen, then search for the extra stop.
When another location has been selected,
you can choose to cancel your previous
route, add as the first destination or add as
the last destination.
• Press the desired selection and press the
“GO!” button on the touchscreen.
Taking A Detour
• To take a detour you must be navigating a
route.
• Press the “Detour” button on the
touchscreen.
NOTE:
If the route you are currently taking is the
only reasonable option, the device may not
calculate a detour. For more information, see
your Uconnect Owner's Manual Supplement.
Map Update
To update your map, please refer to
www.maps.mopar.eu, or contact an autho-
rized dealer.
MULTIMEDIA
332
Page 335 of 378
UCONNECT PHONE
Uconnect Phone (Bluetooth Hands Free Calling)
Uconnect 4 With 7–inch Display Radio Phone Menu
1 — Favorite Contacts
2 — Mobile Phone Battery Life
3 — Currently Paired Mobile Phone
4 — Siri
5 — Mute Microphone
6 — Transfer To/From Uconnect System
7 — Conference Call*
8 — Phone Settings
9 — Text Messaging**10 — Direct Dial Pad
11 — Recent Call Log
12 — Browse Phone Book Entries
13 — End Call
14 — Call/Redial/Hold
15 — Do Not Disturb
16 — Reply with Text Message
*—
Conference call feature only available on GSM mobile devices
** — Text messaging feature not available on all mobile phones (re-
quires Bluetooth MAP profile)
333
Page 336 of 378
Uconnect 4C/4C NAV Phone Menu
1 — Currently Paired Mobile Phone
2 — Mobile Phone Signal Strength
3 — Do Not Disturb
4 — Reply with Text Message
5 — Current Phone Contact’s Name
6 — Conference Call*
7 — Phone Pairing
8 — Text Messaging Menu**
9 — Direct Dial Pad
10 — Contact Menu11 — Recent Call Log
12 — Favorite Contacts
13 — Mute Microphone
14 — Decline Incoming Call
15 — Answer/Redial/Hold
16 — Mobile Phone Battery Life
17 — Transfer To/From Uconnect System
*—
Conference call feature only available on GSM mobile devices
** — Text messaging feature not available on all mobile phones (re-
quires Bluetooth MAP profile)
MULTIMEDIA
334