Page 224 of 412
222IN CASE OF EMERGENCY
CavityCartridge Fuse Mini-Fuse Description
F1––Fuse – Spare
F2 40 Amp Green –Radiator Fan #1 – (Non 6.2L Supercharged)
F3 50 Amp Red –Electric Power Steering #1 – If Equipped
F4 30 Amp Pink –Starter
F5 40 Amp Green –Anti-Lock Brakes
F6 30 Amp Pink –Anti-Lock Brakes
F7 20 Amp Blue –Police Ignition Run / ACC #1
F8 50 Amp Red / 20 Amp
Blue –Radiator Fan (6.2L Supercharged) / Police Ignition
Run / ACC # 2
F9 –20 Amp Yellow All-Wheel Drive Module – If Equipped
F10 –10 Amp RedIntrusion MOD (300) – If Equipped / Under Hood
Lamp – Police
F11 –20 Amp Yellow Horns
F12 –10 Amp Red Air Conditioning Clutch
F13 ––Fuse – Spare
F14 ––Fuse – Spare
F15 –20 Amp Yellow LH HID Headlamp – If Equipped
F16 –20 Amp Yellow RH HID Headlamp – If Equipped
20_LD_OM_EN_USC_t.book Page 222
Page 225 of 412
IN CASE OF EMERGENCY223
F18 50 Amp Red –Radiator Fan #2 (Non 6.2L Eng)
F19 50 Amp Red –Electric Power Steering #2 – If Equipped
F20 30 Amp Pink –Wiper Motor
F21 30 Amp Pink
20 Amp Blue – Police –Headlamp Washers – If Equipped
Police Bat Feed #2
F22 40 Amp Green / 20 Amp
Blue – Police –Engine Cooling Pump (6.2L Supercharged) / Police
Bat Feed # 3
F23 20 Amp Blue –Police Bat Feed # 1
F24 50 Amp Red / 20 Amp
Blue –Radiator Fan #2 (6.2L Eng) / Police Ignition Run/ACC
Feed # 3
F28 ––Fuse – Spare
F29 –15 Amp Blue Auto Trans (Challenger / Charger Police)
F30 ––Fuse – Spare
F31 –25 Amp Clear Engine Module
F32 ––Fuse – Spare
F33 ––Fuse – Spare
F34 –25 Amp Clear ASD Feed #1
F35 –20 Amp Yellow ASD Feed #2
Cavity Cartridge Fuse Mini-Fuse Description
6
20_LD_OM_EN_USC_t.book Page 223
Page 226 of 412
224IN CASE OF EMERGENCY
F36 –10 Amp RedAnti-Lock Brake Module / Steering Column Lock
Module (300 if equipped)
F37 –10 Amp Red Engine Controller
F38 –10 Amp Red Airbag Module
F39 –10 Amp RedAC Clutch/EPS – If Equipped/ Vacuum Pump –
If Equipped
F48 –10 Amp Red AWD Module / Front Axle Disconnect – If Equipped
F49 ––Fuse – Spare
F50 ––Fuse – Spare
F51 –20 Amp Yellow Vacuum Pump – If Equipped
F52 –5 Amp Tan Adaptive Cruise – If Equipped
F53 ––Fuse – Spare
Cavity Cartridge Fuse Mini-Fuse Description
20_LD_OM_EN_USC_t.book Page 224
Page 229 of 412
IN CASE OF EMERGENCY227
F31 –25 Amp Breaker Power Seats – If Equipped
F32 –15 Amp Blue HVAC Module/Cluster
F33 –15 Amp BlueIgnition Switch/Wireless Mod/
Steer Column Lock Mod/Remote Start – If Equipped
F34 –10 Amp RedSteering Column Module/Clock
(300)
F35 –5 Amp Tan Battery Sensor
F36 –15 Amp BlueElectronic Exhaust Valve –
If Equipped
F37 –20 Amp Yellow Radio
F38 –20 Amp Yellow Media Hub/ Console APO
F40 30 Amp Pink –Fuel Pump #1 (6.2L ADR) –
If Equipped
F41 30 Amp Pink –Fuel Pump #2 (6.2L ADR) –
If Equipped
F42 30 Amp Pink –Rear Defrost
F43 –20 Amp YellowRR Heated Seat – If Equipped/
Heated Steering Wheel – If Equipped
F44 –10 Amp RedPark Assist / Blind Spot / Rear
View Camera – If Equipped
Cavity Cartridge Fuse Mini-FuseDescription
6
20_LD_OM_EN_USC_t.book Page 227
Page 246 of 412

244IN CASE OF EMERGENCY
To Reset The Manual Park Release:
1. Push the latch (at the base of the lever, on
the rear side) rearward (away from the
lever) to unlatch the lever.
Disengaging The Lever
2. Rotate the Manual Park Release lever forward and down, to its original position,
until the locking tab snaps into place to
secure the lever. 3. Pull up gently on the tether strap to confirm
that the lever is locked in its stowed
position.
4. Tuck the tether strap into the base of the console. Reinstall the Manual Park Release
cover and the console storage bin.
FREEING A STUCK VEHICLE
If your vehicle becomes stuck in mud, sand, or
snow, it can often be moved using a rocking
motion. Turn the steering wheel right and left to
clear the area around the front wheels. Push
and hold the lock button on the gear selector.
Then, shift back and forth between DRIVE and
REVERSE while gently pressing the accelerator.
Use the least amount of accelerator pedal
pressure that will maintain the rocking motion,
without spinning the wheels or racing the
engine. NOTE:
Shifts between DRIVE and REVERSE can only
be achieved at wheel speeds of 5 mph
(8 km/h) or less. Whenever the transmission
remains in NEUTRAL for more than two
seconds, you must press the brake pedal to
engage DRIVE or REVERSE.
Push the "ESC OFF" switch, to place the Elec
-
tronic Stability Control (ESC) system in
"Partial Off" mode, before rocking the vehicle.
Refer to “Electronic Brake Control System” in
“Safety” for further information. Once the
vehicle has been freed, push the "ESC OFF"
switch again to restore "ESC On" mode.
20_LD_OM_EN_USC_t.book Page 244
Page 252 of 412

250
SERVICING AND MAINTENANCE
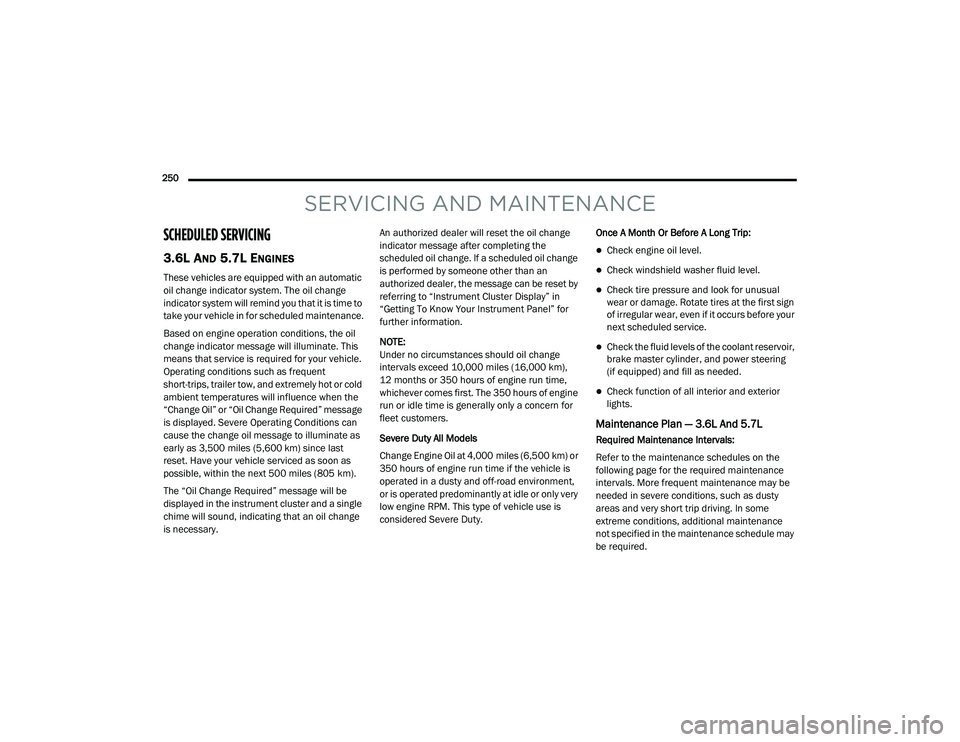
SCHEDULED SERVICING
3.6L AND 5.7L ENGINES
These vehicles are equipped with an automatic
oil change indicator system. The oil change
indicator system will remind you that it is time to
take your vehicle in for scheduled maintenance.
Based on engine operation conditions, the oil
change indicator message will illuminate. This
means that service is required for your vehicle.
Operating conditions such as frequent
short-trips, trailer tow, and extremely hot or cold
ambient temperatures will influence when the
“Change Oil” or “Oil Change Required” message
is displayed. Severe Operating Conditions can
cause the change oil message to illuminate as
early as 3,500 miles (5,600 km) since last
reset. Have your vehicle serviced as soon as
possible, within the next 500 miles (805 km).
The “Oil Change Required” message will be
displayed in the instrument cluster and a single
chime will sound, indicating that an oil change
is necessary.An authorized dealer will reset the oil change
indicator message after completing the
scheduled oil change. If a scheduled oil change
is performed by someone other than an
authorized dealer, the message can be reset by
referring to “Instrument Cluster Display” in
“Getting To Know Your Instrument Panel” for
further information.
NOTE:
Under no circumstances should oil change
intervals exceed 10,000 miles (16,000 km),
12 months or 350 hours of engine run time,
whichever comes first. The 350 hours of engine
run or idle time is generally only a concern for
fleet customers.
Severe Duty All Models
Change Engine Oil at 4,000 miles (6,500 km) or
350 hours of engine run time if the vehicle is
operated in a dusty and off-road environment,
or is operated predominantly at idle or only very
low engine RPM. This type of vehicle use is
considered Severe Duty.
Once A Month Or Before A Long Trip:
Check engine oil level.
Check windshield washer fluid level.
Check tire pressure and look for unusual
wear or damage. Rotate tires at the first sign
of irregular wear, even if it occurs before your
next scheduled service.
Check the fluid levels of the coolant reservoir,
brake master cylinder, and power steering
(if equipped) and fill as needed.
Check function of all interior and exterior
lights.
Maintenance Plan — 3.6L And 5.7L
Required Maintenance Intervals:
Refer to the maintenance schedules on the
following page for the required maintenance
intervals. More frequent maintenance may be
needed in severe conditions, such as dusty
areas and very short trip driving. In some
extreme conditions, additional maintenance
not specified in the maintenance schedule may
be required.
20_LD_OM_EN_USC_t.book Page 250
Page 257 of 412

SERVICING AND MAINTENANCE255
An authorized dealer will reset the oil change
indicator message after completing the
scheduled oil change. If a scheduled oil change
is performed by someone other than an
authorized dealer, the message can be reset by
referring to the steps described under
“Instrument Cluster Display” in “Getting To
Know Your Instrument Panel” for further
information.
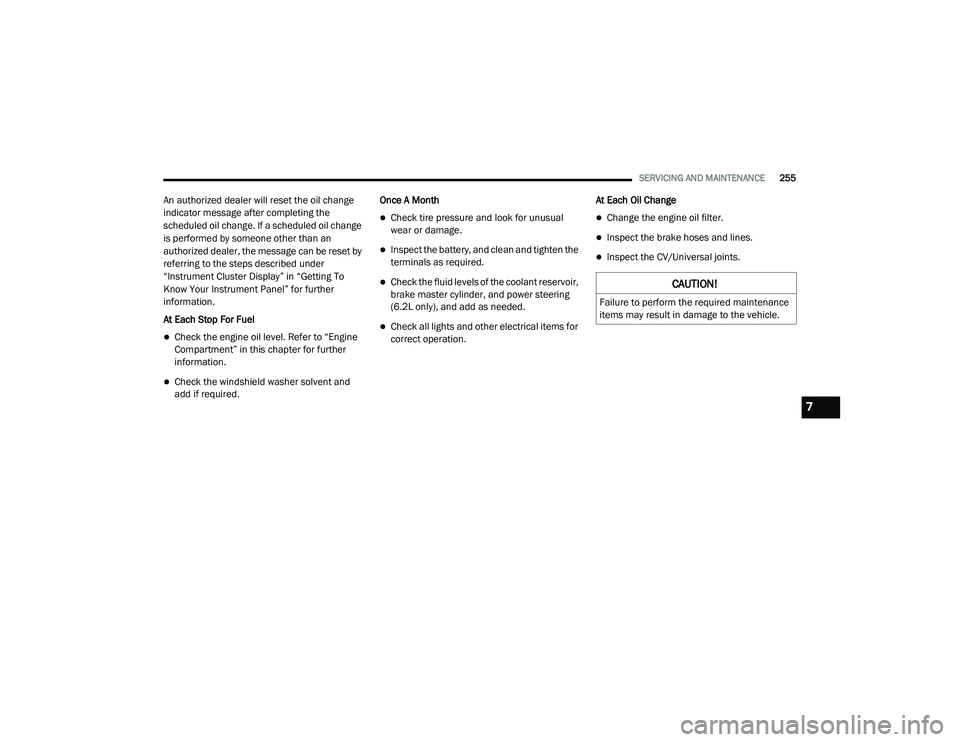
At Each Stop For Fuel
Check the engine oil level. Refer to “Engine
Compartment” in this chapter for further
information.
Check the windshield washer solvent and
add if required. Once A Month
Check tire pressure and look for unusual
wear or damage.
Inspect the battery, and clean and tighten the
terminals as required.
Check the fluid levels of the coolant reservoir,
brake master cylinder, and power steering
(6.2L only), and add as needed.
Check all lights and other electrical items for
correct operation.
At Each Oil Change
Change the engine oil filter.
Inspect the brake hoses and lines.
Inspect the CV/Universal joints.
CAUTION!
Failure to perform the required maintenance
items may result in damage to the vehicle.
7
20_LD_OM_EN_USC_t.book Page 255
Page 270 of 412
268SERVICING AND MAINTENANCE
6.2L SUPERCHARGED ENGINE
1 — Intercooler Fluid Reservoir 6 — Power Steering Reservoir Cap
2 — Engine Oil Fill 7 — Engine Oil Dipstick
3 — Brake Fluid Reservoir Access Cover 8 — Power Distribution Center (Fuses)
4 — Engine Coolant Reservoir 9 — Washer Fluid Reservoir Cap
5 — Air Cleaner Filter
20_LD_OM_EN_USC_t.book Page 268