2020 CITROEN RELAY ignition
[x] Cancel search: ignitionPage 20 of 196

18
Instruments
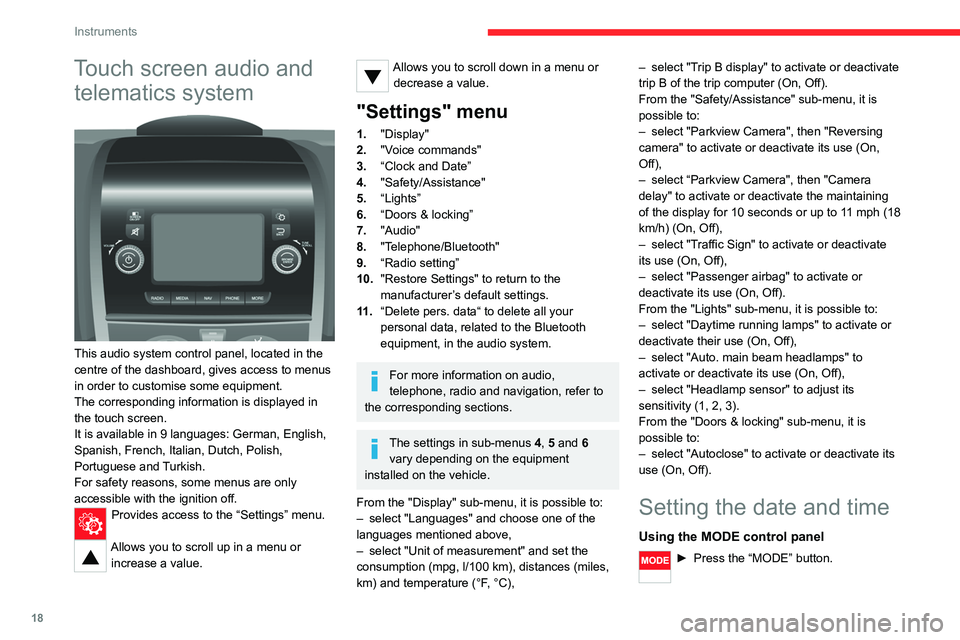
Touch screen audio and telematics system
This audio system control panel, located in the
centre of the dashboard, gives access to menus
in order to customise some equipment.
The corresponding information is displayed in
the touch screen.
It is available in 9 languages: German, English,
Spanish, French, Italian, Dutch, Polish,
Portuguese and Turkish.
For safety reasons, some menus are only
accessible with the ignition off.
Provides access to the “Settings” menu.
Allows you to scroll up in a menu or
increase a value.
Allows you to scroll down in a menu or decrease a value.
"Settings" menu
1. "Display"
2. "Voice commands"
3. “Clock and Date”
4. "Safety/Assistance"
5. “Lights”
6. “Doors & locking”
7. "Audio"
8. "Telephone/Bluetooth"
9. “Radio setting”
10. "Restore Settings" to return to the
manufacturer’s default settings.
11 . “Delete pers. data“ to delete all your
personal data, related to the Bluetooth
equipment, in the audio system.
For more information on audio,
telephone, radio and navigation, refer to
the corresponding sections.
The settings in sub-menus 4, 5 and 6
vary depending on the equipment
installed on the vehicle.
From the "Display" sub-menu, it is possible to:
– select "Languages" and choose one of the
languages mentioned above,
– select "Unit of measurement" and set the
consumption (mpg, l/100 km), distances (miles,
km) and temperature (°F, °C), –
select "Trip B display" to activate or deactivate
trip B of the trip computer (On, Off).
From the "Safety/Assistance" sub-menu, it is
possible to:
– select "Parkview Camera", then "Reversing
camera" to activate or deactivate its use (On,
Off),
– select “Parkview Camera", then "Camera
delay" to activate or deactivate the maintaining
of the display for 10 seconds or up to 11 mph (18
km/h) (On, Off),
– select "Traffic Sign" to activate or deactivate
its use (On, Off),
– select "Passenger airbag" to activate or
deactivate its use (On, Off).
From the "Lights" sub-menu, it is possible to:
– select "Daytime running lamps" to activate or
deactivate their use (On, Off),
– select "Auto. main beam headlamps" to
activate or deactivate its use (On, Off),
– select "Headlamp sensor" to adjust its
sensitivity (1, 2, 3).
From the "Doors & locking" sub-menu, it is
possible to:
– select "Autoclose" to activate or deactivate its
use (On, Off).
Setting the date and time
Using the MODE control panel
► Press the “MODE” button.
Page 21 of 196

19
Instruments
1► Select the "Time setting" menu to set the time
and the clock format (24h or 12h) or select the
"Date setting" menu to set the day, month and
year.
For more information on Vehicle configuration
(MODE), refer to the corresponding section.
Using the touch screen audio and
telematics system
From the "Clock and Date" sub-menu:
► Select "Time setting and format" to set the
hour, minutes and seconds and choose the
format (24h, 12h with am or pm).
► Select "Date setting" to set the day, month
and year.
To set the time manually, "Time Synchro" must be deactivated (Off).
Trip computer
Information displayed about the current journey
(range, current fuel consumption, average fuel
consumption, etc.).
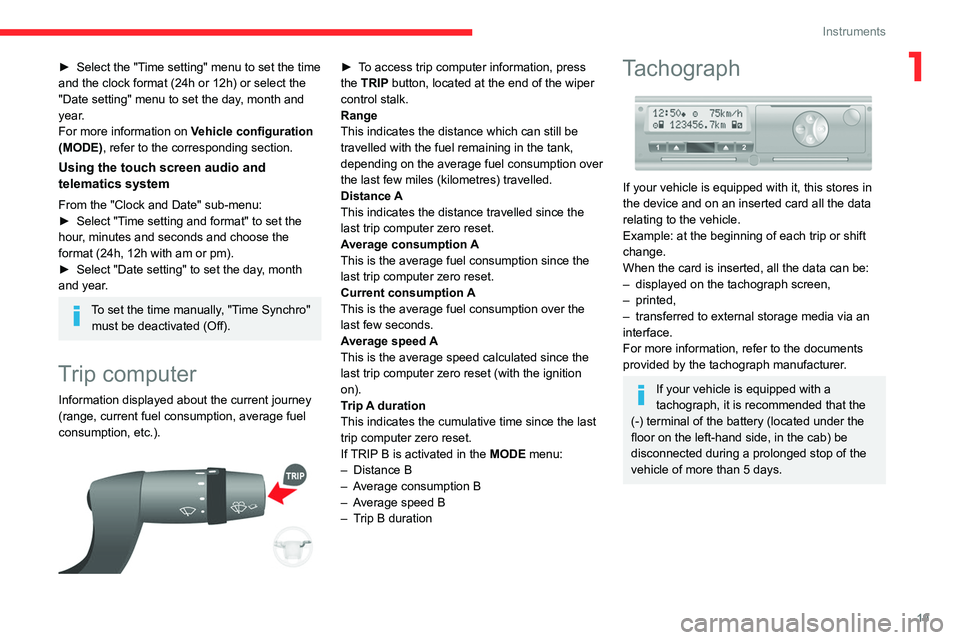
► To access trip computer information, press
the TRIP button, located at the end of the wiper
control stalk.
Range
This indicates the distance which can still be
travelled with the fuel remaining in the tank,
depending on the average fuel consumption over
the last few miles (kilometres) travelled.
Distance A
This indicates the distance travelled since the
last trip computer zero reset.
Average consumption A
This is the average fuel consumption since the
last trip computer zero reset.
Current consumption A
This is the average fuel consumption over the
last few seconds.
Average speed A
This is the average speed calculated since the
last trip computer zero reset (with the ignition
on).
Trip A duration
This indicates the cumulative time since the last
trip computer zero reset.
If TRIP B is activated in the MODE menu:
– Distance B
– Average consumption B
– Average speed B
– Trip B duration Tachograph
If your vehicle is equipped with it, this stores in
the device and on an inserted card all the data
relating to the vehicle.
Example: at the beginning of each trip or shift
change.
When the card is inserted, all the data can be:
– displayed on the tachograph screen,
– printed,
– transferred to external storage media via an
interface.
For more information, refer to the documents
provided by the tachograph manufacturer.
If your vehicle is equipped with a
tachograph, it is recommended that the
(-) terminal of the battery (located under the
floor on the left-hand side, in the cab) be
disconnected during a prolonged stop of the
vehicle of more than 5 days.
Page 24 of 196

22
Access
Type of keyUnlocking the cabLocking the doorsUnlocking the rear doors
Direction indicators 2 flashes.1 flash.2 flashes.
Central locking control indicator
lamp on the dashboard Off.
Fixed for approximately 3
seconds, then flashing. Flashing.
Using the key in the driver's door lock does not activate/deactivate the alarm.
Locking/Unlocking from
inside
Cab and loading area
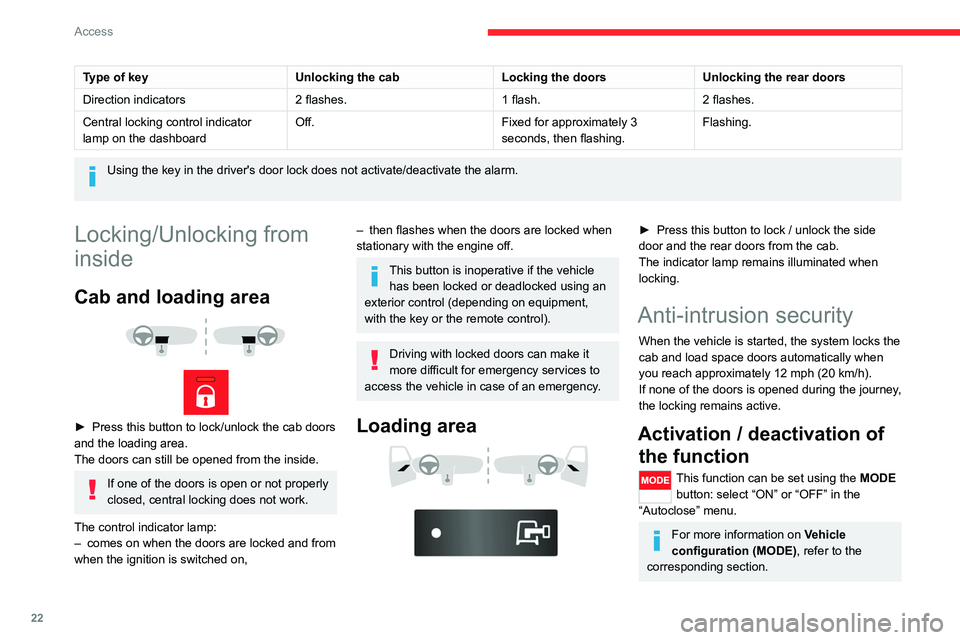
► Press this button to lock/unlock the cab doors
and the loading area.
The doors can still be opened from the inside.
If one of the doors is open or not properly
closed, central locking does not work.
The control indicator lamp:
– comes on when the doors are locked and from
when the ignition is switched on,
– then flashes when the doors are locked when
stationary with the engine off.
This button is inoperative if the vehicle has been locked or deadlocked using an
exterior control (depending on equipment,
with the key or the remote control).
Driving with locked doors can make it
more difficult for emergency services to
access the vehicle in case of an emergency.
Loading area
► Press this button to lock / unlock the side
door and the rear doors from the cab.
The indicator lamp remains illuminated when
locking.
Anti-intrusion security
When the vehicle is started, the system locks the
cab and load space doors automatically when
you reach approximately 12 mph (20 km/h).
If none of the doors is opened during the journey,
the locking remains active.
Activation / deactivation of the function
This function can be set using the MODE
button: select “ON” or “OFF” in the
“Autoclose” menu.
For more information on Vehicle
configuration (MODE) , refer to the
corresponding section.
Front doors
► Use the corresponding button on the remote
control or use the key in the driver's door lock to
unlock.
► Pull the handle towards you.
Sliding side door
Take care not to block the guide space
on the floor to allow the door to slide
correctly.
Opening
From outside
► Pull the handle towards you and then towards
the rear.
Page 26 of 196

24
Access
Opening
From outside
► Pull the handle towards you and then pull the
lever to open the left-hand door.
The two doors open to 96°.
From inside
► Pull the handle located on the door panel
towards you, then push to open the right-hand
door.
► Push the lever to open the left-hand door.
Do not drive with the rear door open.
Opening to 180°
If the vehicle is so equipped, a retractable check
strap system allows the opening to be increased
from 96° to 180°.
► Press the button located on the door panel to
extend the angle of the door.
The check strap will engage again automatically
on closing.
Closing
► To close, start with the left-hand door, then
close the right-hand door.
Alarm
System which protects and provides a deterrent
against theft and break-ins. If your vehicle is
so equipped, it provides the following types of
monitoring:
- Perimeter monitoring
the system ensures exterior perimeter protection
by detectors on the openings (doors, boot,
bonnet) and in the electrical power supply,
- Anti-tilt monitoring
The system checks for any change in the attitude
of the vehicle.
Activation
► Switch off the ignition and exit the vehicle.► Press this button of the remote
control.
The protections are active after a few seconds.
Triggering of the alarm
This is signalled by the siren sounding and
flashing of the direction indicators for thirty
seconds.
The alarm then returns to monitoring mode but the triggering event is stored
and is indicated by illumination of the electronic
immobiliser warning lamp for about 10 seconds
when the ignition is switched on.
The alarm is also triggered after interruption of
the electrical supply and when it is reconnected.
Deactivation using the
remote control
► Press this button.
The standby mode is deactivated when the
vehicle is unlocked.
Page 27 of 196

25
Access
2- Anti-tilt monitoring
The system checks for any change in the attitude
of the vehicle.
Activation
► Switch off the ignition and exit the vehicle.► Press this button of the remote
control.
The protections are active after a few seconds.
Triggering of the alarm
This is signalled by the siren sounding and
flashing of the direction indicators for thirty
seconds.
The alarm then returns to monitoring mode but the triggering event is stored
and is indicated by illumination of the electronic
immobiliser warning lamp for about 10 seconds
when the ignition is switched on.
The alarm is also triggered after interruption of
the electrical supply and when it is reconnected.
Deactivation using the
remote control
► Press this button.
The standby mode is deactivated when the
vehicle is unlocked.
Deactivating the anti-tilt
monitoring
(Depending on engine)► Press this button to deactivate the
protection (e.g. when towing the vehicle
with the alarm on).
The protection remains active until the central
opening of the doors.
Failure of the remote control
► Unlock the doors using the key in the lock;
the alarm goes off.
► Turn the ignition on; the identification of the
key code will turn off the alarm.
Locking the doors using the key in the
lock does not activate the alarm.
To deactivate the siren quickly
following a false alarm:
► switch on the ignition, recognition of the
key code stops the alarm,
► press the unlocking button (cab and key)
on the remote control.
To avoid setting the alarm, when washing the
vehicle for example, lock the vehicle using
the key.
Unlocking the vehicle using the remote
control deactivates the siren automatically.
Electric windows
A. Driver electric window
B. Passenger electric window
Manual operation
► To open or close the window, press or
pull switch A/B without passing its point of
resistance. The window stops when the switch
is released.
Automatic operation
► To open or close the window, press or pull
switch A past its point of resistance: the window
opens or closes completely when the switch is
released. Operating the switch again stops the
movement of the window.
Page 28 of 196

26
Access
Always remove the key from the ignition when leaving the vehicle, even for a
short time.
If an obstacle is encountered during operation
of the electric windows, you must reverse the
movement of the window. To do this, press
the window control concerned.
When the driver operates the passenger
electric windows, they must ensure that
no one is preventing correct closing of the
windows.
The driver must ensure that all passengers
make correct use of electric windows.
Be particularly aware of children when
operating the windows.
Page 33 of 196

31
Ease of use and comfort
3As a safety precaution, these operations should only be carried out while the
vehicle is stationary.
Mirrors
Door mirrors
They are divided into two zones:
A - Upper mirror
B - Lower mirror
The mirrors are spherical in shape to widen the
lateral field of vision. The objects that you see in
the mirrors are in fact closer than they appear.
This must be taken into account to correctly
assess the distance.
The shell integrates the direction indicator
side repeater and the aerials, according to the
equipment available on board (GPS, GSM,
Radio, etc.).
Electric adjustments
The ignition key must be in MAR position.
► Turn the control to select the mirror zone.
Left-hand door mirror:
A1 - Upper mirror
B1 - Lower mirror
Right-hand door mirror:
A2 - Upper mirror
B2 - Lower mirror
► Then move the control in the direction of the
desired adjustment.
Electric folding
► Press this control.
De-icing the mirrors
► Press the heated rear screen button.
Interior rear view mirror
The lever on the lower edge allows the mirror to
be placed in two positions.
Day position, the lever is pushed.
Night position for anti-glare, pull the lever
towards you.
Heating and Ventilation
Advice
Using the ventilation and air
conditioning system
► To ensure that air is distributed evenly,
keep the external air intake grilles at the base
of the windscreen, the nozzles, the vents, the
air outlets and the air extractor in the boot
free from obstructions.
► Do not cover the sunshine sensor located
on the dashboard; this sensor is used to
regulate the automatic air conditioning
system.
Page 36 of 196

34
Ease of use and comfort
Additional pre-heater or programmable additional
heating
This is an additional, programmable and
independent system that heats the hot water
loop of the Diesel engine to facilitate starting.
It improves the performance of the defrosting
and demisting and, if fitted to the vehicle, that of
the heated seats.
The passenger compartment’s temperature rises
more quickly.
This system must be programmed to be started
before entering the vehicle.
Automatic additional heating
This is an additional system that starts
automatically when the ignition is switched on. Its
activation depends on the outside temperature
and the temperature inside the vehicle.
It switches off automatically as soon as the
heating is manually switched on.
Supplementary heating
On 2-3 seat versions, it is located under the
driver's seat with air diffusion directed towards
the front.
Complete switch-off
► Press button 3 to switch off the system. The
LED and the display go out.
Temperature
The scale is between:
– a rise in interior air temperature HI (High),
which heats up to a maximum graduation of 32,
– a cooling of interior air temperature LO (Low),
which decreases to a graduation of 16.
Air distribution
► Press one of the buttons 4 to direct the air
flow towards:
the windscreen and front side window
vents (demisting - defrosting windows),
the central and side vents (chest and
face),
the diffusers of the front and rear zones
(footwells).
Combining buttons makes it possible to refine
the air distribution.
Air flow
► Press one of the buttons 5 to increase or
decrease the air flow.
Air intake/Air recirculation
The intake of exterior air prevents the formation
of mist on the windscreen and side windows.
Recirculating the interior air isolates the
passenger compartment from exterior odours
and fumes.
This function allows hot or cold air to be delivered selectively and more quickly.
Return to exterior air intake as soon as possible
to avoid deterioration of the air quality and the
formation of mist.
► Press button 6 to activate interior air
recirculation. The indicator lamp comes on.
Pressing this button again restores exterior air
intake. The indicator lamp goes off.
Pressing button 1 also restores exterior
air intake. Returning to this position
allows the air in the passenger compartment
to be renewed and demisting. Pressing button
1 again restores the FULL AUTO function.
Additional rear ventilation
This system is complementary
to the standard passenger
compartment ventilation
equipment.
Air output
► Press control 1 to activate/deactivate the
release of air to the exterior (confirmed by the
LED coming on/going out).
Air intake
► Press control 2 to activate/deactivate
the exterior air intake into the passenger
compartment (confirmed by the LED coming on/
going out).
Additional heating systems
Additional heating
This is heating for the passenger compartment
which is additional to the standard equipment.
Its operation may be independent of the engine.