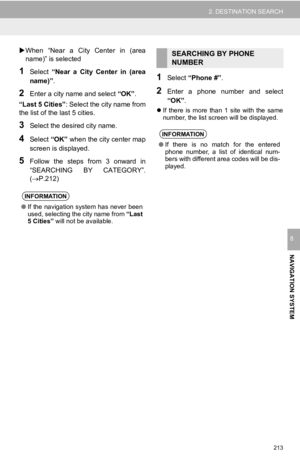
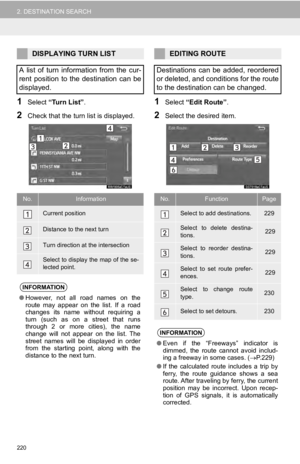
Page 201 of 282
201
1. BASIC OPERATION
NAVIGATION SYSTEM
8
Destination informationSTANDARD MAP ICONS
No.Function
Select to register as a memory point.  
To  change  the  icon,  name,  etc.:  
P.236
Select to set as a destination.
Select to call the registered number.
Select to delete destination or mem-
ory point.
Select  to  display  the  edit  memory 
point screen.
INFORMATION
● Even  when  traffic  information  is  not  cur-
rently  being  received,  traffic  information  
and  “Info”   will  be  displayed  for  a  while  
after  traffic  information  has  been  
received.
IconName
Island
Park
Industry
Business facility
Airport
Military
University
Hospital
Stadium
Shopping mall
Golf 
     
        
        Page 202 of 282

202
1. BASIC OPERATION
4. TRAFFIC INFORMATION
1Press the “APPS” button.
2Select “Traffic”.
3Select the desired item.
1Display  the  “Traffic  Information”  
screen. ( P.202)
2Select “Traffic Event List”.
3Select the desired traffic information.
“On Current Road” : Select 
 to display traf-
fic information for the current road.
“On  Current  Route” :  Select  to  display 
traffic informati on for the set route.
When  set  to  on,  the  indicator  will  illumi -
nate.
4Check that the traffic information is dis-
played.
“Detail” :  Select  to  display  detailed  traffic  
information.
Traffic  data  can  be  received  via  HD  
Radio  or  Entune  App  Suite  to  display  
traffic information on the map screen.
No.FunctionPage
Select  to  display  a  list  of  
current traffic information.202
Select  to  display  a  map  
with predictive traffic data.203
Select  to  display  traffic  
along the saved routes.203
DISPLAYING TRAFFIC 
INFORMATION
A  list  of  current  traffic  information  can  
be displayed along with information on  
the incident’s distance and position rel-
ative to the vehicle. 
     
        
        Page 203 of 282

203
1. BASIC OPERATION
NAVIGATION SYSTEM
8
1Display  the  “Traffic  Information” 
screen. ( P.202)
2Select “Predictive Traffic Map” .
3Scroll the map to the desired point and  
set  the  time  of  pred ictive  traffic  infor-
mation.
 The  time  of  the  predictive  traffic  informa -
tion  can  be  displayed  in  15-minute  steps  
up t o 
+45 minutes.
“+”: Moves the time fo rward 15 minutes.
“-”: Moves the time back 15 minutes.
1Display  the  “Traffic  Information”  
screen. ( P.202)
2Select “My Traffic Routes” .
If map data has been updated, a confirma -
tion screen will be displayed. Select  “OK”
or  “Do No t T
ell Me Again” .
3Select the desired route.
“Options”:  Select  to  add,  edit  or  delete  
my traffic routes.( P.247)
If  routes  have  not  been  registered  yet,  a  
confirmation  screen  will  be  displayed.  
Select  “Yes” to register the route.
4Select the desired traffic information.
DISPLAYING PREDICTIVE 
TRAFFIC INFORMATION
A  map  with  predictive  traffic  data  can  
be displayed.MY TRAFFIC ROUTES
Traffic  information  along  the  saved  
routes  can  be  displayed.  To  use  this  
function,  it  is  necessary  to  register  a  
route. ( P.247) 
     
        
        Page 204 of 282
DISPLAYING TRAFFIC 
INFORMATION ON THE MAP
204
1. BASIC OPERATION
1Select “Options” on the map screen.
2Select “Map Information” .
3Select “Traffic Information” .
When  set  to  on,  the  indicator  will  illumi-
nate.
4Check that the traffic information is dis -
played.
No.Information/Function
The icons show traffic incident, road  
repair, traffic obstacles, etc. Select to 
display  traffic  information  and  start  
voice guidance for the traffic informa-
tion.
The  color  of  the  arrow  changes  de-
pending on the traffic information re-
ceived.
The indicator is displayed as follows.
:  Traffic  information  has  
been received.
:  Traffic  information  has  
been received via HD.
No  icon:  Traffic  information  has  not  
been received. 
     
        
        Page 205 of 282
205
NAVIGATION SYSTEM
8
2. DESTINATION SEARCH
1. DESTINATION SEARCH SCREEN
The “Destination” screen enables to search for a destination. To display the “Des-
tination” screen, select  “Dest.” on the map screen.
No.FunctionPage
Select to search for a destination by address. 209
Select to search for a destination by point of interest. 210
Select to search for a destinatio n from previously set destinations.214
Select  to search  for  a destination from  a registered entry in “ Address 
Book”.214
Select to search for a desti nation by online database. 265
Select to search for a destinatio n from emergency service points.215
Select to search for a destination by intersection or freeway entrance/
exit.215
Select to search for a destination by the last displayed map.217
Select to search for a destination by coordinates.217
Select to set a destination by home.208 
     
        
        Page 206 of 282
206
2. DESTINATION SEARCH
Select to set a destination from preset destinations.208
Select to delete set destinations.229
No.FunctionPage 
     
        
        Page 207 of 282
207
2. DESTINATION SEARCH
NAVIGATION SYSTEM
8
2. SEARCH OPERATION
1Press the “APPS” button.
2Select “Navigation” .
3Select “Dest.” .
4Search for a destination.
There  are  different  kinds  of  methods  to  
search for a destination. ( P.205)
5Select  “Go” when the confirm destina -
tion screen is displayed.
No.Function
Select to adjust the position in small-
er increments. ( P.197)
Select to register as a memory point.
Select to call the registered number.
Select to search for the route.  
(  P.218) 
If  a  destination  has  already  been  
set,  “Go  Directly”   and “Add  to  
Route”  will be displayed. 
“Go  Directly” :  Select  to  delete  the  
existing destination(s) and set a new  
one. 
“Add  to  Route” :  Select  to  add  a 
destination. 
     
        
        Page 208 of 282

SELECTING SEARCH AREA
208
2. DESTINATION SEARCH
1Display  the  “Destination”  screen. 
(P.207 )
2Select “Address” , “Point of Interest”
or  “Intersection & Freeway” .
3Select “Select  State/Province”  or 
“Change State/Province” .
If a state (province) has not been selected  
yet,  “Select  State/Province”  is dis-
played.
4Select the desired state (province).
 To  change  countries,  select  the  “United 
States” , “Canada” or  “Mexico” tab.
 For  map  database  information  and
 
updat es
:  P. 2 5 3
SETTING HOME AS 
DESTINATION
1Display  the  “Destination”  screen.  
( P.207 )
2Select  “Go Home” .
The  navigation  system  performs  a  search  
for  the  route  and  the  entire  route  map  is  
displayed. ( P. 2 1 8 )
SETTING PRESET 
DESTINATIONS AS 
DESTINATION
1Display  the  “Destination”  screen.  
( P.207 )
2Select  any  of  the  preset  destination  
buttons ( 1-5).
The  navigation  system  performs  a  search  
for  the  route  and  the  entire  route  map  is  
displayed. ( P. 2 1 8 )
The  selected  state  (province)  can  be  
changed  to  set  a  destination  from  a  
different  state  (province)  by  using  
“Address”,  “Point  of  Interest”  or 
“Intersection & Freeway” .
To use this  function,  it is necessary to  
register a home address. ( P.233)
To use this  function,  it is necessary to  
register  preset  destinations 
to  the 
preset screen buttons (1-5). ( P.234)