2019 TOYOTA SUPRA ESP
[x] Cancel search: ESPPage 70 of 456
70
Supra Owner's Manual3-1. CONTROLS
When connecting, bear the follow-
ing in mind:
• Do not use force when inserting
the plug into the USB interface.
• Use a flexible adapter cable.
• Protect the USB device from
mechanical damage.
• Due to the large variety of USB
devices available on the market,
operation via the vehicle cannot
be ensured for every device.
• Do not expose the USB devices
to extreme environmental condi-
tions, for example very high tem-
peratures, see the operating
instructions of the device.
• Due to the large variety of differ-
ent compression techniques,
correct playback of the media
stored on the USB device cannot
be guaranteed in every case.
• To ensure correct transfer of the
stored data, do not charge a
USB device from the socket in
the vehicle when the device is
also connected to the USB inter-
face.
• Depending on how the USB
device is being used, it may be
necessary to perform settings on
the USB device, see the operat-
ing instructions of the device.
Unsuitable USB devices:
• USB hard drives.
• USB hubs.
• USB memory card reader with
several inserts.
• HFS-formatted USB devices.
• Devices such as fans or lamps.Compatible device with USB inter-
face.
Connect the USB device to a USB
interface, see page 259, using a
suitable adapter cable.
The USB device is displayed in the
device list, see page 72.
CarPlay makes it possible to oper-
ate certain functions of a compati-
ble Apple iPhone by Siri voice
operation and using Toyota Supra
Command.
• Compatible iPhone.
iPhone 5 or later with iOS 7.1 or later.
• Corresponding mobile radio con-
tract.
• Bluetooth, WLAN and Siri voice
operation are activated on the
iPhone.
• Booking of the Toyota Supra
Connect service: Apple CarPlay
preparation.
Via Toyota Supra Command:Operating requirements
Connecting a device
Apple CarPlay preparation
Principle
Operating requirements
Switching on Bluetooth and Car-
Play
Page 74 of 456
74
Supra Owner's Manual3-1. CONTROLS
This chapter describes all standard,
country-specific and special equip-
ment available for the model series.
It may therefore describe equip-
ment and functions which are not
installed in your vehicle, for exam-
ple on account of the optional
equipment selected or the country
specification. This also applies to
safety-relevant functions and sys-
tems. Please comply with the rele-
vant laws and regulations when
using the corresponding functions
and systems.
The delivery specification includes
two remote controls with integrated
keys.
Each remote control contains a
replaceable battery. Replacing the
battery, see page 77.
The button functions can be
assigned, depending on the equip-
ment and the country specifica-
tions. For settings, see page 89.
A driver profile, see page 86, with
personalised settings can be
assigned to a remote control.
To prevent the remote control from
being locked in, take it with you whenever you leave the vehicle.
Opening and closing
Vehicle equipment
Remote control
General
Safety notes
WARNING
Persons remaining in the vehicle or
pets left inside can lock the doors
from the inside and lock themselves
in. In this case, the vehicle cannot be
opened from the outside. There is a
danger of injury. Carry the remote
control with you so that you can open
the vehicle from the outside.
WARNING
With some country specifications,
unlocking from the inside is only pos-
sible with special knowledge.
There is a risk of injury or danger to
life if persons remain in the vehicle for
extended periods and are exposed to
extreme temperatures as a result. Do
not lock the vehicle from the outside
when there is someone inside it.
WARNING
Unsupervised children or pets in the
vehicle can set the vehicle in motion
and endanger themselves or other
road users, for example by the follow-
ing actions:
• Pressing the start/stop button.
• Release the parking brake.
• Opening and closing doors or win-
dows.
• Engaging selector lever position N.
• Operating vehicle equipment.
There is a risk of accidents or injury.
Do not leave children or pets unsu-
pervised in the vehicle. When leaving
the vehicle, take the remote control
with you and lock the vehicle.
Page 91 of 456
91
3
Supra Owner's Manual3-1. CONTROLS
CONTROLS
The vehicle is automatically locked
again after a short while if no door is
opened after unlocking.
• "Lock after pulling away"
On driving off, the vehicle is locked
automatically.
Via Toyota Supra Command:
1"My Vehicle"
2"Vehicle settings"
3"Doors/Key"
4"Unlock at end of journey"
After the drive-ready state has been
switched off by pressing the start/stop
button, the locked vehicle is automati-
cally unlocked.
Via Toyota Supra Command:
1"My Vehicle"
2"Vehicle settings"
3"Doors/Key"
4"Fold mirrors in when locked"
When locking, the exterior mirrors are
automatically folded in, and when
unlocking they are automatically folded
out.
Via Toyota Supra Command:
1"My Vehicle"
2"Vehicle settings"
3"Doors/Key"4"Switch off after door opening"
Idle state, see page 44, is established
when the front doors are opened.
The alarm system responds to the
following changes when the vehicle
is locked:
• A door, the bonnet or the boot lid
is opened.
• Movements in the interior.
• The vehicle's incline changes, for
instance if an attempt is made to
jack it up and steal the wheels or
to raise it prior to towing away.
• There is an interruption in the
power supply from the battery.
• Improper use of the socket for
on-board diagnosis OBD.
The alarm system indicates the fol-
lowing changes visually and audi-
bly:
• Audible alarm: Depending on
local regulations, the acoustic
alarm may be suppressed.
• Visual alarm: By flashing the
exterior lights.
The alarm system is switched on
and off at the same time as the
vehicle is unlocked and locked via
the remote control or Smart Key
System. Automatic unlocking
Folding the mirrors automati-
cally
Establishing idle state after
opening the front doors
Alarm system
General
Switching on/off
Page 92 of 456
92
Supra Owner's Manual3-1. CONTROLS
The alarm system is triggered on
opening a door if the door has been
unlocked using the integrated key
in the door lock.
Stopping the alarm, see page 93.
The boot lid can be opened even
with the alarm system switched on.
On closing the boot lid, it is locked
again and monitored, as long as the
doors are locked. The hazard warn-
ing lights flash once.
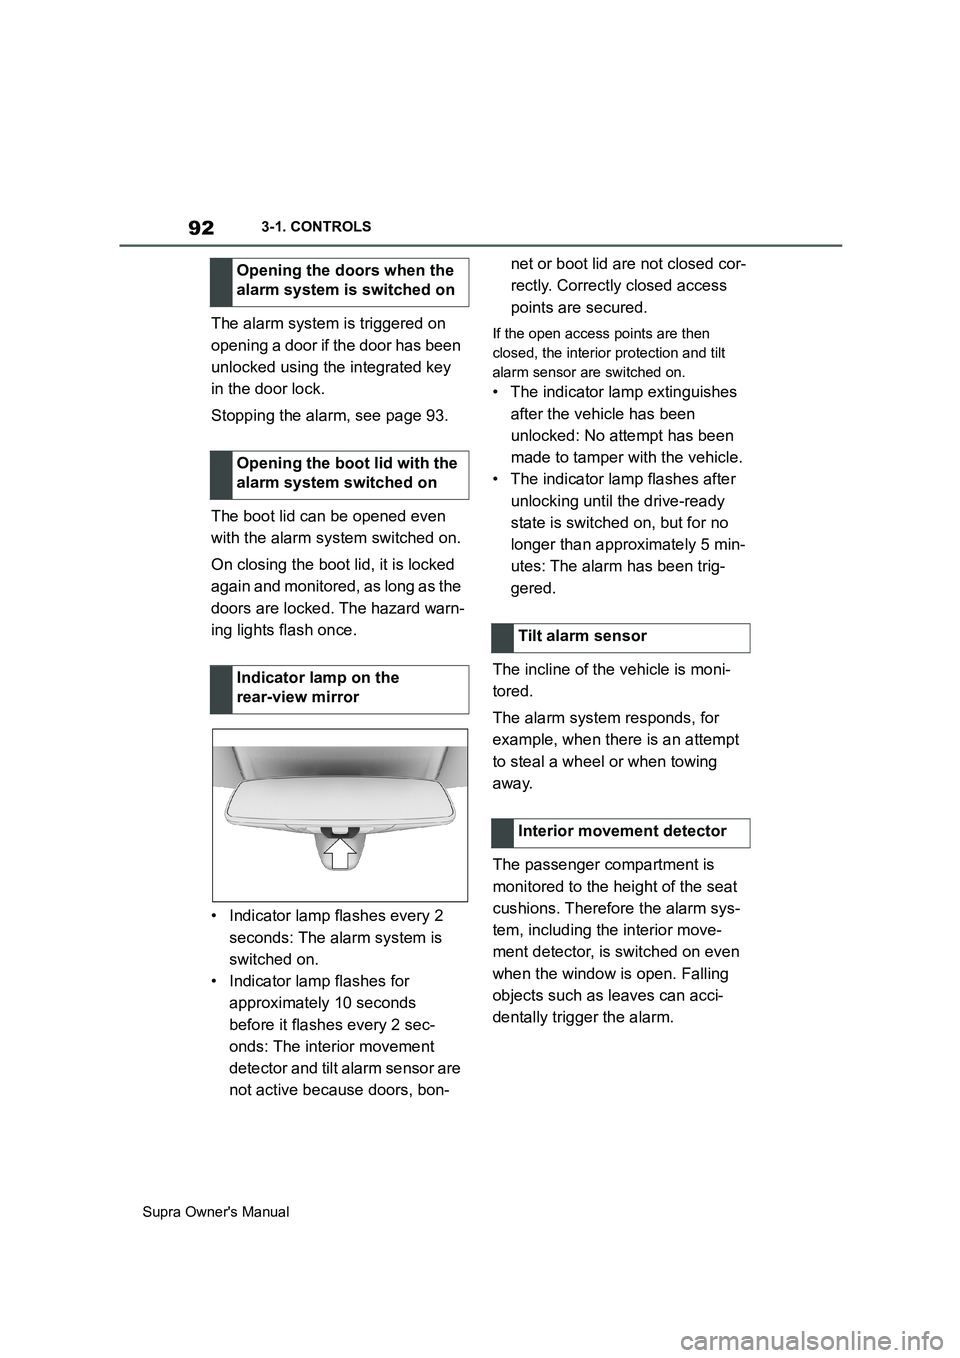
• Indicator lamp flashes every 2
seconds: The alarm system is
switched on.
• Indicator lamp flashes for
approximately 10 seconds
before it flashes every 2 sec-
onds: The interior movement
detector and tilt alarm sensor are
not active because doors, bon-net or boot lid are not closed cor-
rectly. Correctly closed access
points are secured.If the open access points are then
closed, the interior protection and tilt
alarm sensor are switched on.
• The indicator lamp extinguishes
after the vehicle has been
unlocked: No attempt has been
made to tamper with the vehicle.
• The indicator lamp flashes after
unlocking until the drive-ready
state is switched on, but for no
longer than approximately 5 min-
utes: The alarm has been trig-
gered.
The incline of the vehicle is moni-
tored.
The alarm system responds, for
example, when there is an attempt
to steal a wheel or when towing
away.
The passenger compartment is
monitored to the height of the seat
cushions. Therefore the alarm sys-
tem, including the interior move-
ment detector, is switched on even
when the window is open. Falling
objects such as leaves can acci-
dentally trigger the alarm. Opening the doors when the
alarm system is switched on
Opening the boot lid with the
alarm system switched on
Indicator lamp on the
rear-view mirror
Tilt alarm sensor
Interior movement detector
Page 95 of 456
95
3
Supra Owner's Manual3-1. CONTROLS
CONTROLS
This chapter describes all standard,
country-specific and special equip-
ment available for the model series.
It may therefore describe equip-
ment and functions which are not
installed in your vehicle, for exam-
ple on account of the optional
equipment selected or the country
specification. This also applies to
safety-relevant functions and sys-
tems. Please comply with the rele-
vant laws and regulations when
using the corresponding functions
and systems.
A seating position that suitably
reflects the requirements of the
occupants is essential for relaxed
driving with minimum fatigue.
In an accident, the correct seating
position plays an important role.
Comply with the notes in the follow-
ing chapters:
• Seats, see page 95.
• Seat belts, see page 98.
• Head restraints, see page 103.
• Airbags, see page 179.
Seats, mirrors and steer-
ing wheel
Vehicle equipment
Safe seating position
Seats
Safety notes
WARNING
Adjusting the seat during a journey
could cause the seat to move unex-
pectedly. You could lose control of the
vehicle. There is a danger of acci-
dents. Only adjust the seat on the
driver's side when at a standstill.
WARNING
If the backrest is angled back too far,
the protective effect of the seat belt
will no longer be guaranteed. There is
a danger of sliding under the seat belt
in the event of an accident. There is a
danger of injury or even death. Adjust
the seat before starting the journey.
Adjust the backrest to the most
upright position possible, and do not
change it during the journey.
WARNING
There is a risk of entrapment when
the seats are being moved. There is a
danger of injury or damage to prop-
erty. Before making any adjustment,
make sure that the area of movement
of the seat is clear.
Page 104 of 456
104
Supra Owner's Manual3-1. CONTROLS
The head restraints are integrated
into the seatback and cannot be
adjusted.
The distance from the back of the
head is set via the backrest angle.
Adjust the distance so that the head
restraint is as close as possible to
the back of the head.
The head restraints cannot be
removed.
The mirror setting is saved for the
currently used driver profile, see
page 90. If a driver profile is
selected, the saved position is
called up automatically.
The current exterior mirror position can be saved with the memory
function, see page 106.
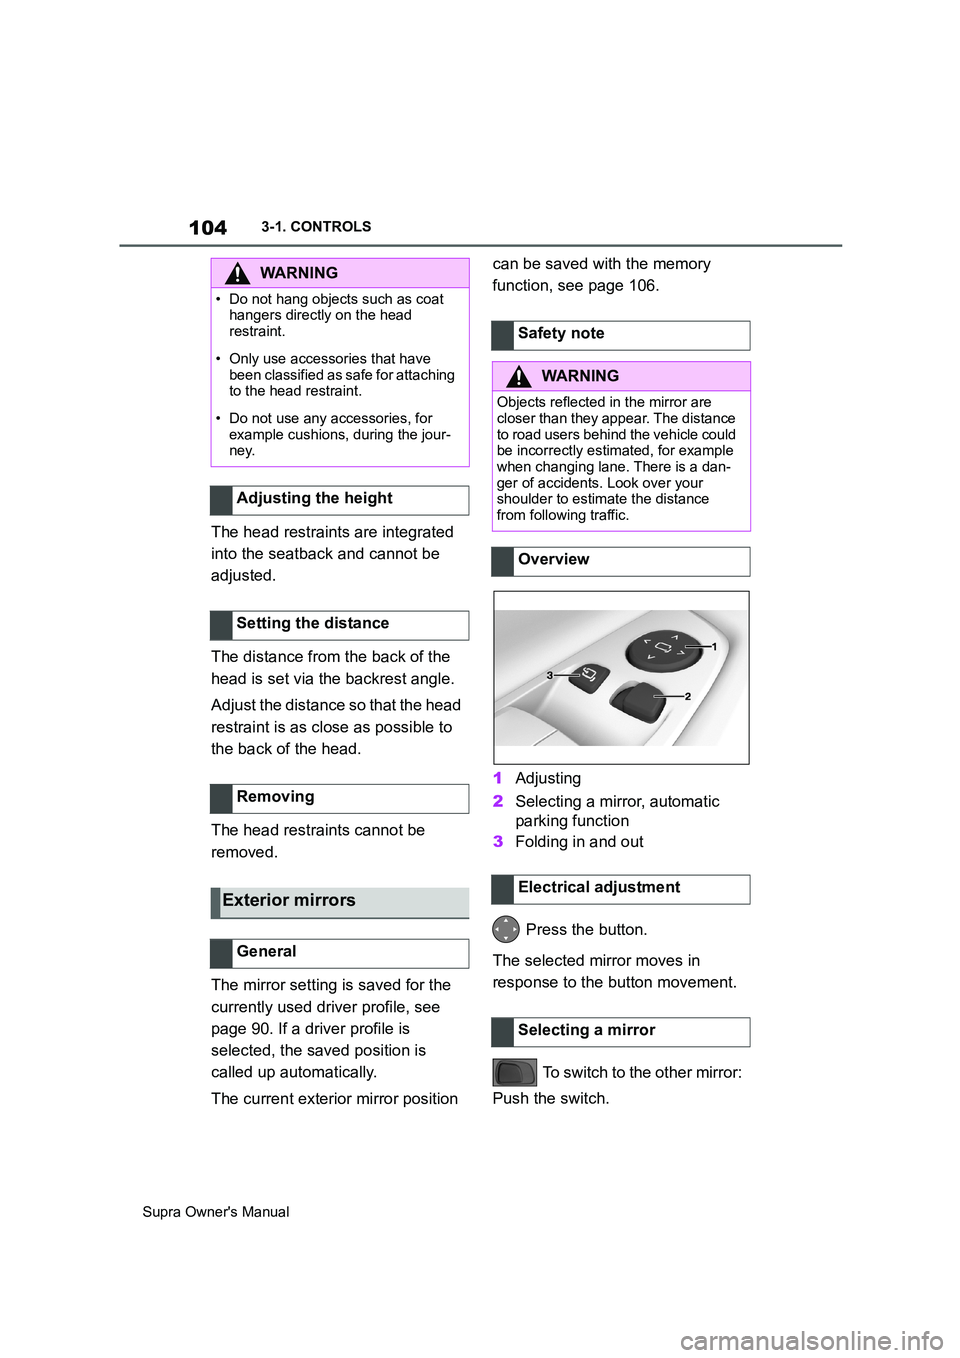
1Adjusting
2Selecting a mirror, automatic
parking function
3Folding in and out
Press the button.
The selected mirror moves in
response to the button movement.
To switch to the other mirror:
Push the switch.
WARNING
• Do not hang objects such as coat
hangers directly on the head
restraint.
• Only use accessories that have
been classified as safe for attaching
to the head restraint.
• Do not use any accessories, for
example cushions, during the jour-
ney.
Adjusting the height
Setting the distance
Removing
Exterior mirrors
General
Safety note
WARNING
Objects reflected in the mirror are
closer than they appear. The distance
to road users behind the vehicle could
be incorrectly estimated, for example
when changing lane. There is a dan-
ger of accidents. Look over your
shoulder to estimate the distance
from following traffic.
Overview
Electrical adjustment
Selecting a mirror
Page 108 of 456
108
Supra Owner's Manual3-1. CONTROLS
The maximum temperature is
selected if the three LEDs are illu-
minated.
Press and hold the
button until the LEDs no longer illu-
minates.This chapter describes all standard,
country-specific and special equip-
ment available for the model series.
It may therefore describe equip-
ment and functions which are not
installed in your vehicle, for exam-
ple on account of the optional
equipment selected or the country
specification. This also applies to
safety-relevant functions and sys-
tems. Please comply with the rele-
vant laws and regulations when
using the corresponding functions
and systems. Switching offCarrying children safely
Vehicle equipment
When children are in the
vehicle
WARNING
Make sure that any children in the
vehicle wear a seat belt.
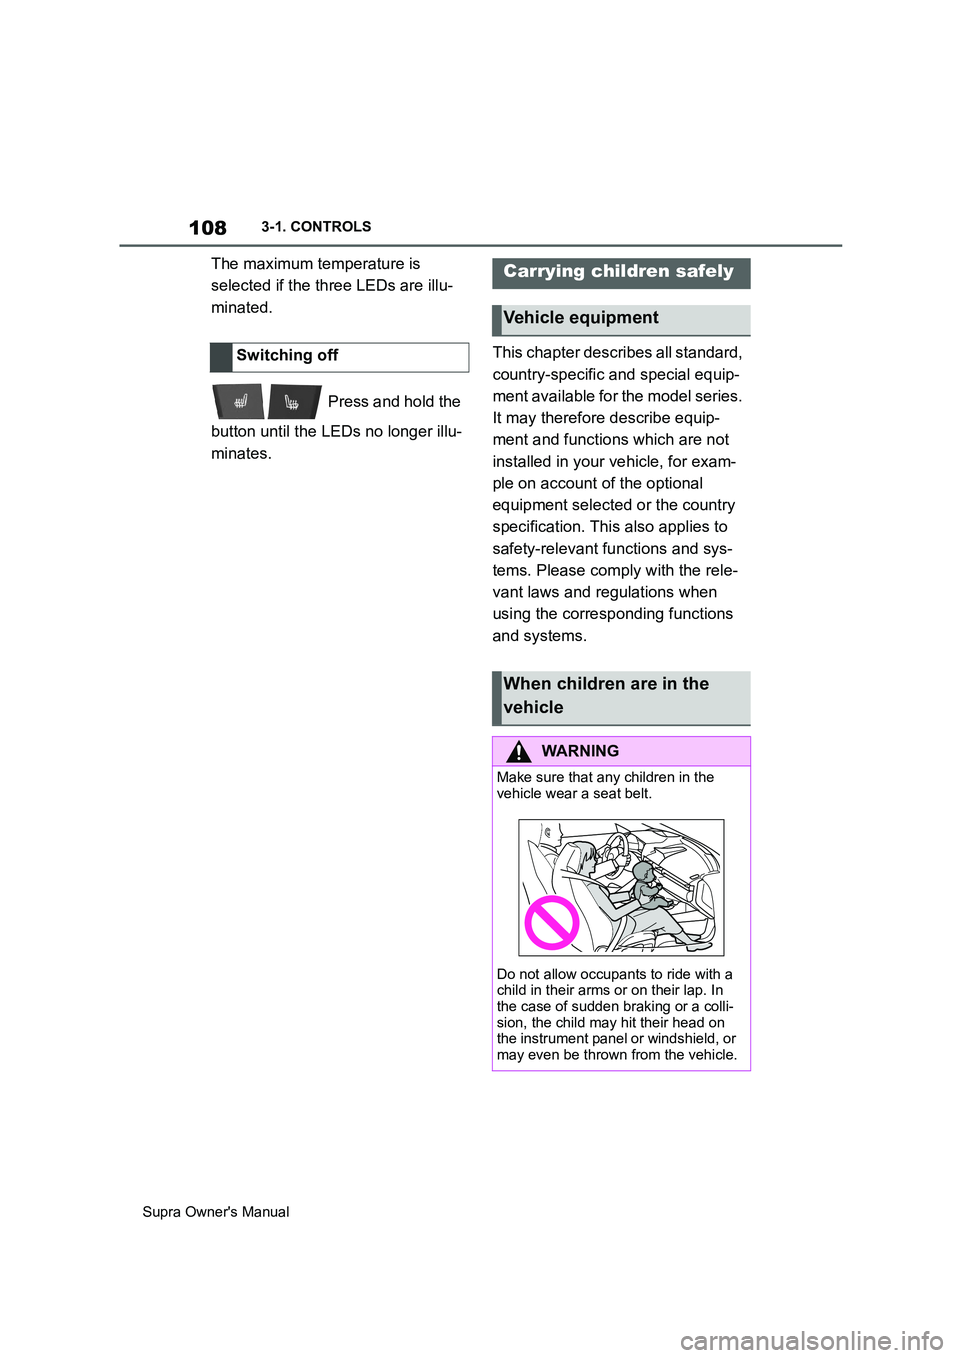
Do not allow occupants to ride with a
child in their arms or on their lap. In
the case of sudden braking or a colli-
sion, the child may hit their head on
the instrument panel or windshield, or
may even be thrown from the vehicle.
Page 112 of 456

112
Supra Owner's Manual3-1. CONTROLS
Follow the information on the front
passenger sun visor.
NEVER use a rearward facing child
restraint on a seat protected by an
ACTIVE AIRBAG in front of it,
DEATH or SERIOUS INJURY to
the CHILD can occur.
Except for ASEAN countries, South
Africa, Australia and New Zealand
without ISOFIX lower anchorage
and airbag manual on-off switch:
Before installing a universal child
restraint system, move the front
passenger seat as far back as it will
go and adjust it to the upper most
position. This seat position and
height achieves the best possible routing of the belt and protection in
the event of an accident.
If the upper attachment point of the
seat belt is located ahead of the
child seat's belt guide, carefully
move the front passenger seat for-
wards until the best possible belt
guidance is achieved.
With adjustable backrest width:
before fitting a child restraint sys-
tem on the front passenger seat,
fully open the backrest width. Do
not change the backrest width from
this point on and do not call up a
memory position.
Note for Australia: ISOFIX child
seats are not permitted for road use
in Australia at the time of printing.
However, also since a change of
the respective regulations is also
expected in the future, lower
ISOFIX anchorages are supplied in
line with applicable ADRs also for
Australia.
Please comply with the operating
and safety instructions provided by
the child restraint system manufac-
turer when selecting, attaching and
using ISOFIX child restraint sys-
tems. Rearward-facing child restraints
WARNING
Active front passenger airbags can
fatally injure a child in a rearward-fac-
ing child restraint system if they are
triggered. There is a danger of injury
or even death. Make sure that the
front passenger airbags are deacti-
vated and the PASSENGER AIRBAG
OFF indicator lamp is illuminated.
Seat position and height
Backrest width
ISOFIX child seat mountings
General