2019 TOYOTA PROACE CITY VERSO key
[x] Cancel search: keyPage 226 of 272
226
A marker is displayed in the middle of the screen, with the "Latitude" and "Longitude" coordinates.Choose the type of coordinates:DMS for: Degrees, Minutes, Seconds.DD for: Degrees, Decimals.Press this button to start guided navigation.OrPress this button to save the displayed address.ORPress this button to enter the "Latitude" value using the virtual keypad.AndPress this button to enter the "Longitude" value using the virtual keypad.
TMC (Traffic Message
Channel)
Available in some countries.TMC (Traffic Message Channel) messages
are based on a European standard for traffic information broadcasting via the RDS system on FM radio, sending traffic information in real time. The TMC information is then displayed on a GPS Navigation system map and taken into account straight away when routes are calculated, to avoid accidents, traffic jams and closed roads.
NOTIC E
Danger zone alerts may or may not be displayed, depending on the applicable legislation and subscription to the corresponding service.
Connected navigation
Connected navigation
connection
Depending on version, vehicle trim level and subscription to online services and options.
Network connection provided by the
user
NOTIC E
For the list of suitable smartphones, visit the Brand's national website.
Activate and enter settings for sharing the smartphone connection.
NOTIC E
As processes and standards are constantly changing, we recommend you update the
smartphone operating system as well as the date and time on the smartphone and system, to ensure that the communication process between the smartphone and the system functions correctly.
USB connectionConnect the USB cable.The smartphone charges when connected by the USB cable.Bluetooth connectionActivate the Bluetooth function on the telephone and ensure that it is visible to all (see the "Connect-App" section).Wi-Fi connectionSelect a Wi-Fi network detected by the system and connect to it.
NOTIC E
This function is only available if it has been activated either via the "Notifications" or via the "Applications" menu.
Press "Notifications".
Select Wi-Fi to activate it.
ORPress Connect-App to display the main page.Press the "OPTIONS" button to access the secondary page.
Page 227 of 272
227
TOYOTA Connect Nav
12
Select "Wi-Fi network connection".
Select the "Secured", "Not secured" or "Stored” tab.Select a network.
Using the virtual keypad, enter the Wi-Fi network "Key” and "Password".Press "OK" to establish a connection between the smartphone and the vehicle’s system.
NOTIC E
Usage restrictions:– With CarPlay®, connection sharing is only available with a Wi-Fi connection.– With MirrorLinkTM, connection sharing is only available with a USB connection.The quality of services depends on the quality of the network connection.
Authorize sending
information
Press Settings to display the main page.
Press the "OPTIONS" button to access the secondary page.Select "System configuration".
Select the "Private mode” tab.
ORPress "Notifications".
Press "Private mode".
THENActivate or deactivate:
– "No sharing (data, vehicle position)".– “Only data sharing"– "Sharing data and vehicle position"
Settings specific to
connected navigation
Press Navigation to display the main page.Press the "MENU" button to access the secondary page.Select "Settings".
Select the "Map” tab.
Activate or deactivate:– "Allow declaration of danger zones".– "Guidance to final destination on foot".These settings must be configured for each profile.Press “OK” to confirm your selection.
Select the "Alerts” tab.
Activate or deactivate:
– "Advise of car park nearby".– "Filling station alert".– “Risk areas alert" then press the warning icon (triangle) to configure alerts.– "Give an audible warning".– "Advise proximity of POI 1".– "Advise proximity of POI 2".Press “OK” to confirm your selection.
NOTIC E
The "Notifications", in the upper bar, can be accessed at any time.
NOTIC E
Danger zone alerts may or may not be displayed, depending on the applicable legislation and subscription to the corresponding service.
When "TOMTOM TRAFFIC” appears, the services are available.
NOTIC E
The services offered with connected navigation are as follows.A Connected Services pack:– Weather,
Page 228 of 272
228
– Filling stations,– Car park,– Traffic,– POI local search.A Danger area pack (optional).
Declaration: "Risk areas
alert"
WARNI NG
To send information about danger zones, select the option:Allow declaration of danger zones
Press Navigation to display the main page.Press the "Declare a new danger zone" button located in the side bars or the upper bar of the touch screen (depending on equipment).Select the "Type” option to select the type of "Danger area".Select the ""Speed" option and enter it using the virtual keypad.Press "OK" to save and send the information.
Displaying fuel information
Press Navigation to display the main page.
Press this button to display the list of services.Press "POI on map" to display the list of points of interest.Press one of the buttons to search for "Stations".Activate/deactivate "Stations".
Press this button to display a secondary page.Select the "Settings” tab.
Select the desired fuel.
Press "OK" to save.
Displaying charging station
details
Press Navigation to display the main page.Press this button to display the list of
services.Press "POI on map" to display the list of points of interest.Press one of the buttons to search for "Stations".Activate/deactivate "Stations".
Press this button to display a secondary page.
Select the "Settings” tab.
Select the desired connector type.
Press "OK" to save.
Displaying weather
information
Press Navigation to display the main page.Press this button to display the list of services.Select "View map".
Select "Weather".
Press this button to display basic information.Press this button to display detailed weather information.
NOTIC E
The temperature displayed at 6 a.m. will be the maximum temperature for the day.The temperature displayed at 6 p.m. will be the minimum temperature for the night.
Page 231 of 272
231
TOYOTA Connect Nav
12
NOTIC E
The Bluetooth function must be activated and the smartphone configured as "Visible to all".
To complete the pairing, whichever procedure is used (from the smartphone or from the system), ensure that the code is the same in the system and in the smartphone.
NOTIC E
If the pairing procedure fails, we recommend deactivating and then reactivating the Bluetooth function on the smartphone.
Procedure from the smartphone
Select the name of the system in the list of detected devices.In the system, accept the connection request from the smartphone.
Procedure from the system
Press Connect-App to display the main page.Press the "OPTIONS" button to access the secondary page.Press "Bluetooth connection".
Select "Search".The list of detected smartphones is displayed.
Select the name of the chosen smartphone in the list.
NOTIC E
Depending on the type of smartphone, you may by prompted to accept the transfer of contacts and messages.
Connection sharing
The system offers to connect the smartphone with 3 profiles:– "Telephone" (hands-free kit, telephone only),– “Streaming" (streaming: wireless playing of audio files on the smartphone),– "Mobile internet data".
NOTIC E
The "Mobile internet data" profile must be activated for connected navigation (if the vehicle does not have "Emergency and assistance call" services), after first activating smartphone connection sharing.
Select one or more profiles.
Press "OK" to confirm.
Wi-Fi connection
Network connection via the smartphone's Wi-Fi.
Press Connect-App to display the main page.Press the "OPTIONS" button to access the secondary page.Select "Wi-Fi network connection".
Select the "Secured", "Not secured" or "Stored” tab.Select a network.
Using the virtual keypad , enter the Wi-Fi network "Key" and "Password".Press "OK" to establish the connection.
NOTIC E
The Wi-Fi connection and Wi-Fi connection sharing are exclusive.
Wi-Fi connection sharing
Creation of a local Wi-Fi network by the system.Press Connect-App to display the main page.Press the "OPTIONS" button to access the secondary page.Select "Share Wi-Fi connection".
Select the "Activation" tab to activate or deactivate Wi-Fi connection sharing.And/or
Page 232 of 272
232
Select the "Settings" tab to change the system’s network name and password.Press "OK" to confirm.
NOTIC E
To protect against unauthorised access and to make all systems as secure as possible, the use of a security code or a complex password
is recommended.
Managing connections
Press Connect-App to display the main page.Press the "OPTIONS" button to access the secondary page.Select "Manage connection".
With this function, you can view the access to connected services, the availability of connected services and modify the connection mode.
Radio
Selecting a station
Press Radio Media to display the main page.Press "Frequency".Press one of the buttons to perform an automatic search for radio stations.
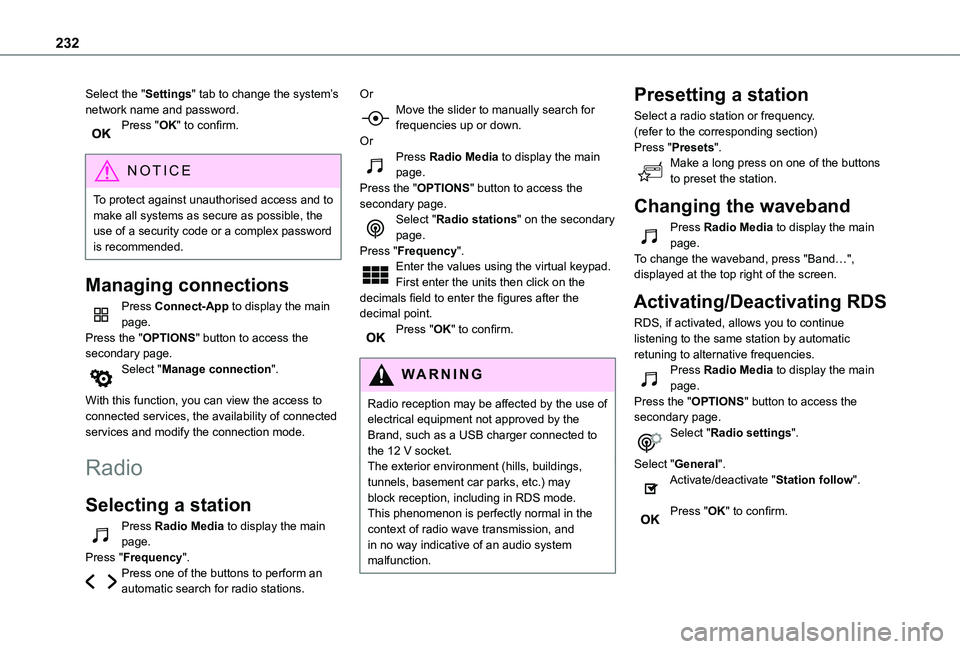
OrMove the slider to manually search for frequencies up or down.OrPress Radio Media to display the main page.Press the "OPTIONS" button to access the secondary page.Select "Radio stations" on the secondary page.Press "Frequency".Enter the values using the virtual keypad.First enter the units then click on the decimals field to enter the figures after the decimal point.Press "OK" to confirm.
WARNI NG
Radio reception may be affected by the use of electrical equipment not approved by the Brand, such as a USB charger connected to the 12 V socket.The exterior environment (hills, buildings, tunnels, basement car parks, etc.) may block reception, including in RDS mode. This phenomenon is perfectly normal in the context of radio wave transmission, and in no way indicative of an audio system malfunction.
Presetting a station
Select a radio station or frequency.(refer to the corresponding section)Press "Presets".Make a long press on one of the buttons to preset the station.
Changing the waveband
Press Radio Media to display the main page.To change the waveband, press "Band…", displayed at the top right of the screen.
Activating/Deactivating RDS
RDS, if activated, allows you to continue listening to the same station by automatic retuning to alternative frequencies.Press Radio Media to display the main page.Press the "OPTIONS" button to access the secondary page.Select "Radio settings".
Select "General".Activate/deactivate "Station follow".
Press "OK" to confirm.
Page 236 of 272
236
Select one or more profiles.
Press "OK" to confirm.
Depending on the type of telephone, you may by prompted to accept the transfer of contacts and messages.
NOTIC E
The ability of the system to connect just one profile depends on the telephone.All three profiles may connect by default.
NOTIC E
The profiles compatible with the system are: HFP, OPP, PBAP, A2DP, AVRCP, MAP and PAN.
Visit the Brand's website for more information (compatibility, additional help, etc.).
Automatic reconnection
On returning to the vehicle, if the last telephone connected is present again, it is automatically recognised and within about 30 seconds after switching on the ignition, the pairing is established automatically (Bluetooth activated).
To modify the connection profile:Press Telephone to display the main page.
Press the "OPTIONS" button to access the secondary page.Select "Bluetooth connection" to display the list of paired devices.Press the "Details" button.
Select one or more profiles.
Press "OK" to confirm.
Managing paired telephones
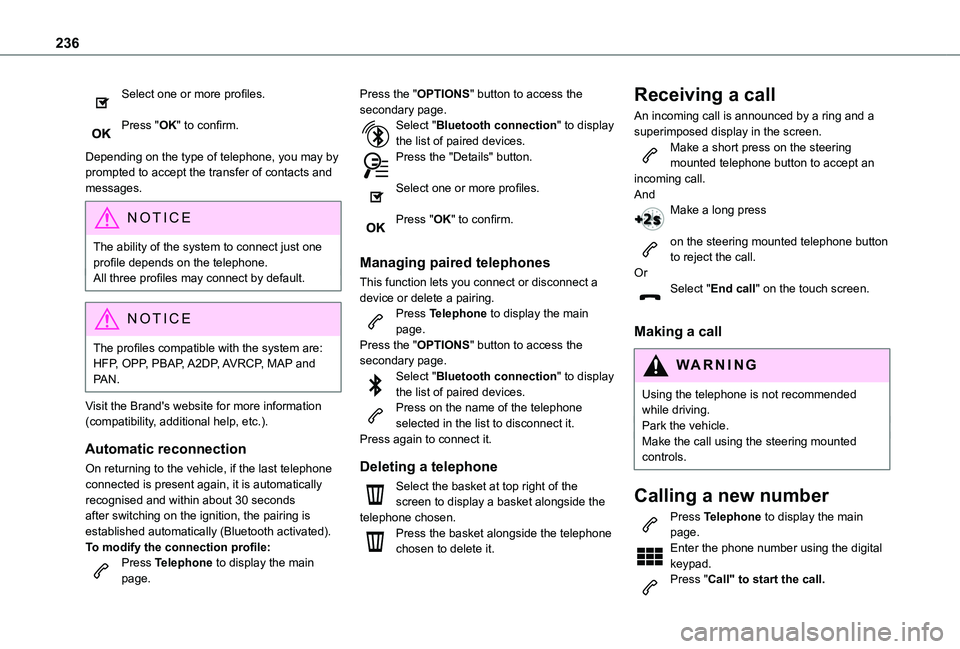
This function lets you connect or disconnect a device or delete a pairing.Press Telephone to display the main page.Press the "OPTIONS" button to access the secondary page.Select "Bluetooth connection" to display the list of paired devices.Press on the name of the telephone selected in the list to disconnect it.Press again to connect it.
Deleting a telephone
Select the basket at top right of the screen to display a basket alongside the telephone chosen.Press the basket alongside the telephone chosen to delete it.
Receiving a call
An incoming call is announced by a ring and a superimposed display in the screen.Make a short press on the steering mounted telephone button to accept an incoming call.AndMake a long press
on the steering mounted telephone button to reject the call.OrSelect "End call" on the touch screen.
Making a call
WARNI NG
Using the telephone is not recommended while driving.Park the vehicle.Make the call using the steering mounted controls.
Calling a new number
Press Telephone to display the main page. Enter the phone number using the digital keypad.Press "Call" to start the call.
Page 238 of 272
238
Select the message chosen in one of the lists.Press "Transfer" to select one or more recipients.Press " Play" to start playing the message.
Managing email
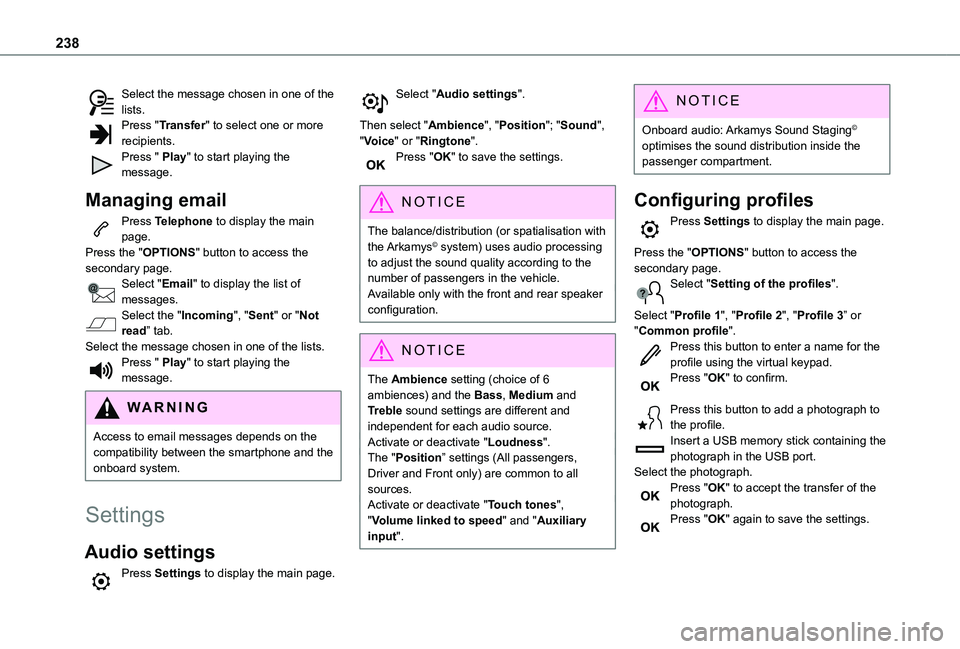
Press Telephone to display the main page.Press the "OPTIONS" button to access the secondary page.Select "Email" to display the list of messages.Select the "Incoming", "Sent" or "Not read” tab.Select the message chosen in one of the lists.Press " Play" to start playing the message.
WARNI NG
Access to email messages depends on the compatibility between the smartphone and the onboard system.
Settings
Audio settings
Press Settings to display the main page.
Select "Audio settings".
Then select "Ambience", "Position"; "Sound", "Voice" or "Ringtone".Press "OK" to save the settings.
NOTIC E
The balance/distribution (or spatialisation with
the Arkamys© system) uses audio processing
to adjust the sound quality according to the number of passengers in the vehicle.Available only with the front and rear speaker configuration.
NOTIC E
The Ambience setting (choice of 6 ambiences) and the Bass, Medium and Treble sound settings are different and independent for each audio source.Activate or deactivate "Loudness".The "Position” settings (All passengers, Driver and Front only) are common to all sources.Activate or deactivate "Touch tones", "Volume linked to speed" and "Auxiliary input".
NOTIC E
Onboard audio: Arkamys Sound Staging© optimises the sound distribution inside the passenger compartment.
Configuring profiles
Press Settings to display the main page.
Press the "OPTIONS" button to access the secondary page.Select "Setting of the profiles".
Select "Profile 1", "Profile 2", "Profile 3” or "Common profile".Press this button to enter a name for the profile using the virtual keypad.Press "OK" to confirm.
Press this button to add a photograph to the profile.Insert a USB memory stick containing the
photograph in the USB port.Select the photograph.Press "OK" to accept the transfer of the photograph.Press "OK" again to save the settings.
Page 239 of 272
239
TOYOTA Connect Nav
12
NOTIC E
The location for the photograph is square; the system reshapes the original photograph if in another format.
Press this button to reset the selected profile.
WARNI NG
Resetting the selected profile activates the English language by default.
Select a "Profile" (1 or 2 or 3) to link "Audio settings" with it.Select "Audio settings".
Then select "Ambience", "Position"; "Sound", "Voice" or "Ringtone".Press "OK" to save the selected profile’s settings.
Modifying system settings
Press Settings to display the main page.
Press the "OPTIONS" button to access the secondary page.Select "Screen configuration".
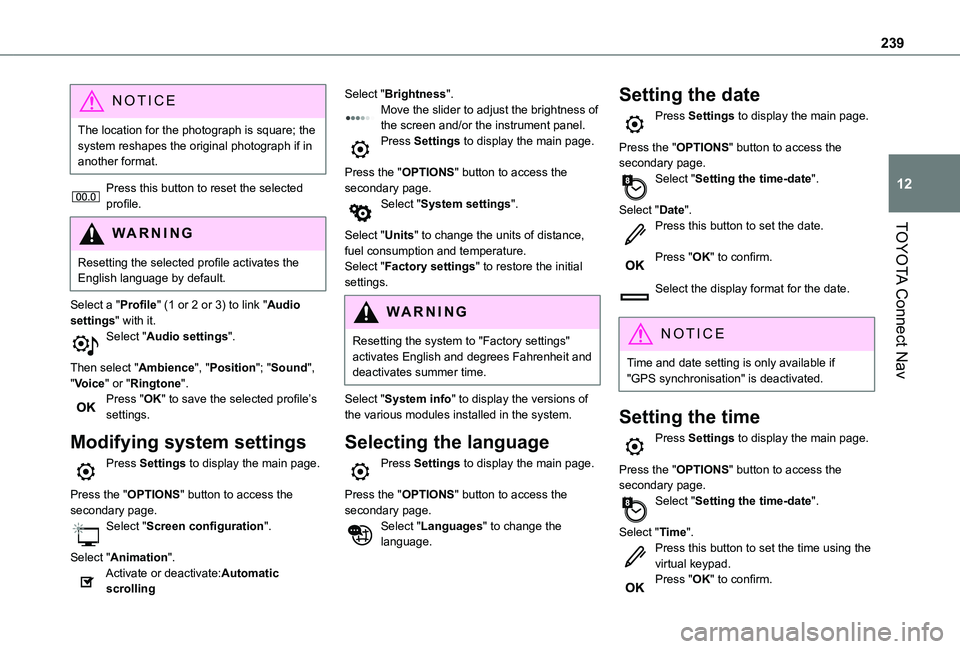
Select "Animation".Activate or deactivate:Automatic scrolling
Select "Brightness".Move the slider to adjust the brightness of the screen and/or the instrument panel.Press Settings to display the main page.
Press the "OPTIONS" button to access the secondary page.Select "System settings".
Select "Units" to change the units of distance, fuel consumption and temperature.Select "Factory settings" to restore the initial settings.
WARNI NG
Resetting the system to "Factory settings" activates English and degrees Fahrenheit and deactivates summer time.
Select "System info" to display the versions of the various modules installed in the system.
Selecting the language
Press Settings to display the main page.
Press the "OPTIONS" button to access the secondary page.Select "Languages" to change the language.
Setting the date
Press Settings to display the main page.
Press the "OPTIONS" button to access the secondary page.Select "Setting the time-date".
Select "Date".Press this button to set the date.
Press "OK" to confirm.
Select the display format for the date.
NOTIC E
Time and date setting is only available if "GPS synchronisation" is deactivated.
Setting the time
Press Settings to display the main page.
Press the "OPTIONS" button to access the secondary page.Select "Setting the time-date".
Select "Time".Press this button to set the time using the virtual keypad.Press "OK" to confirm.