Page 214 of 272

214
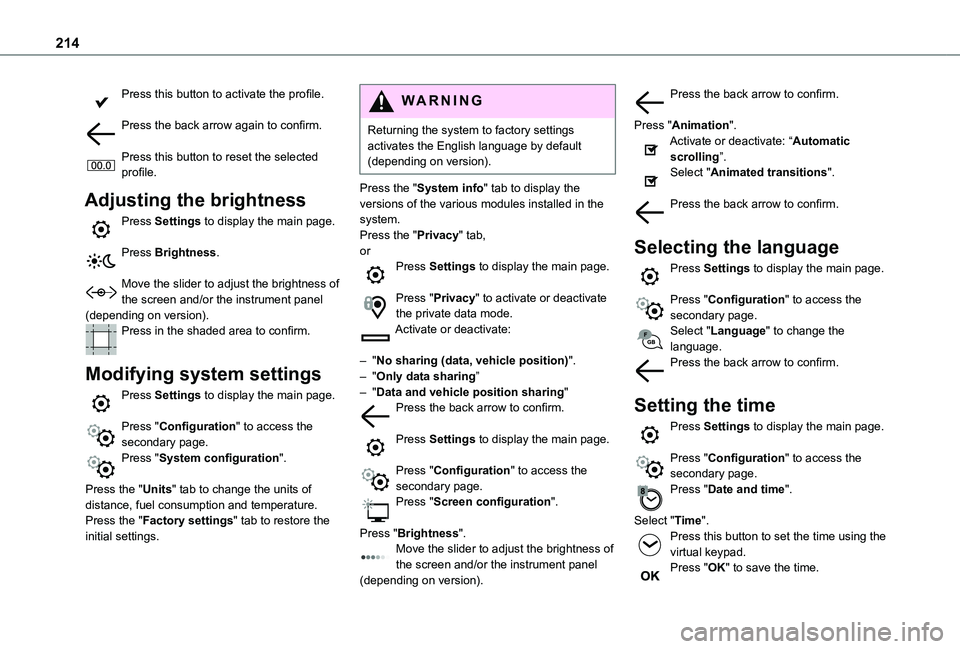
Press this button to activate the profile.
Press the back arrow again to confirm.
Press this button to reset the selected profile.
Adjusting the brightness
Press Settings to display the main page.
Press Brightness.
Move the slider to adjust the brightness of the screen and/or the instrument panel (depending on version).Press in the shaded area to confirm.
Modifying system settings
Press Settings to display the main page.
Press "Configuration" to access the secondary page.
Press "System configuration".
Press the "Units" tab to change the units of distance, fuel consumption and temperature.Press the "Factory settings" tab to restore the initial settings.
WARNI NG
Returning the system to factory settings activates the English language by default (depending on version).
Press the "System info" tab to display the versions of the various modules installed in the system.Press the "Privacy" tab,orPress Settings to display the main page.
Press "Privacy" to activate or deactivate the private data mode.Activate or deactivate:
– "No sharing (data, vehicle position)".– "Only data sharing”– "Data and vehicle position sharing"Press the back arrow to confirm.
Press Settings to display the main page.
Press "Configuration" to access the secondary page.Press "Screen configuration".
Press "Brightness".Move the slider to adjust the brightness of the screen and/or the instrument panel (depending on version).
Press the back arrow to confirm.
Press "Animation".Activate or deactivate: “Automatic scrolling”.Select "Animated transitions".
Press the back arrow to confirm.
Selecting the language
Press Settings to display the main page.
Press "Configuration" to access the secondary page.Select "Language" to change the language.Press the back arrow to confirm.
Setting the time
Press Settings to display the main page.
Press "Configuration" to access the secondary page.Press "Date and time".
Select "Time".Press this button to set the time using the virtual keypad.Press "OK" to save the time.
Page 224 of 272

224
Navigation
Choice of a destination
To a new destination
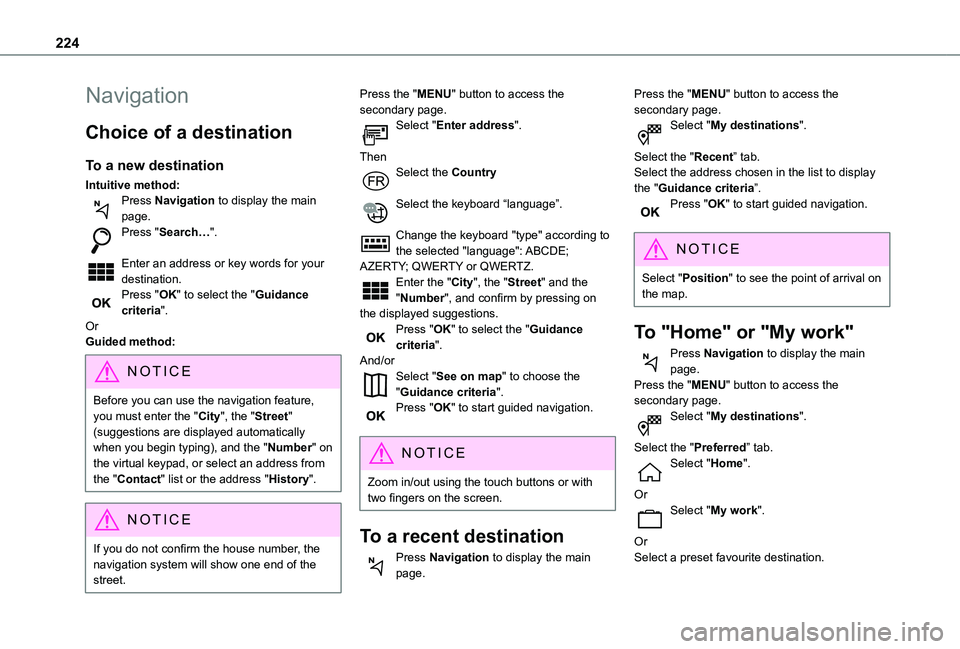
Intuitive method:Press Navigation to display the main page.Press "Search…".
Enter an address or key words for your destination.Press "OK" to select the "Guidance criteria".OrGuided method:
NOTIC E
Before you can use the navigation feature, you must enter the "City", the "Street" (suggestions are displayed automatically when you begin typing), and the "Number" on the virtual keypad, or select an address from the "Contact" list or the address "History".
NOTIC E
If you do not confirm the house number, the navigation system will show one end of the street.
Press the "MENU" button to access the secondary page.Select "Enter address".
ThenSelect the Country
Select the keyboard “language”.
Change the keyboard "type" according to the selected "language": ABCDE; AZERTY; QWERTY or QWERTZ.Enter the "City", the "Street" and the "Number", and confirm by pressing on the displayed suggestions.Press "OK" to select the "Guidance criteria".And/orSelect "See on map" to choose the "Guidance criteria".Press "OK" to start guided navigation.
NOTIC E
Zoom in/out using the touch buttons or with two fingers on the screen.
To a recent destination
Press Navigation to display the main page.
Press the "MENU" button to access the secondary page.Select "My destinations".
Select the "Recent” tab.Select the address chosen in the list to display the "Guidance criteria”.Press "OK" to start guided navigation.
NOTIC E
Select "Position" to see the point of arrival on the map.
To "Home" or "My work"
Press Navigation to display the main page.Press the "MENU" button to access the secondary page.Select "My destinations".
Select the "Preferred” tab.Select "Home".
OrSelect "My work".
OrSelect a preset favourite destination.
Page 239 of 272

239
TOYOTA Connect Nav
12
NOTIC E
The location for the photograph is square; the system reshapes the original photograph if in another format.
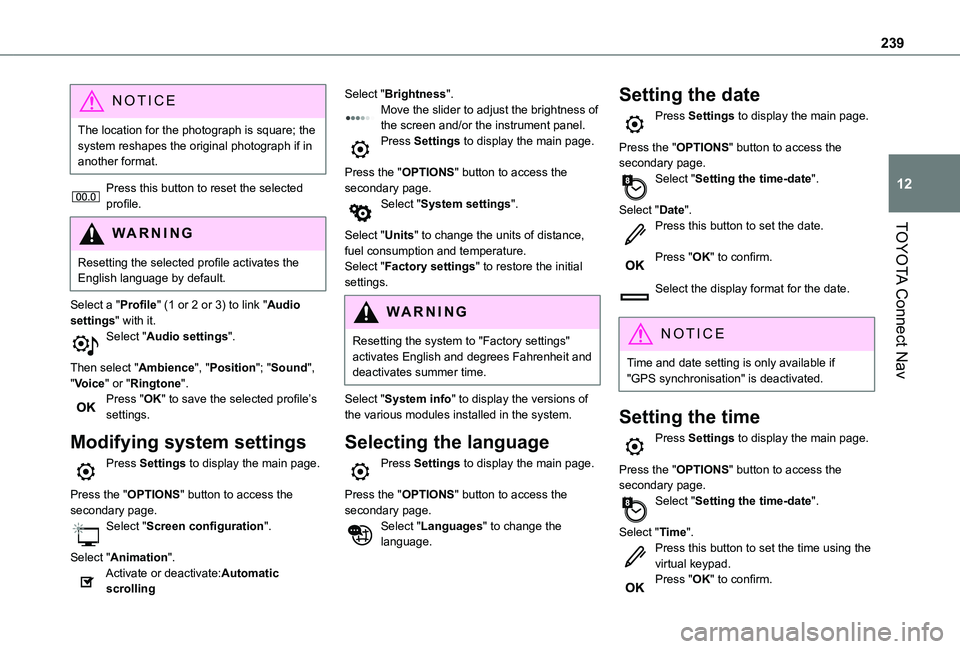
Press this button to reset the selected profile.
WARNI NG
Resetting the selected profile activates the English language by default.
Select a "Profile" (1 or 2 or 3) to link "Audio settings" with it.Select "Audio settings".
Then select "Ambience", "Position"; "Sound", "Voice" or "Ringtone".Press "OK" to save the selected profile’s settings.
Modifying system settings
Press Settings to display the main page.
Press the "OPTIONS" button to access the secondary page.Select "Screen configuration".
Select "Animation".Activate or deactivate:Automatic scrolling
Select "Brightness".Move the slider to adjust the brightness of the screen and/or the instrument panel.Press Settings to display the main page.
Press the "OPTIONS" button to access the secondary page.Select "System settings".
Select "Units" to change the units of distance, fuel consumption and temperature.Select "Factory settings" to restore the initial settings.
WARNI NG
Resetting the system to "Factory settings" activates English and degrees Fahrenheit and deactivates summer time.
Select "System info" to display the versions of the various modules installed in the system.
Selecting the language
Press Settings to display the main page.
Press the "OPTIONS" button to access the secondary page.Select "Languages" to change the language.
Setting the date
Press Settings to display the main page.
Press the "OPTIONS" button to access the secondary page.Select "Setting the time-date".
Select "Date".Press this button to set the date.
Press "OK" to confirm.
Select the display format for the date.
NOTIC E
Time and date setting is only available if "GPS synchronisation" is deactivated.
Setting the time
Press Settings to display the main page.
Press the "OPTIONS" button to access the secondary page.Select "Setting the time-date".
Select "Time".Press this button to set the time using the virtual keypad.Press "OK" to confirm.