2019 TOYOTA PROACE CITY VERSO fuel type
[x] Cancel search: fuel typePage 73 of 272
73
Safety
5
The indicator lamp flashes when the vehicle data is sent, and then remains lit when communication is established.
WARNI NG
If an impact is detected by the airbag control unit, an emergency call is made automatically, independently of the deployment of any airbags.
NOTIC E
‘Localised Emergency Call’ is a service that can be accessed free of charge.
System operation
– Upon switching on the ignition, if the indicator lamp lights up red, then green, and then goes out: the system is operating correctly.– If the indicator lamp is fixed red: system malfunction– If the indicator lamp flashes red: replace the emergency battery. In the latter two cases, emergency and assistance call services may not work.Contact a dealer or a qualified repairer as soon as possible.
NOTIC E
The system fault does not prevent the vehicle from being driven.
NOTIC E
Data processingAll processing of personal information by the "Localised Emergency Call" system (PE112) complies with the framework for protection of personal information established by Regulation 2016/679 (GDPR) and Directive 2002/58/EC of the European Parliament and the Council, and in particular, seeks to protect the vital interests of the data subject, in accordance with Article 6.1, paragraph d) of Regulation 2016/679.Personal information processing is strictly limited to the management of the "Localised Emergency Call" system used with the “112” European single emergency call number.
The "Localised Emergency Call" system is able to collect and process only the following data relating to the vehicle: chassis number, type (passenger vehicle or light commercial vehicle), fuel type or power source, most recent three locations and direction of travel,
and a timestamped log file recording the automatic activation of the system.The recipients of the processed data are the emergency call handling centres designated by the relevant national authorities in the territory in which they are located, enabling priority reception and handling of calls to the “112” emergency number.
NOTIC E
Data storageData contained in the system’s memory is not accessible from outside the system until a call is made. The system is not traceable and is not continuously monitored in its normal operating mode. The data in the system's internal memory is automatically and continuously erased. Only the vehicle’s three most recent locations are stored.When an emergency call is triggered, the data log is stored for no more than 13 hours.
NOTIC E
Access to dataYou have the right to access the data and, if
necessary, submit a request to rectify, erase or restrict the processing of any personal information not processed in accordance with the provisions of Regulation 2016/679
Page 146 of 272
146
Compatibility of fuels
Petrol fuels conforming to the EN228 standard containing up to 5% and 10% ethanol respectively.
Diesel fuels conforming to the EN590, EN16734 and EN16709 standards and containing up to 7%, 10%, 20% and 30% fatty acid methyl ester respectively. The use of B20 or B30 fuels, even occasionally, imposes special maintenance conditions referred to as "Arduous conditions".
Paraffinic Diesel fuel conforming to the EN15940 standard.
WARNI NG
The use of any other type of (bio) fuel (vegetable or animal oils, pure or diluted, domestic fuel, etc.) is strictly prohibited (risk of damage to the engine and fuel system).
NOTIC E
The only fuel additives authorised for use are those that meet the B715001 (petrol) or B715000 (Diesel) standards.
Diesel at low temperature
At temperatures below 0 °C (+32 °F), the formation of paraffins in summer-type Diesel fuels could prevent the engine from operating correctly. In these temperature conditions, use winter-type Diesel fuel and keep the fuel tank more than 50 % full.At temperatures below -15 °C (+5 °F) to avoid problems starting, it is best to park the vehicle under shelter (heated garage).
Travelling abroad
Certain fuels could damage your vehicle’s engine.In certain countries, the use of a particular fuel may be required (specific octane rating, specific trade name, etc.) to ensure correct operation of the engine.For all additional information, consult a dealer.
Refuelling
Fuel tank capacity: approximately 61 litres (petrol) or 50 litres (Diesel).Reserve level: approximately 6 litres.
Low fuel level
/2
1 1When the low fuel level is reached, this warning lamp comes on on the instrument panel, accompanied by an onscreen message and an audible signal. When it first
comes on, about 6 litres of fuel remain in the tank.Until sufficient fuel is added, this warning lamp appears every time the ignition is switched on, accompanied by an onscreen message and an audible signal. When driving, this message and audible signal are repeated with increasing frequency as the fuel level drops towards 0.You must refuel as soon as possible to avoid running out of fuel.For more information on Running out of fuel (Diesel), refer to the corresponding section.
W
ARNI NG
Stop & StartNever refuel with the engine in STOP mode; you must switch off the ignition.
Refuelling
At least 10 litres of fuel must be added, in order to be registered by the fuel gauge.
Opening the filler cap may create a noise caused by an inrush of air. This is entirely normal and results from the sealing of the fuel system.To refuel in complete safety:► Always switch off the engine.► Unlock the vehicle using the Keyless Entry and Starting.► Open the fuel filler flap.
Page 147 of 272
147
Practical information
7
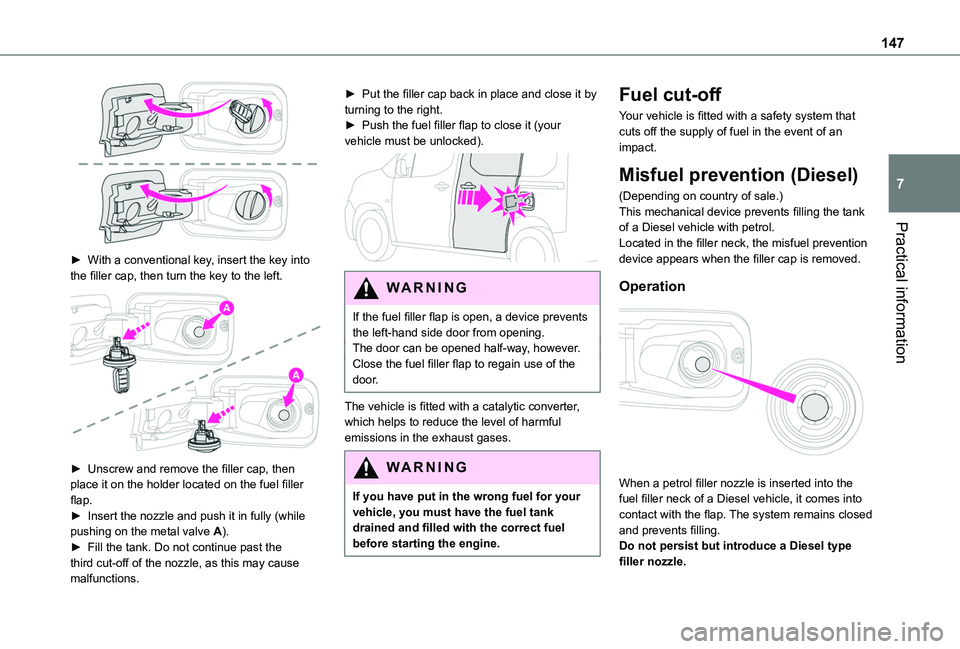
► With a conventional key, insert the key into the filler cap, then turn the key to the left.
► Unscrew and remove the filler cap, then place it on the holder located on the fuel filler flap.► Insert the nozzle and push it in fully (while pushing on the metal valve A).► Fill the tank. Do not continue past the third cut-off of the nozzle, as this may cause malfunctions.
► Put the filler cap back in place and close it by turning to the right.► Push the fuel filler flap to close it (your vehicle must be unlocked).
WARNI NG
If the fuel filler flap is open, a device prevents the left-hand side door from opening.The door can be opened half-way, however.Close the fuel filler flap to regain use of the door.
The vehicle is fitted with a catalytic converter, which helps to reduce the level of harmful emissions in the exhaust gases.
WARNI NG
If you have put in the wrong fuel for your vehicle, you must have the fuel tank drained and filled with the correct fuel before starting the engine.
Fuel cut-off
Your vehicle is fitted with a safety system that cuts off the supply of fuel in the event of an impact.
Misfuel prevention (Diesel)
(Depending on country of sale.)This mechanical device prevents filling the tank of a Diesel vehicle with petrol.Located in the filler neck, the misfuel prevention device appears when the filler cap is removed.
Operation
When a petrol filler nozzle is inserted into the fuel filler neck of a Diesel vehicle, it comes into contact with the flap. The system remains closed and prevents filling.Do not persist but introduce a Diesel type filler nozzle.
Page 148 of 272
148
NOTIC E
It remains possible to use a fuel jerrycan to fill the tank.
NOTIC E
Travelling abroadAs Diesel fuel pump nozzles may be different in other countries, the presence of the misfuel prevention device may make refuelling impossible.Before travelling abroad, it is advisable to check with a TOYOTA dealer if the vehicle is suitable for the distribution equipment of the countries visited.
Snow chains
In wintry conditions, snow chains improve traction as well as the behaviour of the vehicle
when braking.
WARNI NG
The snow chains must be fitted only to the front wheels. They must never be fitted to "space-saver" type spare wheels.
NOTIC E
Take account of the legislation specific to each country on the use of snow chains and the maximum authorised speed.
Installation tips
► If you have to fit the chains during a journey, stop the vehicle on a flat surface on the side of the road.► Apply the parking brake and position any wheel chocks under the wheels to prevent movement of your vehicle.► Fit the chains following the instructions provided by the manufacturer.► Move off gently and drive for a few moments, without exceeding 50 km/h (31 mph).► Stop your vehicle and check that the snow chains are correctly tightened.
NOTIC E
It is strongly recommended that before you leave, you practise fitting the snow chains on a level and dry surface.
WARNI NG
Avoid driving with snow chains on roads that have been cleared of snow to avoid damaging your vehicle's tyres and the road surface. If your vehicle is fitted with alloy wheels, check
that no part of the chain or its fixings is in contact with the wheel rim.
Use only the chains designed to be fitted to the type of wheel fitted to your vehicle:
Original tyre sizeMaximum link size (mm)
195/65 R159
205/60 R16
205/55 R17
215/65 R16
215/60 R17cannot be fitted with chains
You can also use snow socks.For more information, contact a TOYOTA dealer or a qualified workshop.
Page 161 of 272
161
Practical information
7
Starting impossible” message – it is essential to add at least 5 litres.
After refilling
► Refit the blue cap to the tank filler and turn it clockwise, as far as it will go.► Close the fuel filler flap.
Do not dispose of AdBlue® bottles or containers in the household waste.Place them in a container reserved for this purpose or take them back to where you purchased them.
Free-wheeling
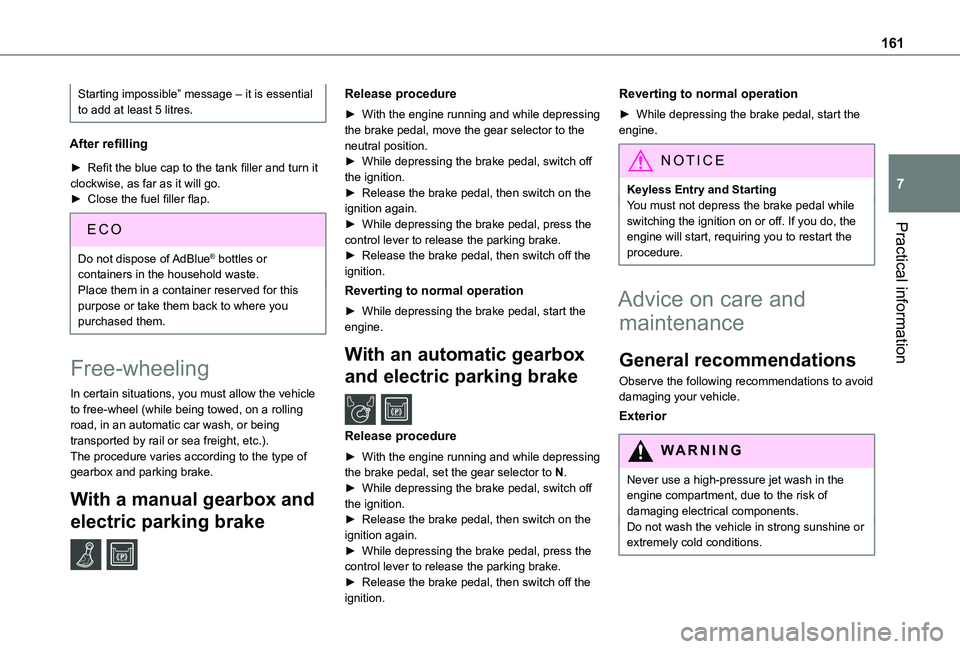
In certain situations, you must allow the vehicle to free-wheel (while being towed, on a rolling road, in an automatic car wash, or being transported by rail or sea freight, etc.).
The procedure varies according to the type of gearbox and parking brake.
With a manual gearbox and
electric parking brake /
Release procedure
► With the engine running and while depressing the brake pedal, move the gear selector to the neutral position.► While depressing the brake pedal, switch off the ignition.► Release the brake pedal, then switch on the ignition again.► While depressing the brake pedal, press the control lever to release the parking brake.► Release the brake pedal, then switch off the ignition.
Reverting to normal operation
► While depressing the brake pedal, start the engine.
With an automatic gearbox
and electric parking brake /
Release procedure
► With the engine running and while depressing the brake pedal, set the gear selector to N.► While depressing the brake pedal, switch off the ignition.► Release the brake pedal, then switch on the ignition again.► While depressing the brake pedal, press the control lever to release the parking brake.► Release the brake pedal, then switch off the
ignition.
Reverting to normal operation
► While depressing the brake pedal, start the engine.
NOTIC E
Keyless Entry and StartingYou must not depress the brake pedal while switching the ignition on or off. If you do, the engine will start, requiring you to restart the procedure.
Advice on care and
maintenance
General recommendations
Observe the following recommendations to avoid damaging your vehicle.
Exterior
WARNI NG
Never use a high-pressure jet wash in the engine compartment, due to the risk of damaging electrical components.Do not wash the vehicle in strong sunshine or extremely cold conditions.
Page 228 of 272
228
– Filling stations,– Car park,– Traffic,– POI local search.A Danger area pack (optional).
Declaration: "Risk areas
alert"
WARNI NG
To send information about danger zones, select the option:Allow declaration of danger zones
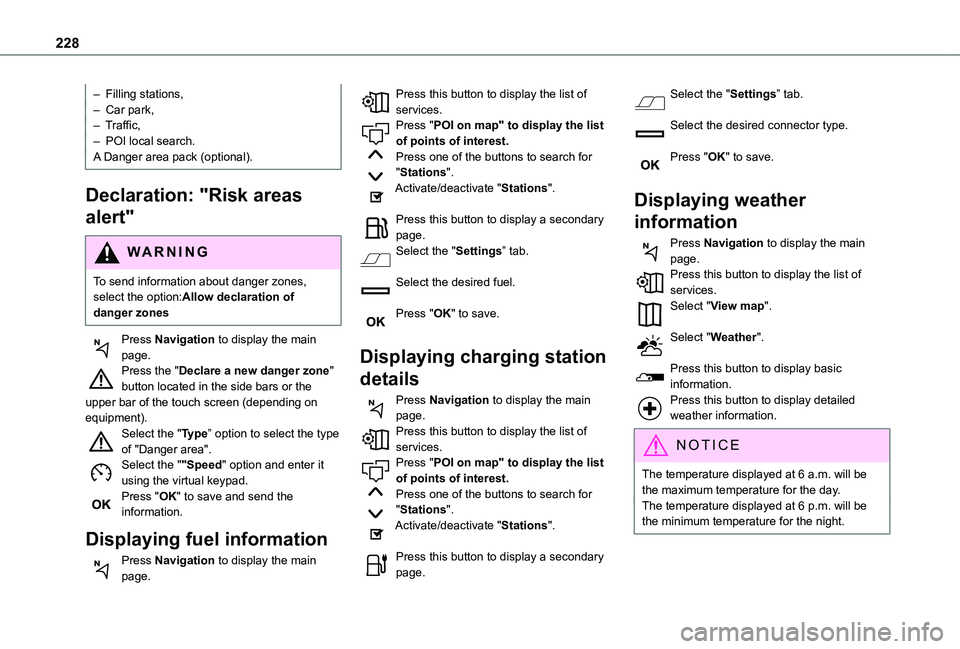
Press Navigation to display the main page.Press the "Declare a new danger zone" button located in the side bars or the upper bar of the touch screen (depending on equipment).Select the "Type” option to select the type of "Danger area".Select the ""Speed" option and enter it using the virtual keypad.Press "OK" to save and send the information.
Displaying fuel information
Press Navigation to display the main page.
Press this button to display the list of services.Press "POI on map" to display the list of points of interest.Press one of the buttons to search for "Stations".Activate/deactivate "Stations".
Press this button to display a secondary page.Select the "Settings” tab.
Select the desired fuel.
Press "OK" to save.
Displaying charging station
details
Press Navigation to display the main page.Press this button to display the list of
services.Press "POI on map" to display the list of points of interest.Press one of the buttons to search for "Stations".Activate/deactivate "Stations".
Press this button to display a secondary page.
Select the "Settings” tab.
Select the desired connector type.
Press "OK" to save.
Displaying weather
information
Press Navigation to display the main page.Press this button to display the list of services.Select "View map".
Select "Weather".
Press this button to display basic information.Press this button to display detailed weather information.
NOTIC E
The temperature displayed at 6 a.m. will be the maximum temperature for the day.The temperature displayed at 6 p.m. will be the minimum temperature for the night.
Page 244 of 272
244
A
ABS 74Accessories 71, 100Access to the 3rd row 44Access to the spare wheel 167Active Safety Brake 128–130AdBlue® 158AdBlue® tank 160Additive, Diesel 156–157Adjusting headlamps 67Adjusting head restraints 46Adjusting seat 39, 45Adjusting the air distribution 55–56Adjusting the air flow 55–56Adjusting the date 215, 239Adjusting the height and reach of the steering wheel 41Adjusting the lumbar support 39Adjusting the temperature 55–56Adjusting the time 214, 239Advanced Grip Control 76–77
Advice on care and maintenance 161Advice on driving 7, 95–96Airbags 81–84, 87Airbags, curtain 83–84Airbags, front 82, 84, 87Airbags, lateral 83–84Air conditioning 54, 56, 57, 59Air conditioning, digital 58Air conditioning, dual-zone automatic 55–56
Air conditioning, electronic (with display screen) 59Air conditioning, manual 54–55, 57Air intake 55–56Air vents 54Alarm 34–36Android Auto connection 230Anti-lock braking system (ABS) 74–75Antitheft / Immobiliser 24Apple CarPlay connection 210, 229Applications 230Armrest 39Armrest, front 47Assistance call 71–73Assistance, emergency braking 75, 130Audible warning 74Audio streaming (Bluetooth) 196, 209, 234
B
Battery 152, 178, 180
Battery, 12 V 157, 178–179Battery, charging 179–180Battery, remote control 29–30, 61Bench seat, one-piece, fixed 44Blind spot monitoring system 135Blind spot monitoring system, active 136Blind spot sensors 134, 136Bluetooth (hands-free) 197–198, 2 11–212, 235–236Bluetooth (telephone) 2 11–213, 235–236
Bodywork 162Bonnet 153–154Boot lid 27, 29Bottle holder 47Brake discs 158Brake lamps 174Brakes 158Braking assistance system 74–75Braking, automatic emergency 128–130Braking, dynamic emergency 102–103Brightness 214Bulbs 171Bulbs (changing) 170–171Bulbs (changing, type) 171
C
Capacity, fuel tank 146–147Cap, fuel filler 146–147Care of the bodywork 162CD 195, 209
CD, MP3 195–196, 209Central locking 24, 27Changing a bulb 170–171Changing a fuse 175–177Changing a wheel 164, 166Changing a wiper blade 69Changing the remote control battery 29Charger, induction 49Charger, wireless 49Checking the levels 154–156