2019 TOYOTA PROACE CITY VERSO key
[x] Cancel search: keyPage 182 of 272
182
NOTIC E
In case of battery or electric parking brake failure, it is essential to call a professional using flatbed recovery vehicles (excluding manual gearbox).
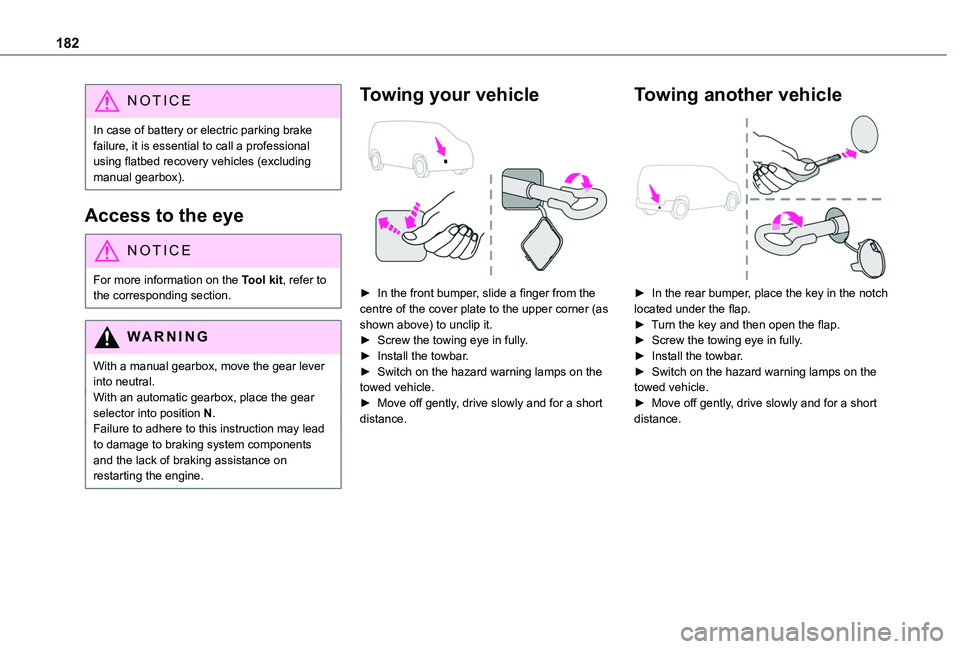
Access to the eye
NOTIC E
For more information on the Tool kit, refer to the corresponding section.
WARNI NG
With a manual gearbox, move the gear lever into neutral.With an automatic gearbox, place the gear selector into position N.Failure to adhere to this instruction may lead to damage to braking system components and the lack of braking assistance on restarting the engine.
Towing your vehicle
► In the front bumper, slide a finger from the centre of the cover plate to the upper corner (as shown above) to unclip it.► Screw the towing eye in fully.► Install the towbar.► Switch on the hazard warning lamps on the towed vehicle.► Move off gently, drive slowly and for a short distance.
Towing another vehicle
► In the rear bumper, place the key in the notch located under the flap.► Turn the key and then open the flap.► Screw the towing eye in fully.► Install the towbar.► Switch on the hazard warning lamps on the towed vehicle.► Move off gently, drive slowly and for a short distance.
Page 196 of 272
196
cause faults which are no reflection on the quality of the original player.Insert a CD in the player, play begins automatically.
WARNI NG
External CD players connected via the USB port are not recognised by the system.
To play a disc which has already been
inserted, press the SOURCE button several times in succession and select "CD".Press one of the buttons to select a track on the CD.Press the LIST button to display the list of tracks on the CD.Press and hold one of these buttons for fast forward or rewind.
Playing an MP3 compilation
Insert an MP3 compilation in the CD player.The audio equipment searches for all of the music tracks, which may take anything between a few seconds and several tens of seconds, before play begins.
WARNI NG
On a single disc, the CD player can read up to 255 MP3 files spread over 8 directory levels.However, it is advisable to keep to a limit of two levels to reduce the access time before the CD is played.The folder structure is not observed during playback.All of the files are displayed on a single level.
To play a disc which has already been inserted, press the SOURCE button several times in succession and select "CD".Press one of the buttons to select a folder on the CD.Press one of the buttons to select a track on the CD.Press the LIST button to display the list of directories of the MP3 compilation.Press and hold one of these buttons for fast forward or rewind.
Bluetooth® audio streaming
Streaming allows music files on the telephone to be played via the vehicle's loudspeakers.Connect the telephone.(Refer to the "Pairing a Bluetooth® telephone" section).Activate the streaming source by pressing SOURCE.
In certain cases, play of the audio files must be initiated from the keypad.Audio files can be selected using the buttons on the audio system control panel and the steering mounted controls. The contextual information can be displayed in the screen.If the telephone supports the function. The audio quality depends on the quality of transmission by the telephone.
Connecting Apple® players
Connect the Apple® player to the USB port using a suitable cable (not supplied).Play starts automatically.Control is via the audio system.The classifications available are those of the portable device connected (artists / albums / genres / playlists).The version of software in the audio system may not be compatible with the generation of your Apple® player.
Information and advice
The CD player can play files with “.mp3”, “.wma”, “.wav” and “.aac” file extensions, with a bit rate of 32 to 320 Kbps.It also supports TAG mode (ID3 tag, WMA TAG).No other file types (“.mp”4, etc.) can be read.Files of the ".wma" type should be to the wma 9 standard.The sampling rates supported are 11, 22, 44 and 48 kHz.
Page 199 of 272
199
Bluetooth® audio system
10
Select the "YES" tab in the screen using the buttons.Confirm with OK.
Press this button at the steering mounted controls to accept the call.
Making a call
In the "Telephone" menu.Select "Call".Select "Dial".OrSelect "Directory".OrSelect "Calls list".Confirm with OK.
Press this button for more than two seconds for access to your directory, then navigate using the thumb wheel.
Ending a call
In the "Telephone" menu.
Select "End call".Confirm with OK to end the call.During a call, press one of these buttons for more than two seconds.
NOTIC E
The system accesses the telephone's contacts directory, depending on its
compatibility, and while it is connected via Bluetooth.
NOTIC E
With certain telephones connected by Bluetooth you can send a contact to the directory of the audio system.Contacts imported in this way are saved in a permanent directory visible to all, whatever
the telephone connected.The menu for the directory is not accessible if it is empty.
Managing calls
During a call, press OK to display the contextual menu.
End call
In the contextual menu, select "Hang up" to end the call.Confirm with OK.
Microphone off
(so that the caller cannot hear)In the contextual menu:
– select "Micro OFF" to switch off the microphone.– deselect "Micro OFF" to switch the microphone on.
Confirm with OK.
Telephone mode
In the contextual menu:
– select "Telephone mode" to transfer the call to the telephone (for example, to leave the vehicle while continuing a conversation).– deselect "Telephone mode" to transfer the call to the vehicle.Confirm with OK.
If the contact has been cut off, when you reconnect on returning to the vehicle, the Bluetooth connection will be restored automatically and sound returned to the system (depending on the compatibility of the telephone).In some cases, the Telephone mode must be activated from the telephone.
Interactive voice response
From the contextual menu, select "DTMF tones" and confirm to use the digital keypad to navigate in the interactive voice response menu.Confirm with OK.
Page 207 of 272
207
TOYOTA Connect Radio
11
Press the frequency.
Enter the FM and AM waveband values using the virtual keypad.Press "OK" to confirm.
WARNI NG
Radio reception may be affected by the use of
electrical equipment not approved by the Brand, such as a USB charger connected to the 12 V socket.The exterior environment (hills, buildings, tunnels, basement car parks, etc.) may block reception, including in RDS mode. This phenomenon is perfectly normal in the context of radio wave transmission, and in no way indicative of an audio system malfunction.
Changing the waveband
Press Radio Media to display the main page. Press the "OPTIONS" button to access the secondary page.Press "Band" to change waveband.
Press in the shaded area to confirm.
Presetting a station
Select a radio station or frequency.Make a short press on the star outline. If the star is solid, the radio station is already preset.OrSelect a radio station or frequency.Press "Preset".Make a long press on one of the buttons to preset the station.
Activating/Deactivating RDS
RDS, if activated, allows you to continue listening to the same station by automatically retuning to alternative frequencies.Press Radio Media to display the main page.Press the "OPTIONS" button to access the secondary page.Activate/deactivate "RDS".
Press in the shaded area to confirm.
NOTIC E
RDS station tracking may not be available nationwide, as many radio stations do not cover 100 % of the country. This explains the loss of reception of the station during a journey.
Displaying text information
The "Radio Text" function displays information transmitted by the radio station relating to the station or the currently playing song.Press Radio Media to display the main page.Press the "OPTIONS" button to access the secondary page.Activate/deactivate "News".
Press in the shaded area to confirm.
Playing TA messages
The TA (Traffic Announcement) function gives priority to TA alert messages. To operate, this function needs good reception of a radio station that transmits this type of message. While traffic information is being broadcast, the current media is automatically interrupted so that the TA message can be heard. Normal play of the previously playing media resumes at the end of
the message.Press Radio Media to display the main page.Press the "OPTIONS" button to access the secondary page.Activate/deactivate "TA".
Press in the shaded area to confirm.
Page 213 of 272
213
TOYOTA Connect Radio
11
Deleting a telephone
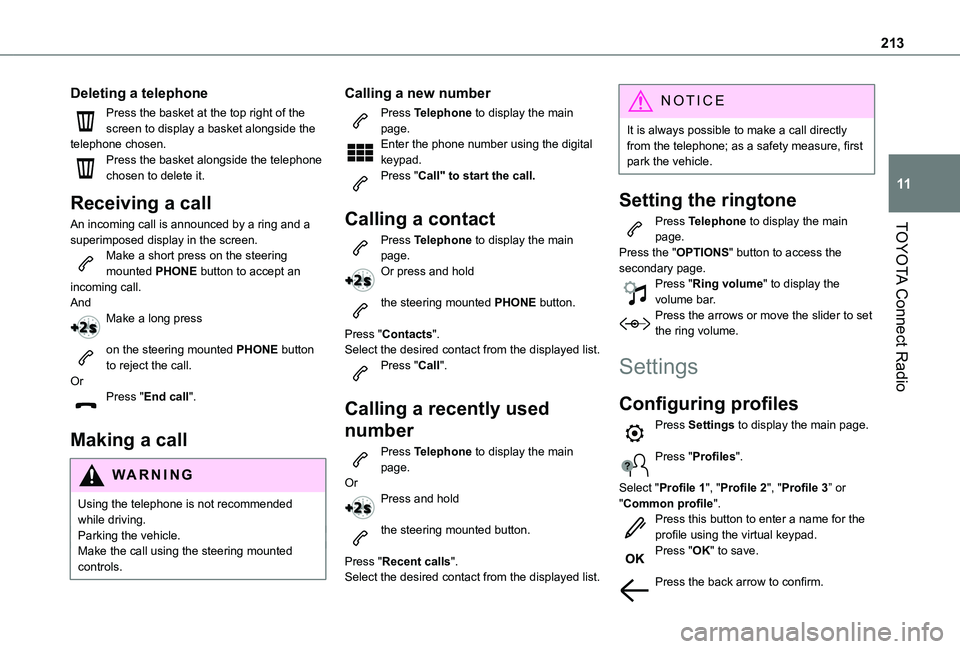
Press the basket at the top right of the screen to display a basket alongside the telephone chosen.Press the basket alongside the telephone chosen to delete it.
Receiving a call
An incoming call is announced by a ring and a superimposed display in the screen.Make a short press on the steering mounted PHONE button to accept an incoming call.AndMake a long press
on the steering mounted PHONE button to reject the call.OrPress "End call".
Making a call
WARNI NG
Using the telephone is not recommended while driving.Parking the vehicle.Make the call using the steering mounted controls.
Calling a new number
Press Telephone to display the main page. Enter the phone number using the digital keypad.Press "Call" to start the call.
Calling a contact
Press Telephone to display the main page. Or press and hold
the steering mounted PHONE button.
Press "Contacts".Select the desired contact from the displayed list.Press "Call".
Calling a recently used
number
Press Telephone to display the main page.OrPress and hold
the steering mounted button.
Press "Recent calls".Select the desired contact from the displayed list.
NOTIC E
It is always possible to make a call directly from the telephone; as a safety measure, first park the vehicle.
Setting the ringtone
Press Telephone to display the main page. Press the "OPTIONS" button to access the secondary page.Press "Ring volume" to display the volume bar.Press the arrows or move the slider to set the ring volume.
Settings
Configuring profiles
Press Settings to display the main page.
Press "Profiles".
Select "Profile 1", "Profile 2", "Profile 3” or "Common profile".Press this button to enter a name for the profile using the virtual keypad.Press "OK" to save.
Press the back arrow to confirm.
Page 214 of 272
214
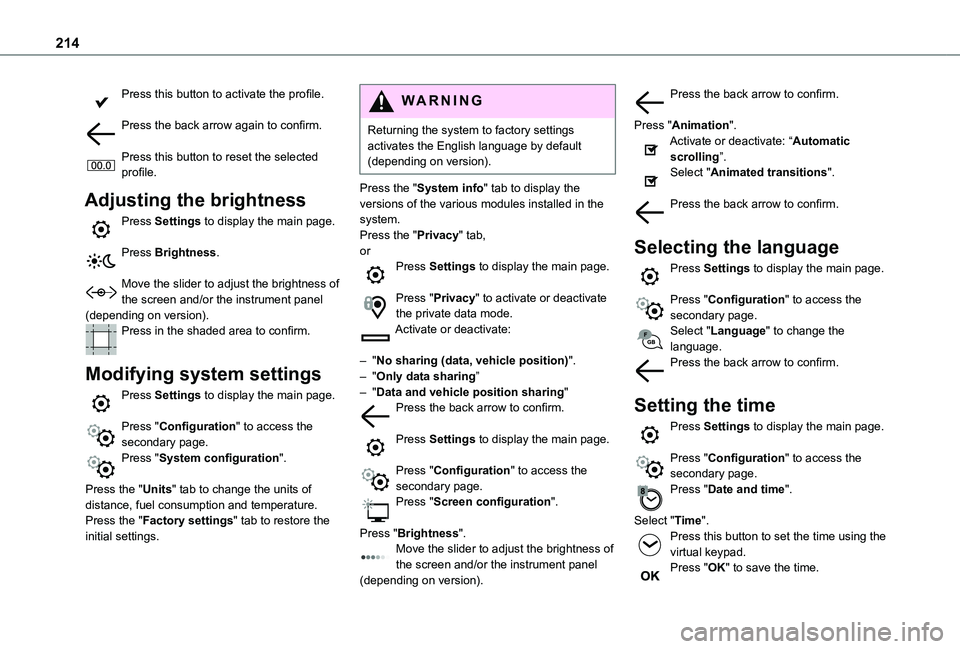
Press this button to activate the profile.
Press the back arrow again to confirm.
Press this button to reset the selected profile.
Adjusting the brightness
Press Settings to display the main page.
Press Brightness.
Move the slider to adjust the brightness of the screen and/or the instrument panel (depending on version).Press in the shaded area to confirm.
Modifying system settings
Press Settings to display the main page.
Press "Configuration" to access the secondary page.
Press "System configuration".
Press the "Units" tab to change the units of distance, fuel consumption and temperature.Press the "Factory settings" tab to restore the initial settings.
WARNI NG
Returning the system to factory settings activates the English language by default (depending on version).
Press the "System info" tab to display the versions of the various modules installed in the system.Press the "Privacy" tab,orPress Settings to display the main page.
Press "Privacy" to activate or deactivate the private data mode.Activate or deactivate:
– "No sharing (data, vehicle position)".– "Only data sharing”– "Data and vehicle position sharing"Press the back arrow to confirm.
Press Settings to display the main page.
Press "Configuration" to access the secondary page.Press "Screen configuration".
Press "Brightness".Move the slider to adjust the brightness of the screen and/or the instrument panel (depending on version).
Press the back arrow to confirm.
Press "Animation".Activate or deactivate: “Automatic scrolling”.Select "Animated transitions".
Press the back arrow to confirm.
Selecting the language
Press Settings to display the main page.
Press "Configuration" to access the secondary page.Select "Language" to change the language.Press the back arrow to confirm.
Setting the time
Press Settings to display the main page.
Press "Configuration" to access the secondary page.Press "Date and time".
Select "Time".Press this button to set the time using the virtual keypad.Press "OK" to save the time.
Page 224 of 272
224
Navigation
Choice of a destination
To a new destination
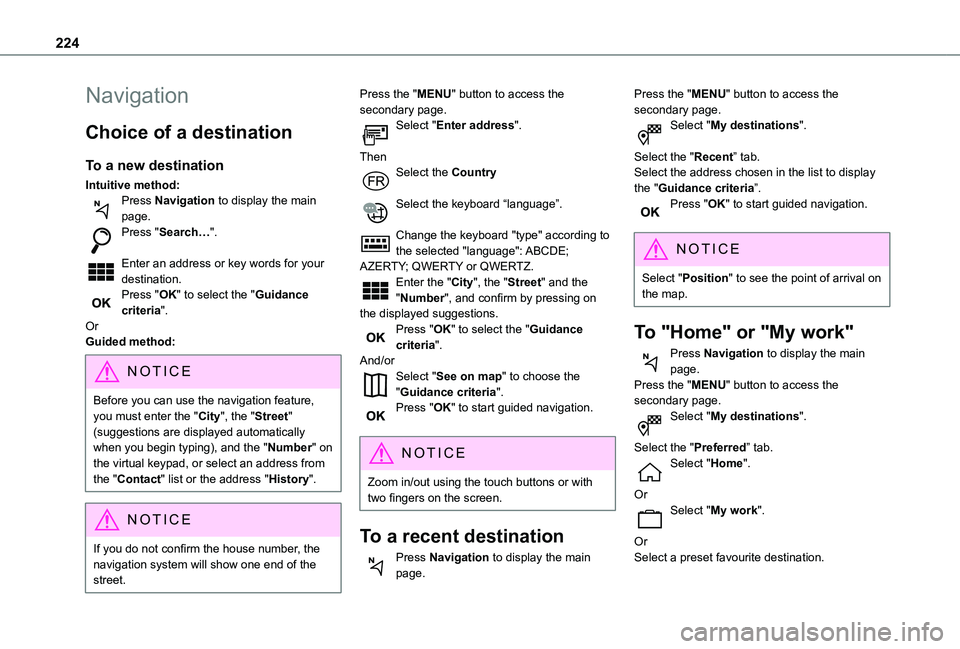
Intuitive method:Press Navigation to display the main page.Press "Search…".
Enter an address or key words for your destination.Press "OK" to select the "Guidance criteria".OrGuided method:
NOTIC E
Before you can use the navigation feature, you must enter the "City", the "Street" (suggestions are displayed automatically when you begin typing), and the "Number" on the virtual keypad, or select an address from the "Contact" list or the address "History".
NOTIC E
If you do not confirm the house number, the navigation system will show one end of the street.
Press the "MENU" button to access the secondary page.Select "Enter address".
ThenSelect the Country
Select the keyboard “language”.
Change the keyboard "type" according to the selected "language": ABCDE; AZERTY; QWERTY or QWERTZ.Enter the "City", the "Street" and the "Number", and confirm by pressing on the displayed suggestions.Press "OK" to select the "Guidance criteria".And/orSelect "See on map" to choose the "Guidance criteria".Press "OK" to start guided navigation.
NOTIC E
Zoom in/out using the touch buttons or with two fingers on the screen.
To a recent destination
Press Navigation to display the main page.
Press the "MENU" button to access the secondary page.Select "My destinations".
Select the "Recent” tab.Select the address chosen in the list to display the "Guidance criteria”.Press "OK" to start guided navigation.
NOTIC E
Select "Position" to see the point of arrival on the map.
To "Home" or "My work"
Press Navigation to display the main page.Press the "MENU" button to access the secondary page.Select "My destinations".
Select the "Preferred” tab.Select "Home".
OrSelect "My work".
OrSelect a preset favourite destination.
Page 225 of 272
225
TOYOTA Connect Nav
12
To a contact
Press Navigation to display the main page.Press the "MENU" button to access the secondary page.Select "My destinations".
Select the "Contact” tab.Select a contact in the list to start guided navigation.
To points of interest (POI)
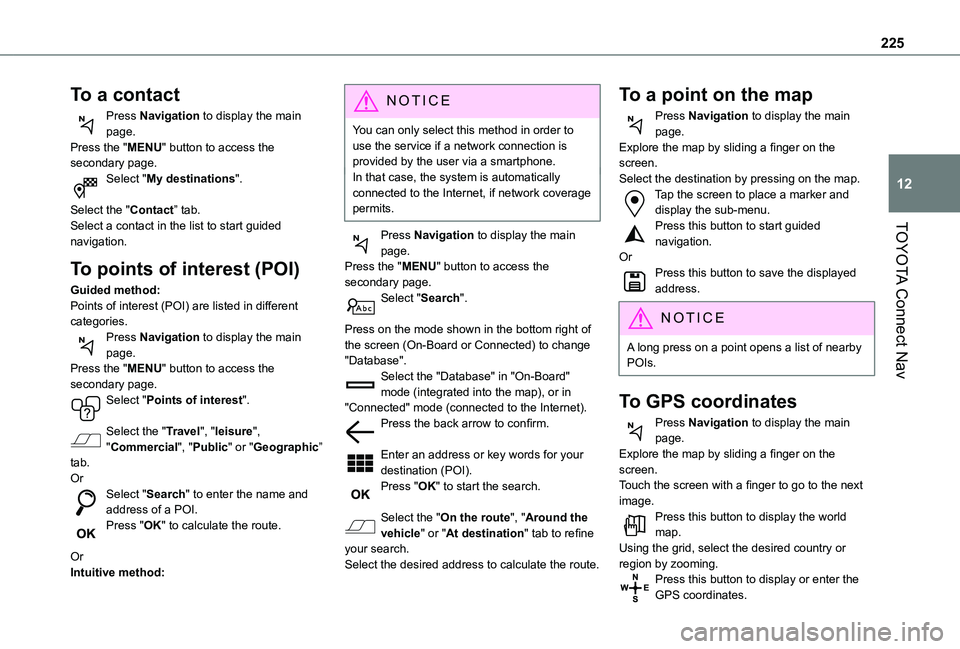
Guided method:Points of interest (POI) are listed in different categories.Press Navigation to display the main page.Press the "MENU" button to access the secondary page.Select "Points of interest".
Select the "Travel", "leisure",
"Commercial", "Public" or "Geographic” tab.OrSelect "Search" to enter the name and address of a POI.Press "OK" to calculate the route.
OrIntuitive method:
NOTIC E
You can only select this method in order to use the service if a network connection is provided by the user via a smartphone.In that case, the system is automatically connected to the Internet, if network coverage permits.
Press Navigation to display the main page.Press the "MENU" button to access the secondary page.Select "Search".
Press on the mode shown in the bottom right of the screen (On-Board or Connected) to change "Database".Select the "Database" in "On-Board" mode (integrated into the map), or in "Connected" mode (connected to the Internet).Press the back arrow to confirm.
Enter an address or key words for your destination (POI).Press "OK" to start the search.
Select the "On the route", "Around the vehicle" or "At destination" tab to refine your search.Select the desired address to calculate the route.
To a point on the map
Press Navigation to display the main page.Explore the map by sliding a finger on the screen.Select the destination by pressing on the map.Tap the screen to place a marker and display the sub-menu.Press this button to start guided navigation.OrPress this button to save the displayed address.
NOTIC E
A long press on a point opens a list of nearby POIs.
To GPS coordinates
Press Navigation to display the main page.Explore the map by sliding a finger on the screen.Touch the screen with a finger to go to the next image.Press this button to display the world map.Using the grid, select the desired country or region by zooming.Press this button to display or enter the GPS coordinates.